Creating unique & special handmade gifts are not just for the holidays. Learn how to create these simple DiY wooden barn quilt coasters at home to give as gifts throughout the year. These make great housewarming gifts or to add to a thoughtful hostess blessing basket.
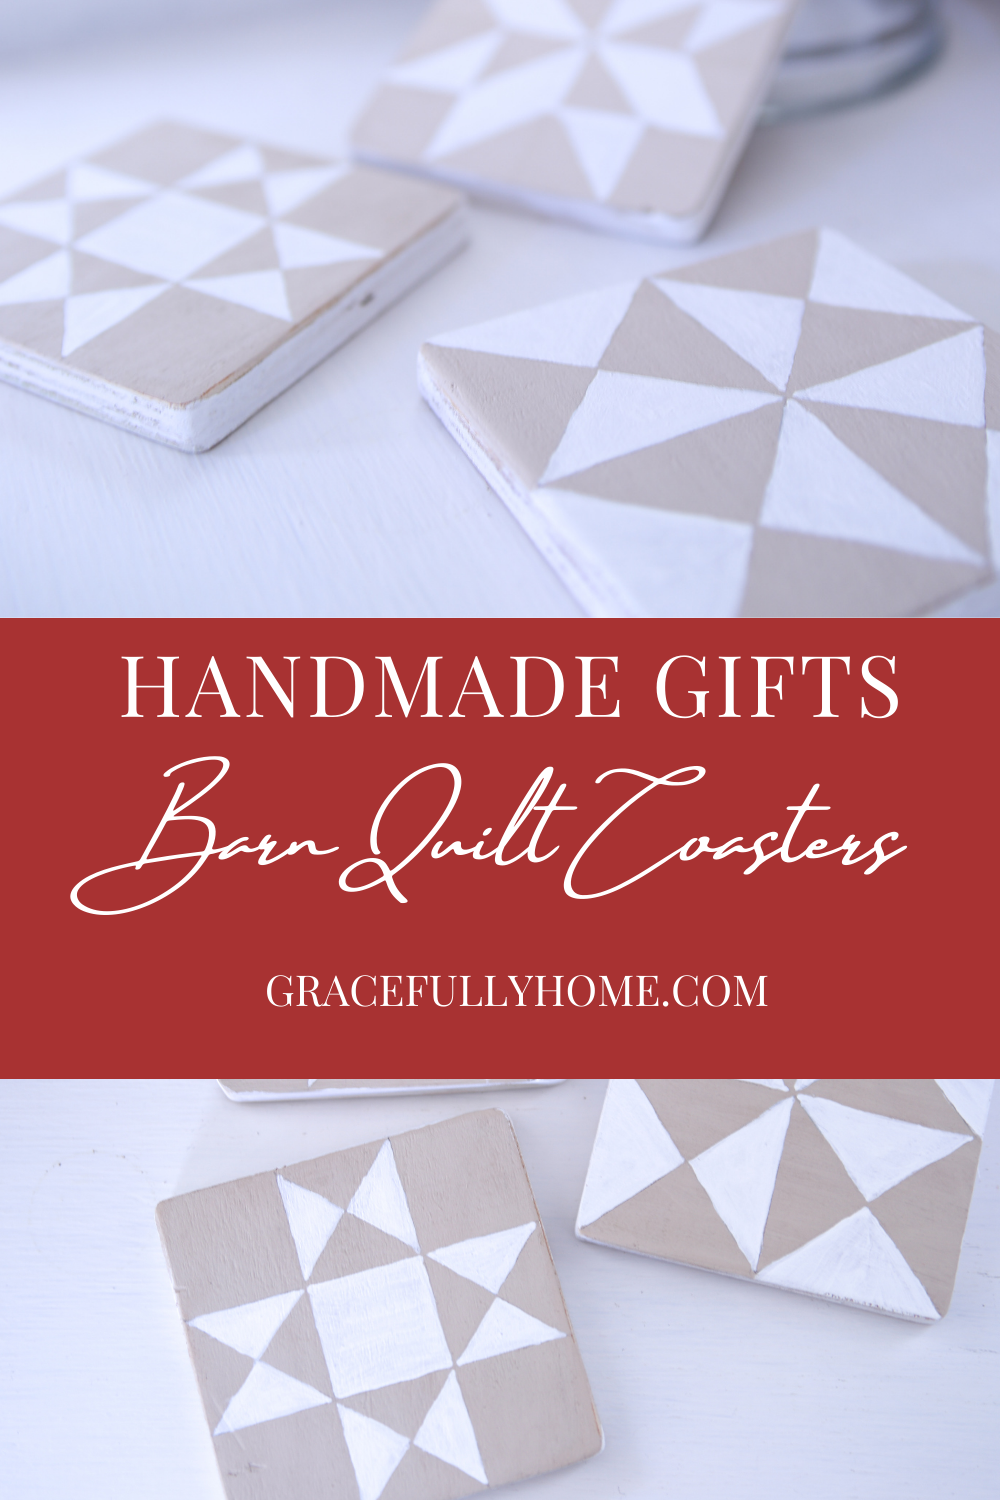
HOW TO MAKE DIY BARN QUILT COASTERS

**This post may contain affiliate links. Read my full disclosure here.
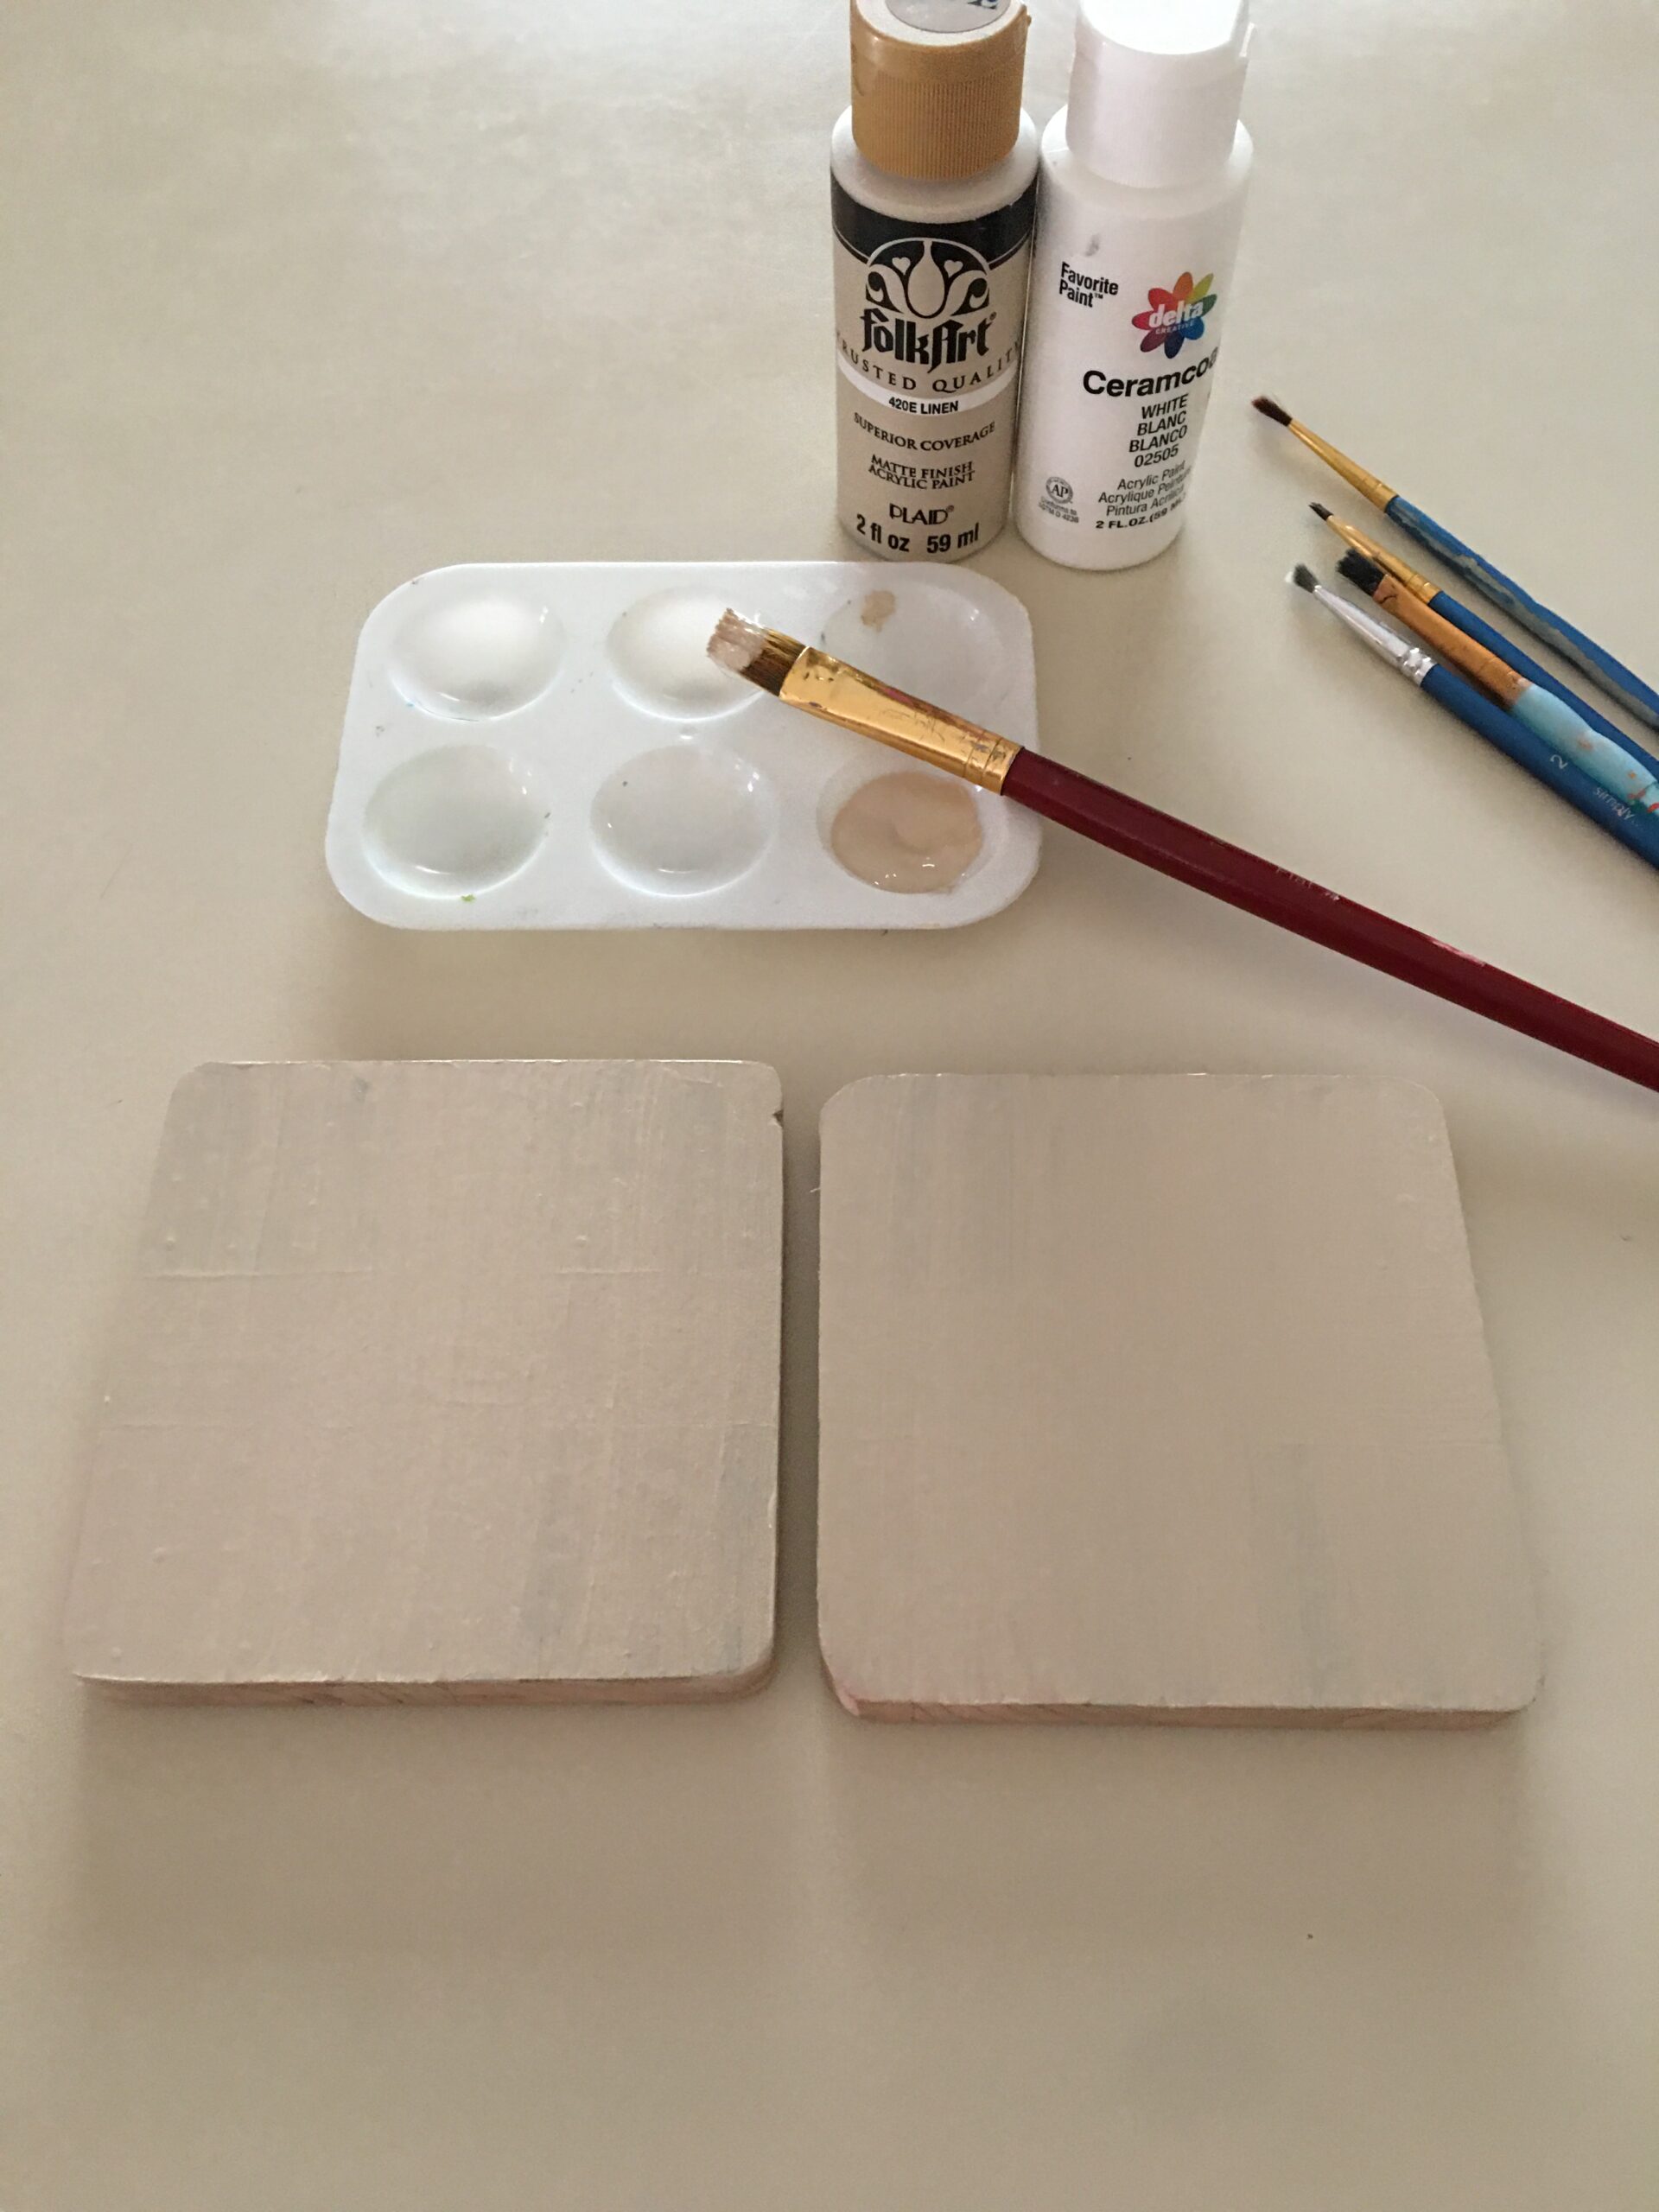
SUPPLIES AND TOOLS YOU WILL NEED
- scrap wood
- craft paint
- paint brushes
- paper plate or painting tray
- paper towels for quick clean up
- felt bumper pads (optional)
- pencil and eraser
- ruler and straight edge
- frogger tape (optional)
- scratch paper for making template
- clear coat polyurethane or natural wax to prevent water damage
- barn quilt pattern of your choice
- miter saw
- table saw
- palm sander
NOTE:
Any tool brand will do for this simple DiY project. We find Dewalt has a lot of good options and we appreciate that many of their most popular tools are still made in America. The three last tools mentioned above are all Dewalt and have lasted through many a home remodel over the years.
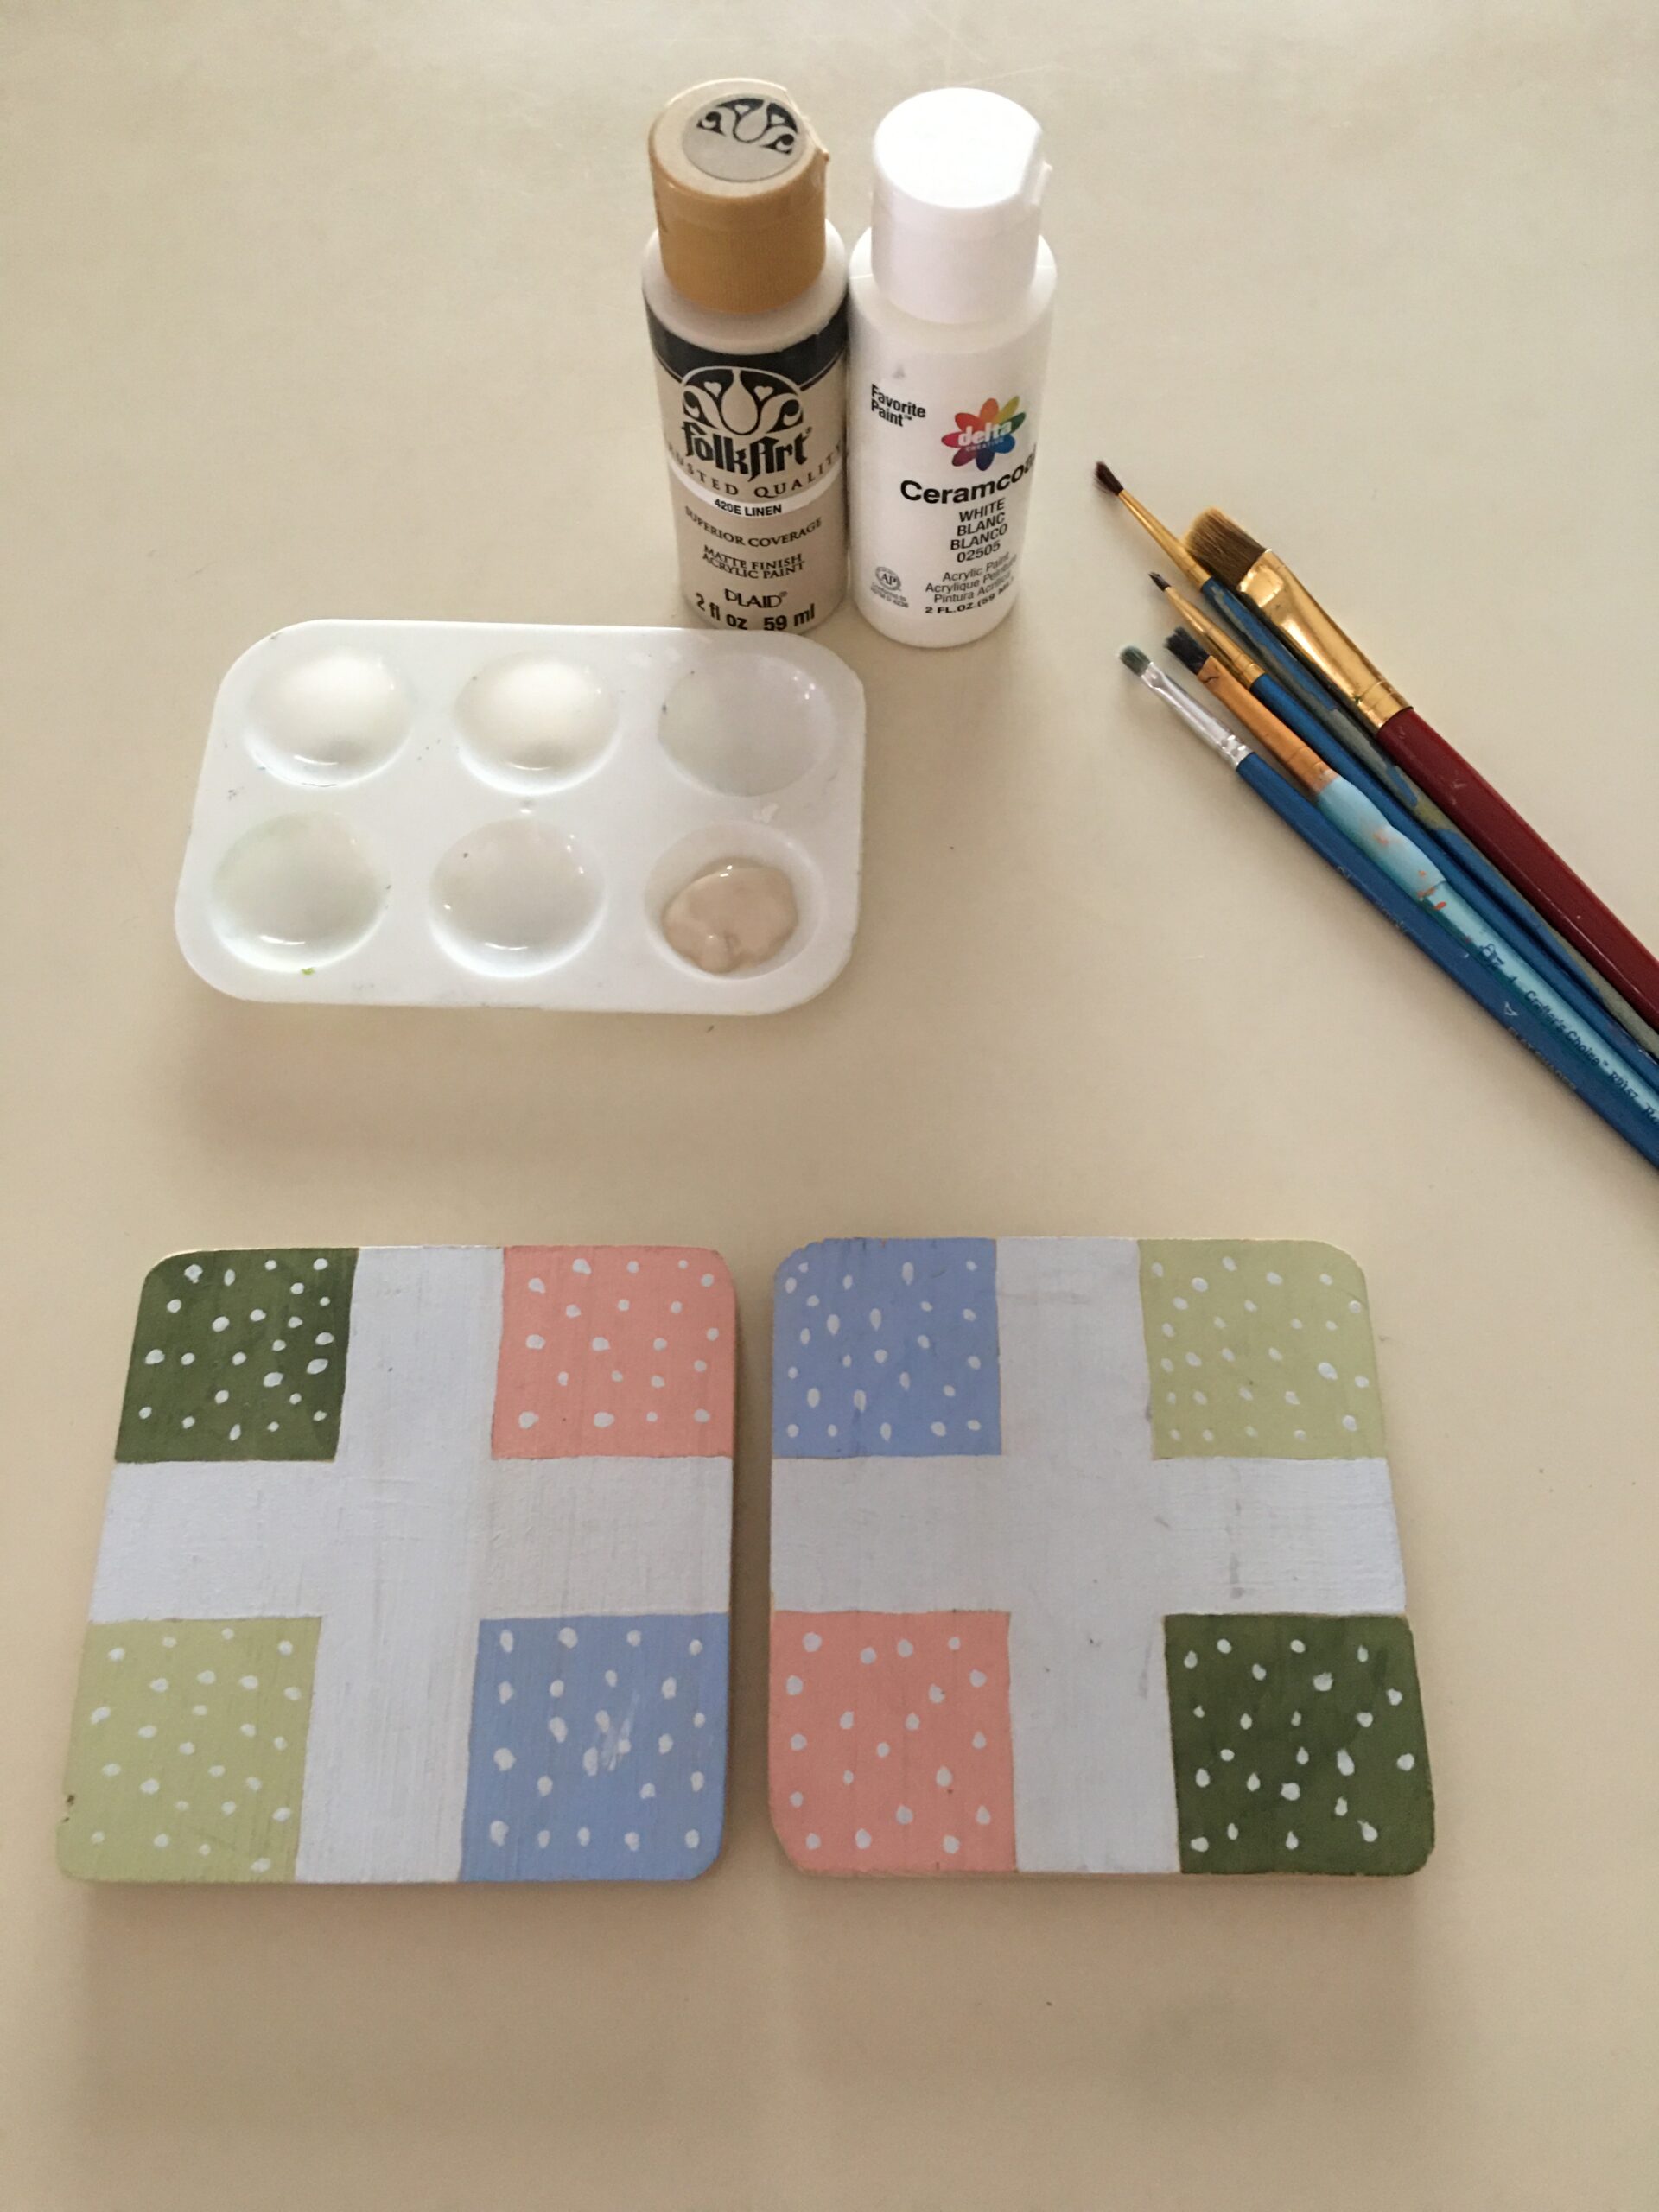
Two summers ago when I was at the Haven Blogging Conference in GA, the Behr paints booth had these wooden coasters and a craft painting booth set up for us. I painted these pastel cross coasters for the big kids’ bedroom. Knowing that they had requested a more “teen coastal farmhouse” upgrade, I thought the colors might go well. They were ok, but these barn quilt patterns are much more interesting and are better suited for our simple vintage farmhouse style.

Here are the adhesive pads that the Behr booth added to help prevent scratches. As I looked at the simple “construction” of these coasters, I found myself saying those famous words I like to say, “I can make that!” So, I headed to my hubby’s workshop to search for some suitable scrap wood. All the other supplies, we already had in our craft supplies.
LET’S GET STARTED!
STEP ONE
Choose your pattern and material. You can do a search online to find a barn quilt pattern that you like. I like to stick with some of the basic patterns that are simple to use. There are also some stencils that you can purchase online, but I prefer the free hand method.
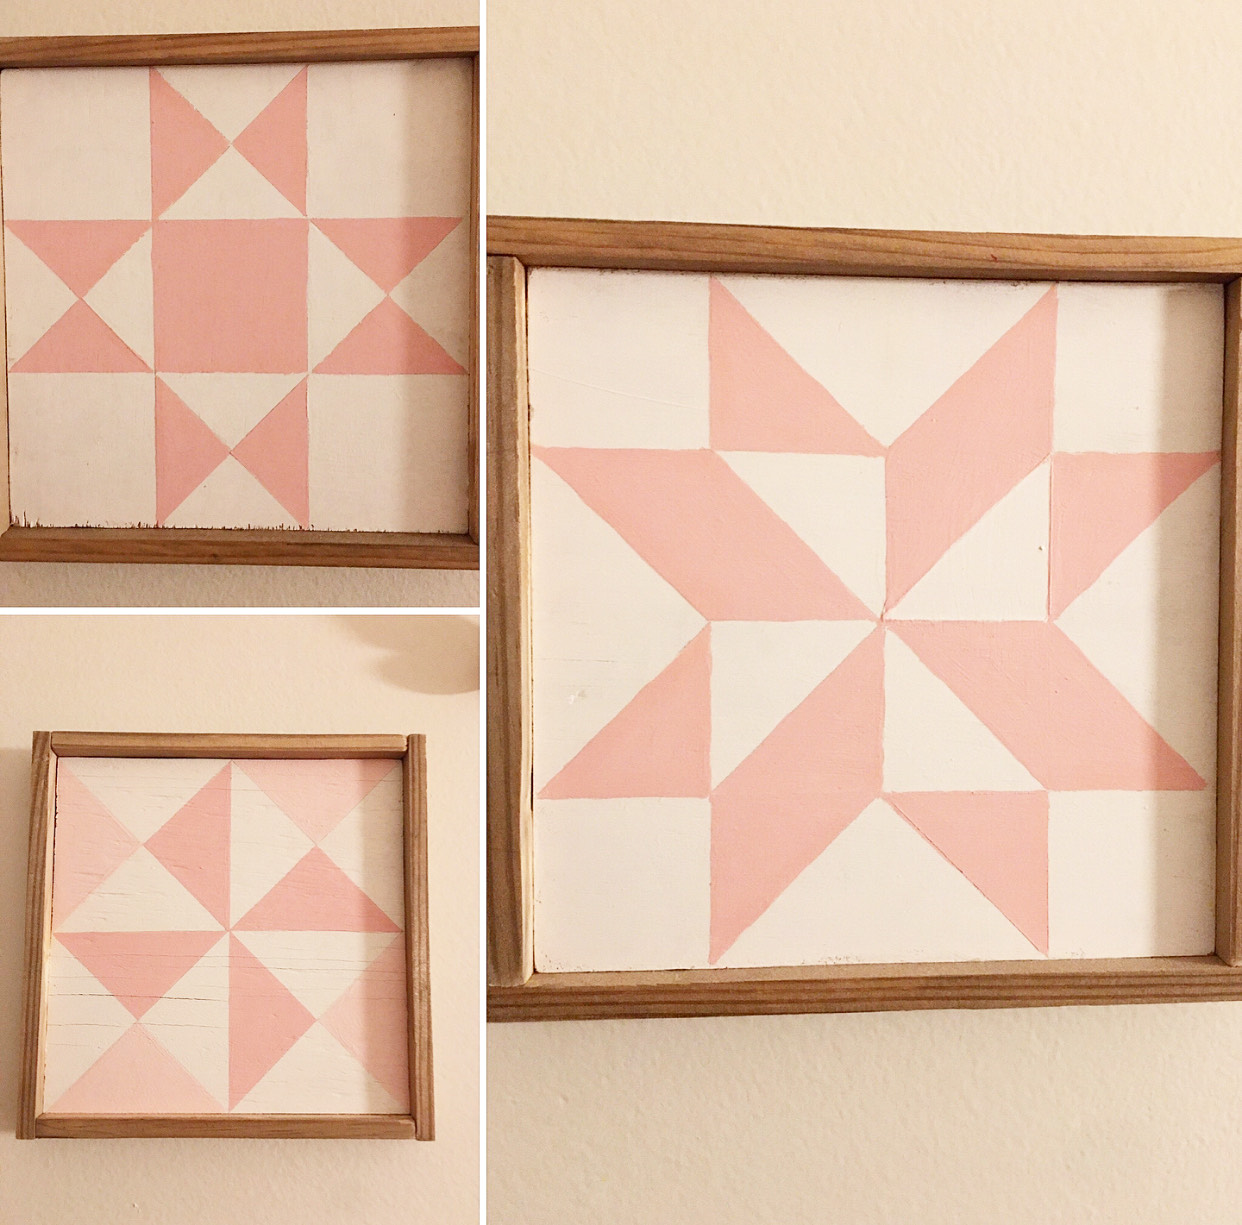
Here are three of my favorites.

It is so rewarding to be able to put some of our scrap wood to use and we have A LOT of it! I would have preferred to have a solid piece of wood, but we didn’t have the width I was looking for and I didn’t feel like readjusting my husband’s table saw blade by myself. So I ended up going with a small sheet of plywood.
STEP TWO
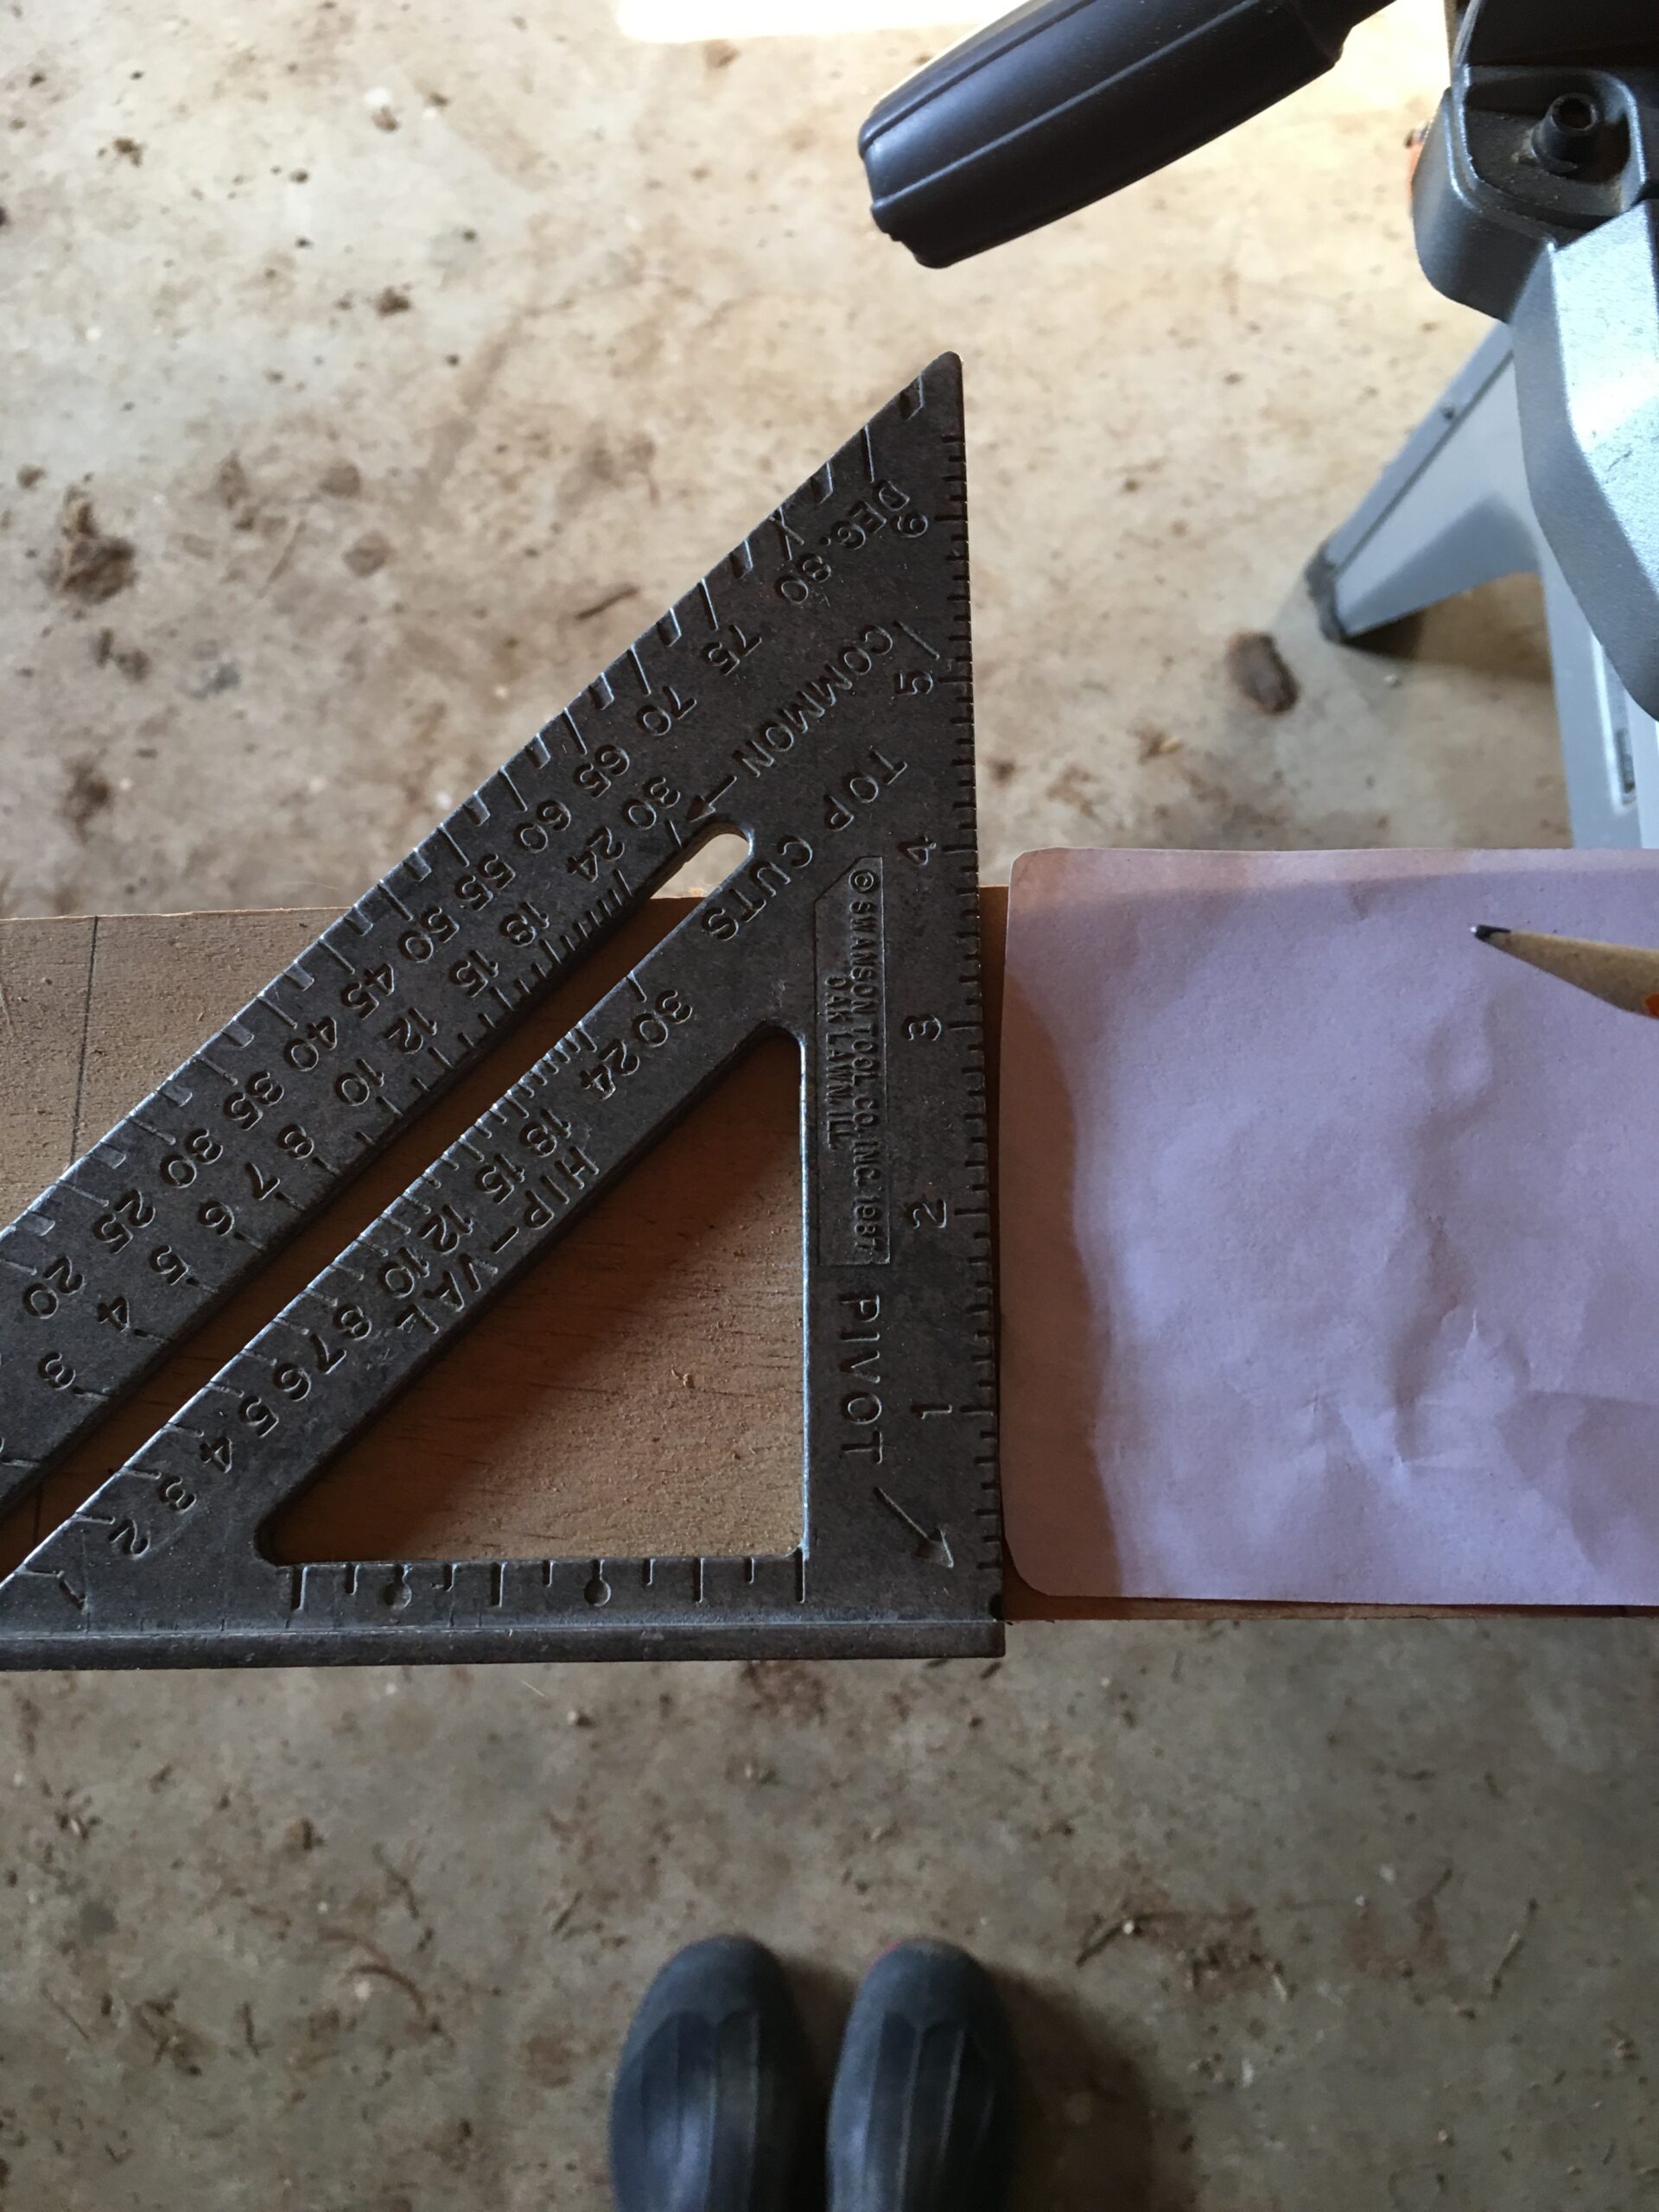
Measure and cut your squares. Using the coasters from the Haven blogging conference as my guide, I whipped up a quick template from scratch paper. I ended up with roughly about 3×3 squares, but you can make yours any size that works for you.
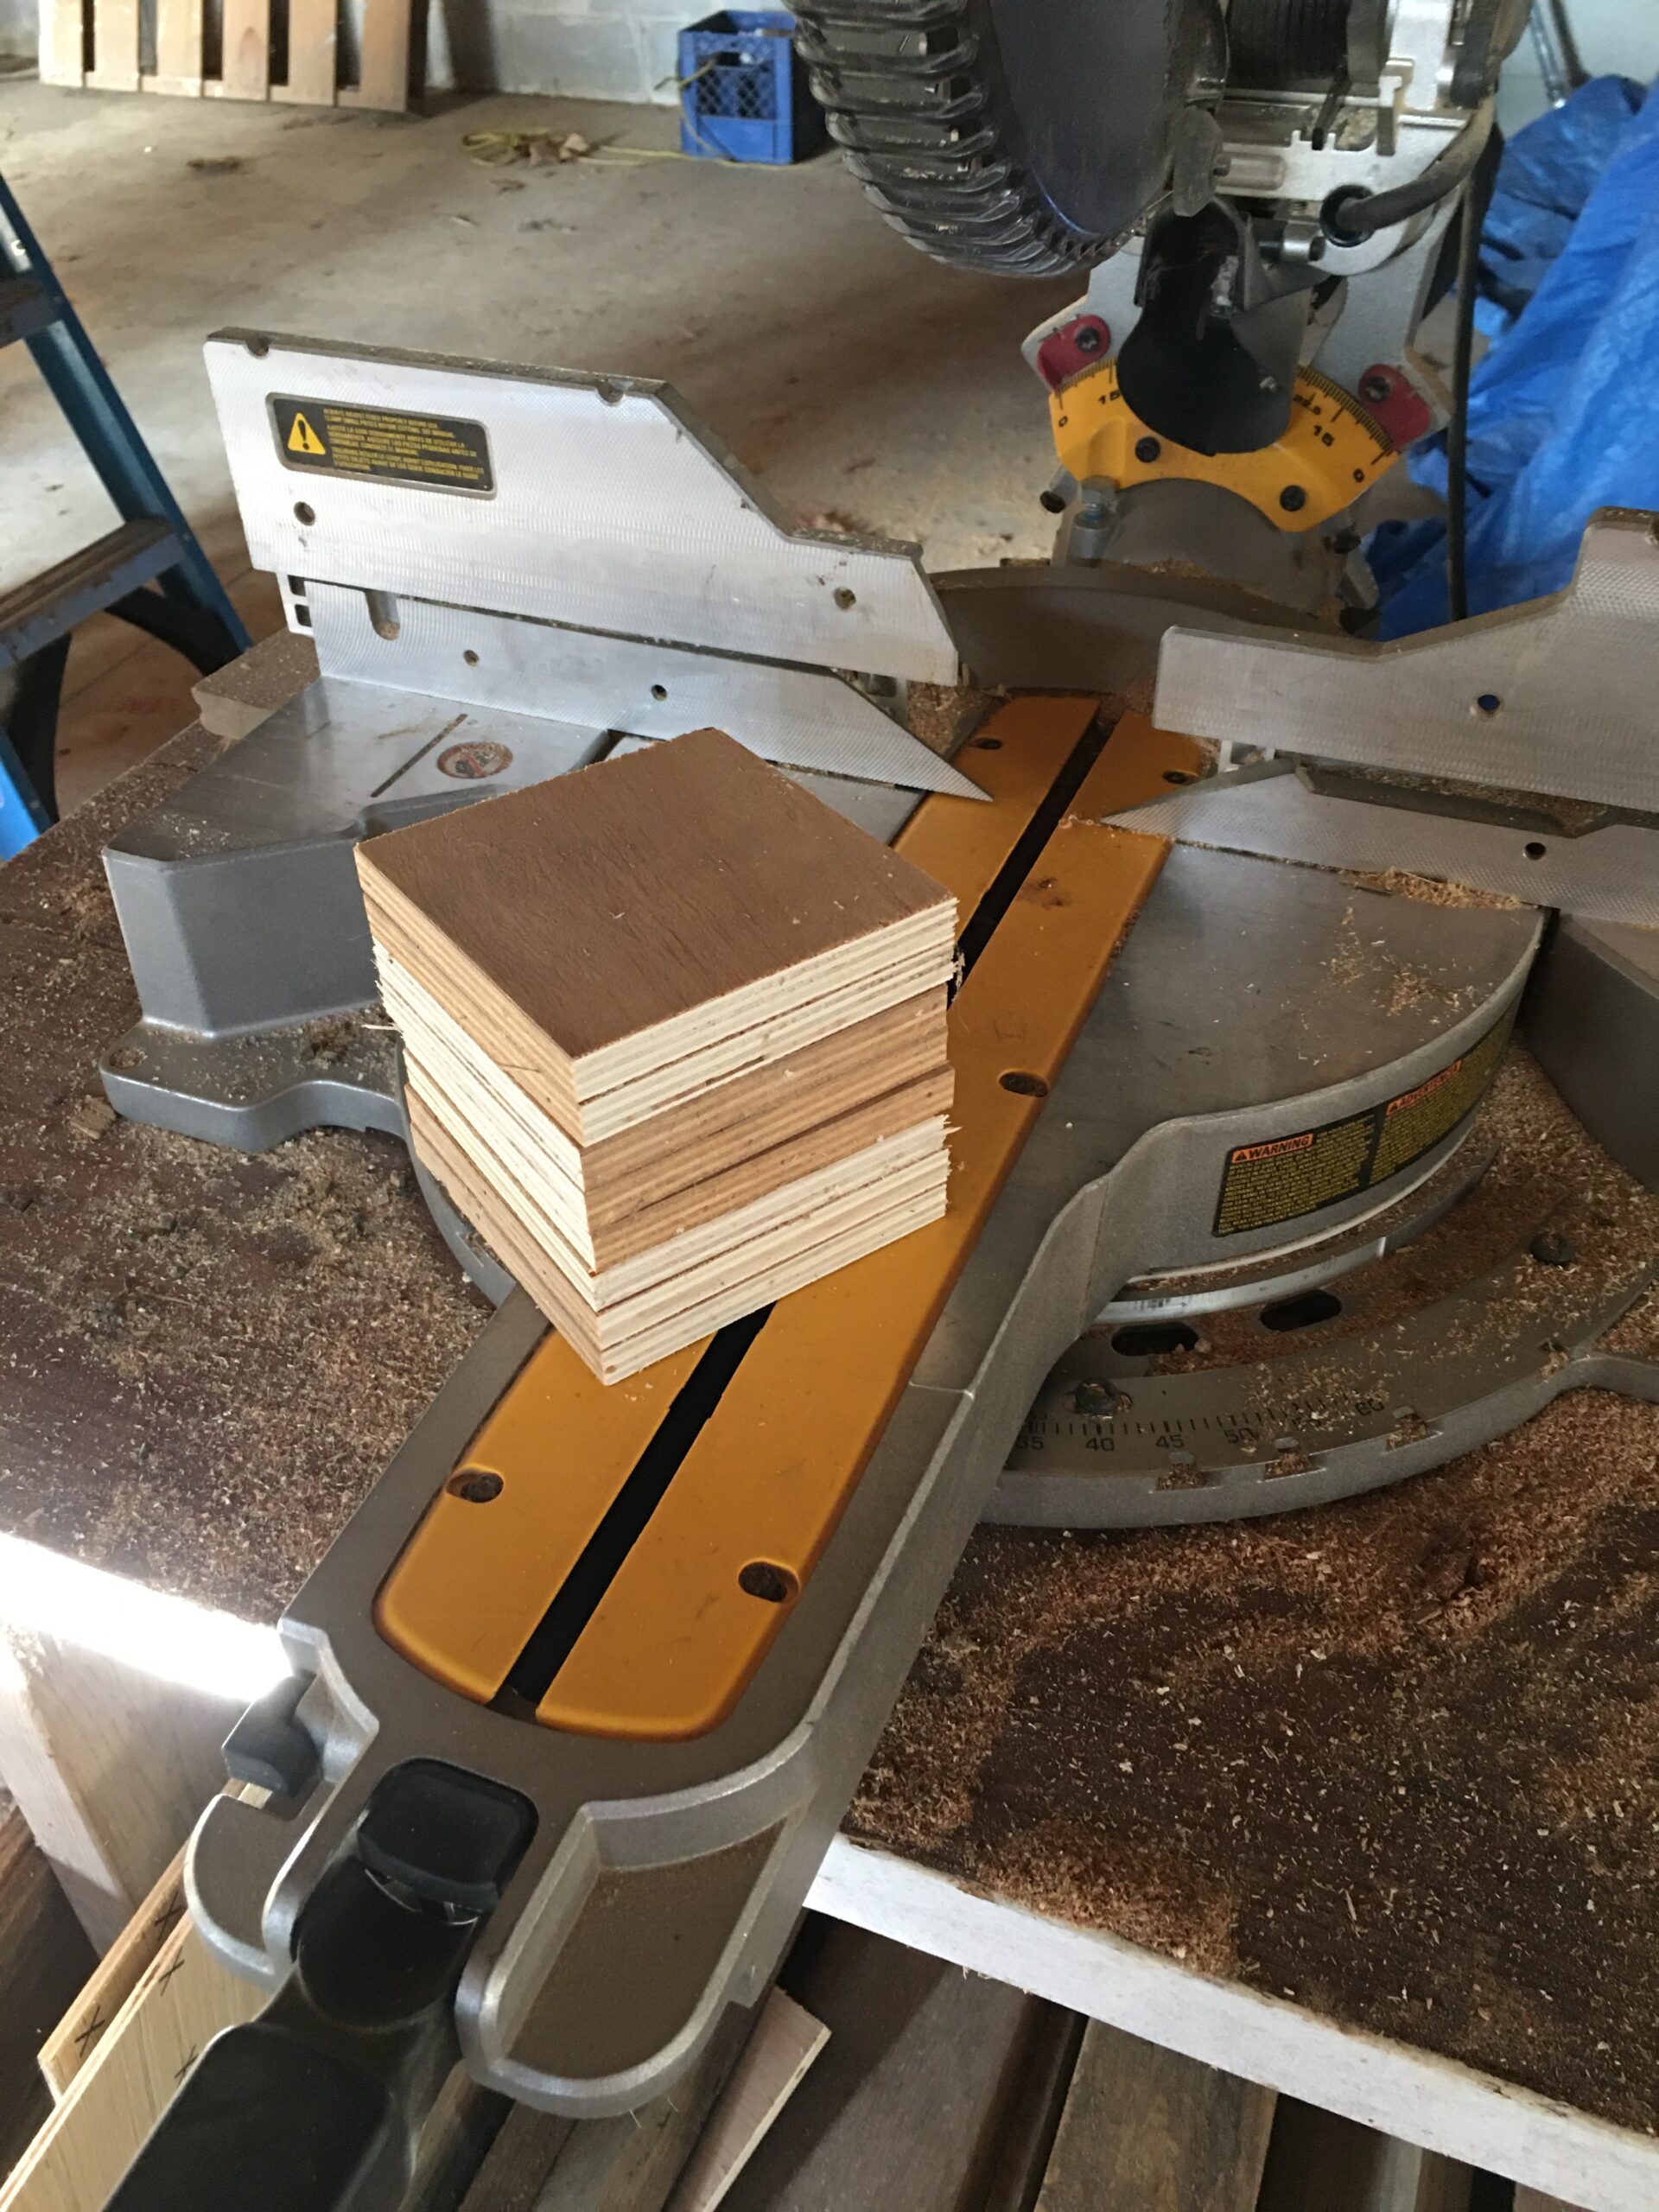
BONUS TIP
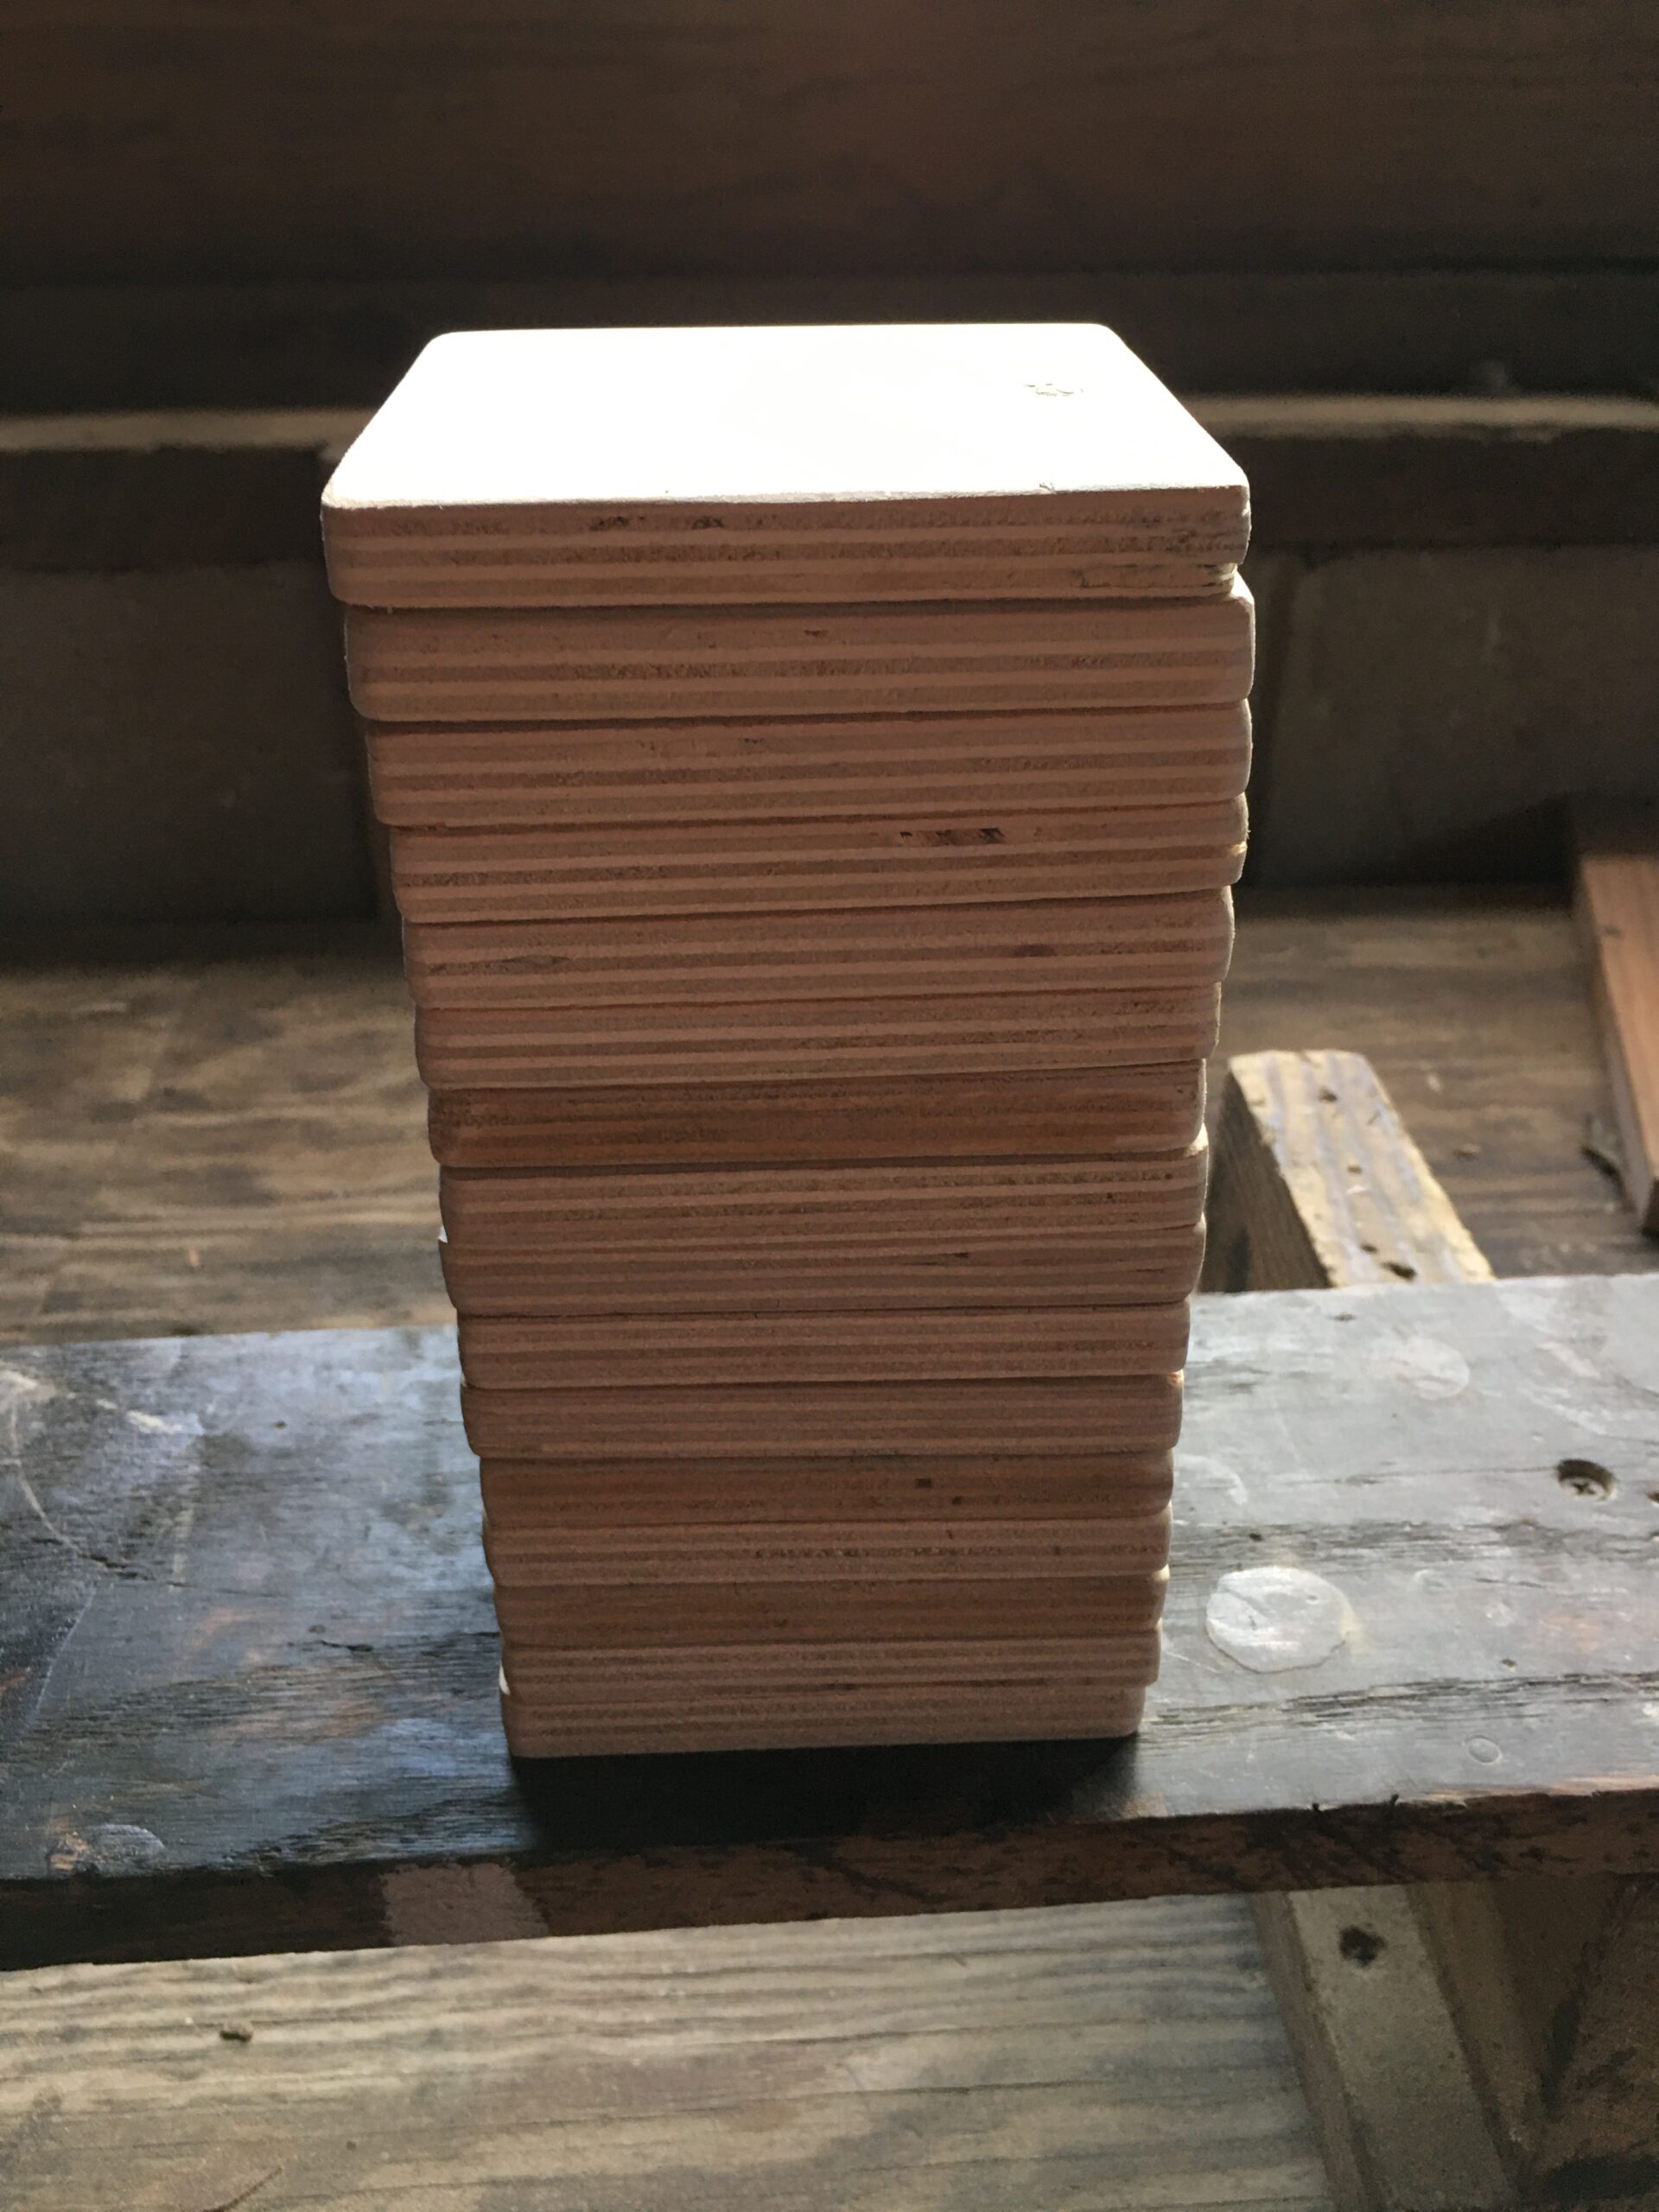
If you’re making a large batch of coasters for gifts, measure and cut with your miter saw, all your pieces at once. Then stack them for easy access during the sanding process. This saves time from having to go back and forth during the cutting process.
NOTE:
Always take precautions when using electric power tools. If you have not used a miter saw before, I recommend asking someone to show you how or ask for assistance from someone who can safely cut the pieces for you. Power tools are extremely helpful and cut your work load in half, but they can also be extremely dangerous. Know your limits and when to ask for help.

A little help from our teenage cat, “Patches.”
STEP THREE
Sand the top, bottom, and edges of your squares to help prevent splinters and give your coasters a more finished, softer look.
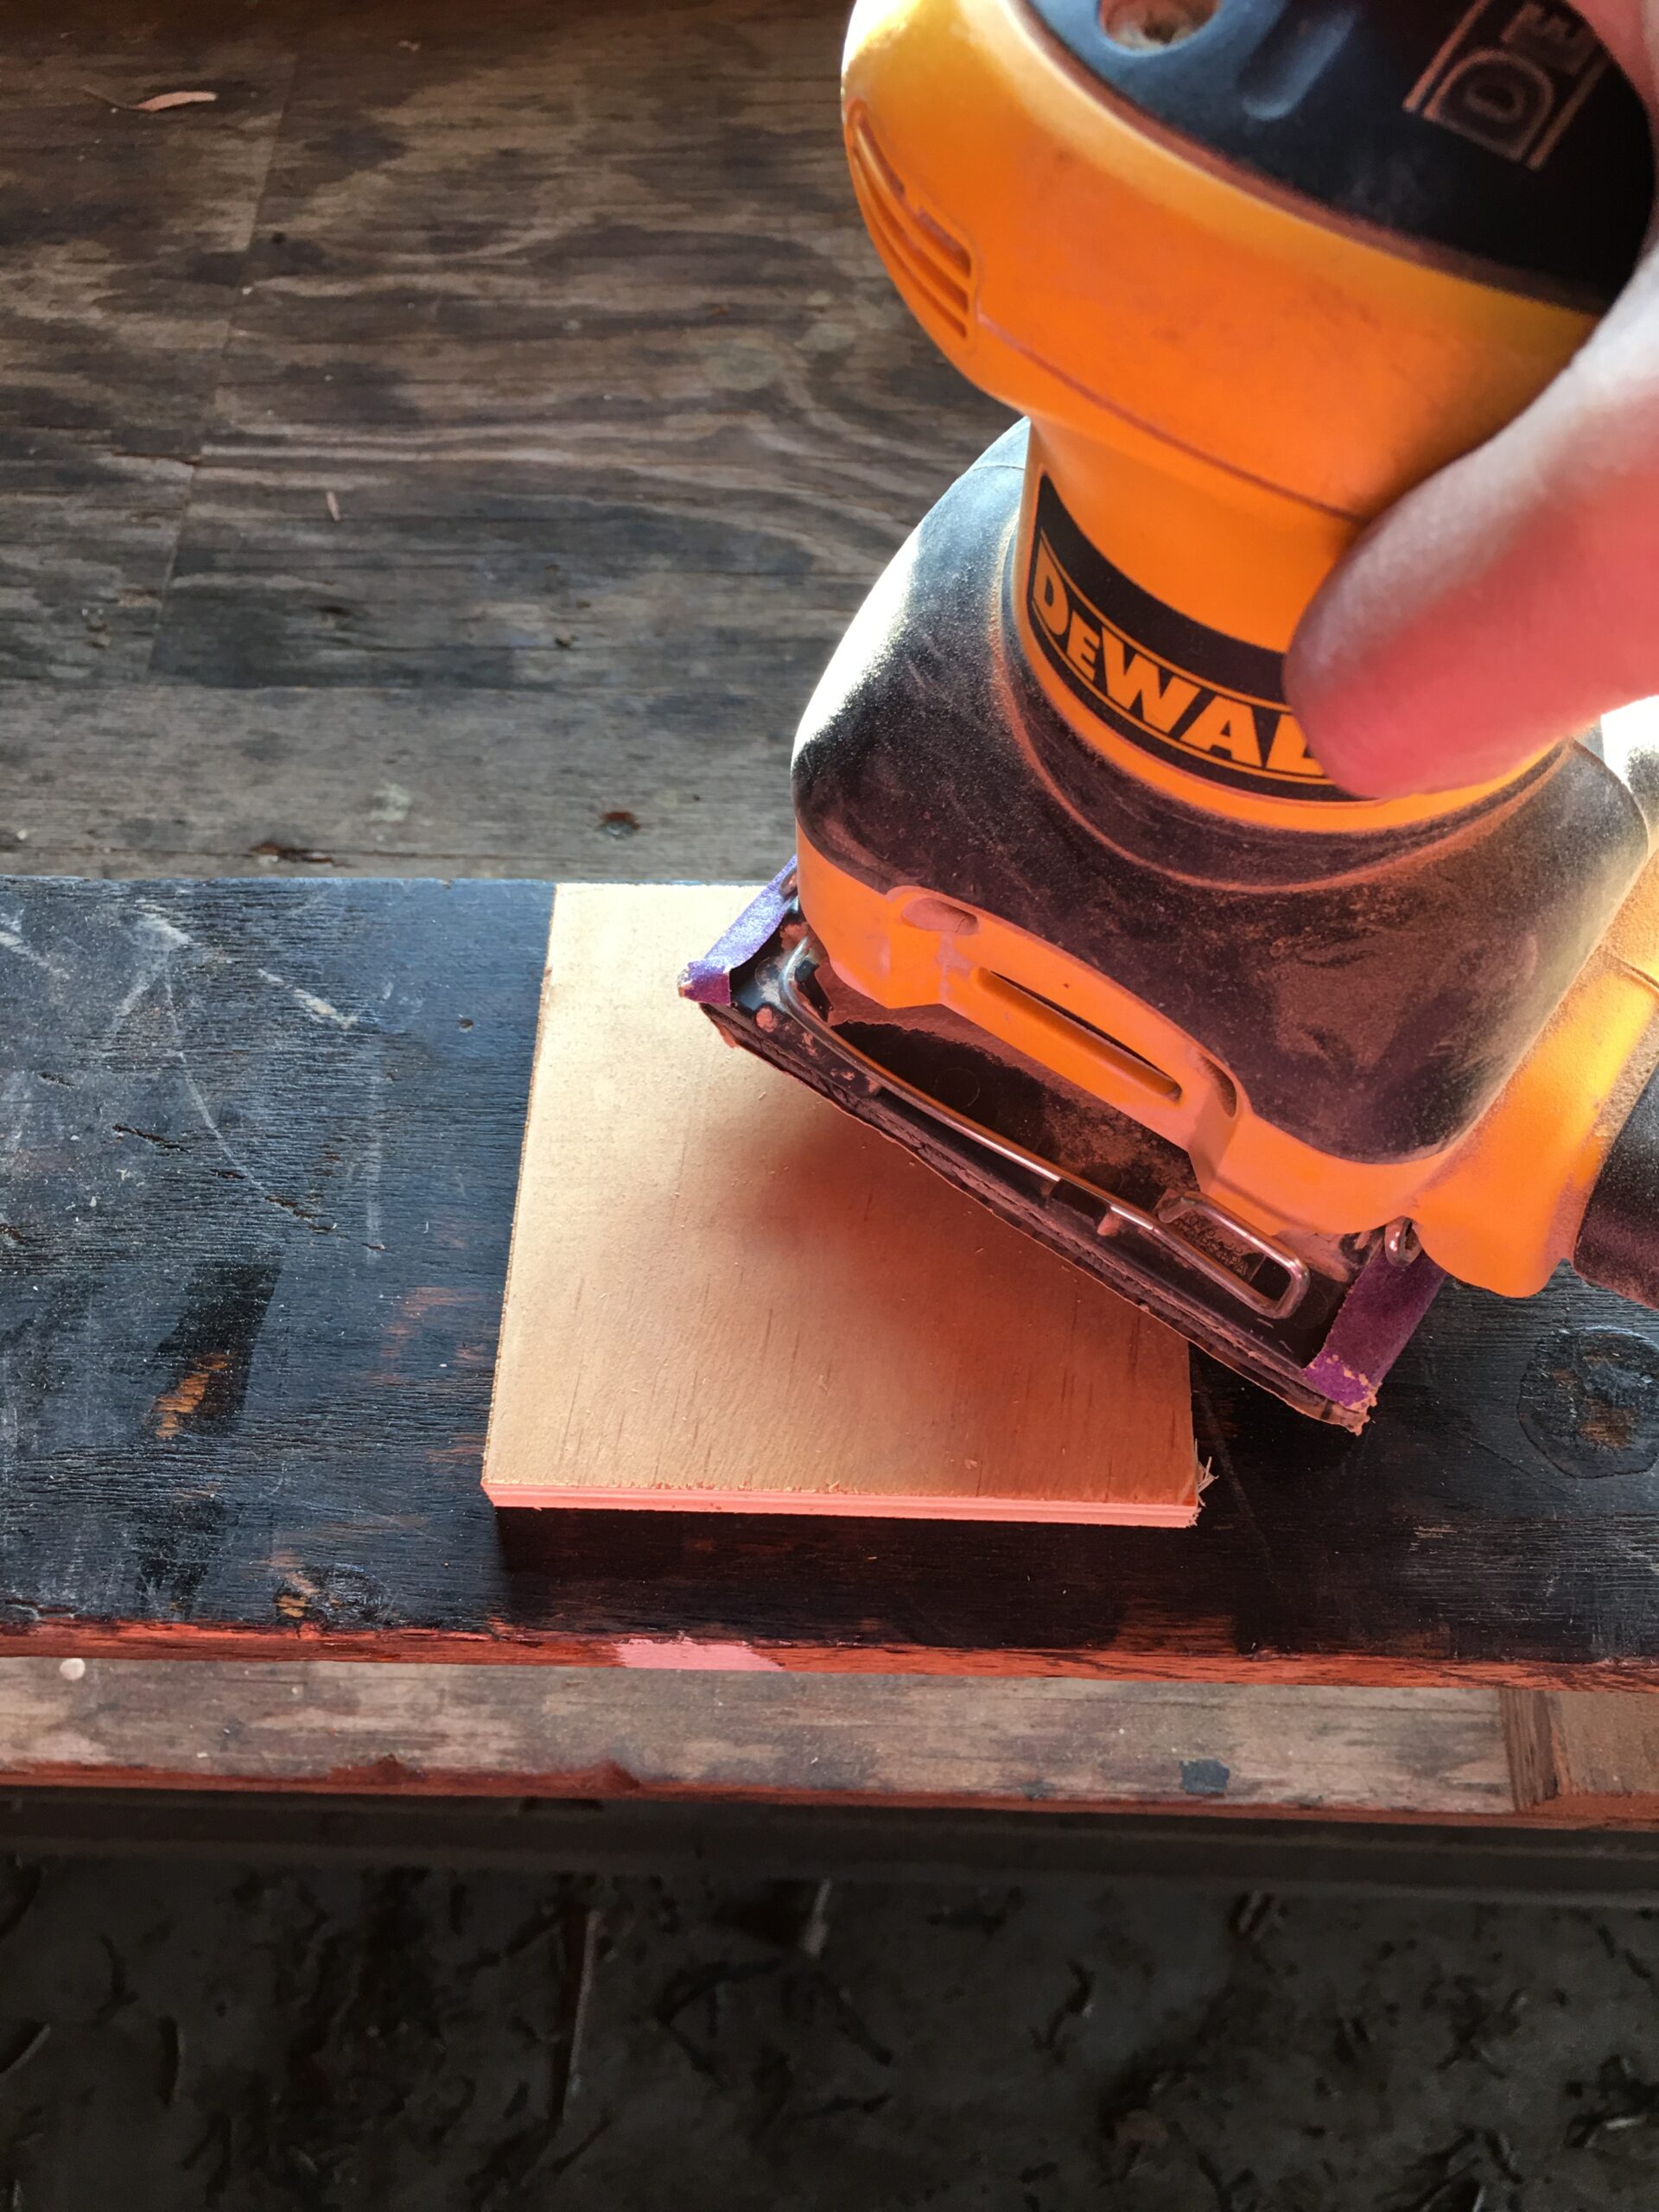
Make sure to steady the coaster with one hand while sanding with the other. Always remember, safety first!
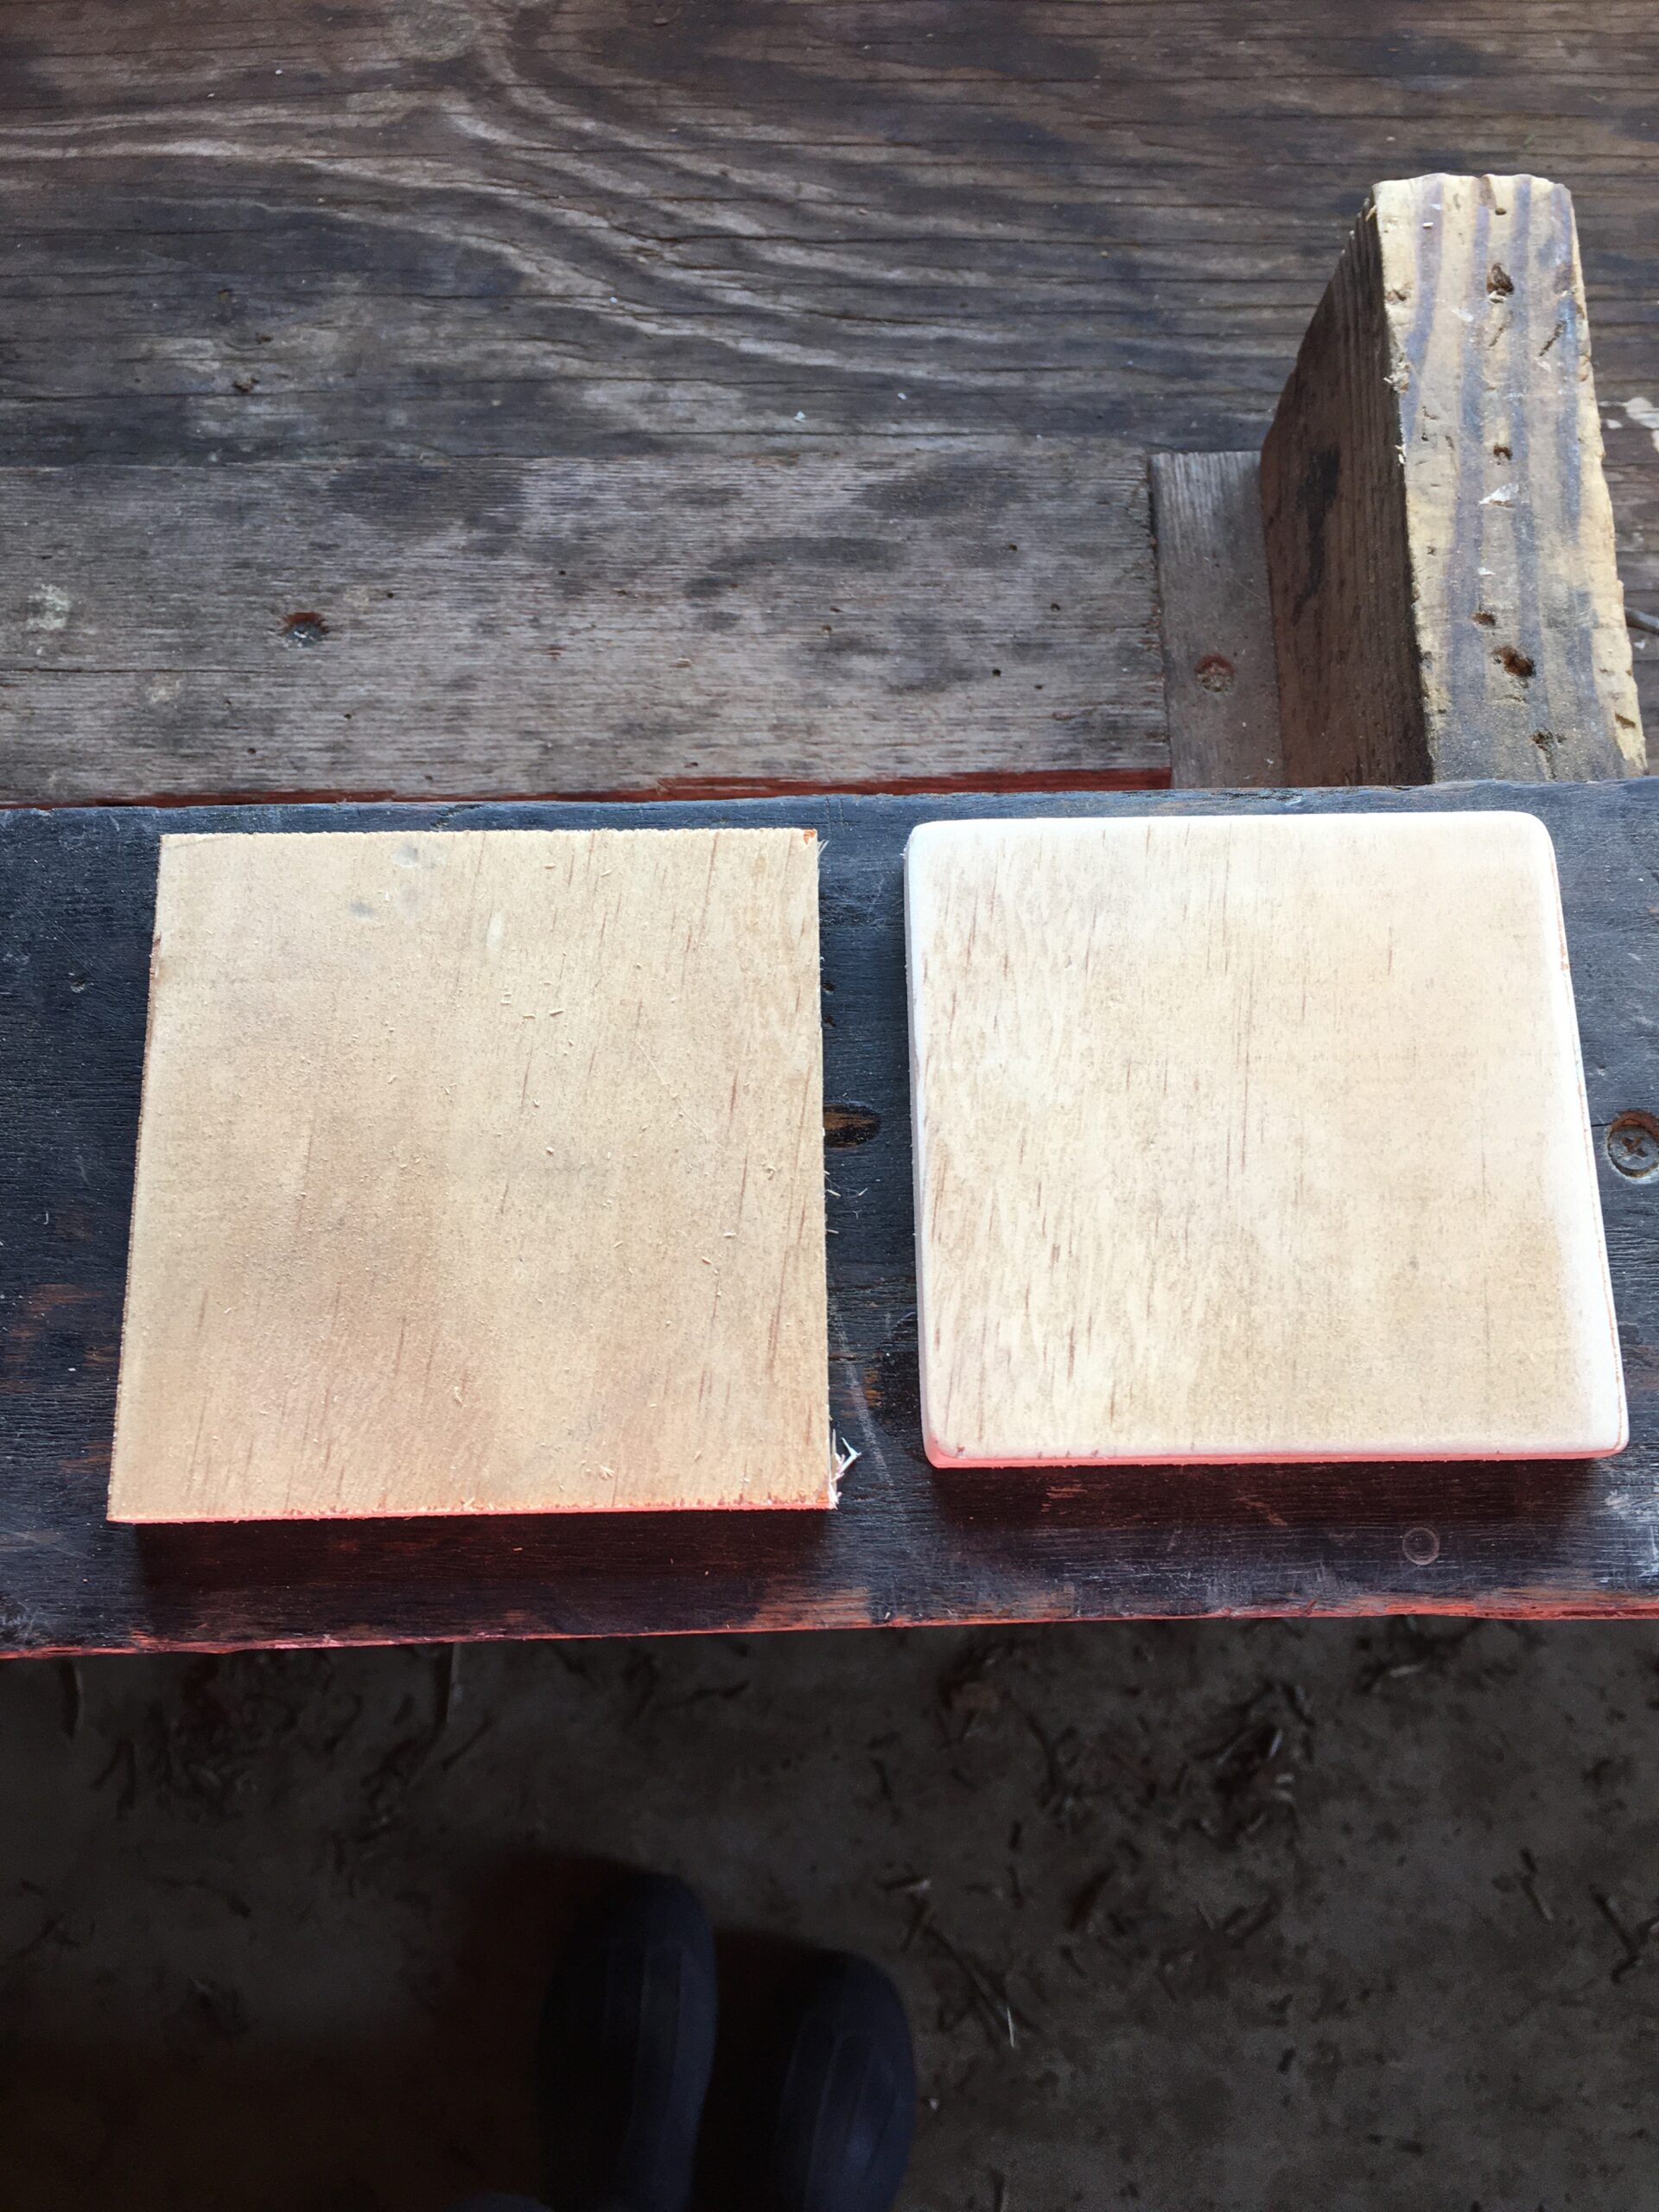
See the difference?
All ready for painting.
STEP FOUR
Prime your coaster with your base coat of paint. Any craft or left over paint will do. I dug into our craft painting supplies and found this “linen” color from an old dollhouse project. Take our miniature farmhouse tour here.
STEP FIVE
Draw your outline. In order to draw your pattern, you will need to divide your squares into smaller grids with a ruler and pencil. If you use the patterns previously mentioned, all you need to do is divide your coasters into columns, then quadrants. Depending on which pattern you choose, you will be measuring equal columns into halves, thirds, or fourths as shown below. While working your way clockwise around the face of your square, you will draw diagonal lines (from corner to corner) to cut your smaller squares into half or quarters. Repeat the process until you have achieved the desired pattern.

The best part about these handmade coasters are that they don’t have to be perfect to still be charming!
BONUS TIP
If you are using more than one color combination, before you start painting in the lines, lightly make a small dot with a pencil on the areas that will be one color and a small X on the areas that will be your complimentary color. This helps to avoid any mistakes on mixing up the color placement.

STEP SIX
Paint your patterns with whatever color combinations you like. Allow paint to dry completely and then follow up with a coat or two (allow to dry before adding another coat) of your favorite clear coat product. Or use a natural wax to polish and protect from water damage. After your coasters have fully dried, add felt pads on the bottom side and your handmade coasters are ready for their new homes.
NOTE:
You can use painter’s tape to make your lines straighter, but for the amount of coasters I was making, it would have taken way too long to tape each coaster. So, I opted for the more rustic and handmade look. (wink)
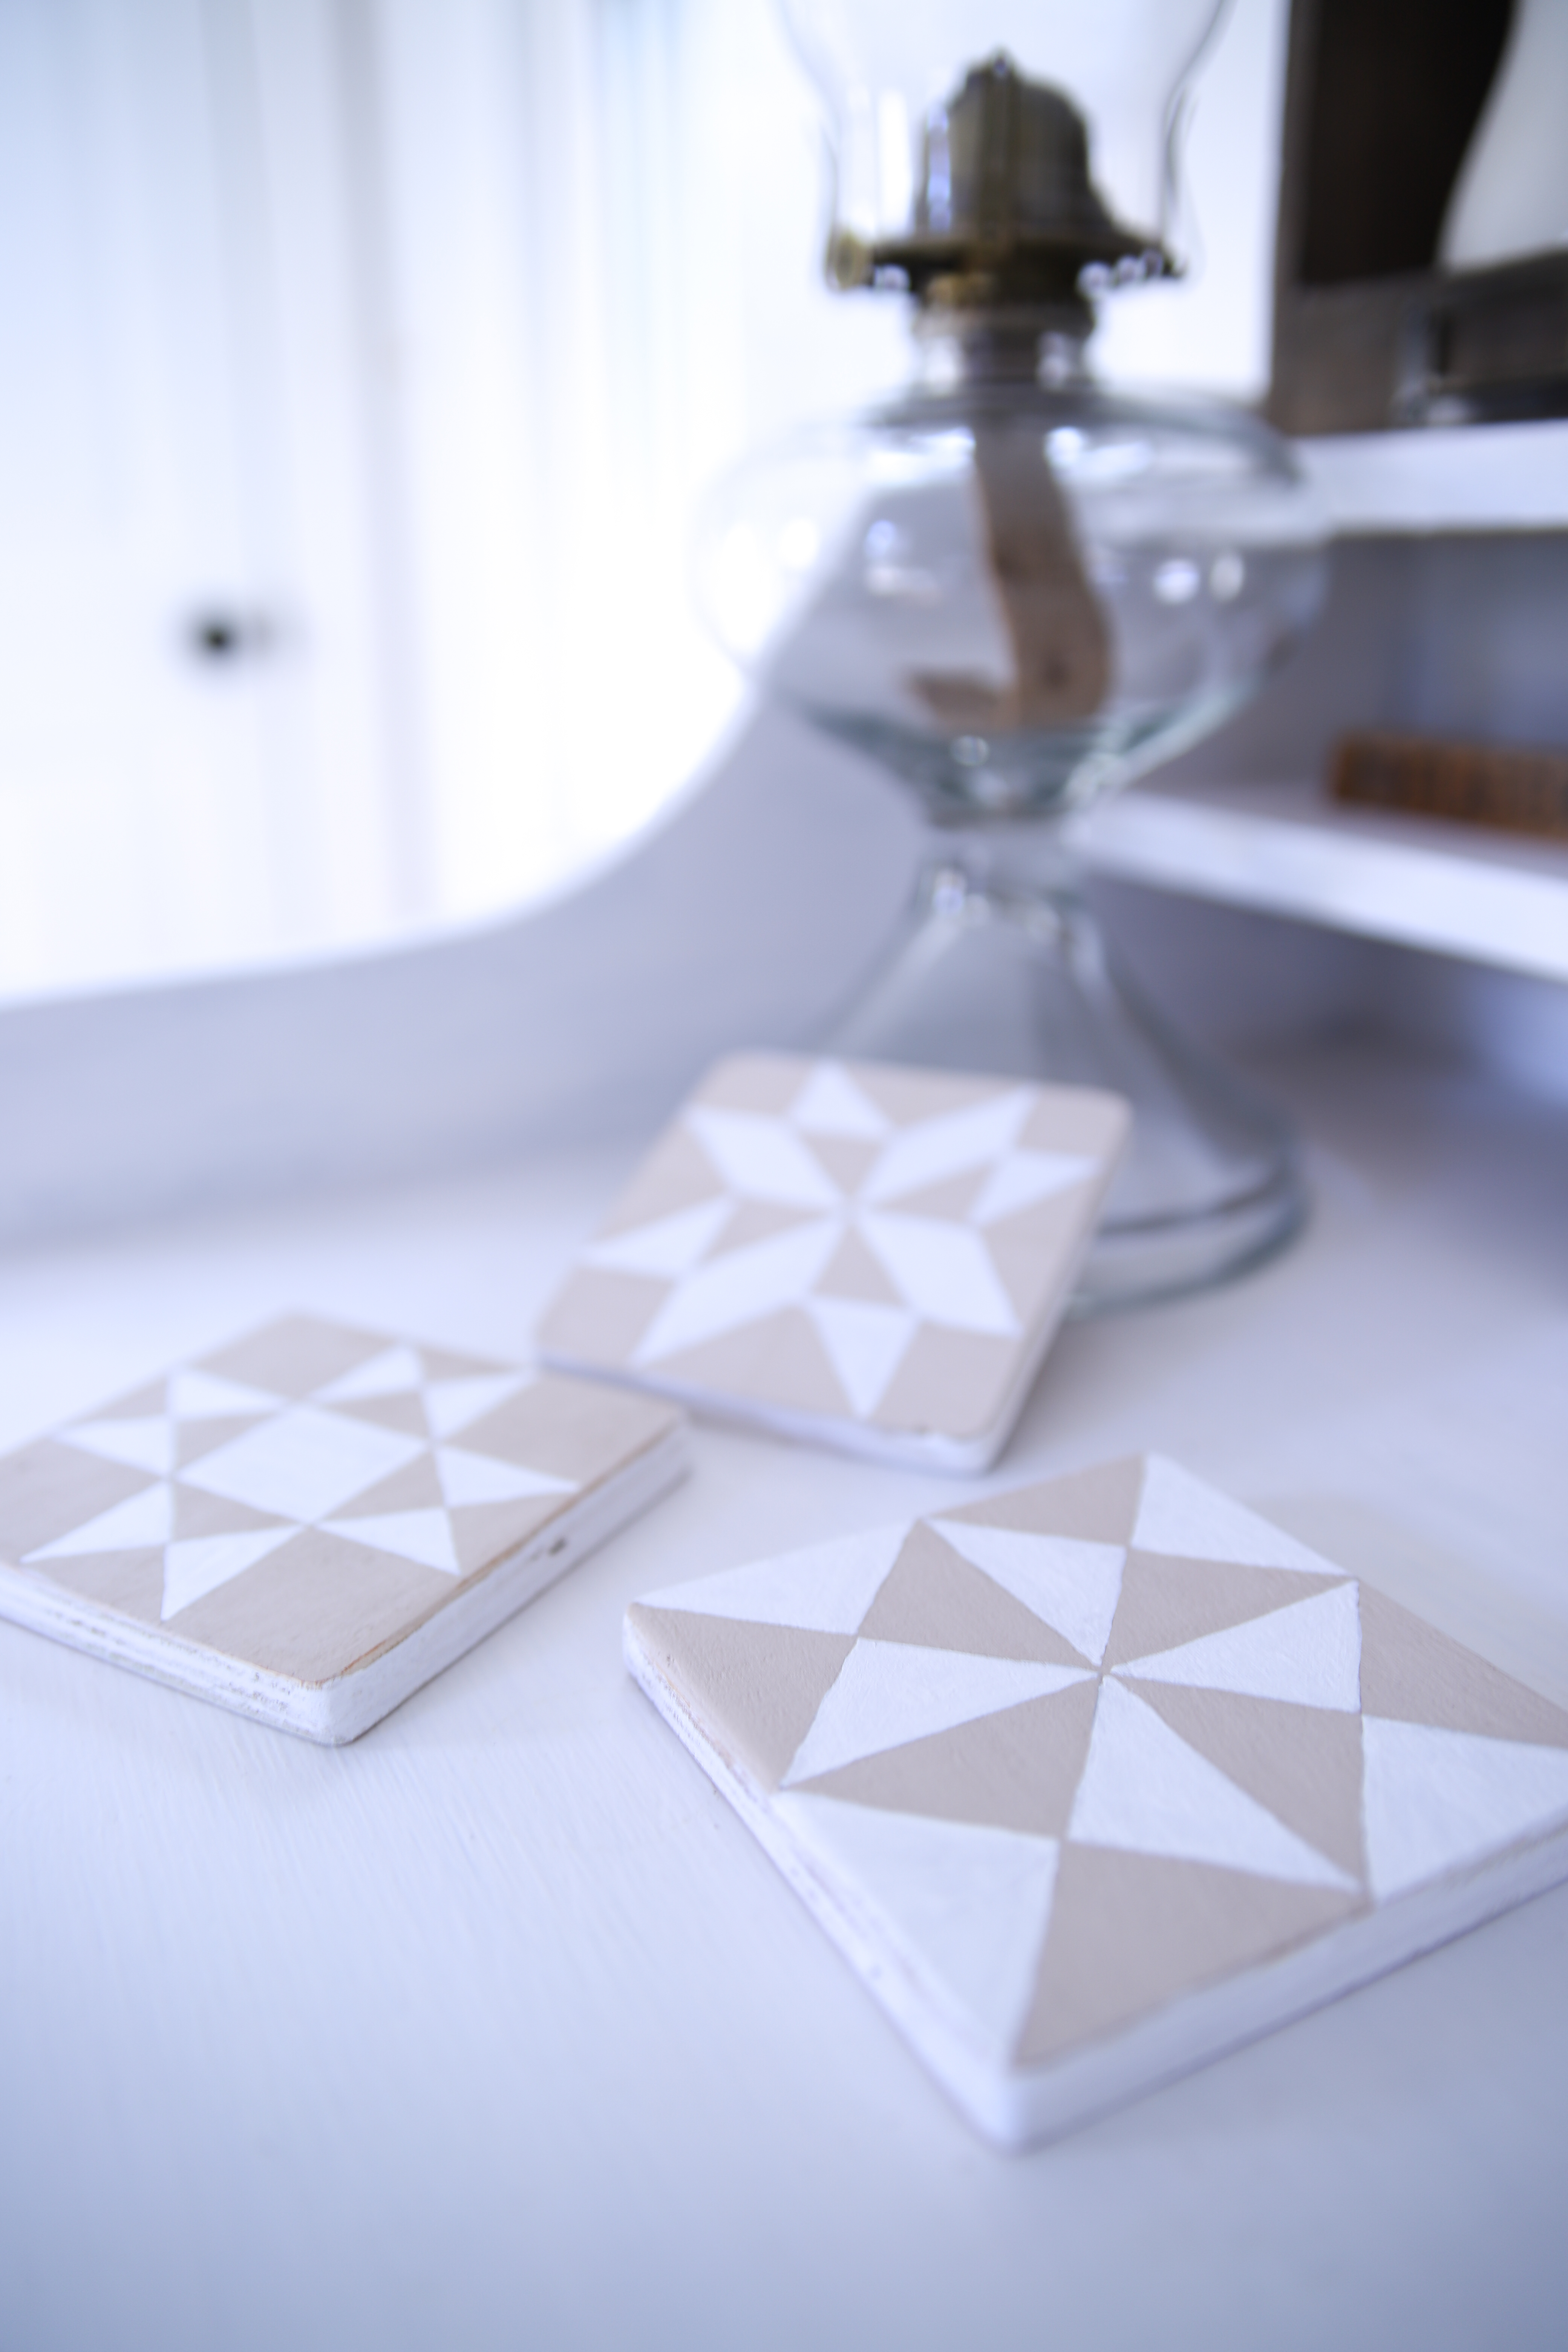
These simple DiY barn quilt coasters are so much fun to make & I love how practical they are! Everyone can use a coaster or two! These make great gifts during the holidays or just to say, “Thank you” to someone special. Their rustic charm makes for a great conversation starter and if you are a DiYer like we are, you probably already have everything you need to get started.
IF YOU LIKED THIS POST, YOU MAY FIND THESE BARN QUILT MAKING TIPS HELPFUL…
3 SIMPLE TIPS ON HOW TO CREATE A DIY BARN QUILT AT HOME


Leave a Reply