
“Stepping Stones” made by my friend, Katie at BakerNest.com
I’ve been wanting to make my own barn quilts for some time now, but every time I did a search online, I always came up short. I did find some tutorials out there, but they were never about any of the more advanced patterns that I wanted to add to our simple farmhouse decor. That is, until my talented and sweet IG friend, Katie at BakerNest.com reached out and invited me to give her simple pattern books a try. Hello! She didn’t have to ask me twice!
I was able to meet Katie in person last year at our friend Kim’s (City Farmhouse) Vintage Pop Up Sale at the Factory in Franklin. She was as sweet in person as she is on IG. If you haven’t checked out her page or her website, I hope you do. You will love her!
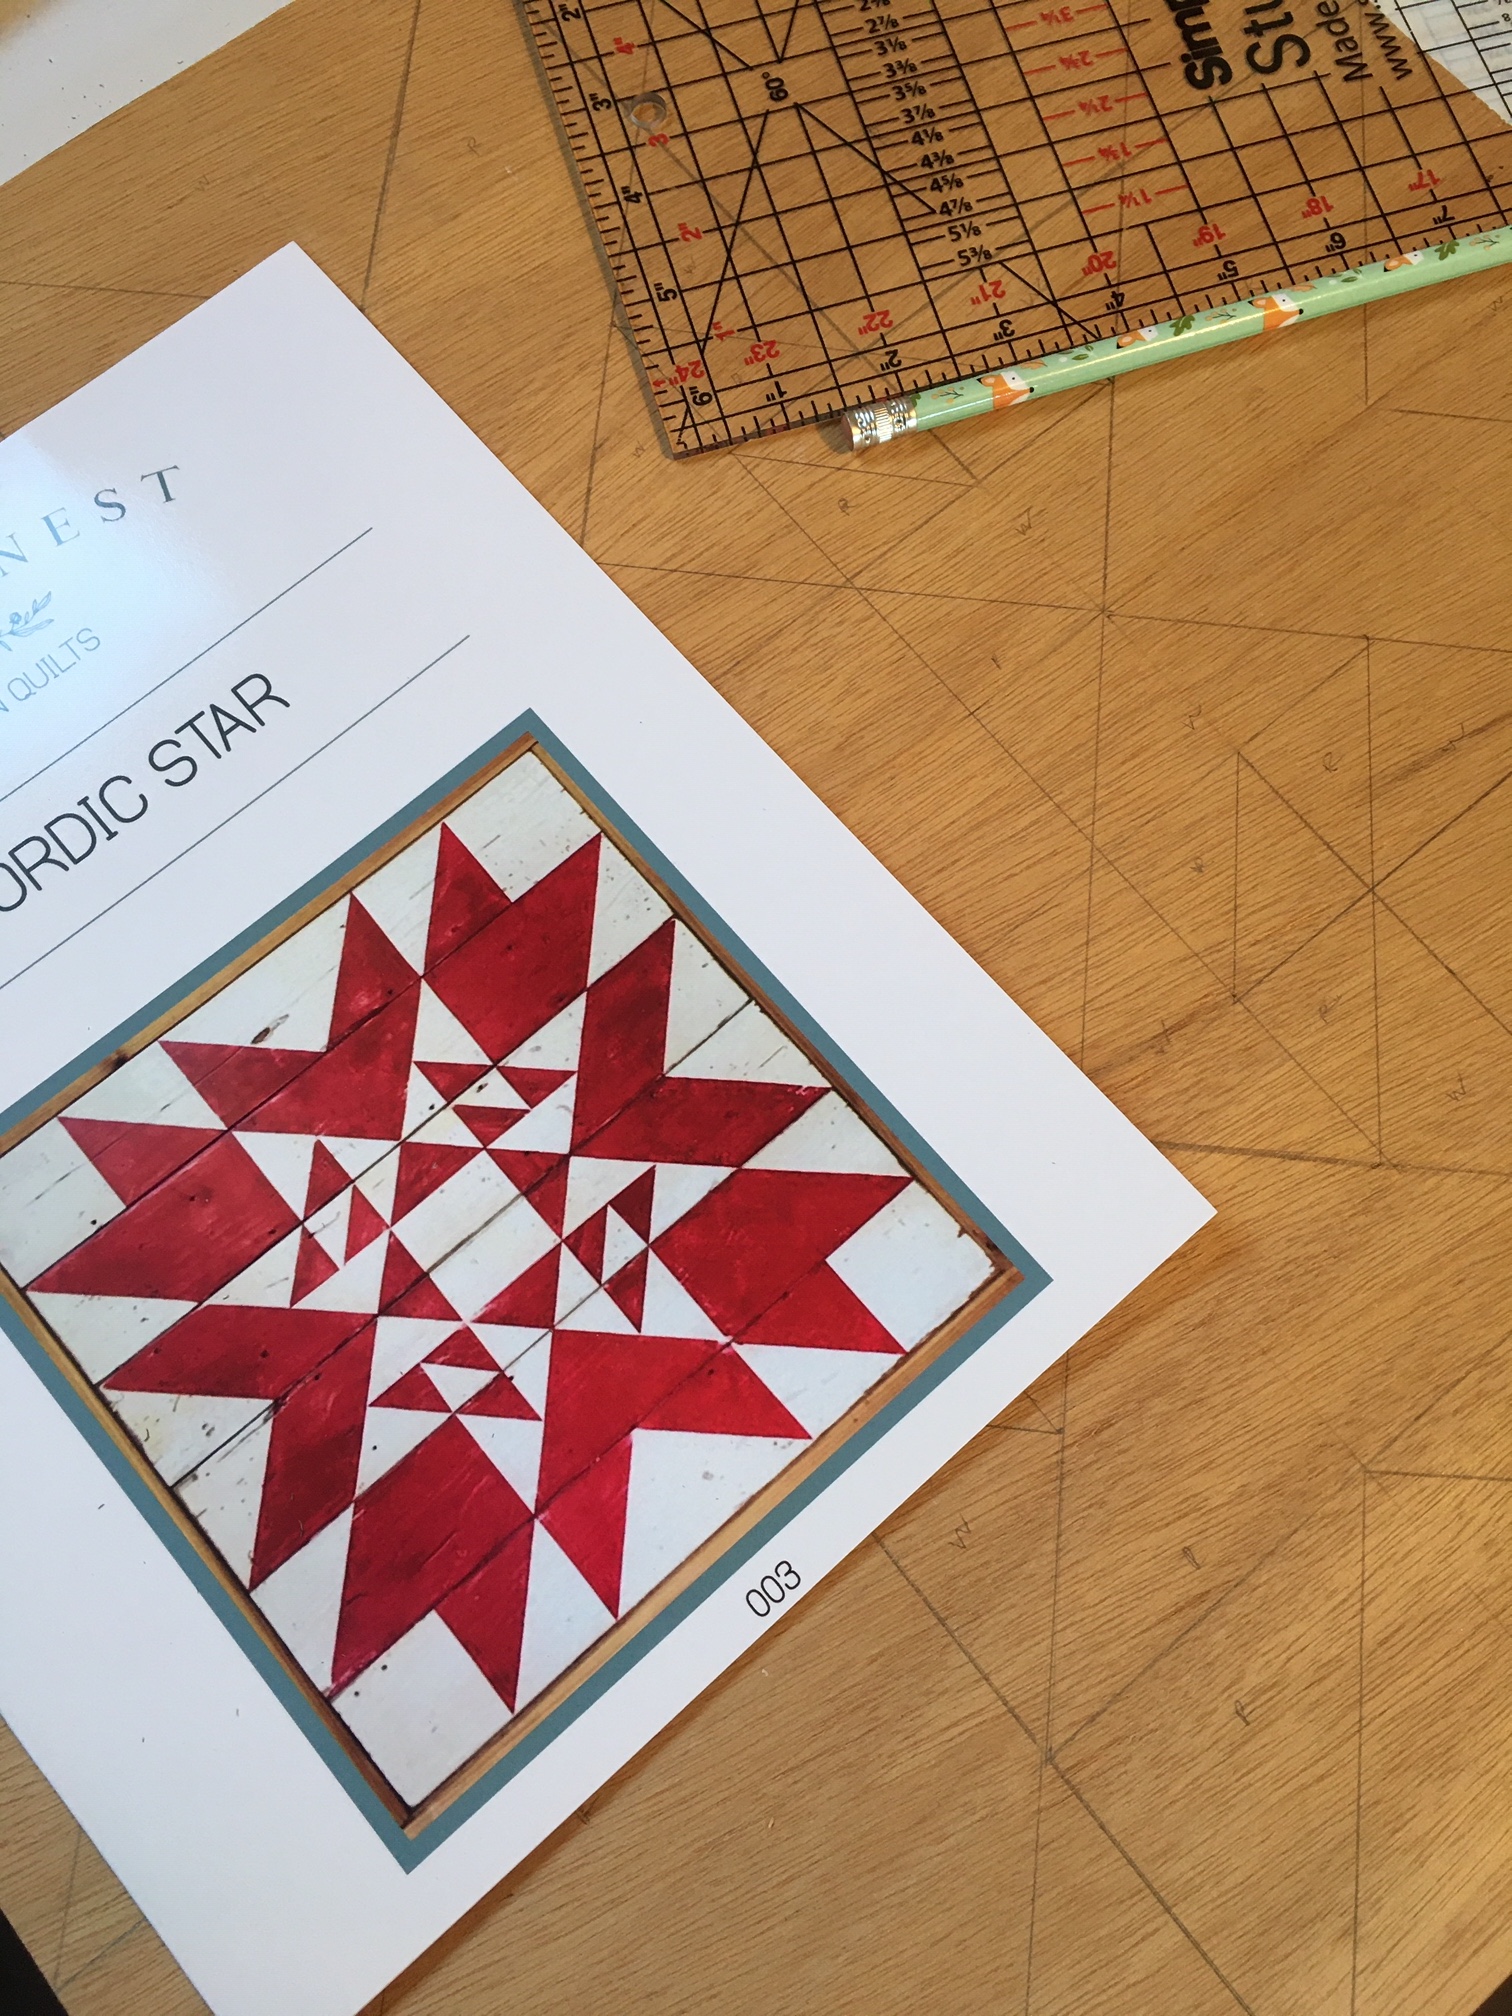
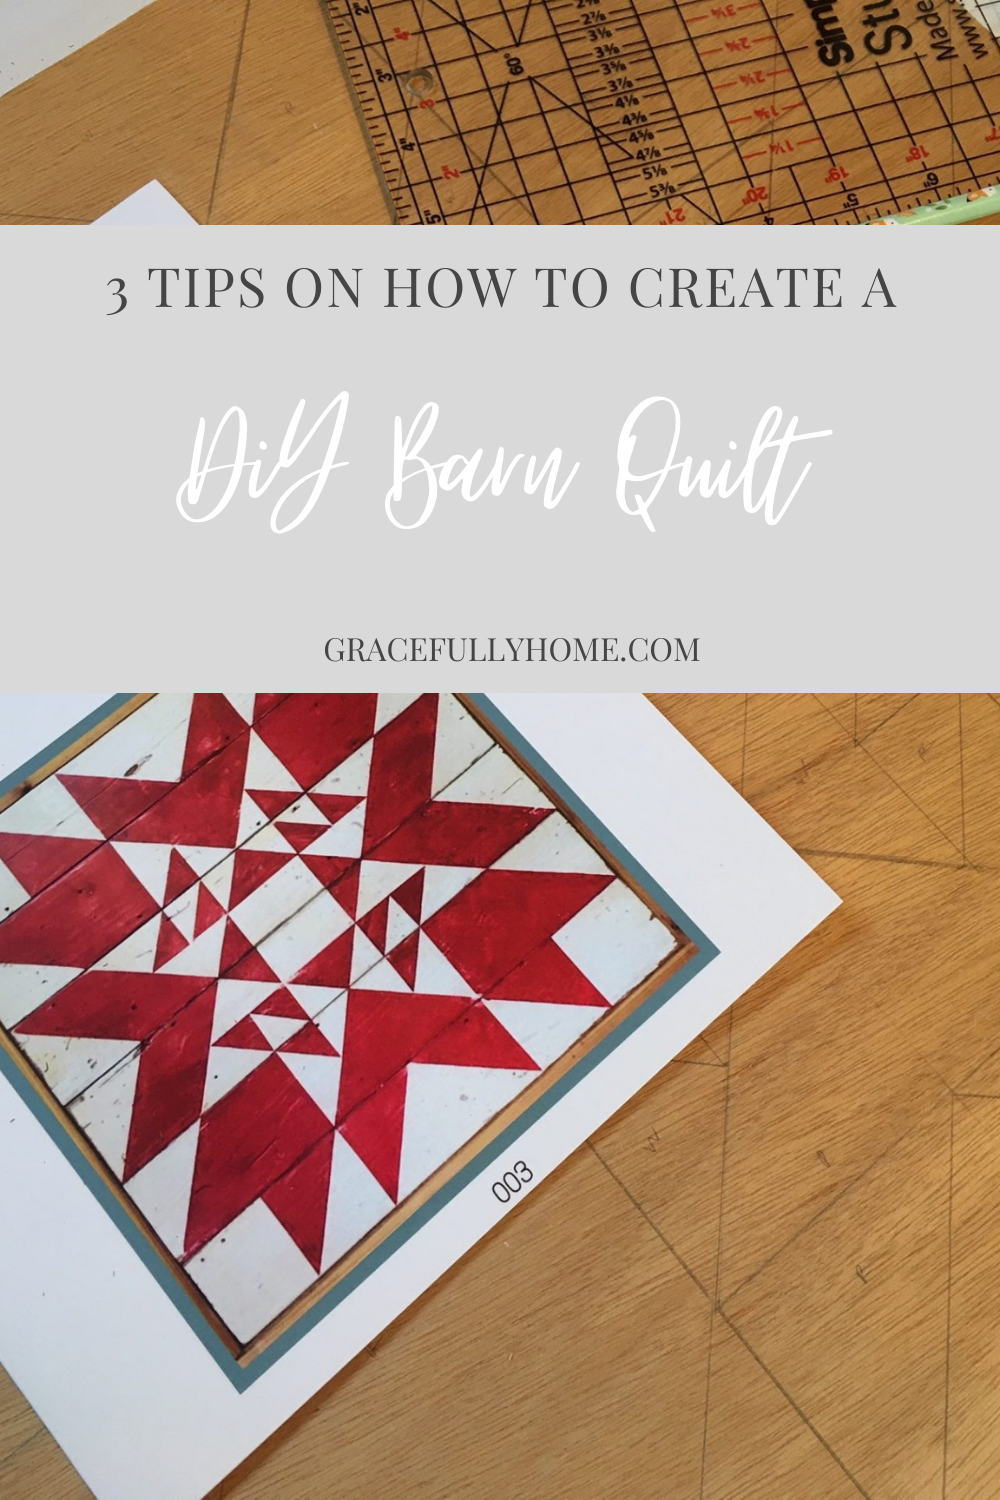
“Nordic Star” by BakerNest.com
Katie shared with me that she also had trouble finding comprehensive barn quilt patterns on line. So, she decided to create some pattern books of her own to help teach others how to make these beautiful barn quilts at home. Her booklets are affordable and the tutorials are easy to follow along. She also offers in-person workshops in her local area.
When you first decide to give one of these handmade beauties a try at home, it can be a little intimidating. Especially if you try to start off with one of the more challenging ones. I recommend starting with one of the easier patterns, so that you can slowly get more confident with the painting techniques and strokes. Once you do a little trial and error, you will discover which brushes to use and which not to use. You’ll discover when to tape and when not to.

I used the paint we already had to create the “Nordic Star” barn quilt.
HERE ARE THE SUPPLIES I USED FOR THIS SIMPLE DIY PROJECT
- Quality paint brushes
- Square wooden piece of wood with a smooth surface (I used scrap plywood)
- Frog painter’s tape (thin width)
- Glass of water
- Wet paper towels or rag
- Scrap Wood
- Quilter’s clear ruler or regular ruler
- Pencil with eraser
- Hairdryer

Because this piece was my first larger project, I tried different techniques to see which one worked best for me.
HERE ARE 3 SIMPLE TIPS THAT I FOUND HELPFUL WHEN I FIRST STARTED MAKING MY OWN DIY BARN QUILTS AT HOME…
1. READ THROUGH DIRECTIONS SEVERAL TIMES BEFORE GETTING STARTED.
Whether you use my friend Katie’s pattern books or choose a pattern on line, you’ll want to make sure that you become familiar with the steps. Especially when making the grids. Drawing the grids are the most time consuming. Once you get the pattern laid out and drawn, painting is the fun part. I labeled the various quadrants with the first letter of the paint color to make it easier to decipher what color went where.

Cutting the frame pieces to nail on the edges for a more finished look.
2. USE PAINTER’S TAPE FOR A CLEANER LINE.
Frog tape comes in handy for painting walls and furniture, but it also does great on creating barn quilts. This process will take some patience. Especially depending on the complexity of the pattern you choose. Make sure your paint is dry enough to the touch before removing the painter’s tape.
PRACTICAL TIP:
If you’re nervous about your first piece, practice on a piece of scrap wood before starting the actual piece.

Measuring the frame pieces out and checking the thickness.
3. LET YOUR PAINT DRY THOROUGHLY BEFORE ADDING THE NEXT PAINT COLOR.
Katie recommends using a hair blow dryer to help with drying time. About 30 seconds should do the trick. She also recommends working from the center of the pattern and radiating outward. Working with one paint color at a time helps to simplify the process. It makes it go a lot faster because you are not having to stop and start mid project.
HERE ARE SOME OF MY OTHER FAVORITE PATTERNS FROM BAKERNEST.COM
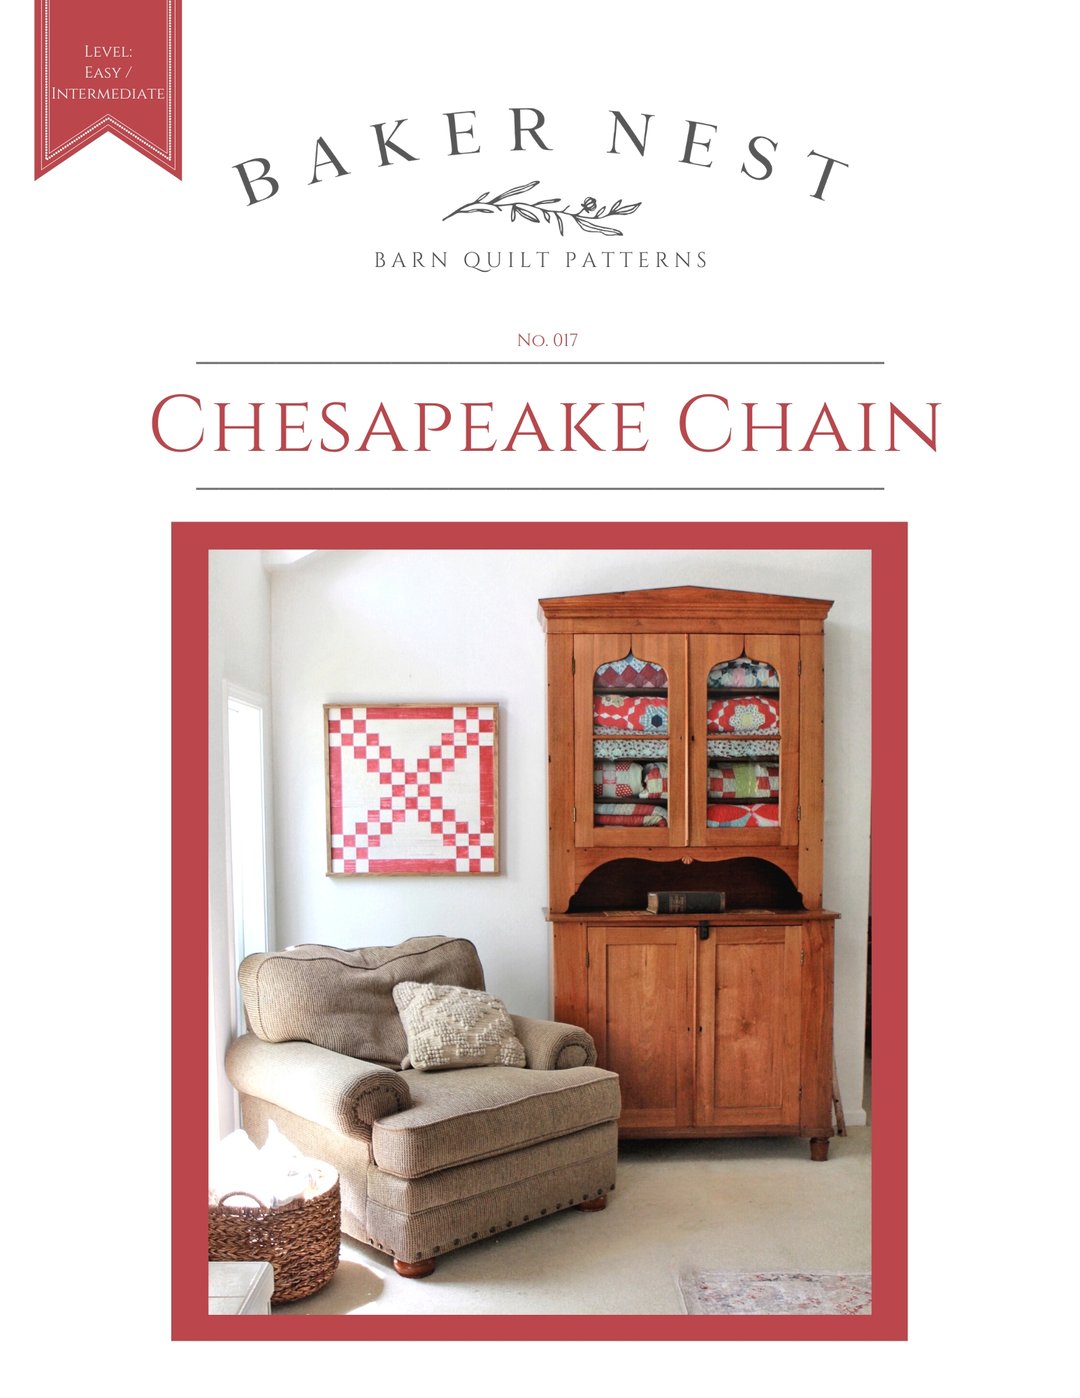
This gorgeous “Chesapeake Chain” pattern is part of Katie’s American Coastal collection.
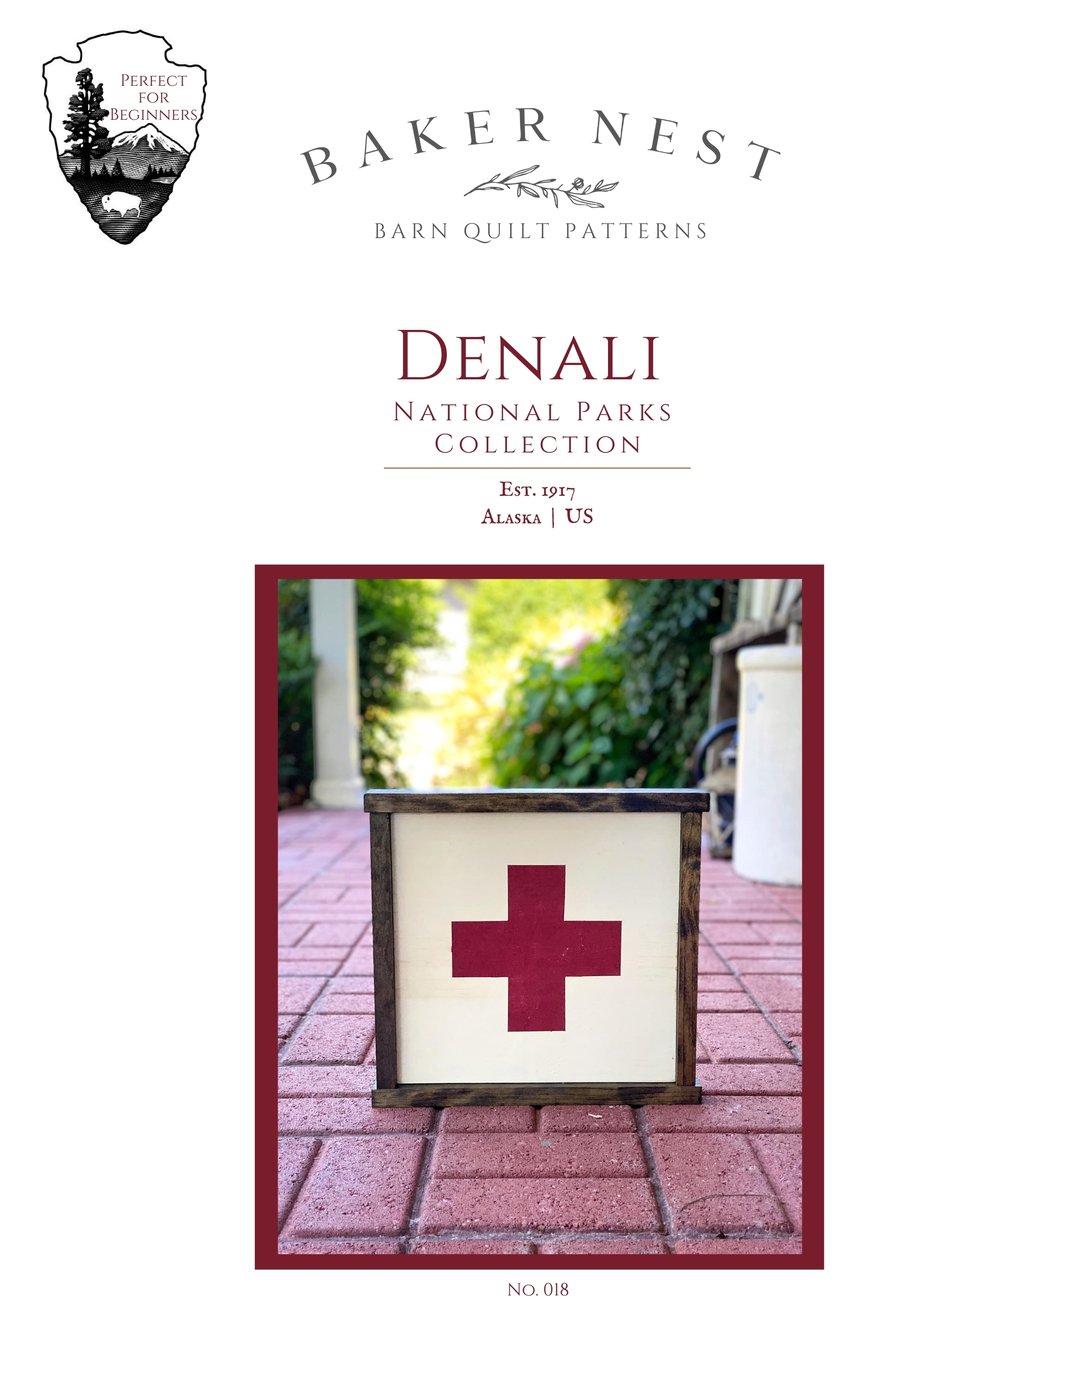
This “Denali” is part of Katie’s National Park Collection.

This 1781 Cowpens Flag is Katie’s “Limited Edition” pattern and is made to order.

I love the way it turned out!
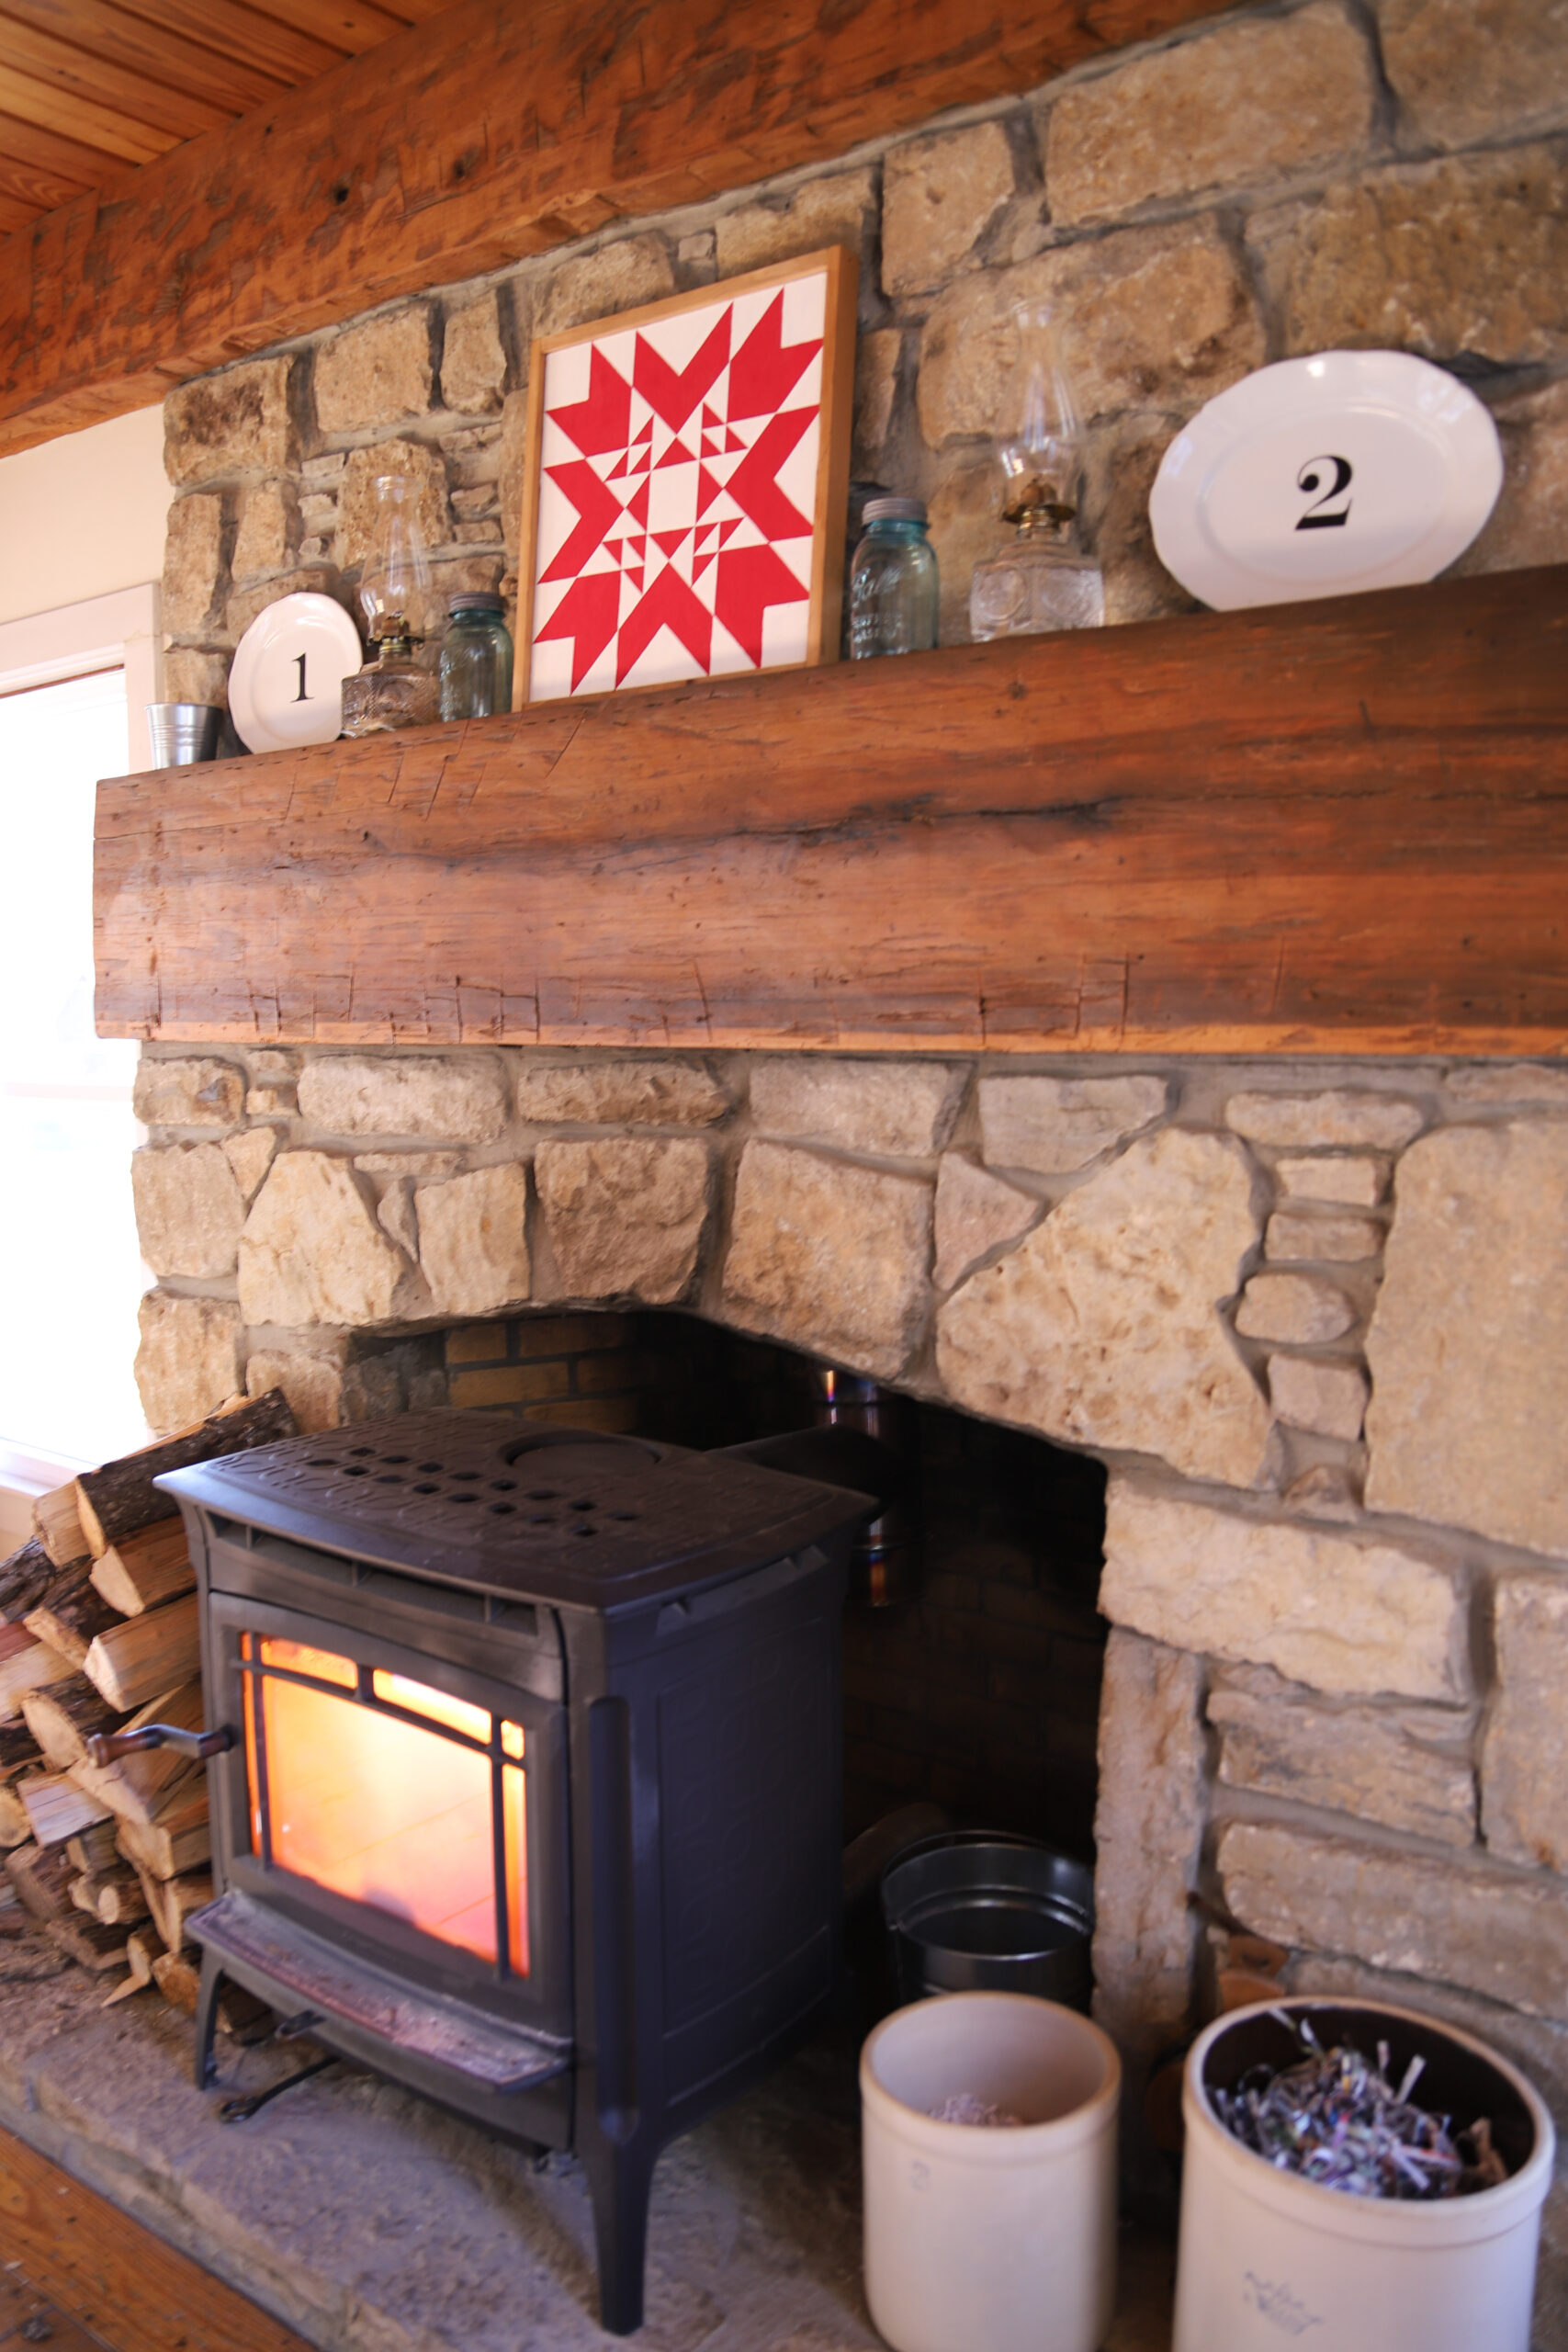
I used a butt joint to nail in the wooden strips to provide a simple frame around the sides, to finish off the piece.
This is one of those DiY projects that you must let go of perfection and just have fun! I have found the whole process extremely therapeutic. To shop Katie’s shop, head over to her website here.
Once you get started, you will see just how enjoyable this DiY project really is and you will be creating your own patterns in no time. I hope you’ll give them a try!


Leave a Reply