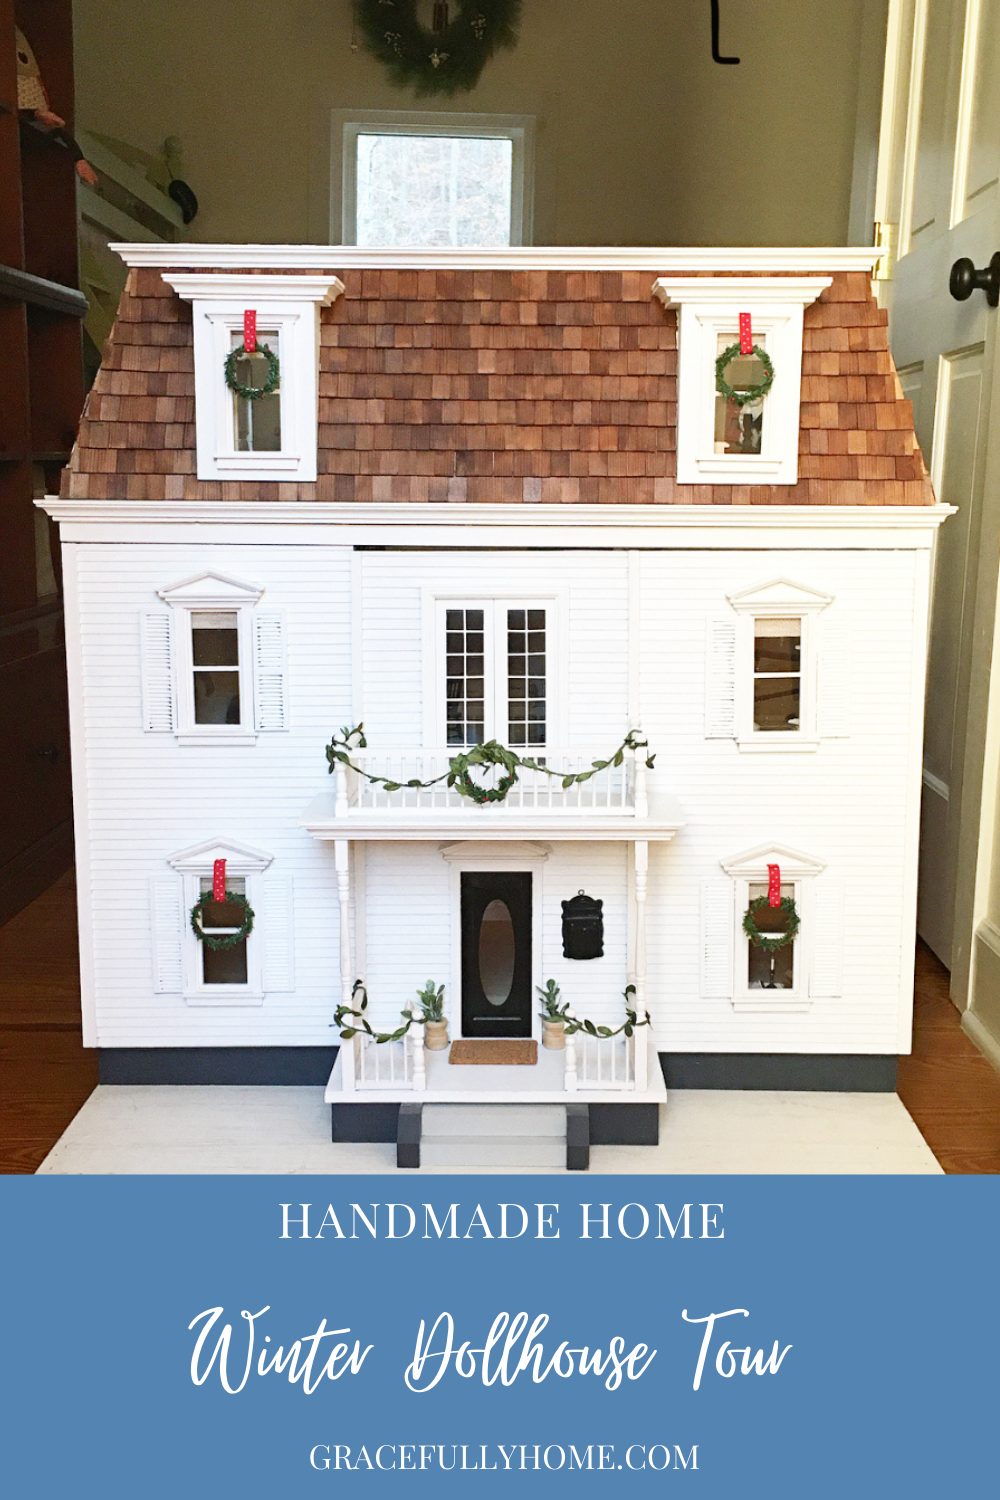
Join me on this mini winter dollhouse tour as I share some updates on this special handmade dollhouse. See the process of how we turned a plain outdated Craigslist dollhouse find into our little girls’ dream dollhouse here.
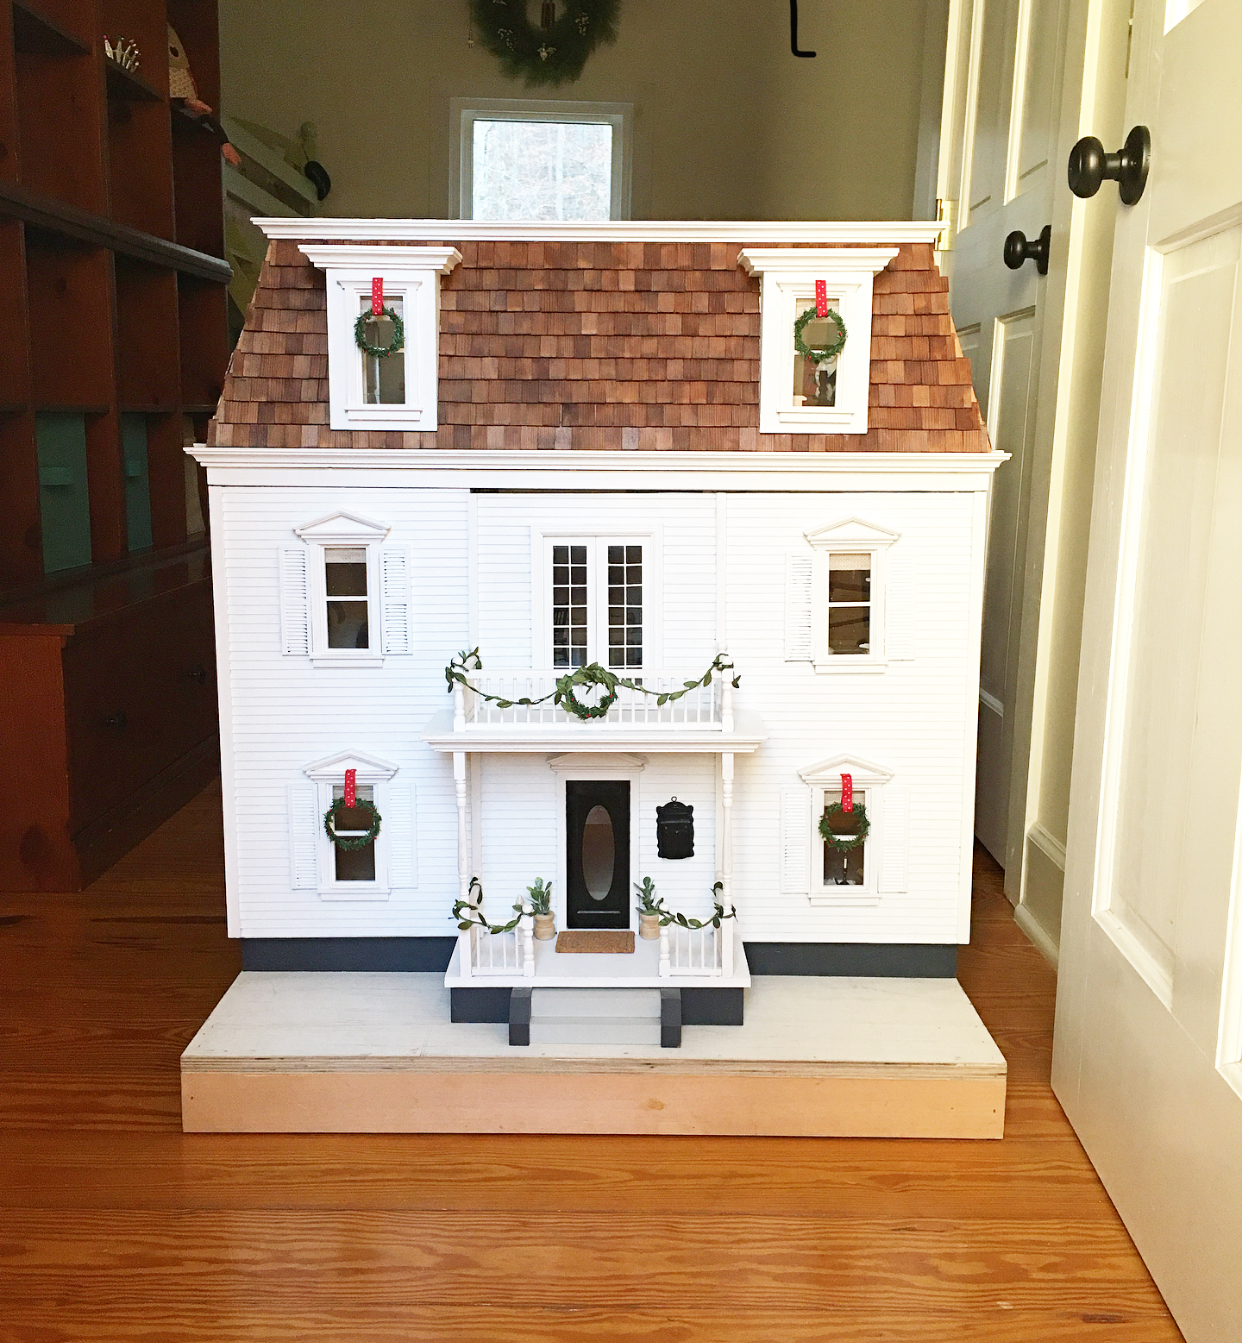
This dollhouse has a special place in my heart because it not only fulfilled our little ones’ dollhouse dreams, but also my own. I had so much fun renovating this diamond in the rough! It was well worth the wait and time to make it just right for its’ tiny residents.
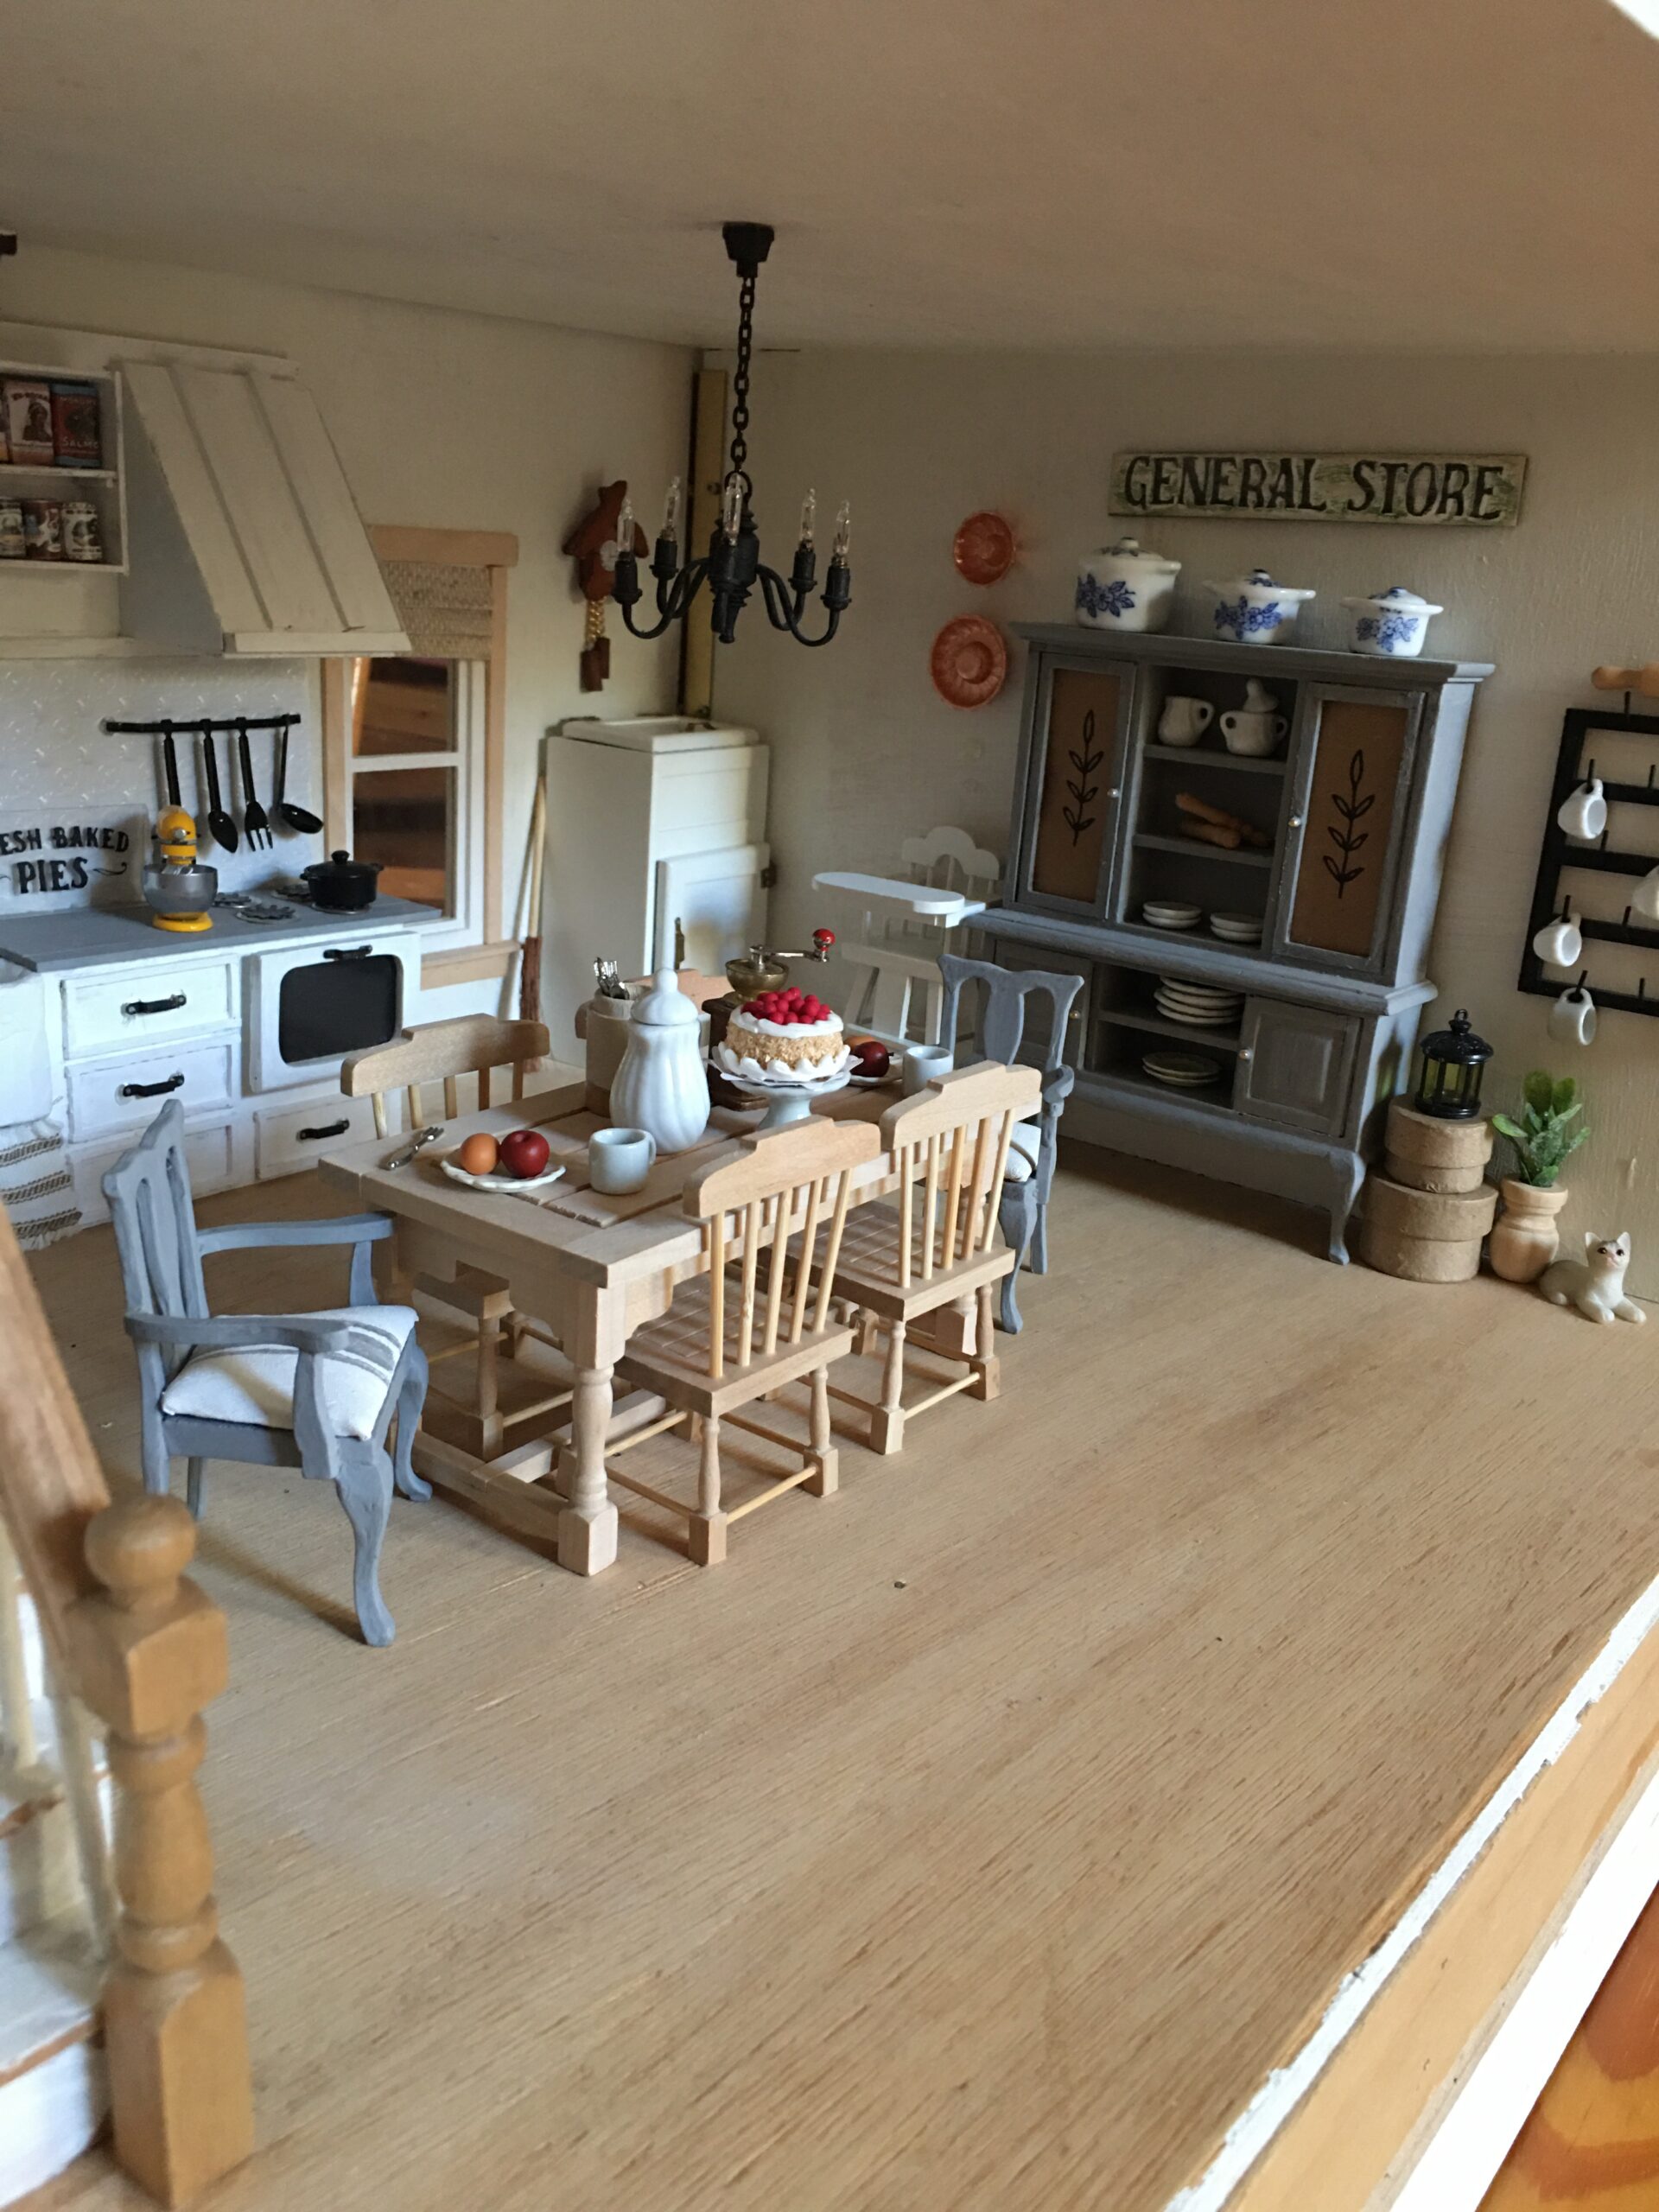
We love cooking up pretend meals and hosting BIG parties in this custom farmhouse kitchen. I kept this room pretty much the same as last year. I opted out of adding fresh greenery this year to cut down on the dried pieces all over the floors. Simple always wins out!
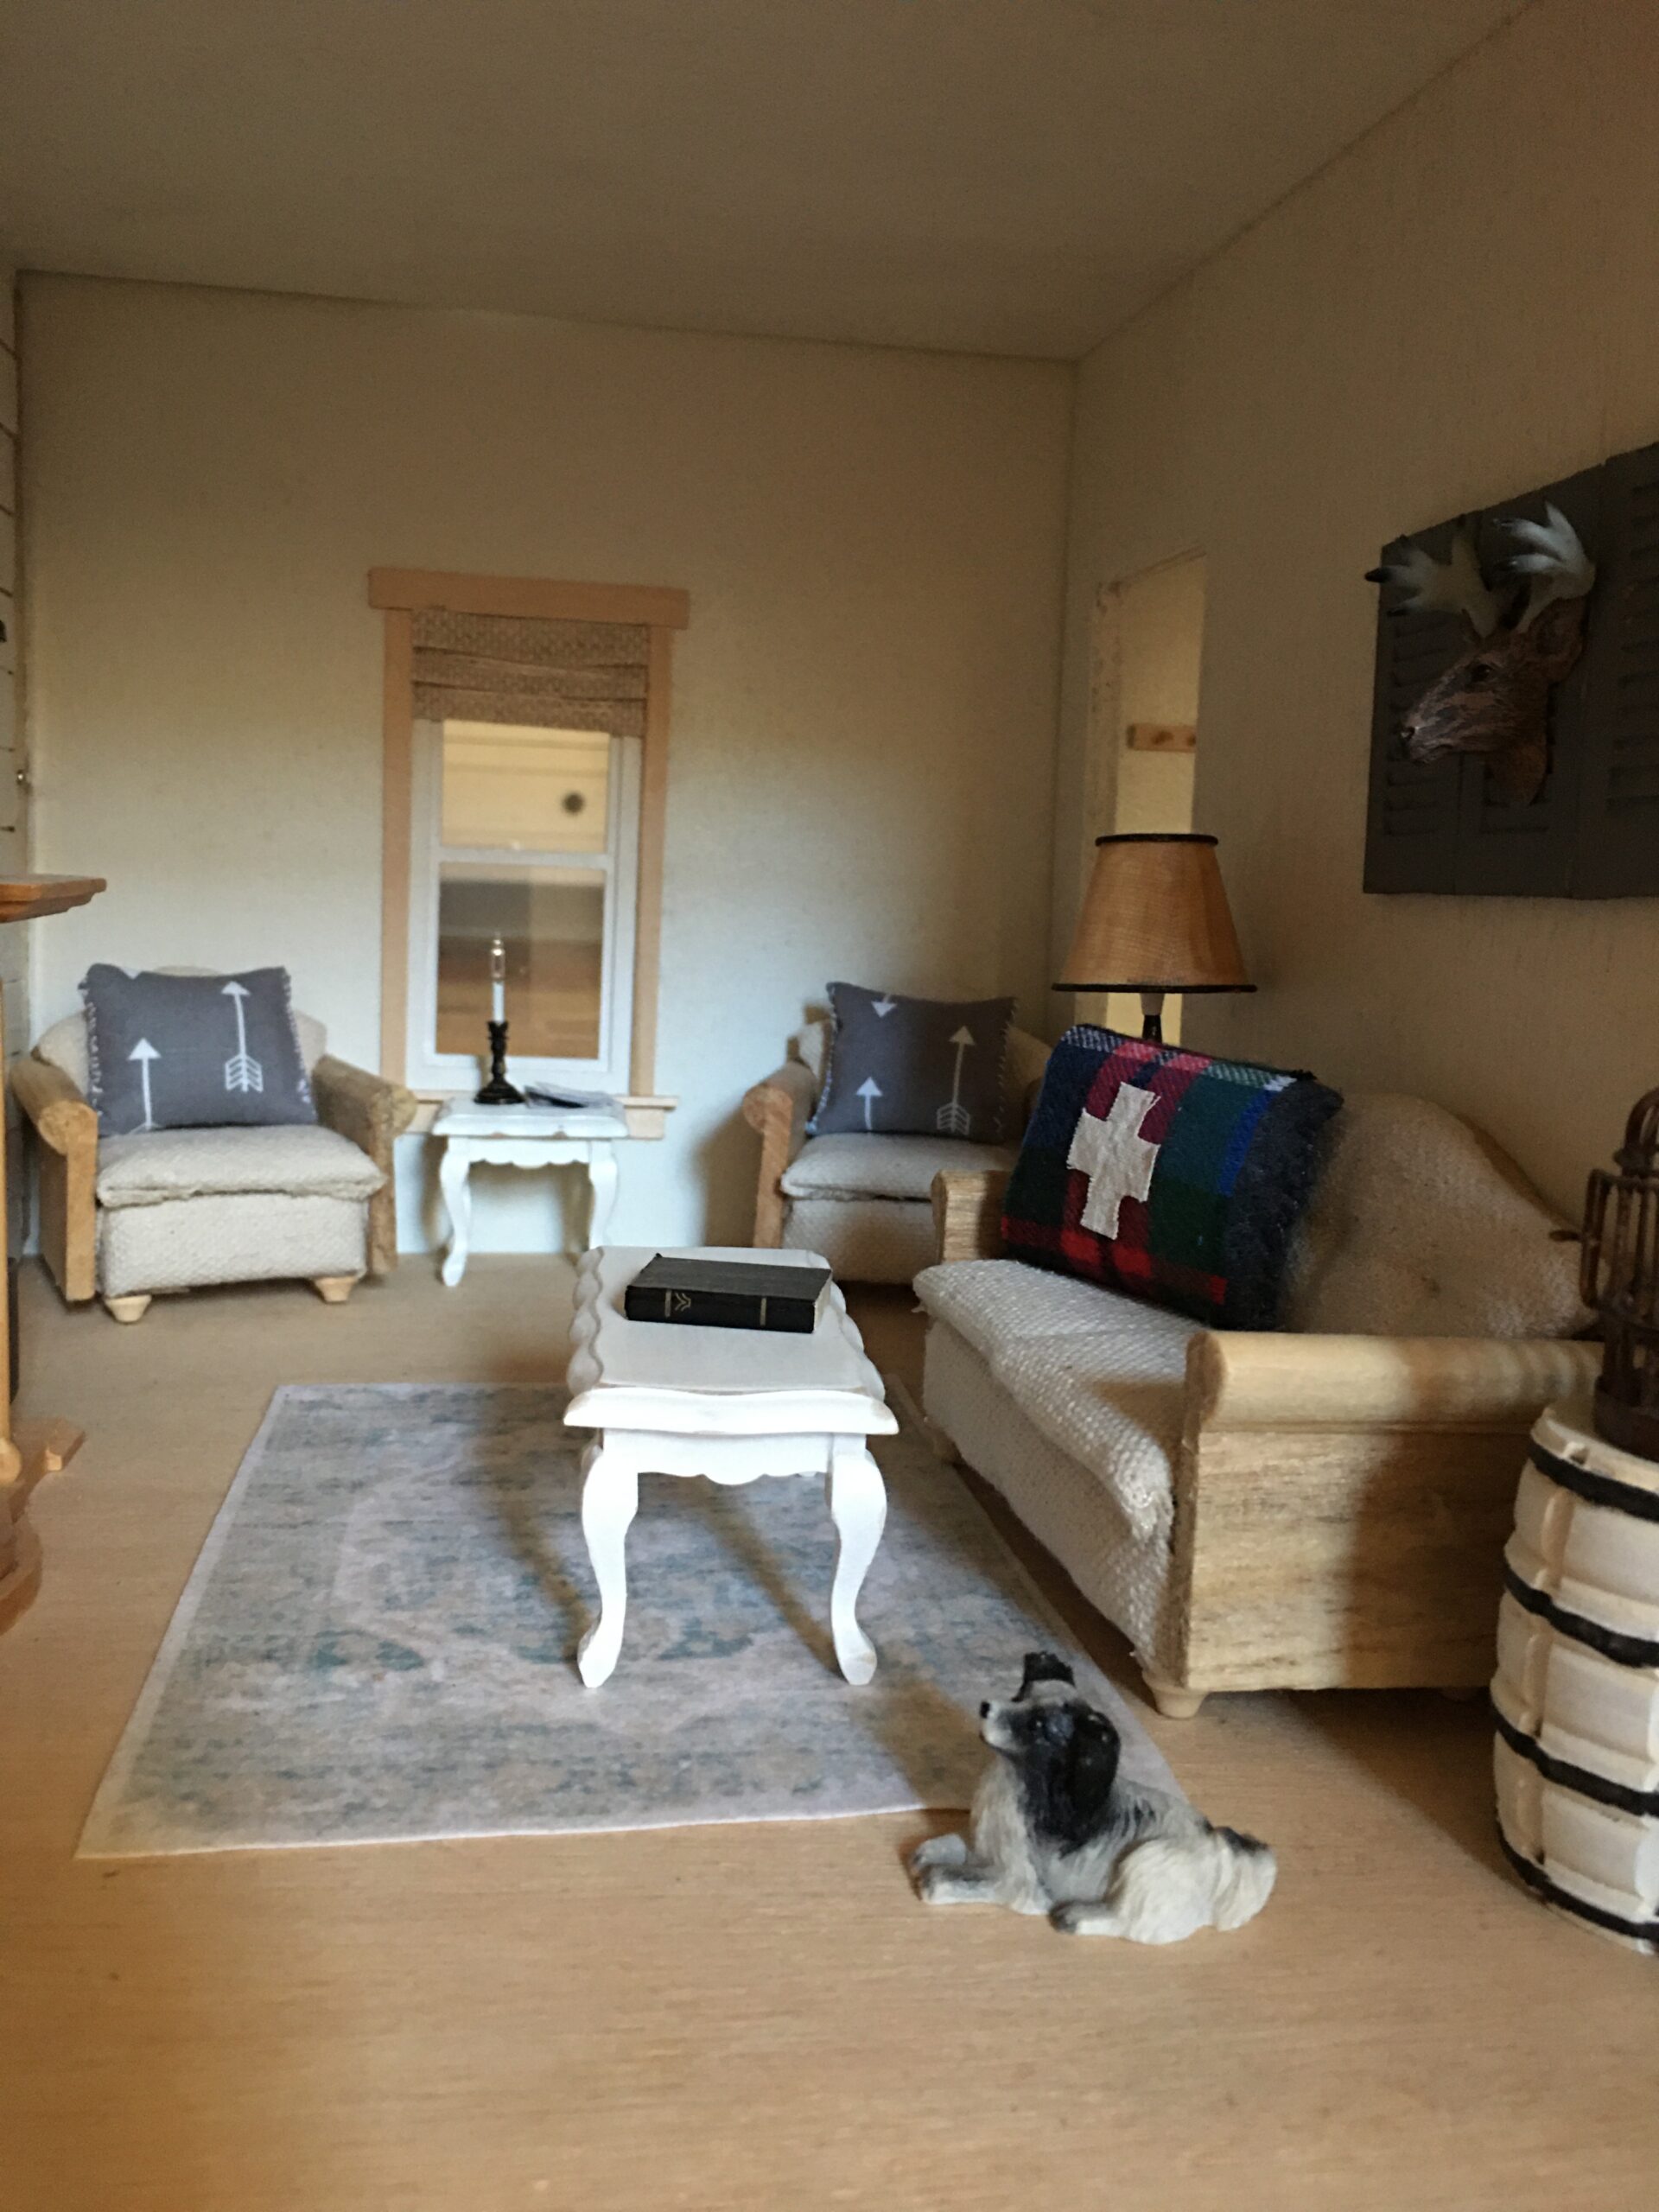
In the living room, I added a throw pillow sleeve from left over fabric I had from my simple DiY tartan pillow slipcover here. We placed a tree in the corner with tiny packages, a sleigh, and some dollhouse toys for the holidays, but forgot to take a picture before the clouds rolled in.
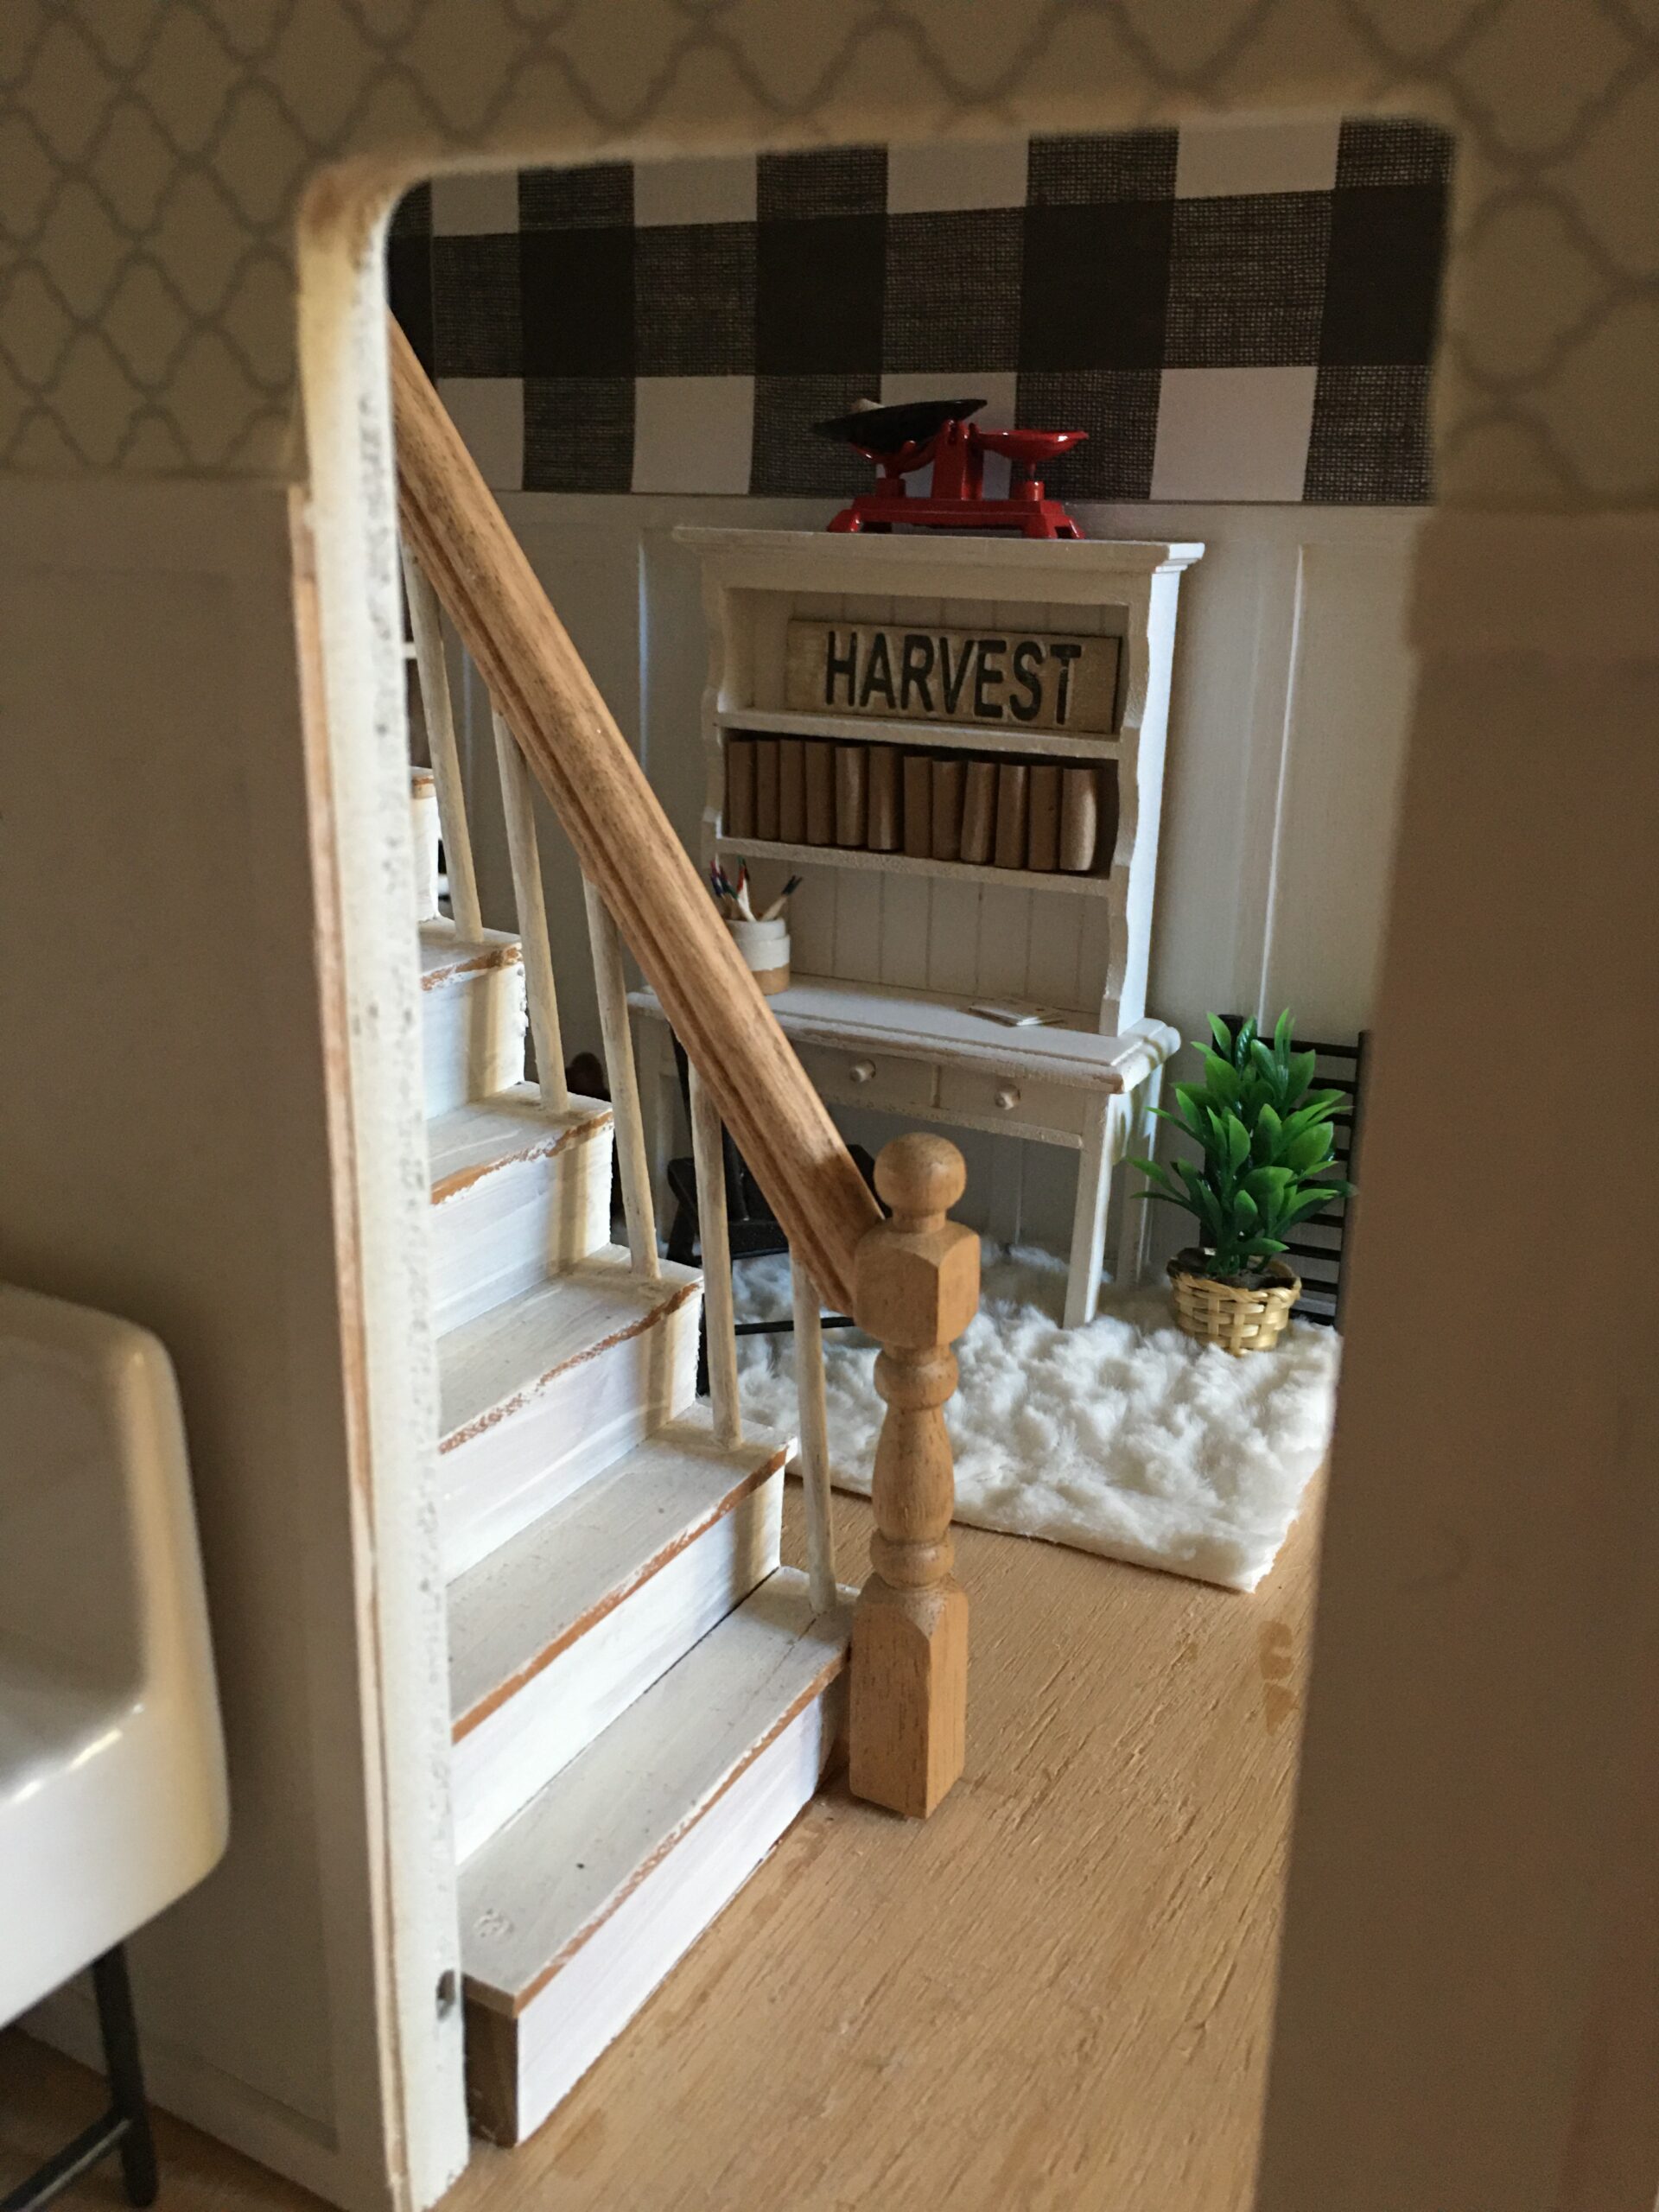
The office view didn’t change much from when I first completed the dollhouse renovation last year. I did have to do a little maintenance on some of the wallpaper and decor on the walls. I was glad they were only minor fixes! Sure wish I could say that about our real farmhouse! (smile)
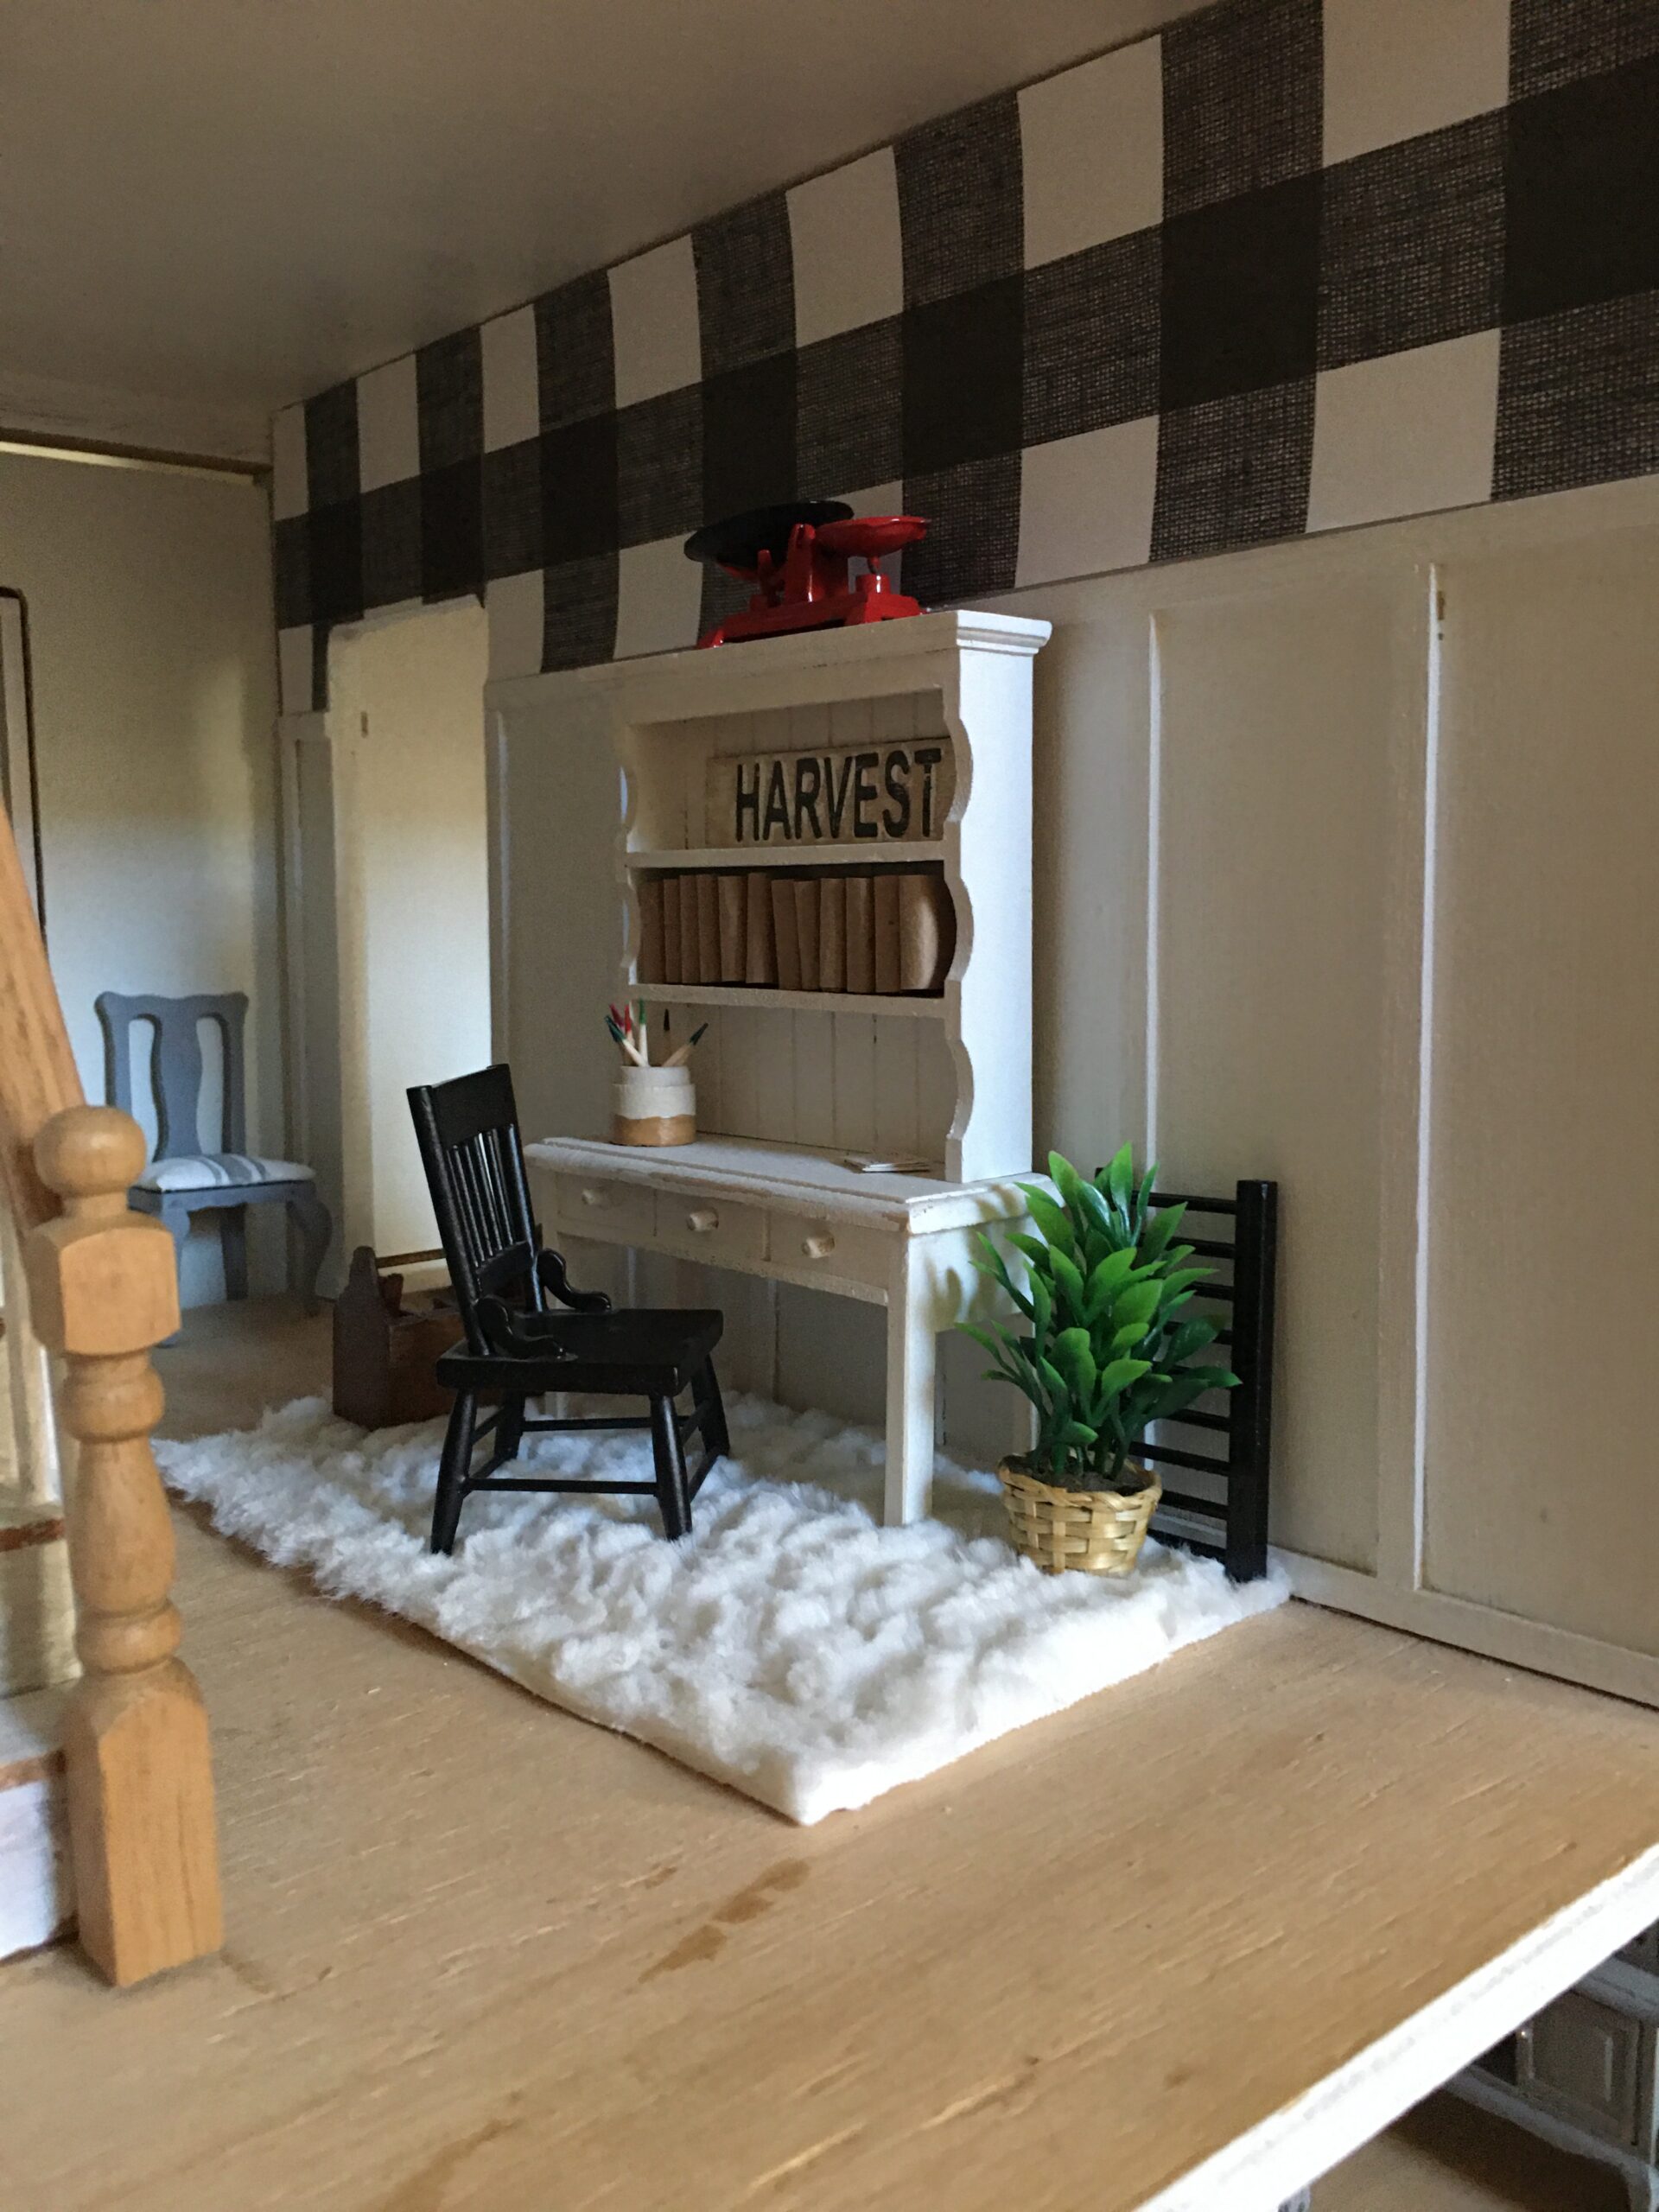
Here is a better angle of the office and buffalo check wallpaper. I purchased a sheet of scrapbook paper and cut it down to size, then used double-sided tape to adhere it to the wall. The board and batten was made by cutting craft wood sticks to length and gluing them with wood glue. I used some of the leftover fluffy fabric to make the rug.
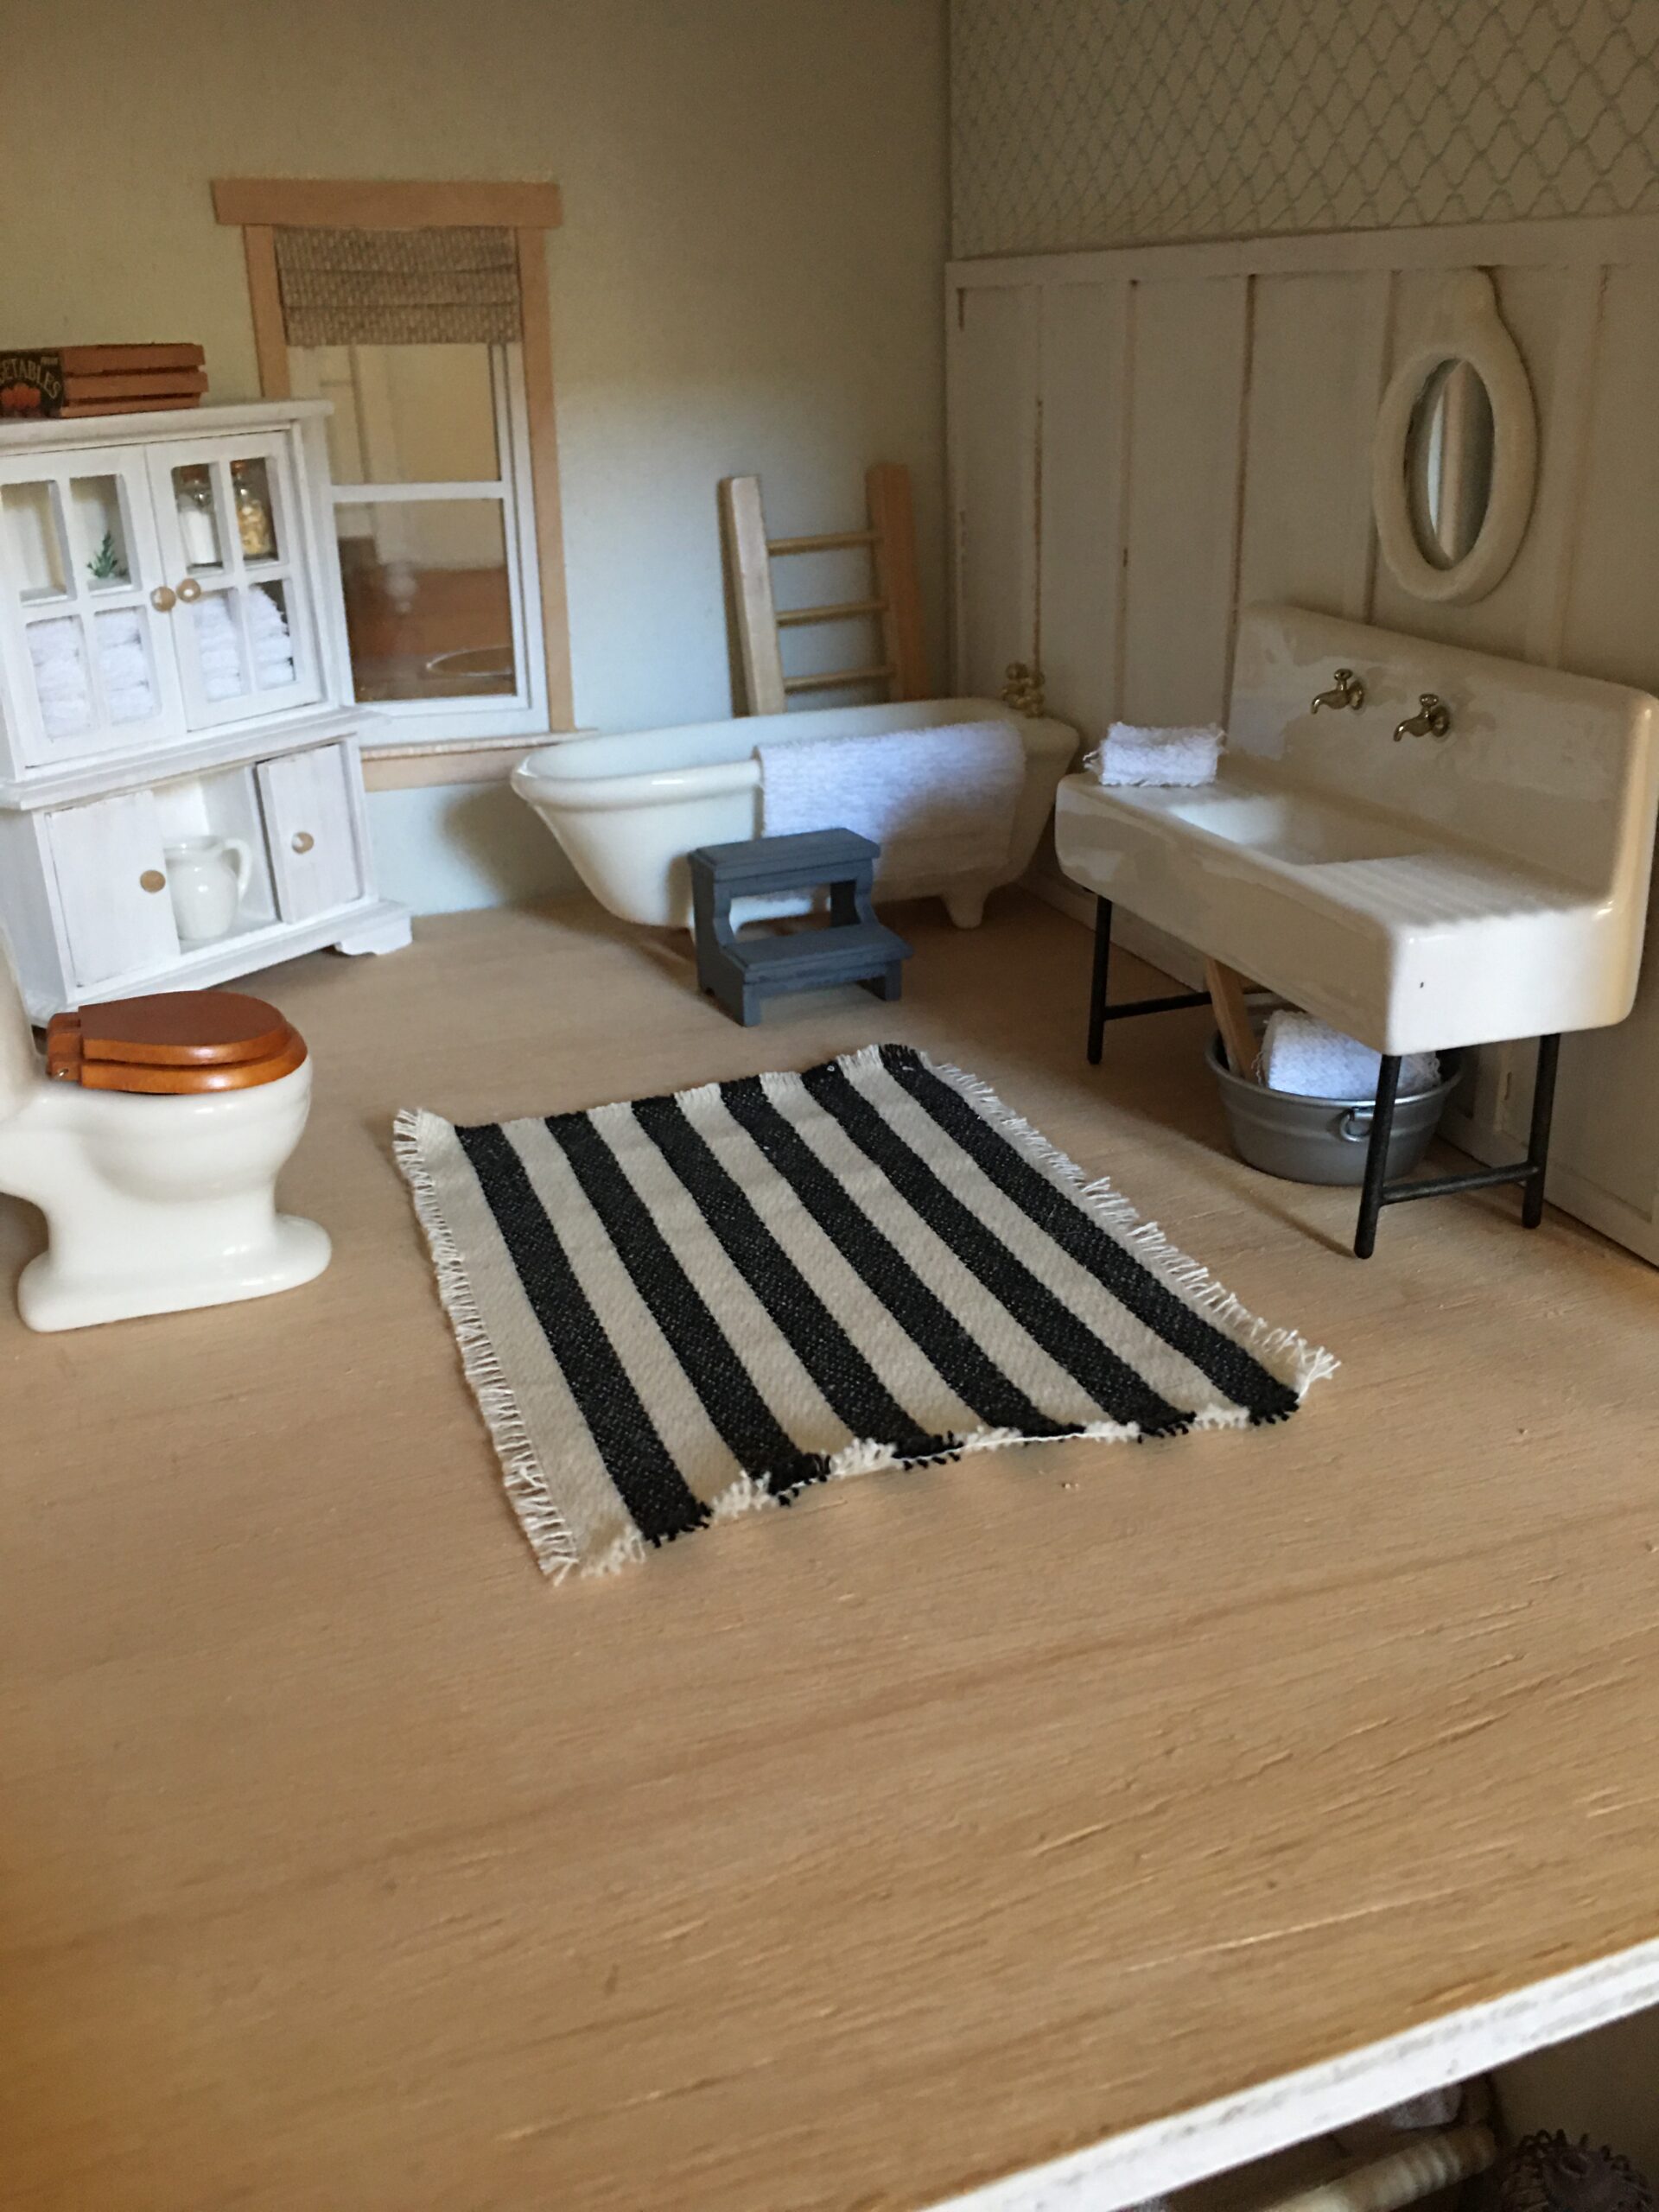
I kept the bathroom simple by using the old kitchen sink, some of our leftover terry cloth for miniature towels, and I made the rug from an old tea towel that was not being used. See how I made the fringe in this no-sew holiday napkin tutorial here.
Many of the small decor pieces came from our Montessori sound boxes that I had made over 10 years ago and some pieces I found online. You can see the before picture, along with shopping links here. I painted the corner hutch white and left the handles raw wood, then I lined the back cabinet with some Hearth and Hand wallpaper that I had found at Bargain Hunt for $8. The step stool came with the doll house. It was a mahogany red, but got a fresh coat of gray paint.
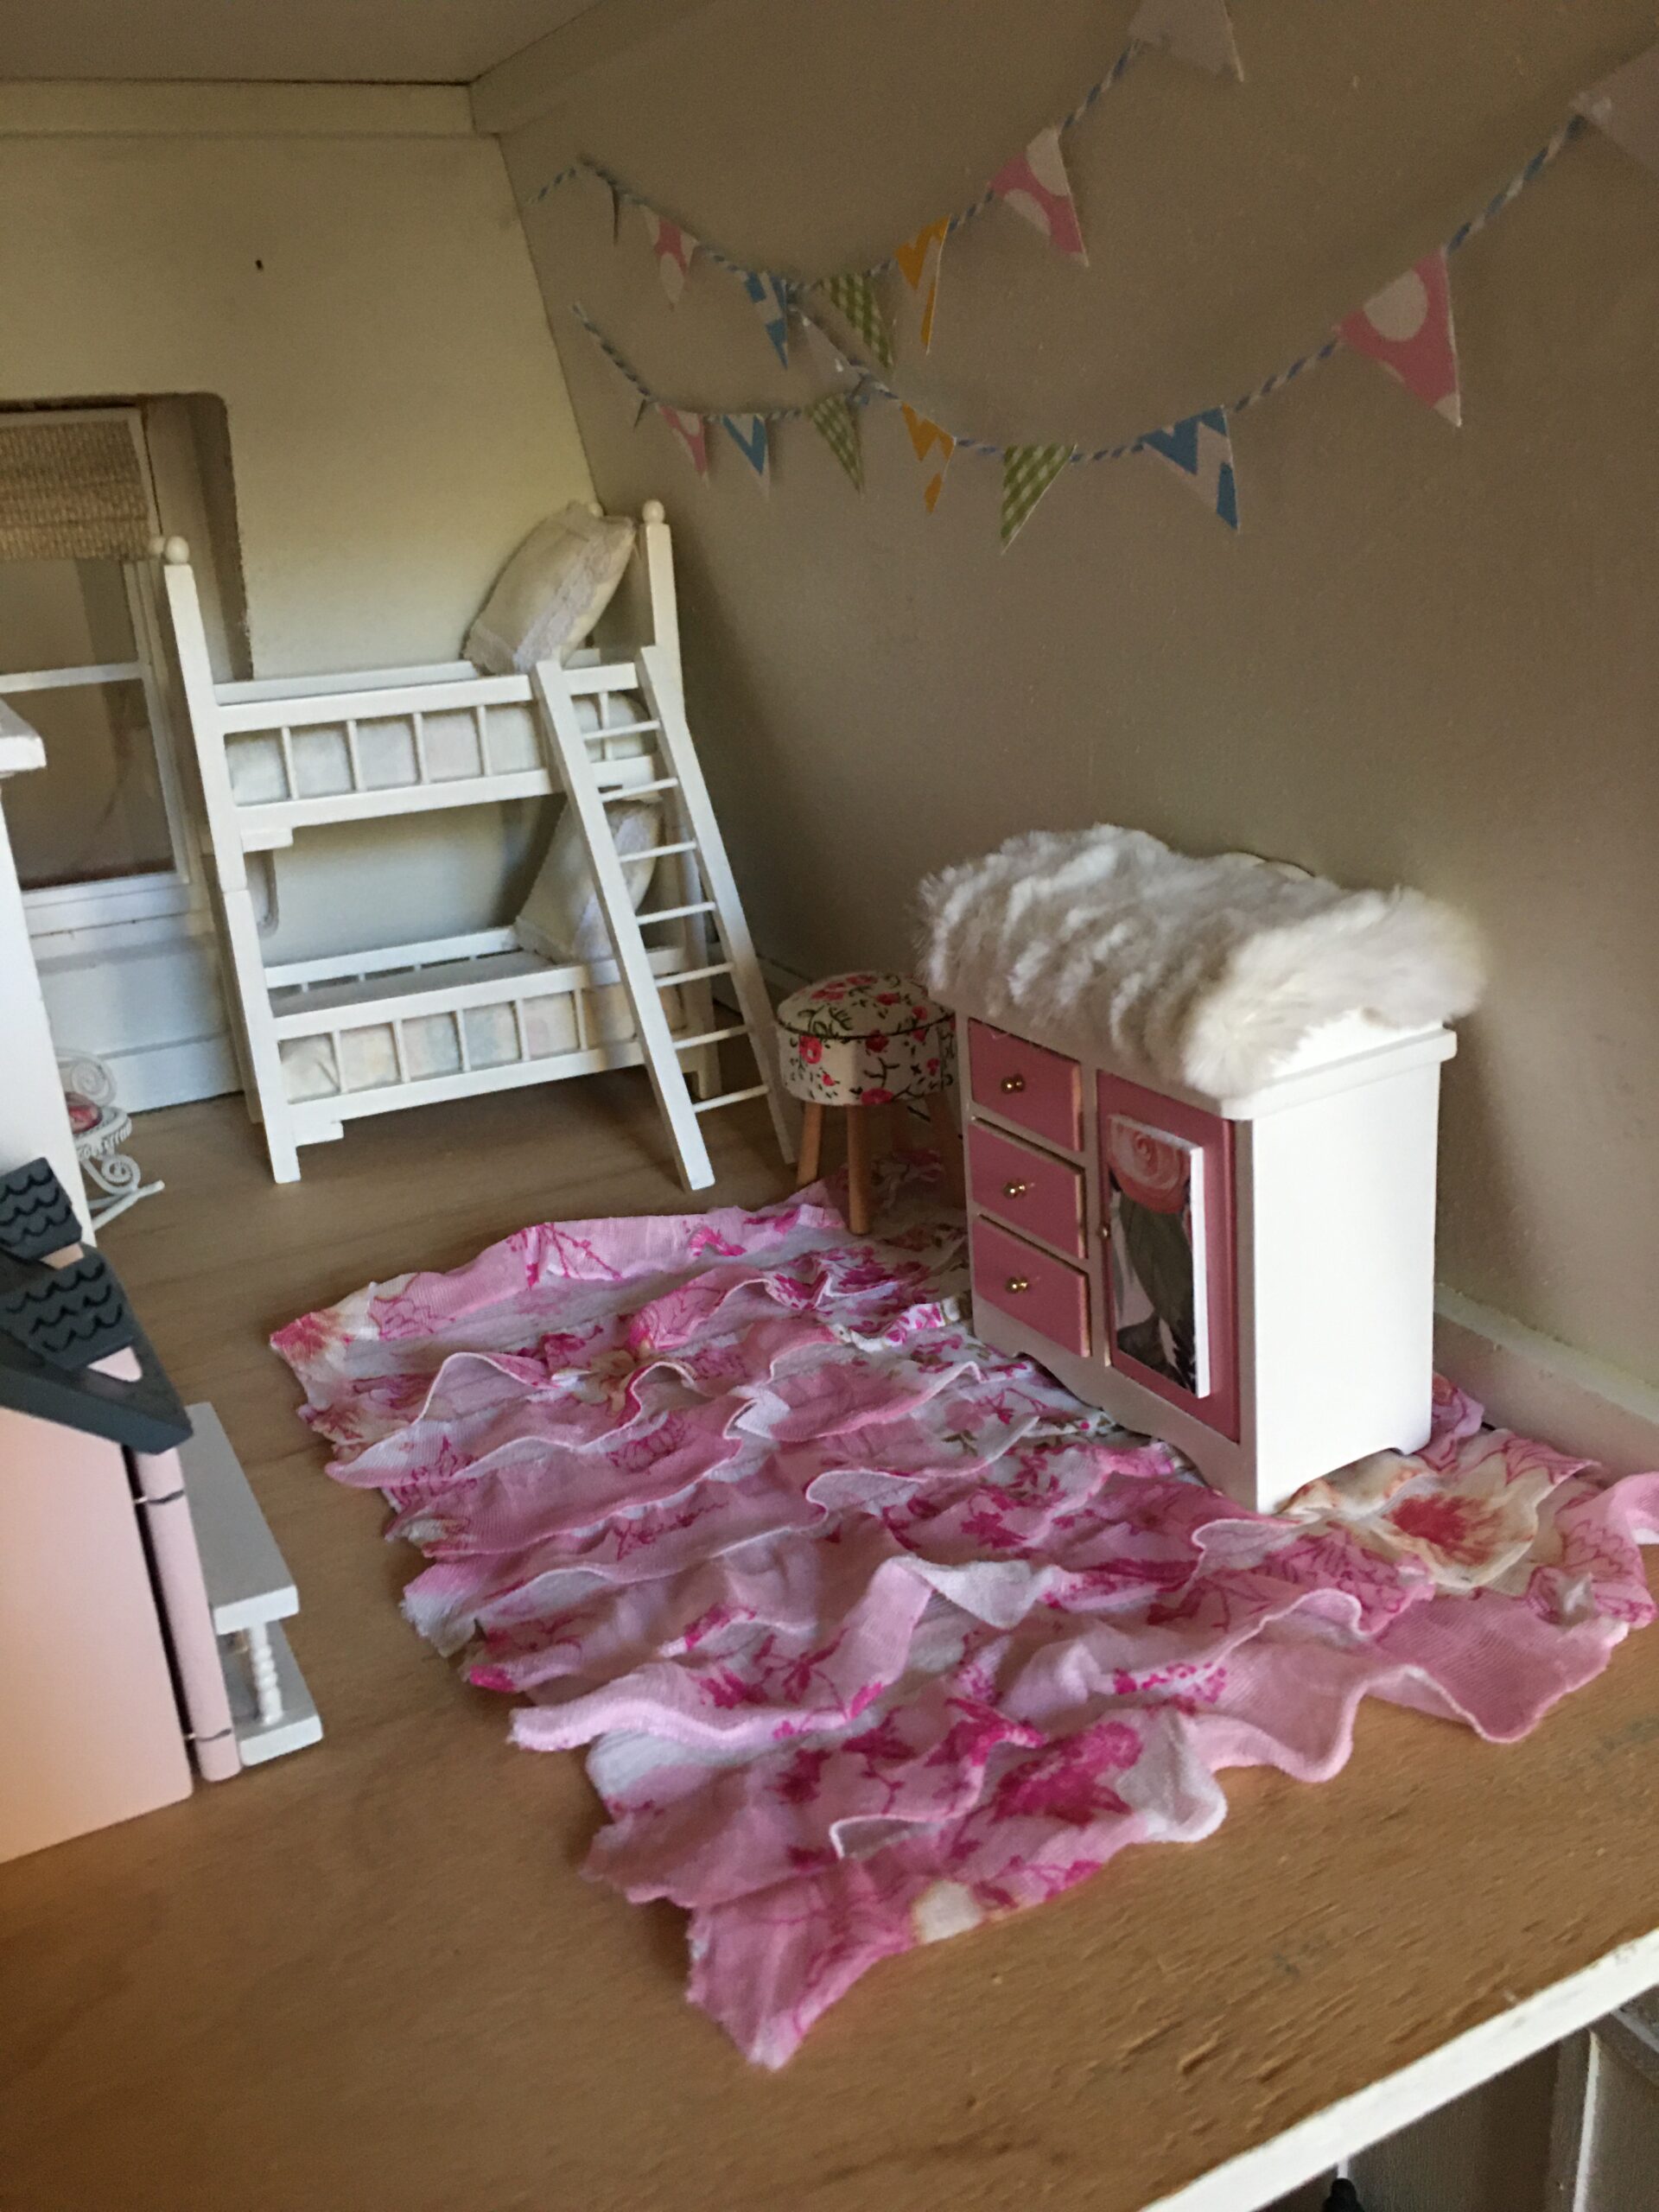
In one of the bedrooms, I made it a fun whimsical pink theme. Complete with its’ own dollhouse and bunkbeds. I made the colorful banner by cutting more scrapbooking paper and stringing it up with some baker’s twine.
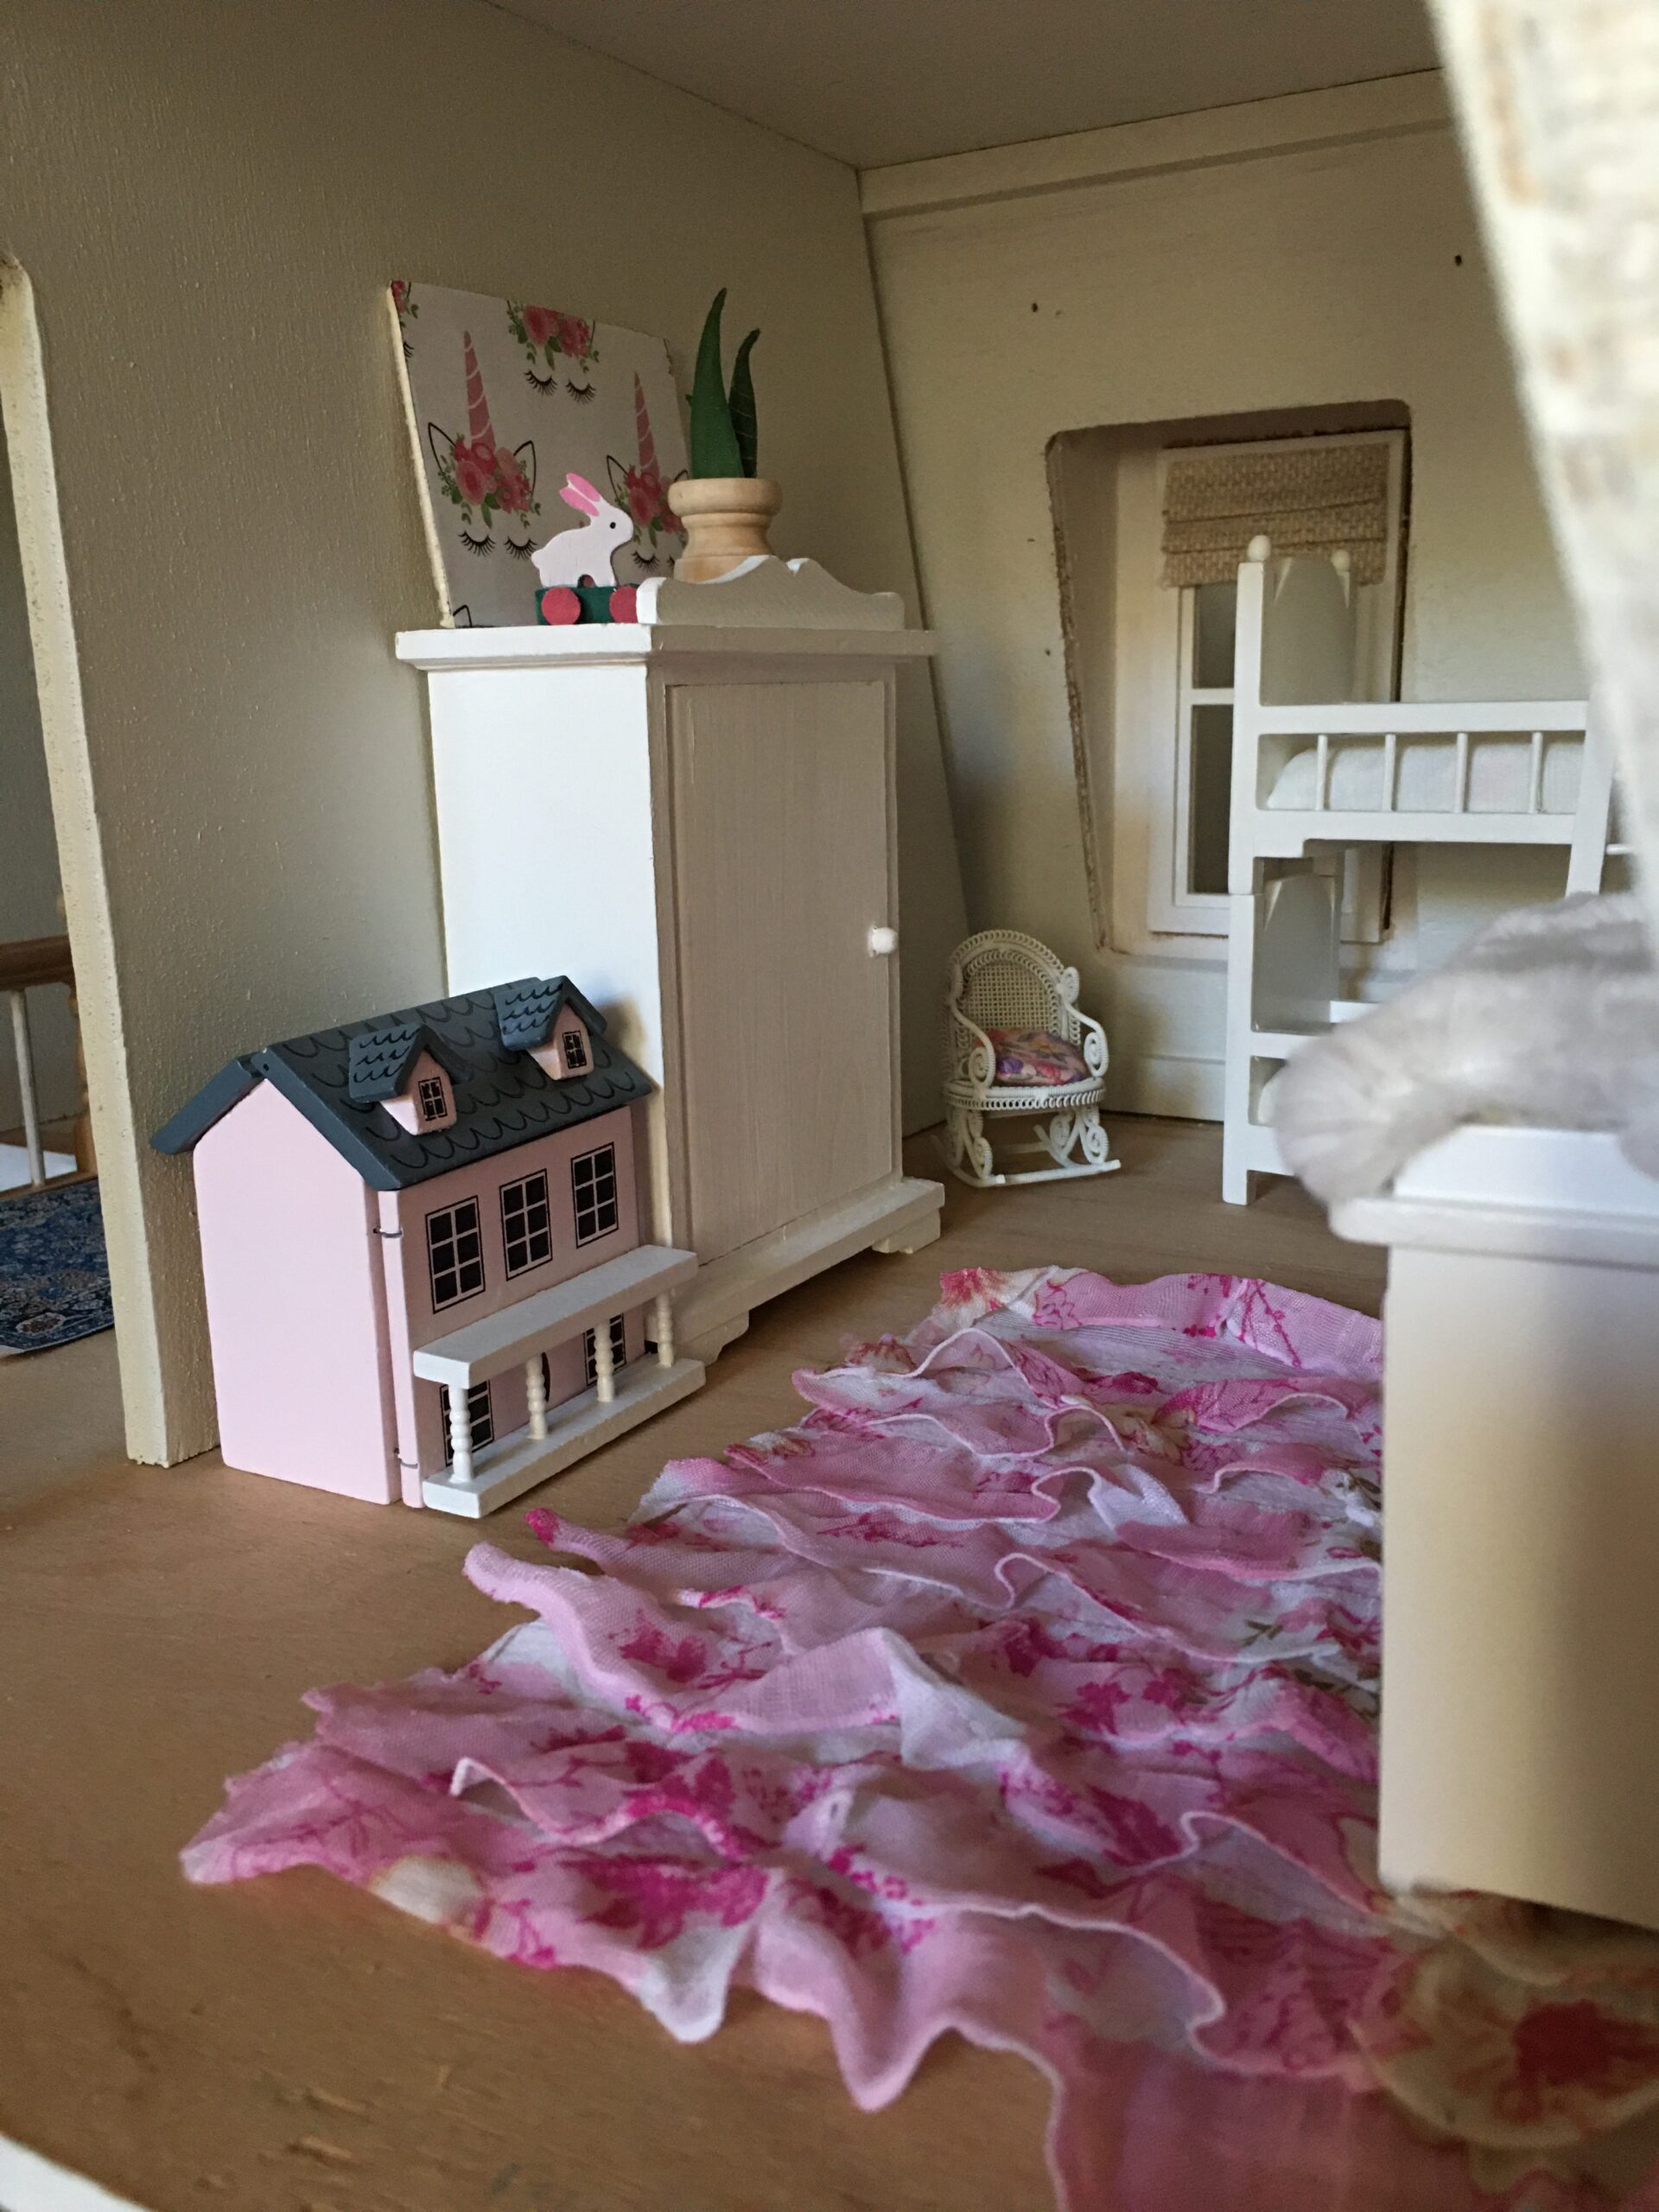
The rug is a piece of old fabric I had for a dress that I never actually made. (sigh) Some of the pieces in here came with the dollhouse, but I spruced it up a little with the fluffy white fabric for the changing table and more scrapbook paper for an art piece above the wardrobe.
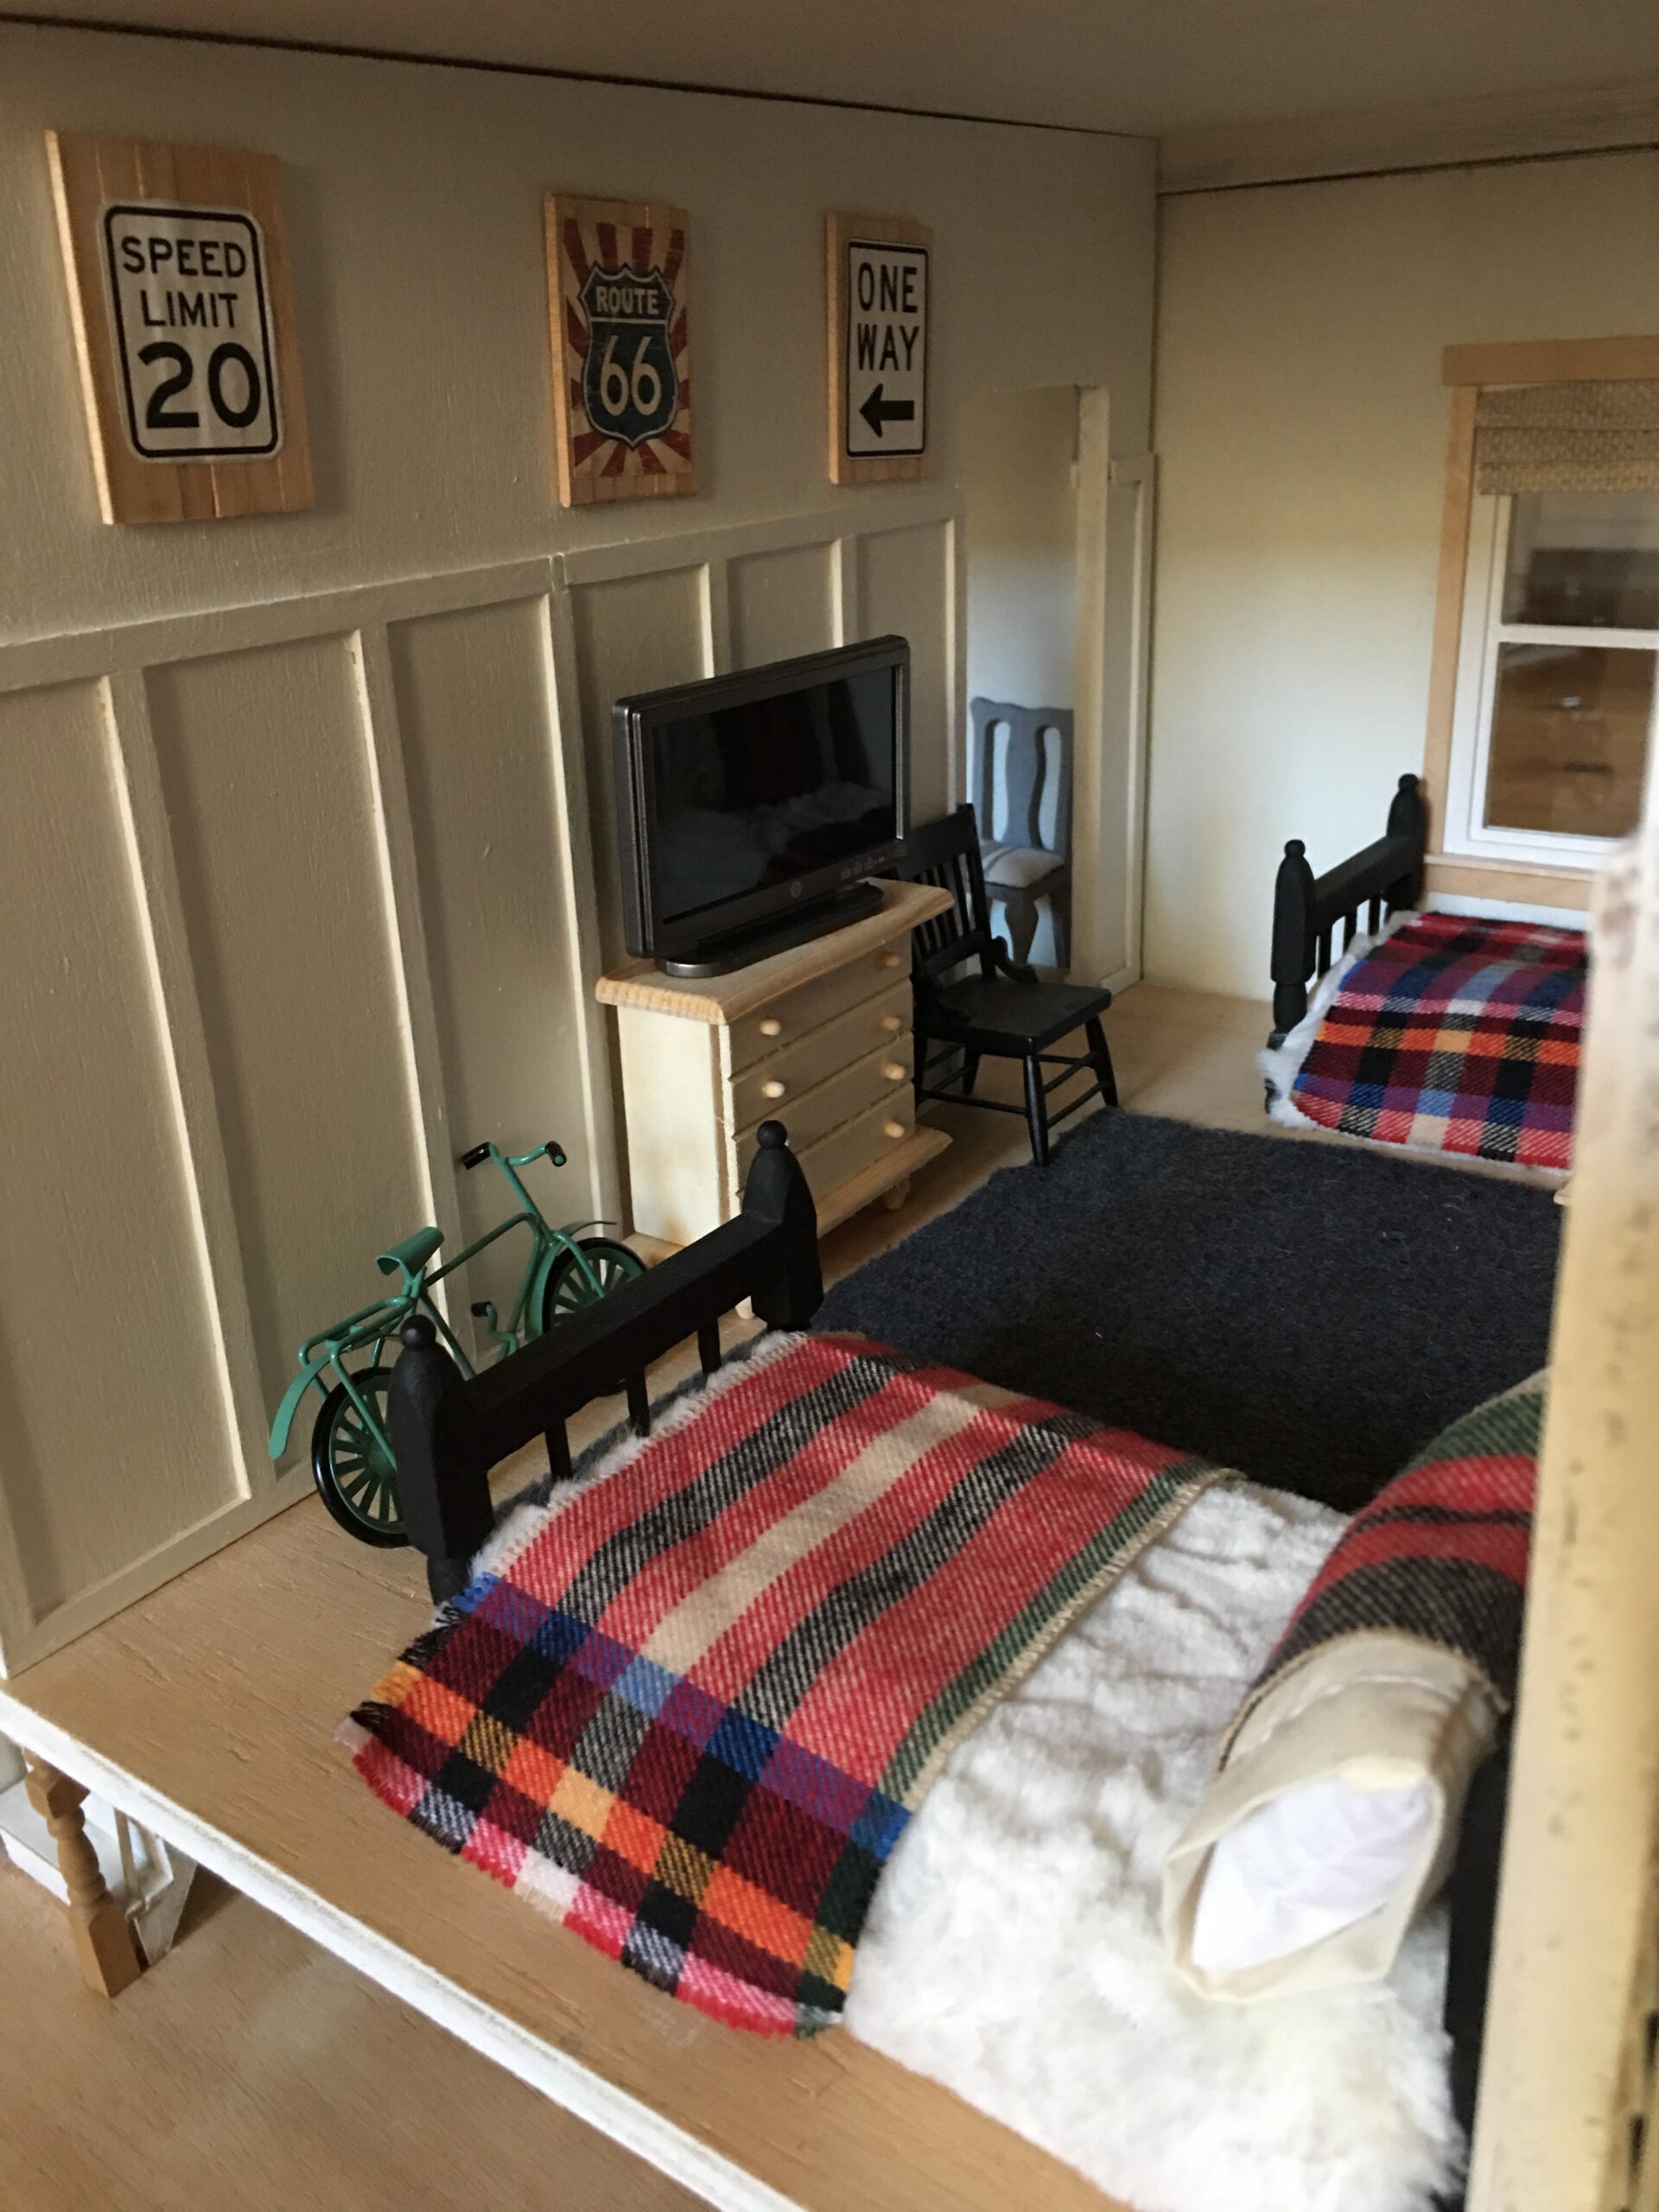
I decorated the boy’s room with our beloved son in mind. I chose a fun transportation theme. He used to love trains and cars before his health decline, several years ago. He loved books with trains, cars, and airplanes in them. He also used to love watching the movies Cars, Iron Giant, and Toy Story. If our little fella could see us from heaven, I think he would enjoy seeing how his baby sisters are making new happy memories in his old room. He always had a giving heart and wouldn’t hesitate to share with others.
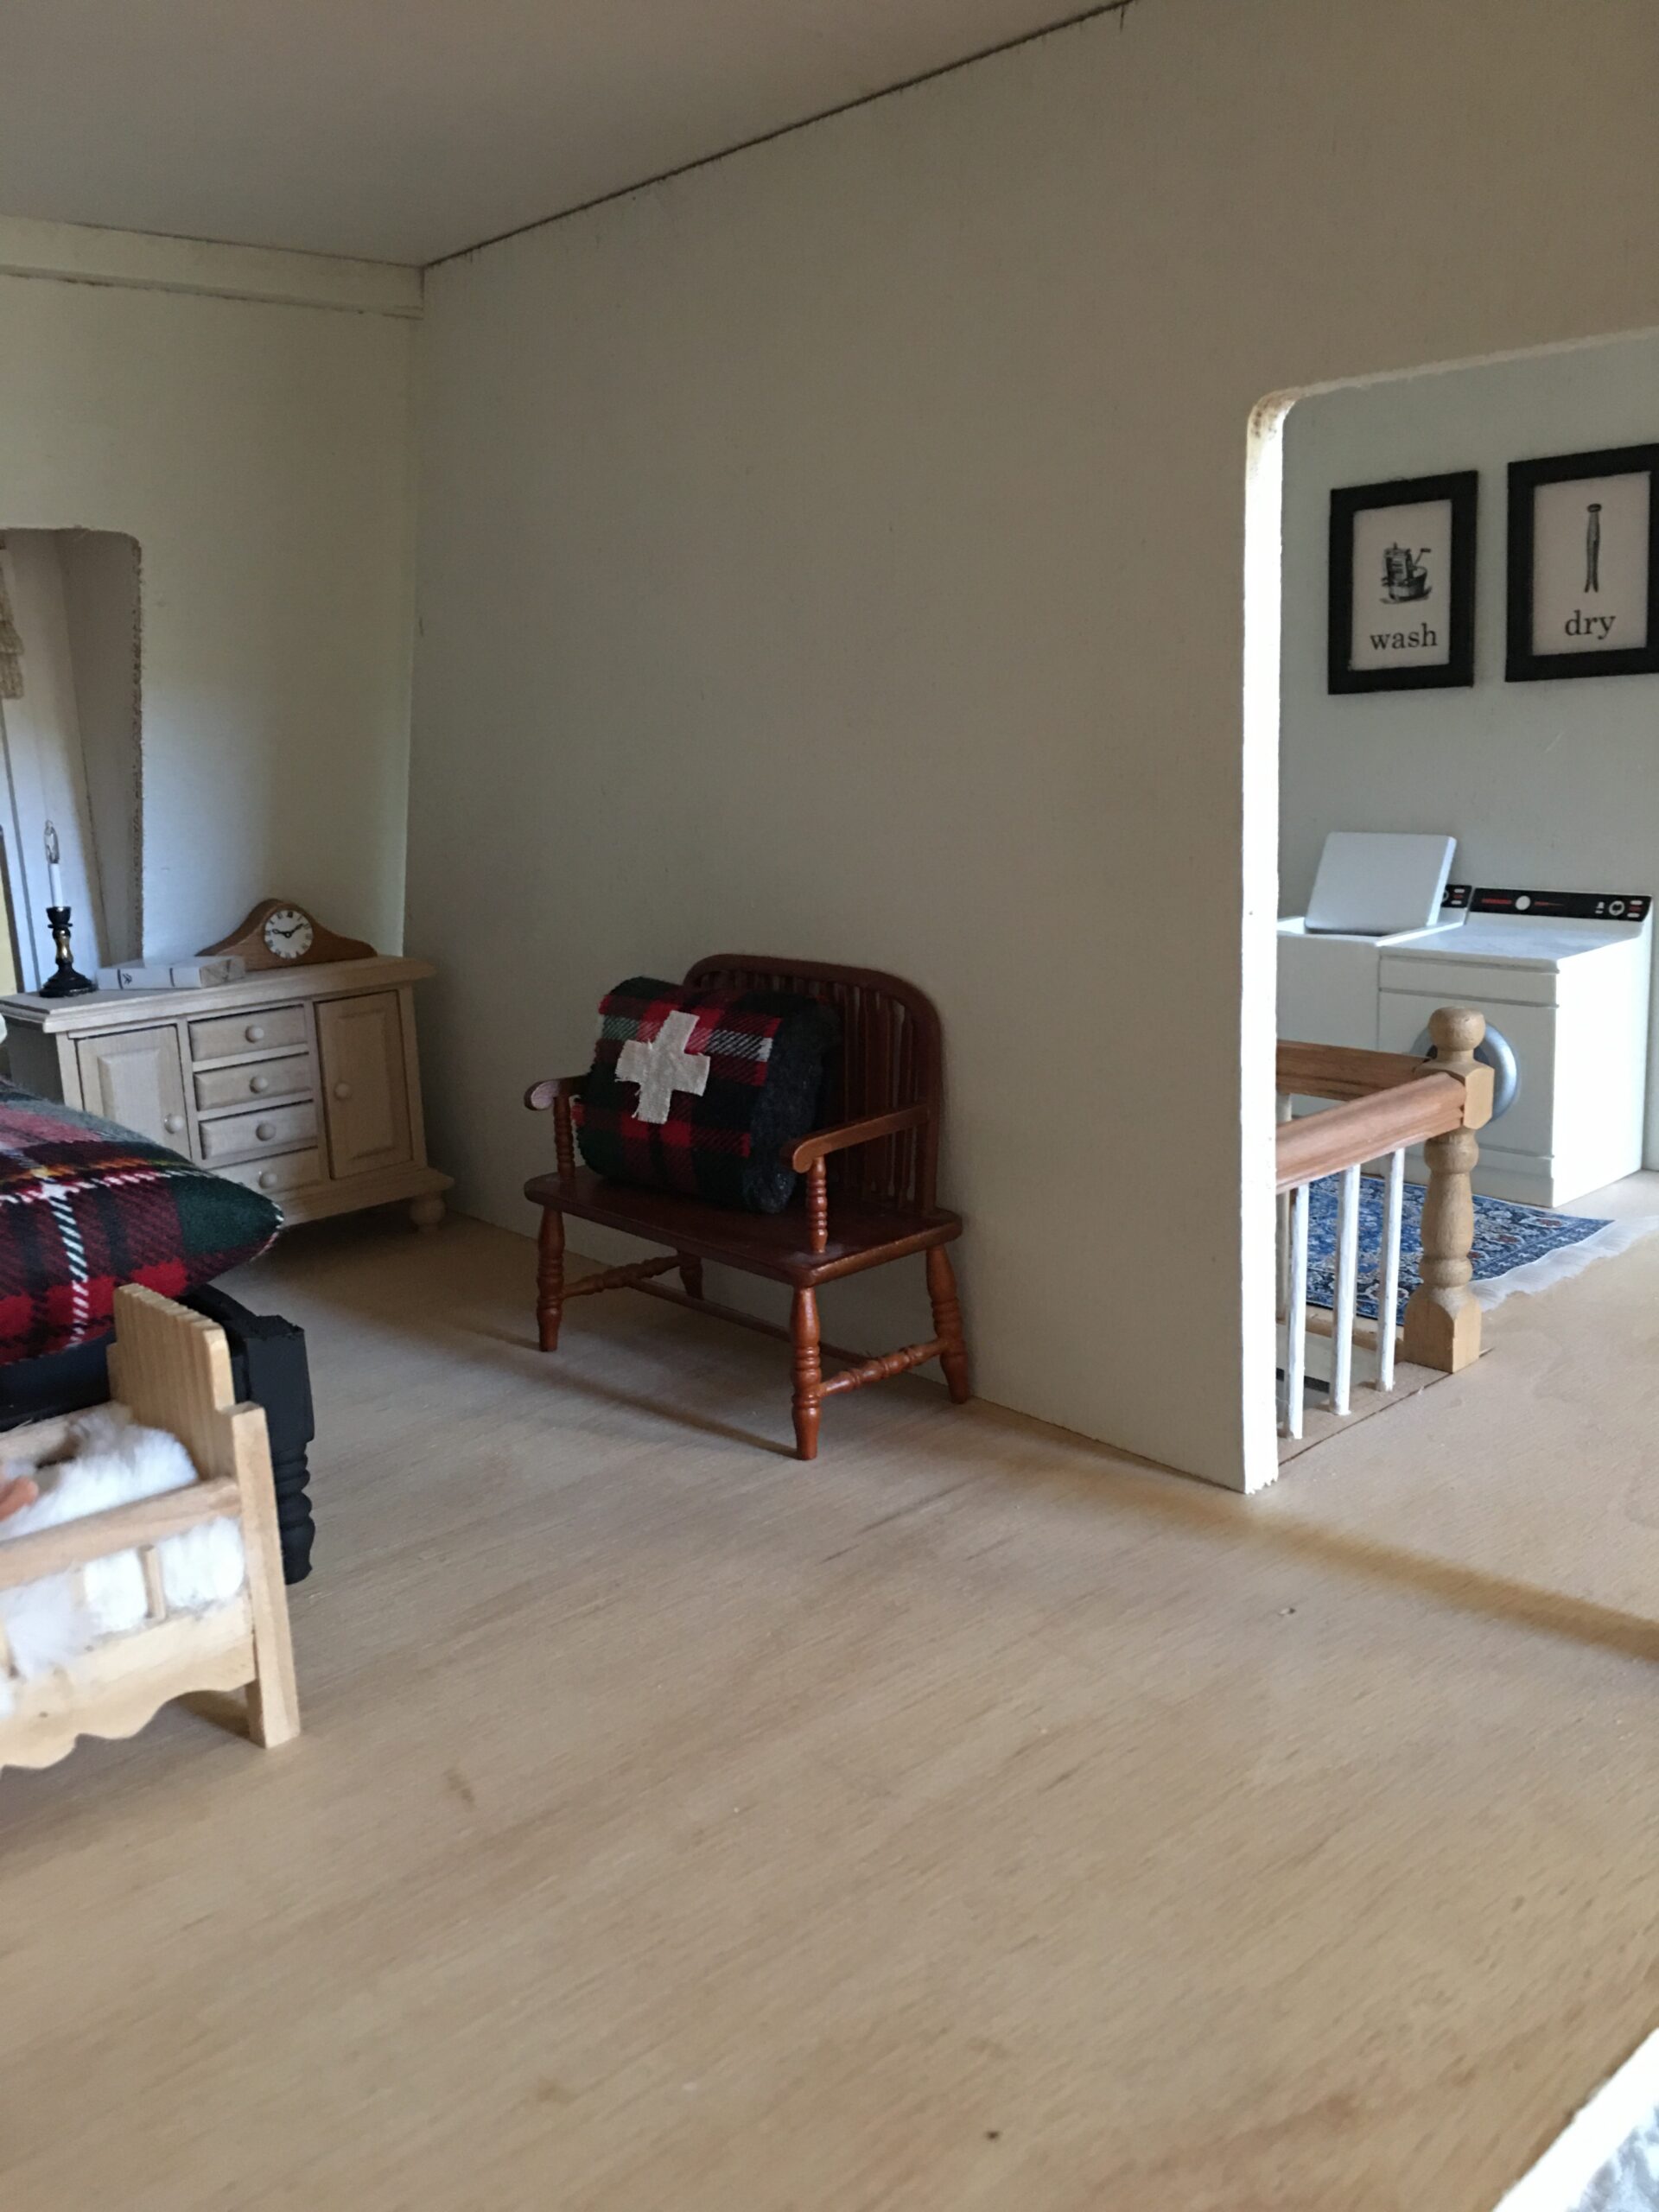
Here is a glimpse of the master bedroom. I used more leftover fabric on the throw pillow and the bedding to add some winter charm. I still need to make something for above the bench wall.
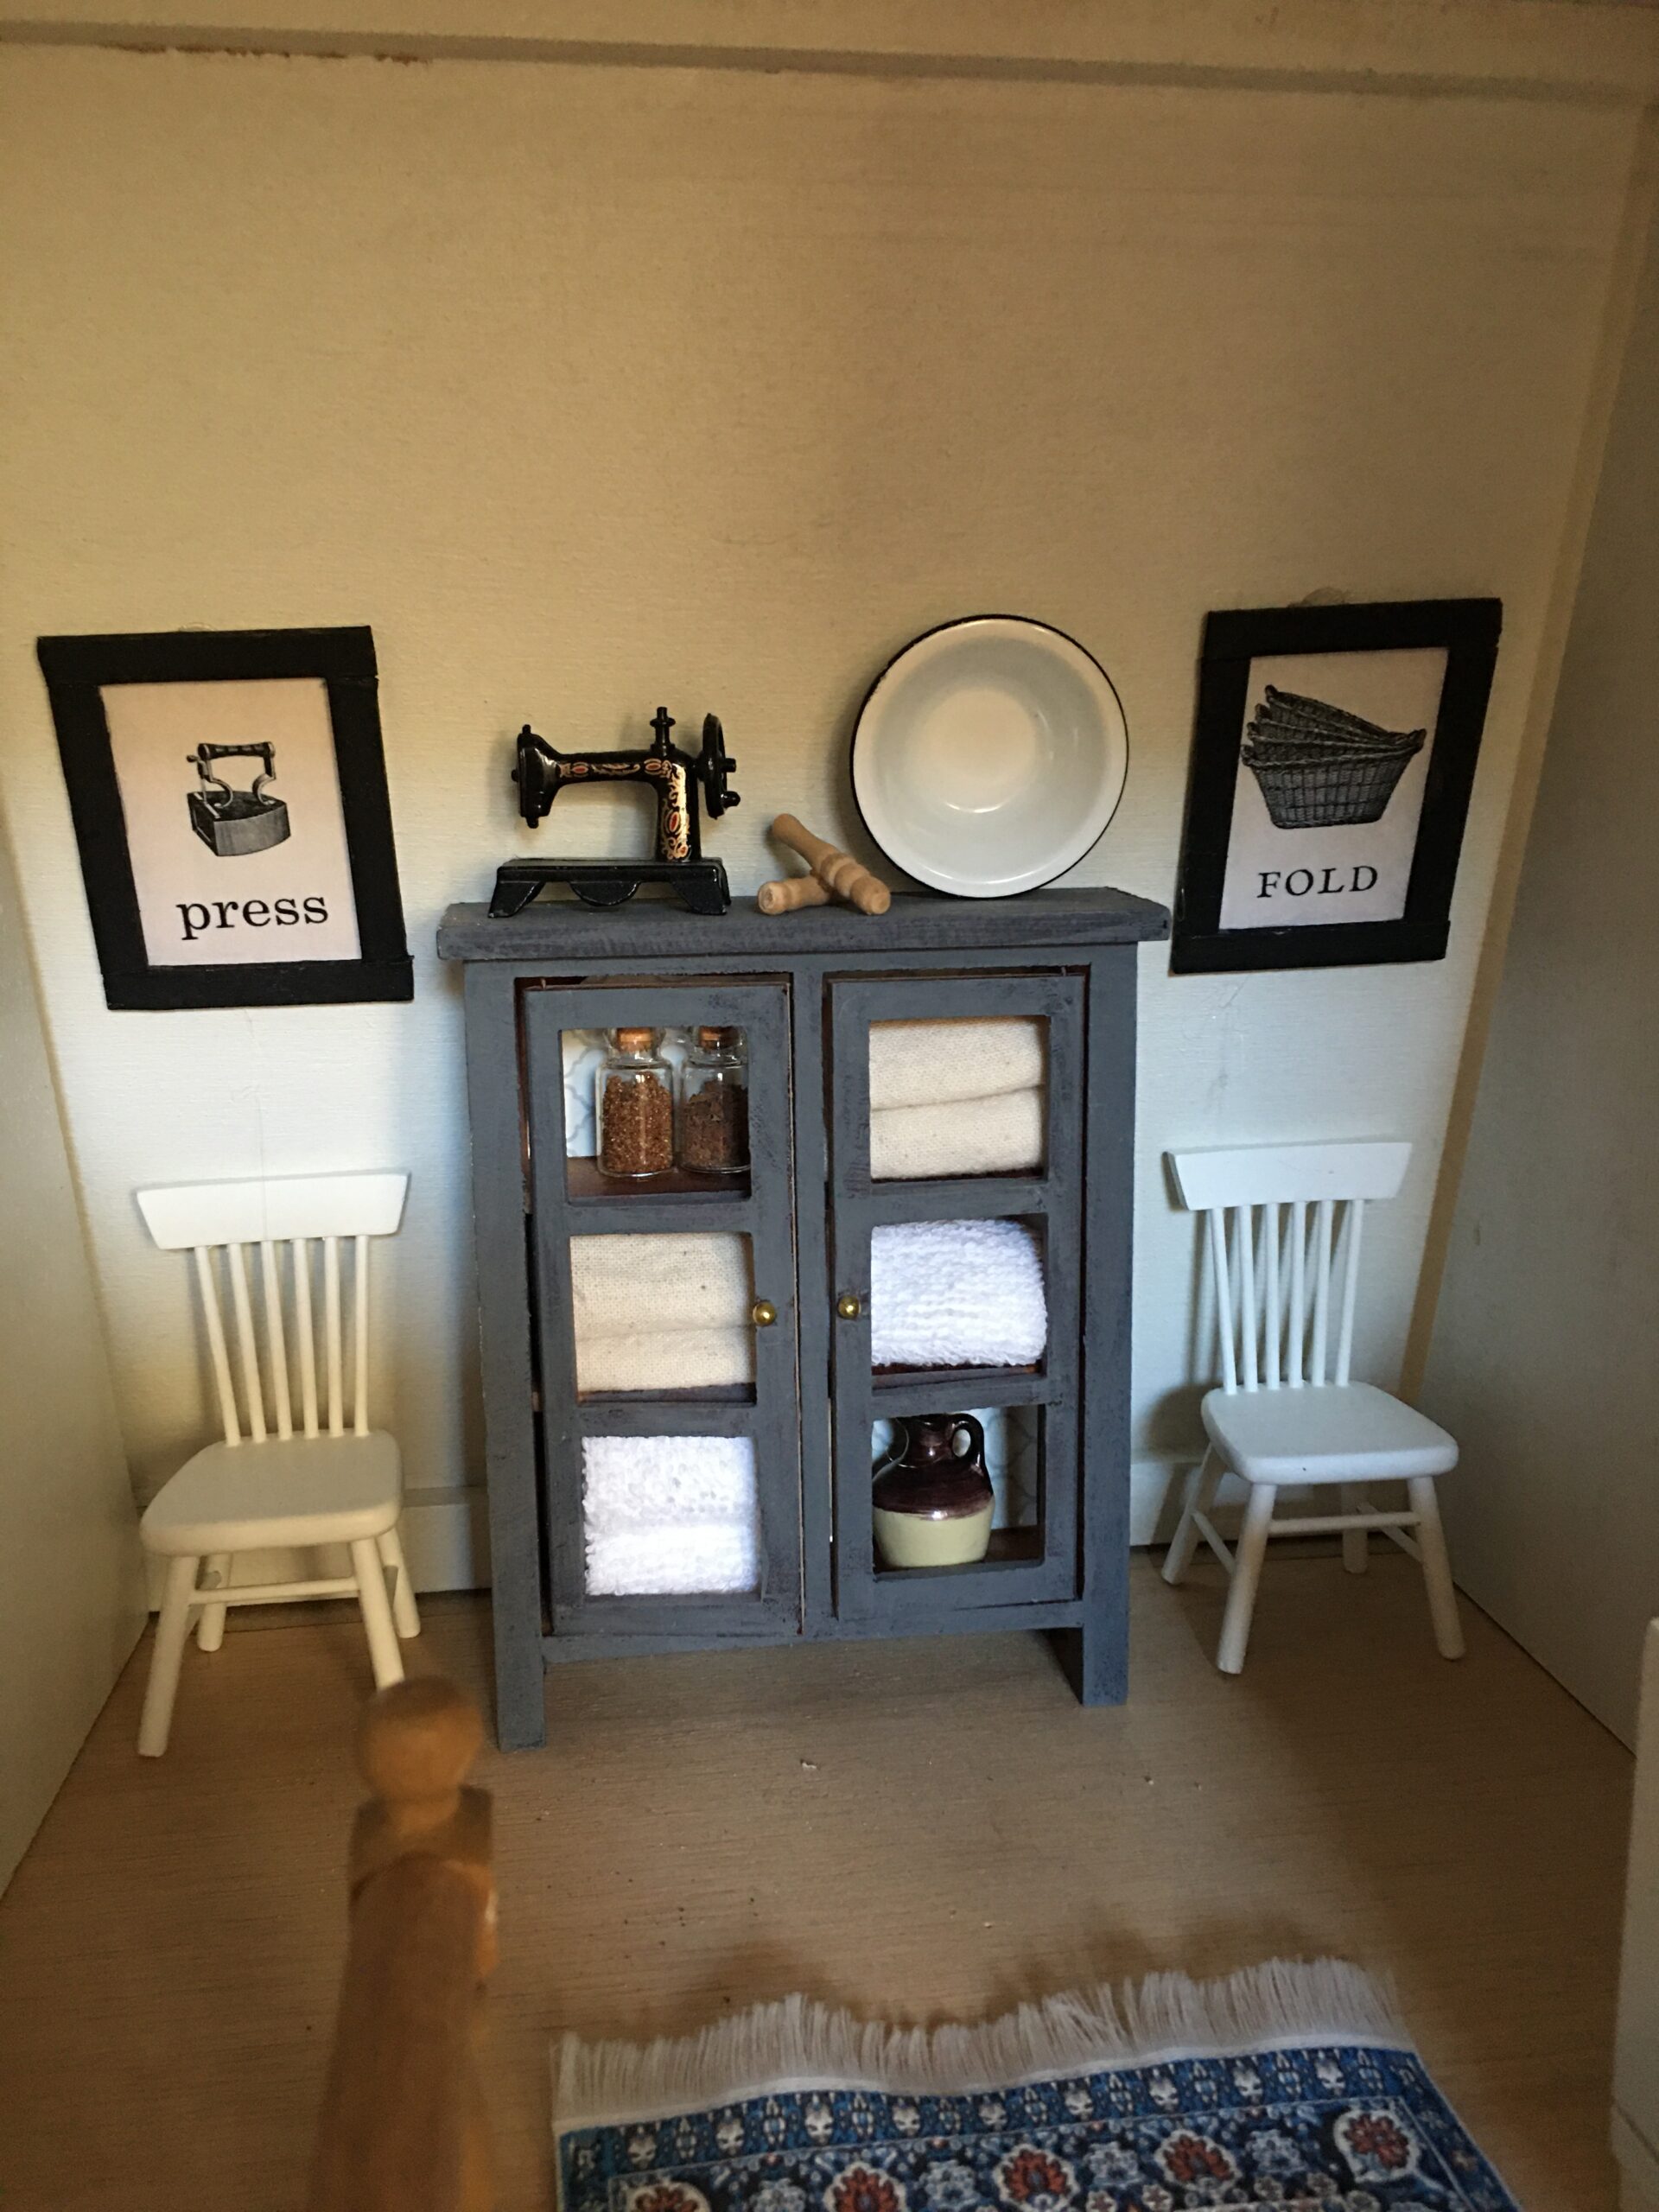
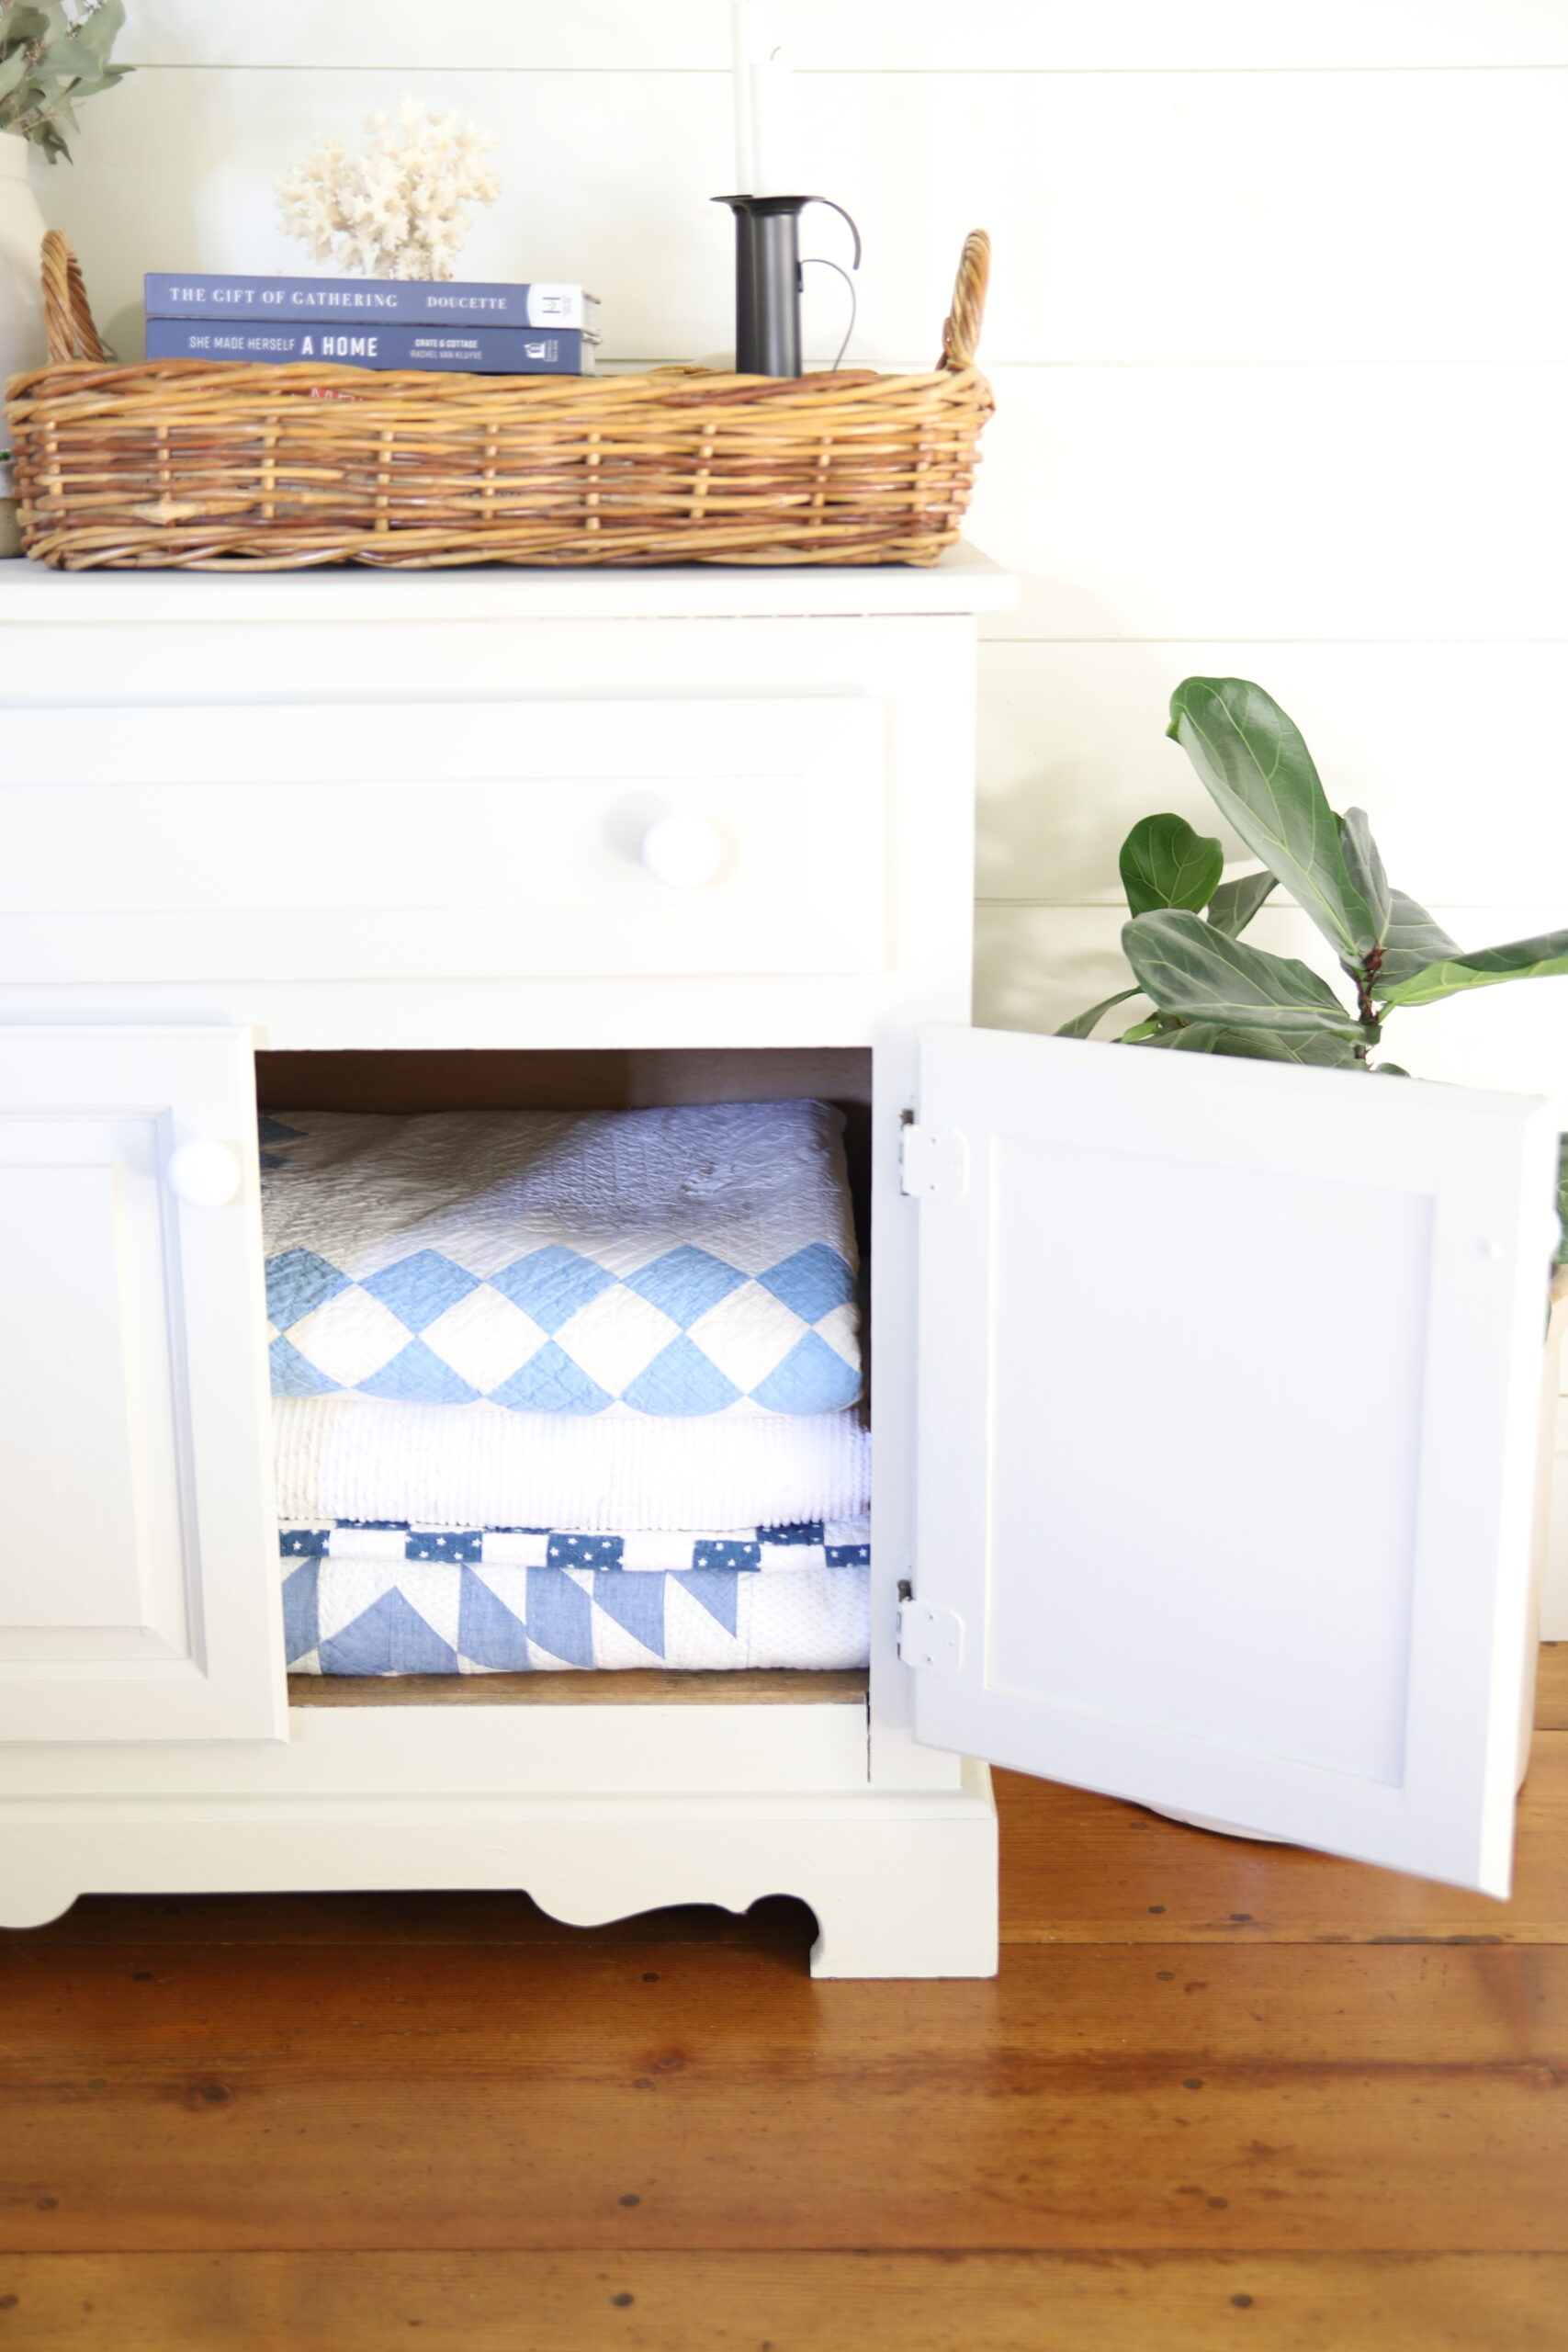
Most of the artwork for this dollhouse was made by shrinking the online images that I liked and then cutting extra wood craft sticks down to form frames. Easy peasy! This linen cabinet used to be a pie safe. I removed the tin panels, painted it gray and used more terry cloth and linen fabric scraps to make miniature towels and linens.
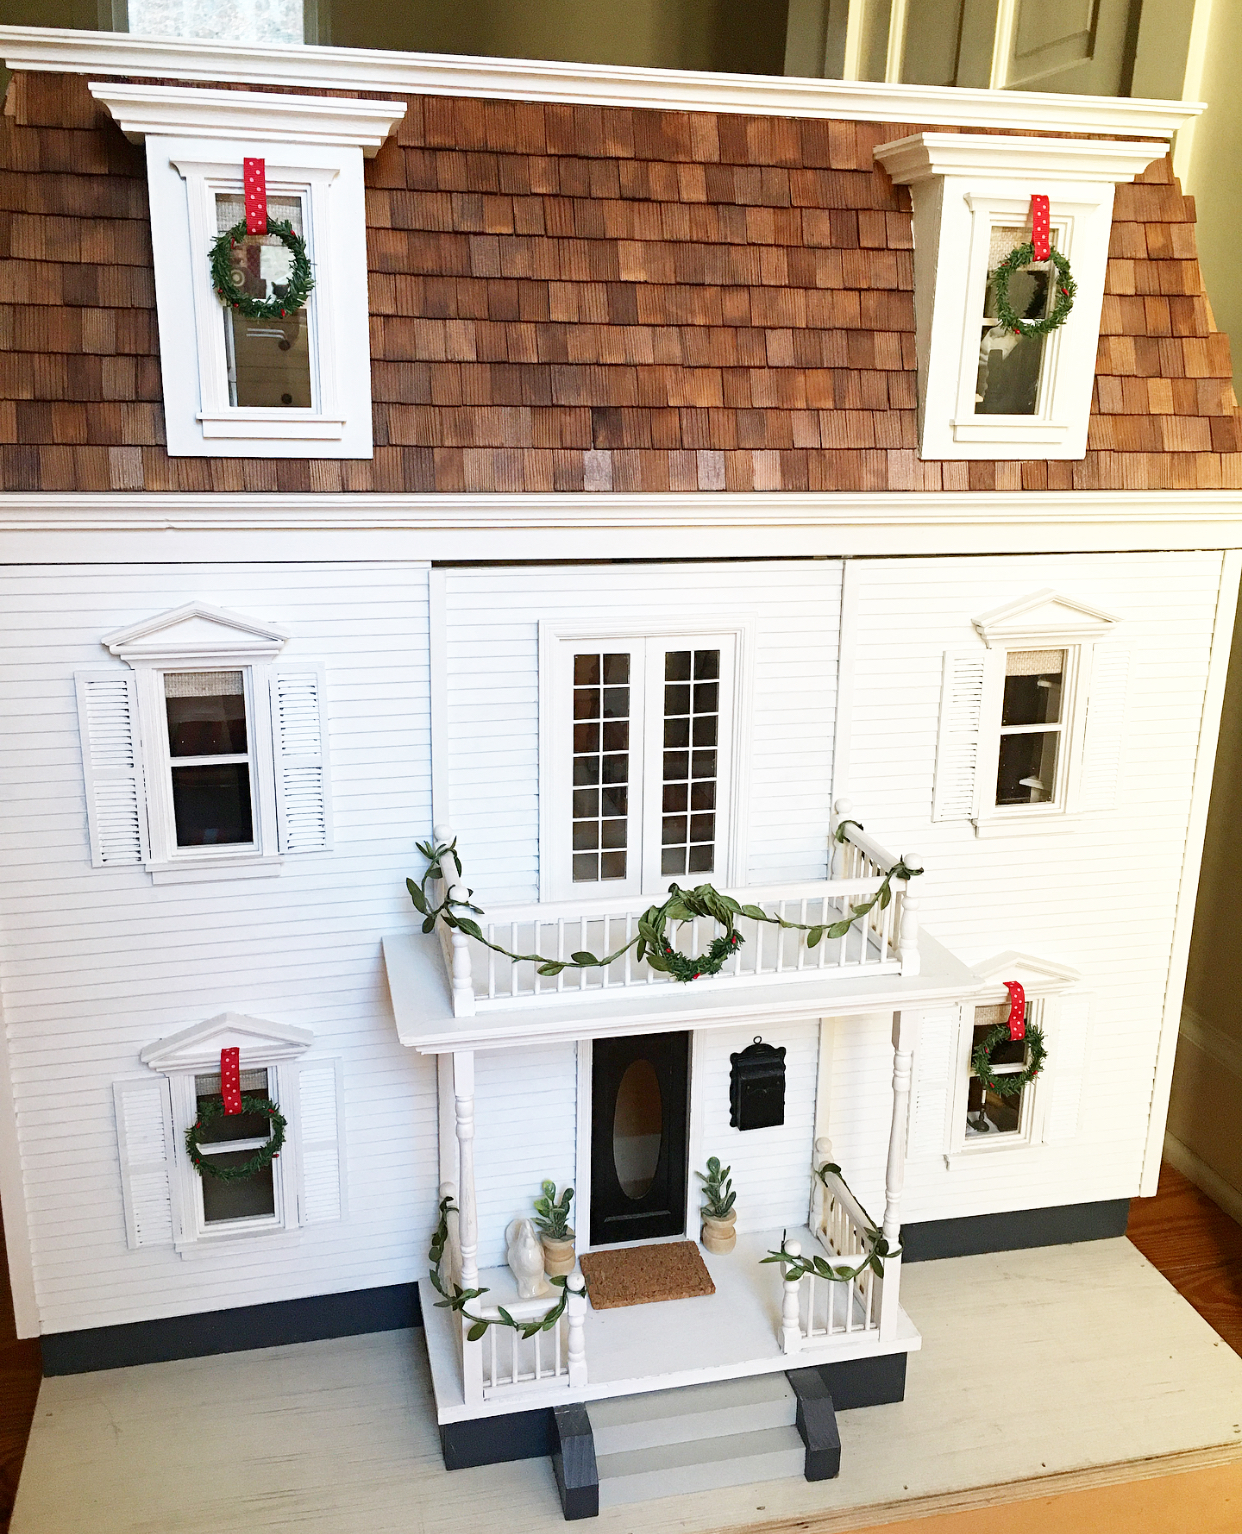
One of the best additions to this sweet little dollhouse was the platform that my husband built for the house to sit on. It has casters on the bottom which gives it more stability and makes it easier for the littles to move in and out from the corner to play with. I still need to add a little landscaping, so stay tuned for that update coming in 2021!
PIN IT FOR LATER:
I hope you enjoyed this mini farmhouse tour as much as I enjoyed tidying up the place! Now, I am off to get a head start on my healthy home challenge for 2021. Hope you’ll join me. More details to come. As always, I appreciate you stopping by the hollow.
**This post contains affiliate links. Please see full affiliate disclosure here.


So adorable!!! Loved every detail
Thanks Julie for taking a look! So glad that you loved it! It has been a great source of joy in the hollow for the littles and me. 🙂
So amazing and beautiful dollhouse you created. I want to live there ??
Hahaha! Thank you, Karin! Sometimes I wish our real farmhouse projects could go so smoothly. 😉 We love it too! I appreciate you stopping by and taking the tour.