Learn how to turn unused tea towels into simple, but beautiful custom “fringed” napkins that will help dress up your table for the holidays. These handmade napkins may not seem like a big deal, but with little ones who love to play dress up and have Saturday tea parties, it’s all in the smallest details. If you have “little women” in your family, you know exactly what I’m talking about.

This is a great mini project in between your more elaborate DiYs and doesn’t require any sewing skills or even a sewing machine. I used gifted tea towels that I received a few years ago that were just sitting in storage. The ink used for the decals had faded, so I went ahead and used the blank part of the towels to create a clean palette for my “new” holiday napkins. I was able to make six 13×13 napkins by using just three tea towels. They turned out fabulously and I didn’t spend a dime or even have to iron them.
SUPPLIES YOU WILL NEED TO MAKE YOUR OWN SIMPLE “NO-SEW” FRINGED HOLIDAY NAPKINS
- Scissors or rotary cutter
- Ruler or tape measure
- Cutting mat or flat working surface
- Your choice of fabric
- Tooth scraper, tooth pick, or comb (something with a hook or teeth to help loosen the individual threads)
- Iron (optional)

STEP ONE
Decide what size that you want to make your napkins. Cut your fabric to size. With this technique, you can make it any size that will work for the look you are trying to achieve. Some store bought napkins are larger in size, but we typically like ours to be just about lap size. That seems to do the job for adults and little ones, alike.
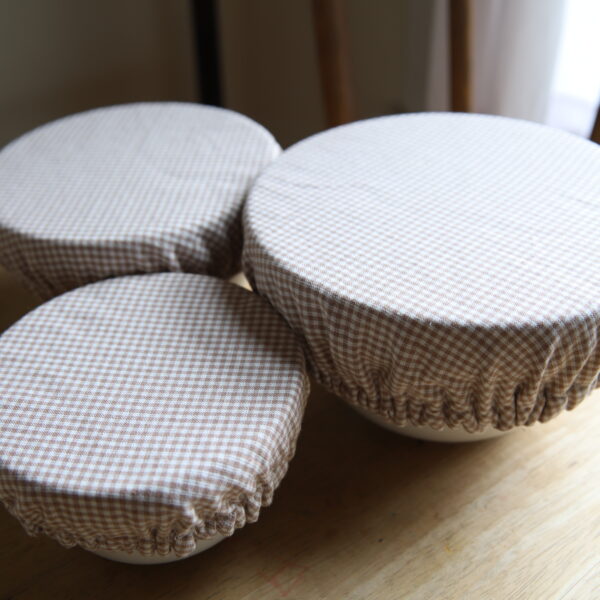
 This fabric has a linen look and feel to it, which made it the best candidate for an easy revamp. I love taking what we have and making it better!
STEP TWO
Start with a straight edge. The key to making this no-sew fringed napkin is to keep your lines as straight as possible. This will not only give your end product a more finished look, but it will make the pulling of the thread that much simpler to keep a straight line.

STEP THREE
Take your pulling tool of your choice and carefully loosen one thread, starting from one side of the fabric and working your way down to the other side of the fabric. Make sure to hold the other end firmly to prevent the thread from knotting up. Continue doing this until you get the width of the fringe that best suits the look you are after. I measured about 1/2 inch fringe and love that it is delicate enough to be “fancy,” but practical enough to be usable and it won’t compete with the simple farmhouse style of our vintage farmhouse.


STEP FOUR
Fold and place on your plate or on the side of your place setting. Then stand back and ENJOY the view and compliments that you’ll sure to receive with this super simple no-sew holiday project.

OPTIONAL: Iron your new napkins with an iron, but make sure not to iron it too stiff. These are meant to be more rustic and natural.
If you are a crafty and frugal mama like I am, you probably have a lot of scrap fabric that would work with this simple no-sew project. Hope you’ll give it a try next time you have a sweet gathering in your home.
FIND MORE SEWING TUTORIALS AND IDEAS:
CONCEAL THE CLUTTER WITH SIMPLE DIY DROP CLOTH CURTAINS
HOW TO SLIPCOVER AN ARMLESS CHAIR WITHOUT A PATTERN
SIMPLE DIY DROP CLOTH BEDSKIRT


Leave a Reply