Come inside our vintage farmhouse and see our LONG awaited farmhouse living room reveal! It may have taken us 2.5 years to get here, but we made it! And that has to count for something.
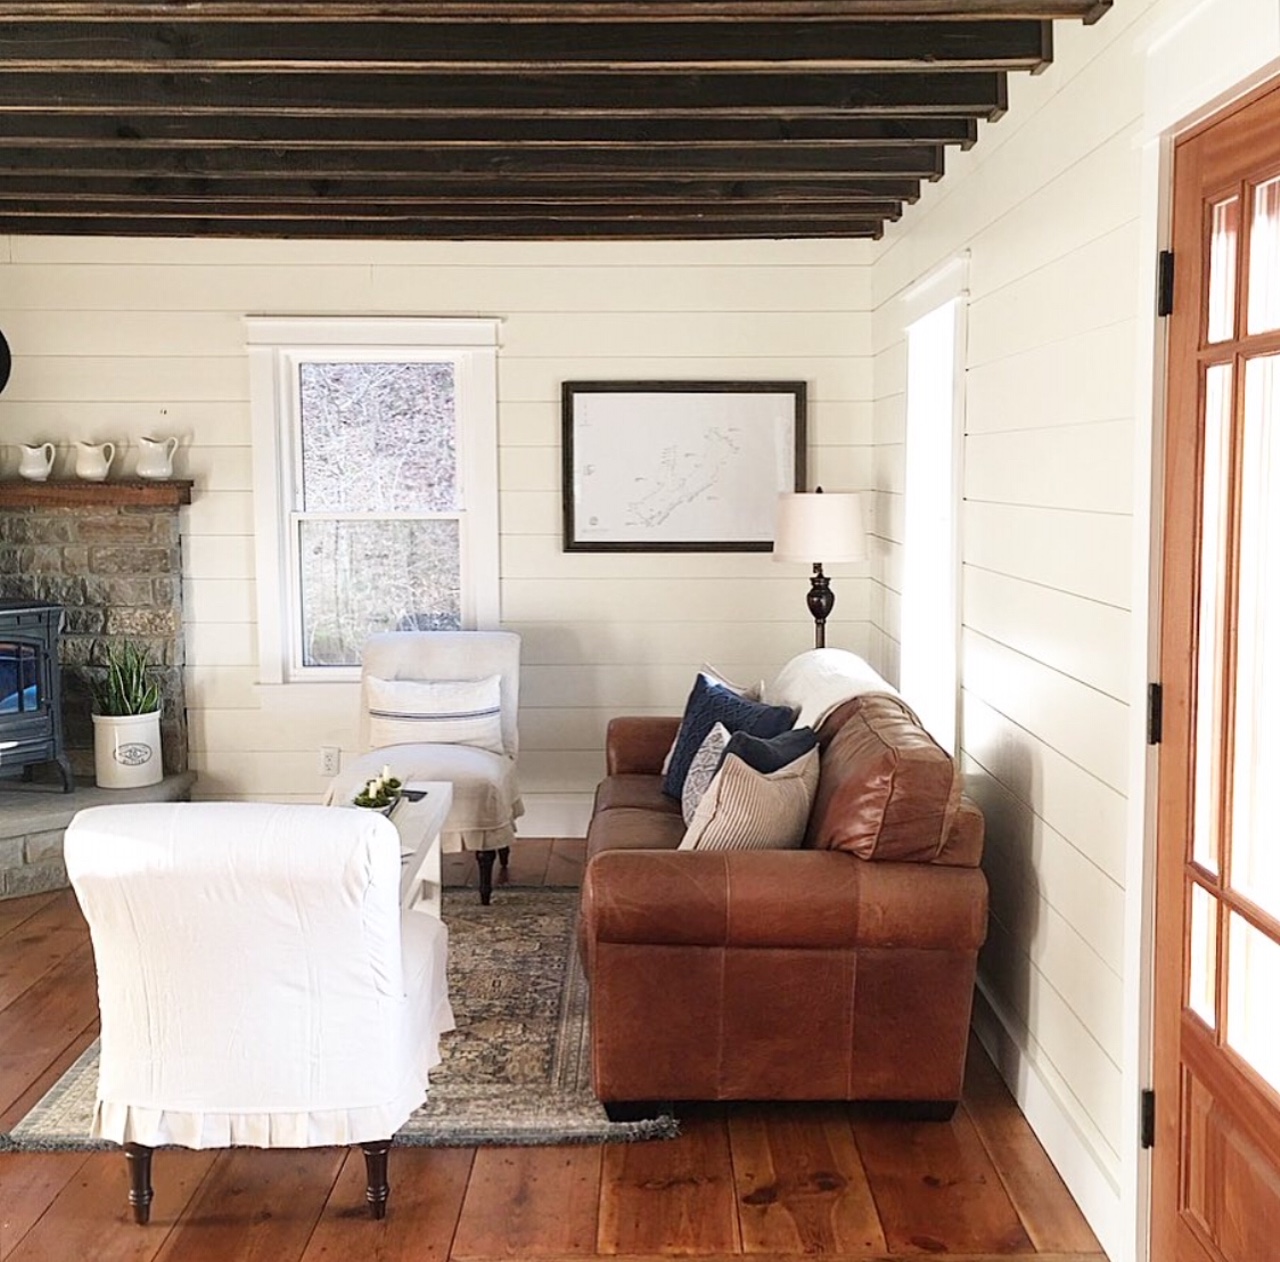
COZIER THAN EVER
I get giddy every time I walk through this newly renovated space or glance at it from my “permanent station” behind the large farmhouse kitchen island.
Gone are the days of looking at a huge construction zone with studs and electrical outlets poking out.
This project was destined to be something special as it is the only original room in our whole farmhouse. Shocking, I know!
The old owners made a lot of building faux pas in my book (I’ll spare you the details), but they did a fabulous job of building onto the original one room farmhouse without making the additions look like “additions.” If you know what I mean?!
You can see the beginning process here.
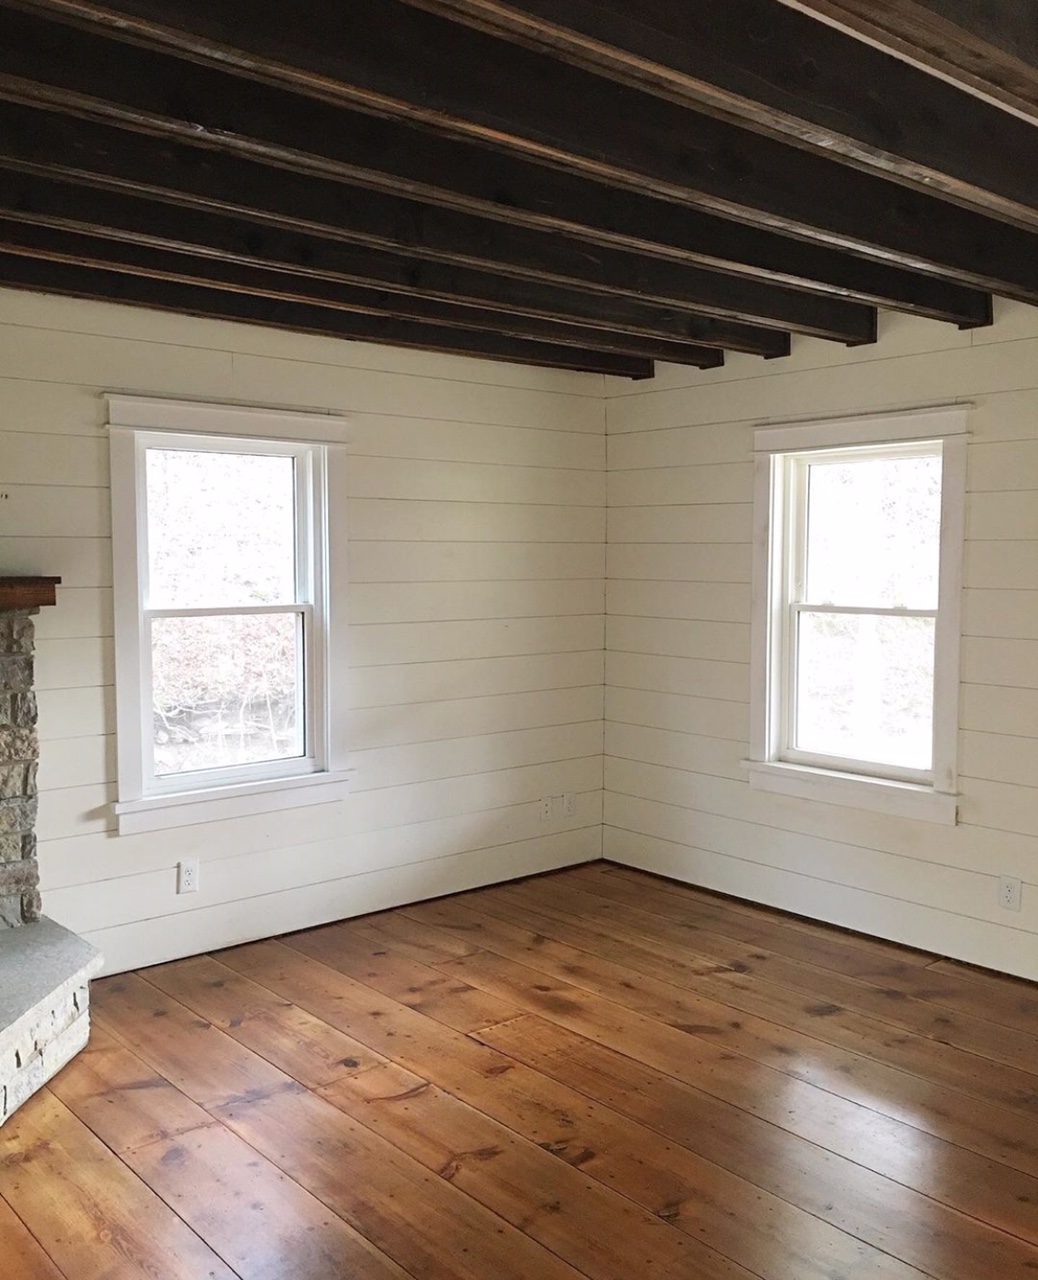
HUMBLE BEGINNINGS
The picture below is from the original real estate sale page. The old owners did a great job of making the photos look tidy and welcoming, but the wife confided in me and confessed that they weren’t ones for cleaning. Say what? I know!
As a result, years later, we are still cleaning up their messes and trying to polish up this old farmhouse to breathe new life back into it.
I believe we did just that in this original room that welcomes all who enter our vintage style home.
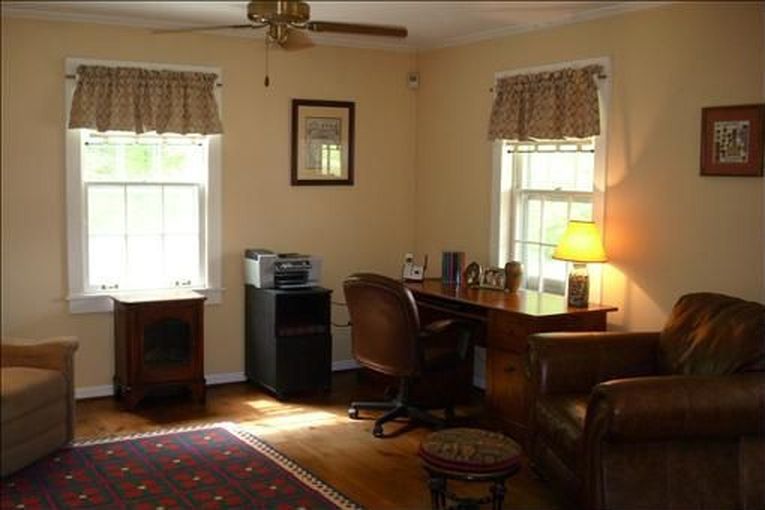
This space was a home office where the old owners ran their business. The husband was in construction and they had plans to make this farmhouse a bed and breakfast.
We’re not sure how far they got, but the farmhouse definitely has an bed and breakfast kind of vibe.
It seemed so small when we did our first walk through, but my husband saw the potential of what it could become.

We decided that we would go ahead and remove the old bead board on the stair wall and replace it with the new yellow pine shiplap.
Which by the way is a bit more expensive than the regular pine.
It doesn’t have as many knots and seems like a hardier board, but just keep the price in mind if you decide to go with the real deal for your home.

THE PROCESS
If you are on IG, you can check out my highlights to see just how far this room has come. Let’s just say that “Demolition Day” was a big job and took more than just a couple days with just our crew of two.
We removed all the drywall and installed real nickel lap all around the room.
After we removed the ceiling drywall, we kept the ceiling joists exposed. But my husband dressed them up with these stained cedar boards.
As a result, we have the look of old rustic beams to go with the other rustic elements in our farmhouse.
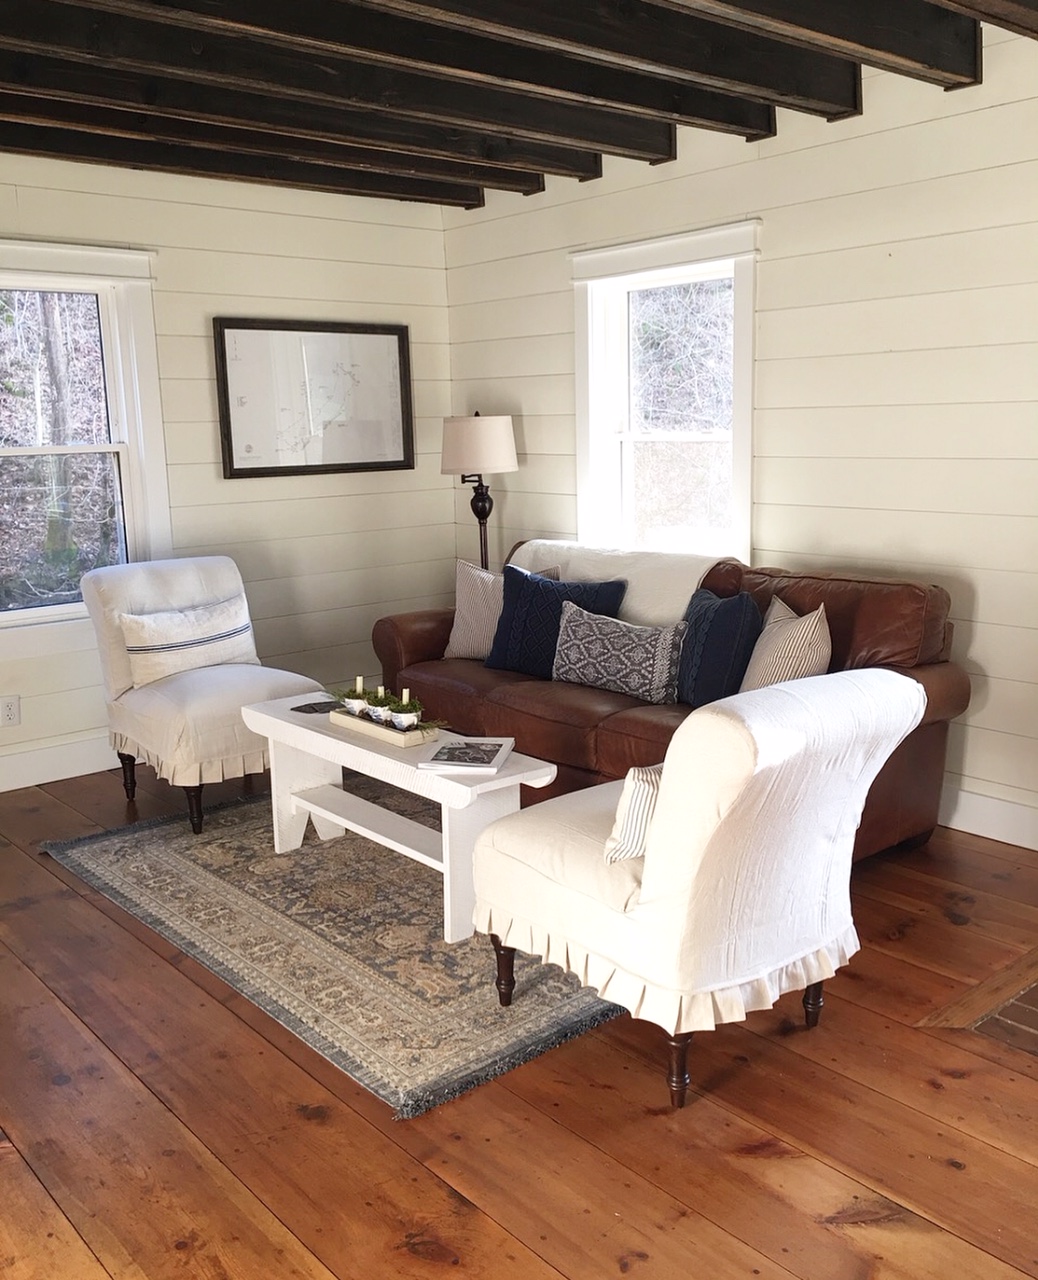
A MUCH NEEDED UPGRADE
We had most of the windows replaced a few years into our move.
My husband added the farmhouse window trim and refinished the floors himself.
It was a lot of work and took longer than we expected, but life happened and we’re just glad we can start using the space again for our family.

CREATING A COZY CORNER
We did hire someone to help build our wood burning heart and stove a couple years ago, along with the front door, but everything else was all us. More hubby than me.

It has come a long way and it finally is starting to feel like “home.” That may be challenging to understand for most, but having been a military family for so long, planting roots anywhere for longer than a few years was so foreign to us.
We were fortunate enough to be able to live in upstate NY for 5 years and we absolutely loved it there.
My husband was deployed a lot, but it was nice for the littles and I to be in one place long enough to cultivate friendships and be plugged in to our local church. We have owned this property since 2013, but have only lived here for 5 years, since my husband was still on active duty and stationed at FT Campbell, KY.

CREATING USABLE SPACE
For under the stairs, I had originally wanted two doors for storage, but my husband had other plans and asked me to “trust” him.
I am glad that I did because his new deep drawers turned out better than I imagined they would. He also added a small black vent to the left to help circulate air into the small storage area.
He also added a light and built the custom door. We’ll add some hooks on the far back wall to hang coats and our winter accessories will fill the drawers nicely. This should make some room in the littles’ bedroom closets.
I love keeping an organized home! Can you tell?

ENTRYWAY
This side of the room will have our DiY coat rack and something special in this corner.
We plan on building something for below the window in the future.
I found the drawer pulls at a local shop that was closing a couple years ago and I wish that I had purchased more, but I was being frugal. They fit perfectly with our vintage farmhouse style.
Even the small iron door knob looks like it belongs. The small details can make such a difference.
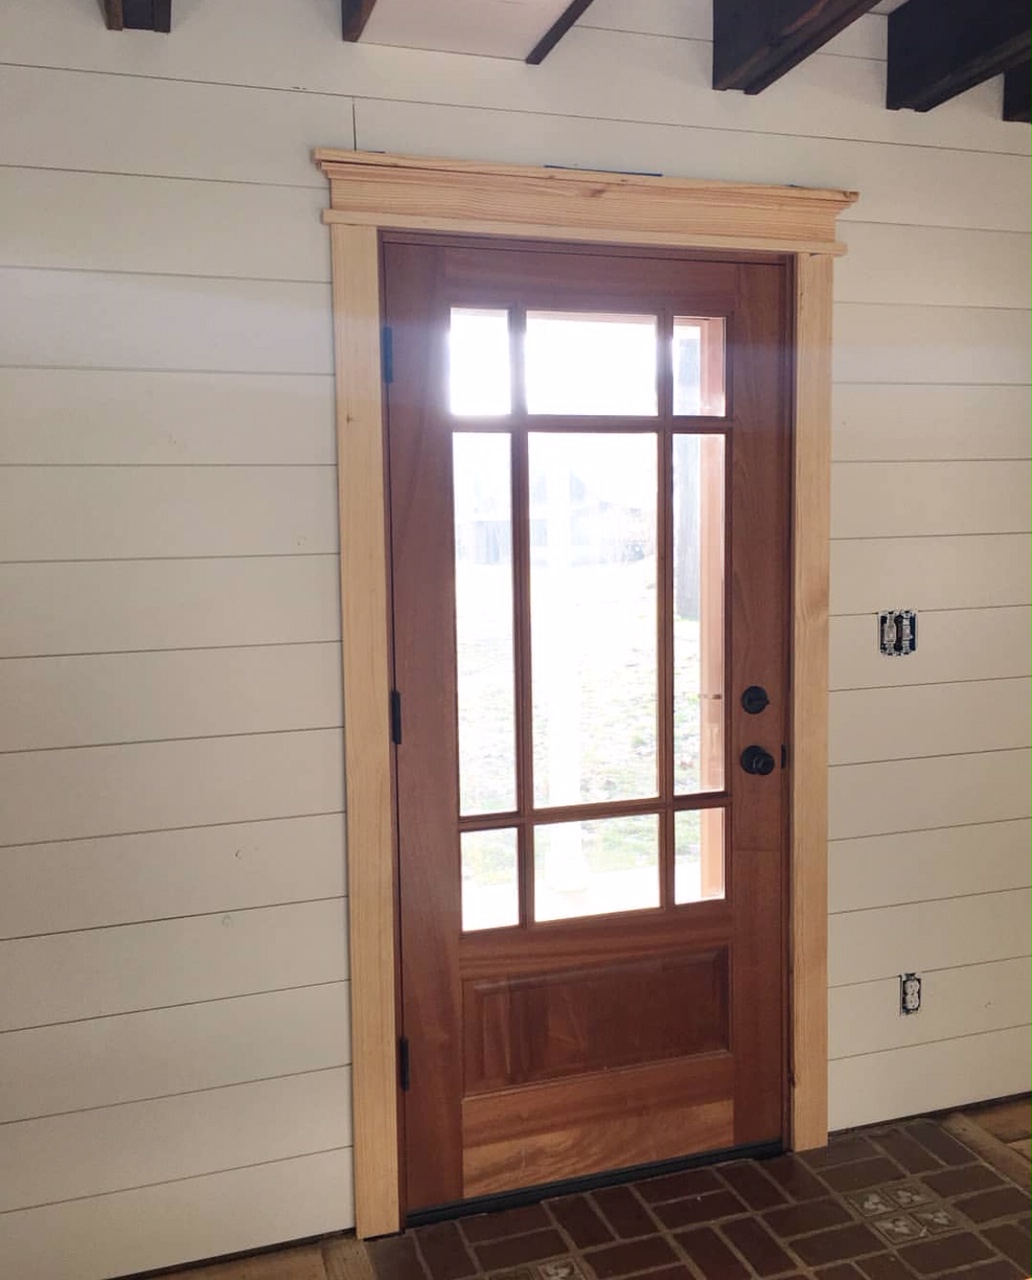
Since this room was older, my hubby had to get creative when it came time to trimming it all out, but I think he did a great job with what he had to work with.
IT’S ALL IN THE DETAILS
The front door molding was a work in progress.
My husband wanted to add a little more detail to the top at first, but then after reconsidering all the other simple trim, we both decided on keeping it simple.
The picture below shows the good comparison.

FINAL THOUGHTS
For those of you who have walked with us during this DiY renovation, “Thank You” for sticking around for the process.
I think you will like the final product as much as we do.
We still have some styling and more DiY furniture projects on our list of “to-do’s”, but after such a long process and all the hard work we put into this room, I am in no rush to just hang up anything or throw something together to “make do.”
I want to be intentional with the pieces and stories we add to the walls. The hubby appreciates that because it minimizes any wall repair jobs. Hahaha!

The next step is dressing up the space with our vintage and antique finds to pull the whole room together.
**This post may contain affiliate links. Please see full affiliate disclosure here.
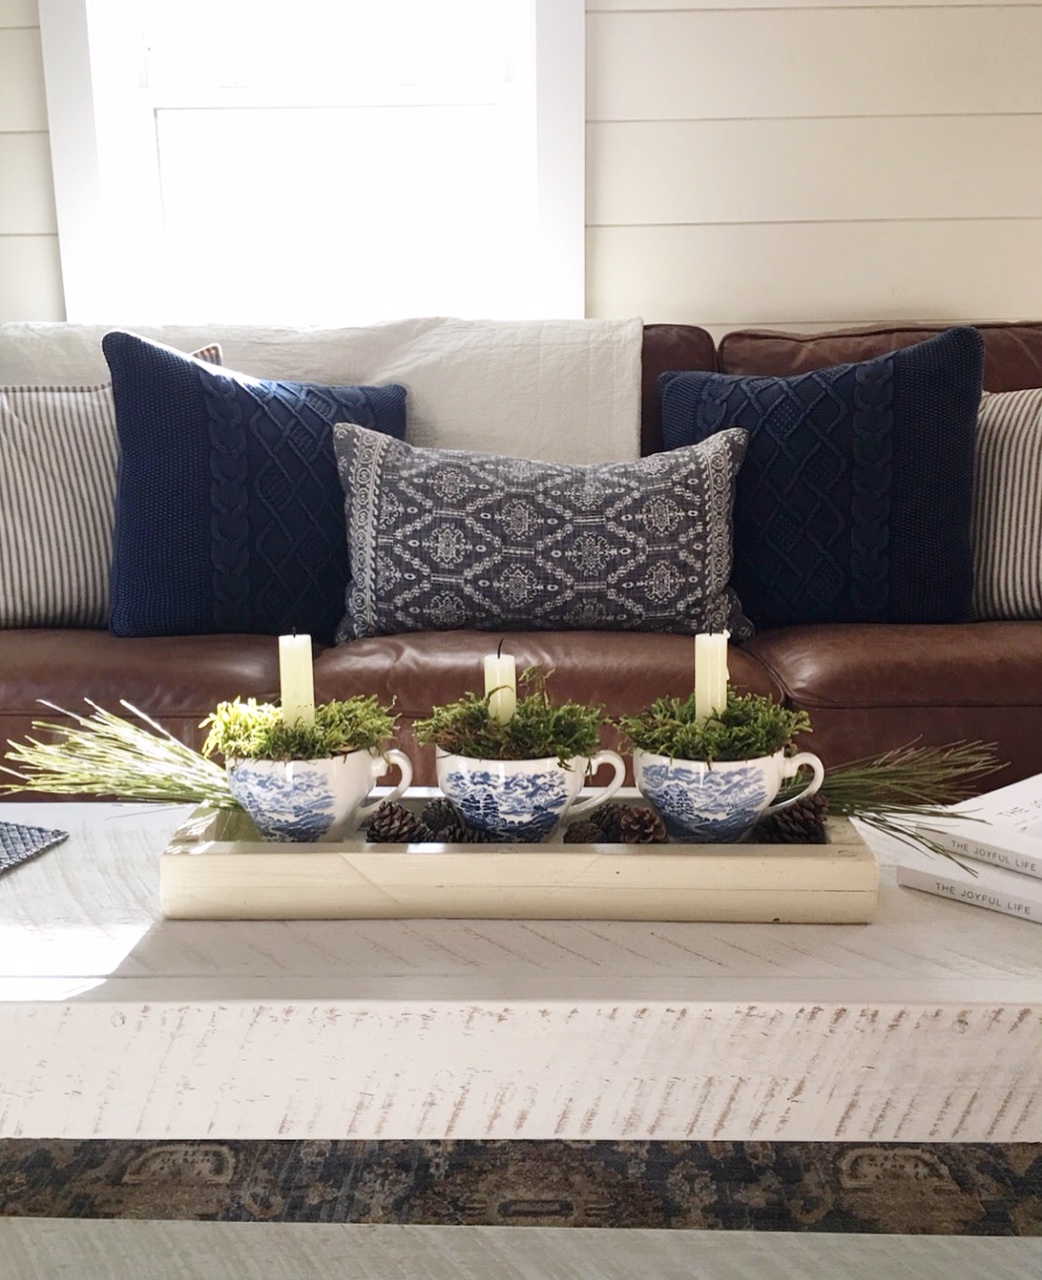
It is so warm and cozy now! I love the way our second hand leather sofa looks with all the pops of blue. These blue and white tea cups are from my husband’s grandmother’s Royal Warwick Lochs of Scotland Blue transferware collection.
You can find this pattern at antique shops, thrift stores, and online. These shop on Etsy.com carries the saucers and bowls here.
I recovered these inexpensive occasional armless chairs that I found at Bargain Hunt, with some DiY drop cloth slipcovers that I made in just two days. Read all about it here.
PIN IT FOR LATER:

I hope that you enjoyed this living room farmhouse reveal.
Be sure to check out the links above and my IG highlights to see more of the behind-the-scenes pictures.
Thanks again for all your interest in our simple and natural journey here in the hollow. We appreciate you being here.


Leave a Reply