“Back to Basics” is a weekly series that focuses on preparedness and simple practical life skills to help inspire you on your natural living journey.

There are many important lessons that we can learn from the pioneers before us. For our family, it was a natural transition to learn how to be more self-sufficient, while learning how to utilize our land and all its’ natural resources. Country life isn’t always easy and it does require a lot of pre-planning, patience, & hard work, but it also helps us prepare ourselves for whatever the future may throw our way. The future may seem uncertain at times, especially with the recent events of 2020, but don’t lose heart! Try to remember the basics and focus on the important things in life, like what needs to happen in order to care physically and spiritually for your family’s daily needs.
This is what our Back to Basics series is all about! This is a place where you can come and learn a new skill or dig deeper into an area of interest that you have been wanting to learn more about. Today, I’m going to be sharing some simple tips and our lessons learned from canning our own food at home.
WHY “CAN” YOUR FOOD IN THE FIRST PLACE?
These days with the “pandemic” and the glimpse of how a national crisis can cause shortages of supplies at the local levels, more and more folks are starting to think twice about where their next meal will be coming from. And if they are not, they really should be!
Having a variety of methods for preserving your food or homegrown harvest is simple to do, whether you live in the country or in the city. All you need are the basics, the recipe of your choice, and the rest comes with practice.
On our homestead, we use freezing, refrigeration, fermenting, culturing, drying, and you guessed it, canning to preserve the harvest and prepare for any unforeseen events like natural disasters, power outages, and just plain old busy days! Using a combination of preservation methods helps to better insure that your family will not be without some form of daily nourishment. Read more about our simple meal planning methods here and how we ferment some of our food here.

This is our 11th year homeschooling and the whole family helps to inventory the new meat. You can read about our homeschool journey here.
Whenever possible, we try to purchase our beef and pork from local farms that we trust. A couple years ago, we took a trip to a cattle ranch about 2 hrs away to see their farming operations. We were very impressed with their knowledge, background, and growing process. Knowing your farmer really is a great way to insure that your food is quality raised and grown.

BEFORE YOU GET STARTED
- Be familiar with the recipe you will be using. Things like amount of head space and processing times are good to know ahead of time.
- Be familiar with the cleaning method you will be using. For thick skin veggies and fruit, use a soft bristle brush. For delicate skin veggies and tomatoes, wash and rinse with a homemade veggie wash of 1 cup vinegar, 4 cups water, and 1 tablespoon of lemon juice. Pour mixture into a clean glass spray bottle and spray onto veggies as needed before using.
- Plan your day accordingly. The earlier the better. Carve out a time to start early in the morning. Depending on what your canning, it may be a whole day affair.
- Minimize the stress by planning ahead for dinner time. I try to plan my canning days around a cooler day and a left over night. We also have the option of taking advantage of one of our pre-made meals that I canned previously. It just makes it less stressful for everyone when I don’t need to stop mid canning to prepare dinner from scratch.

**This post may contain affiliate links. Read my full disclosure here.
GETTING STARTED
TIP ONE: GATHER THE EQUIPMENT
*THINGS YOU MOST LIKELY ALREADY HAVE ON HAND-
- Timer
- Tea kettle or pot for bowling water
- Slotted spoon
- Wooden spoons
- Small rubber or silicone spatulas for helping to remove bubbles
- Dish cloth for wiping around the lip of jar
- Strainer or colander
- Sharp knife for chopping and cutting
- Paring knife
- Measuring cups
- Measuring spoons
- Nesting mixing bowls
- Oven mittens
- Trivets
- Potholder
- Dishcloth
- Food processor or blender
*THINGS YOU WILL NEED IF YOU’RE JUST STARTING OUT-
- Canning jars with lids and rings (make sure the lids are BPA free)
- Canner (pressure canner for low acidic a.k.a. low alkaline foods like animal products, vegetables, seafood, and recipes that combine other ingredients)
- Water bath canner (for high acidic foods like fruit, jelly, jams, relishes, chutneys, etc.)
- Jar lifter or tongs
- Canning funnel
- Magnetic wand for lifting lids out of hot water
BONUS TIP: WHERE TO FIND CANNING SUPPLIES ON A BUDGET
I added links for visual reference, but we found a lot of our canning supplies like large metal mixing bowls and jars from Craigslist and other online yard sale sites. After the canning season is a great time to take advantage of those deals offered by folks who want to get rid of their overstock items. Shop clearance shelves after the canning season to save as well. Typically, canning season is from early to late summer and lasts into early fall.
TIP TWO: ORGANIZE THE WORK SPACE AND CLEAN SURFACES
Make sure to start off with an organized and clean kitchen. Place all your canning supplies at arms reach and in a way that will help save time from searching for items later. Wipe down your surface with all-purpose cleaning spray. We use white distilled vinegar to clean our kitchen surfaces. We sometimes use our homemade thieves immune boosting spray as well. Both these options kill bad bacteria and sanitize your surfaces without the harmful chemicals of many conventional cleaning products on the market. They also evaporate quickly and are inexpensive.
TIP THREE: CLEAN JARS AND KEEP WARM
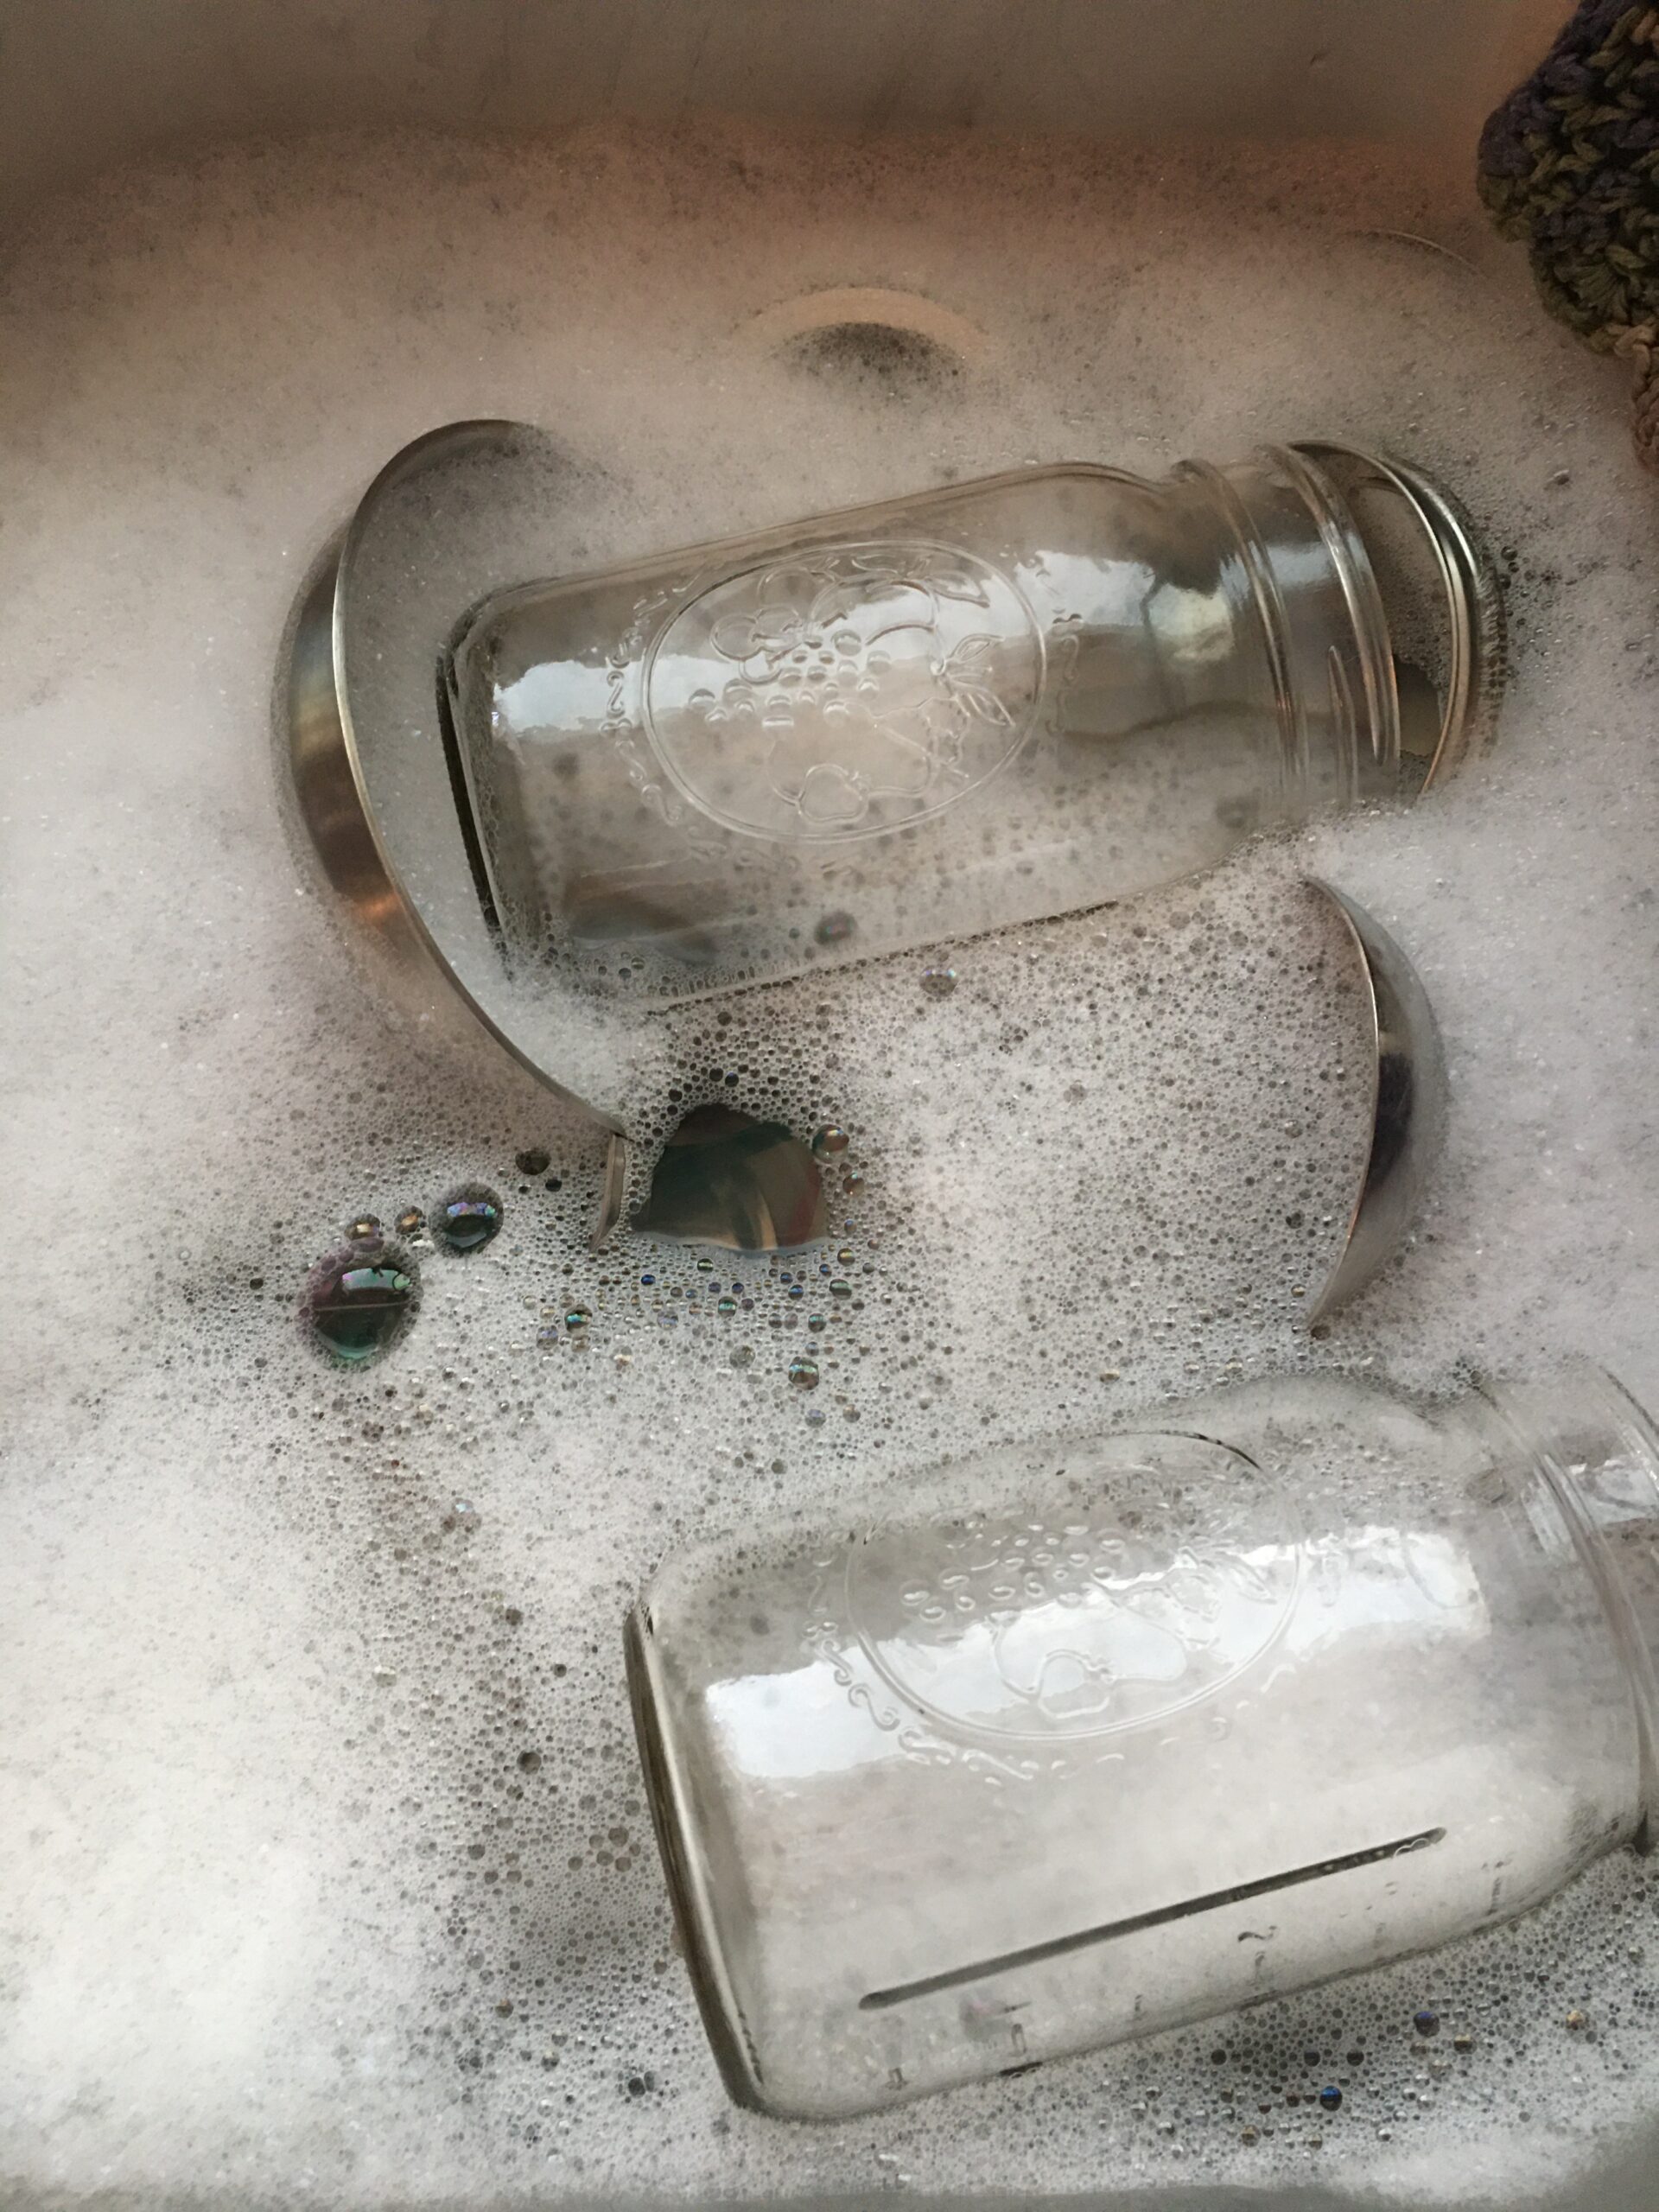
There are several methods out there from running your jars through a dishwashing cycle to keeping your clean jars in the oven at the lowest setting. I have used both methods and have found that I prefer washing my jars in a bath of soapy hot water. As I rinse them, I place them on an old rectangular cake pan I got from my mother-in-law and place them in the oven at 175 degrees until I am ready to use them.
If you are using your pressure canner, this step is not necessary because the high pressure will kill any bacteria, but I am so used to doing it this way for water bath canning, that I just stick with it for both canning methods.

TIP FOUR: CHOOSE FRESHEST PRODUCE AND QUALITY MEATS
Since canning is a way to preserve your harvest or bulk produce and animal products, you want to make sure to use only the quality ingredients your budget will allow. Growing your own garden is a great way to save money and insure you get the freshest ingredients.
NOTE: You want to avoid using super market produce that may have been treated with wax or a resin, for obvious reasons. Whenever possible, choose organic and non- GMO. Use the current Dirty Dozen and Clean Fifteen lists from the EWG to help you know when to buy organic or when it’s safe to buy conventionally grown. As always, do your own research and test all things for yourself.
TIP FIVE: CHOOSE WHAT TO CAN BASED ON WHAT YOUR FAMILY LIKES
When you first start out canning, it is easy to get ahead of yourself and can everything and anything you can get your hands on. I’m speaking from experience! Knowing which produce does better with freezing or canning is good to know ahead of time. Over the years, I am reminded that keeping it simple and sticking with just the foods that our family enjoys not only saves us money, but it also eliminates any added waste.
SAFETY TIP:
Canning your own food can be scary for someone considering this food preservation option for the first time, but when executed correctly, it can be a tremendous blessing and addition to your practical homemaking skills.
Sometimes, you may have a jar that is in question. When all else fails, rely on your natural senses to alert you to any jars that may have not completely sealed. The sniff and sight test can go along way and not just with canning! In the 10 plus years of canning our own food, I have had one jar go bad on the shelf and less than a handful of jars that didn’t seal properly. Thankfully, I caught those jars shortly after removing them from the canner and we were able to eat them within a day or so. If you suspect it’s bad, don’t even try it. Food poisoning is no joke!

Thanks for stopping by the hollow! I hope that these simple tips help give you the confidence to tackle your future canning projects with less anxiety.

Disclaimer: The health and wellness posts shared here on GracefullyHome.com are not intended to diagnose, treat, prevent or cure any illness or disease. The information provided on this blog is for general educational purposes, has not been reviewed nor approved by the FDA and is not intended to take the place of advice from your medical professional, licensed dietician or nutritionist.
You are solely responsible for your health care and activity choices. Use of any of the recommendations or helpful tools and tips on the GracefullyHome.com blog does not constitute a client-coach relationship.


Leave a Reply