Thanksgiving is only a few days away and it’s all hands on deck around the homestead.
The turkey is thawing, our pantry is well stocked, and our favorite Thanksgiving recipes are ready to make our farmhouse smell like a little piece of heaven.
Come see how we freshened up our home for the fall with natural elements from the outdoors, special antique finds from our local antique auction house, and a simple 3 in 1 sewing project made from one tablecloth.
THE LIVING ROOM
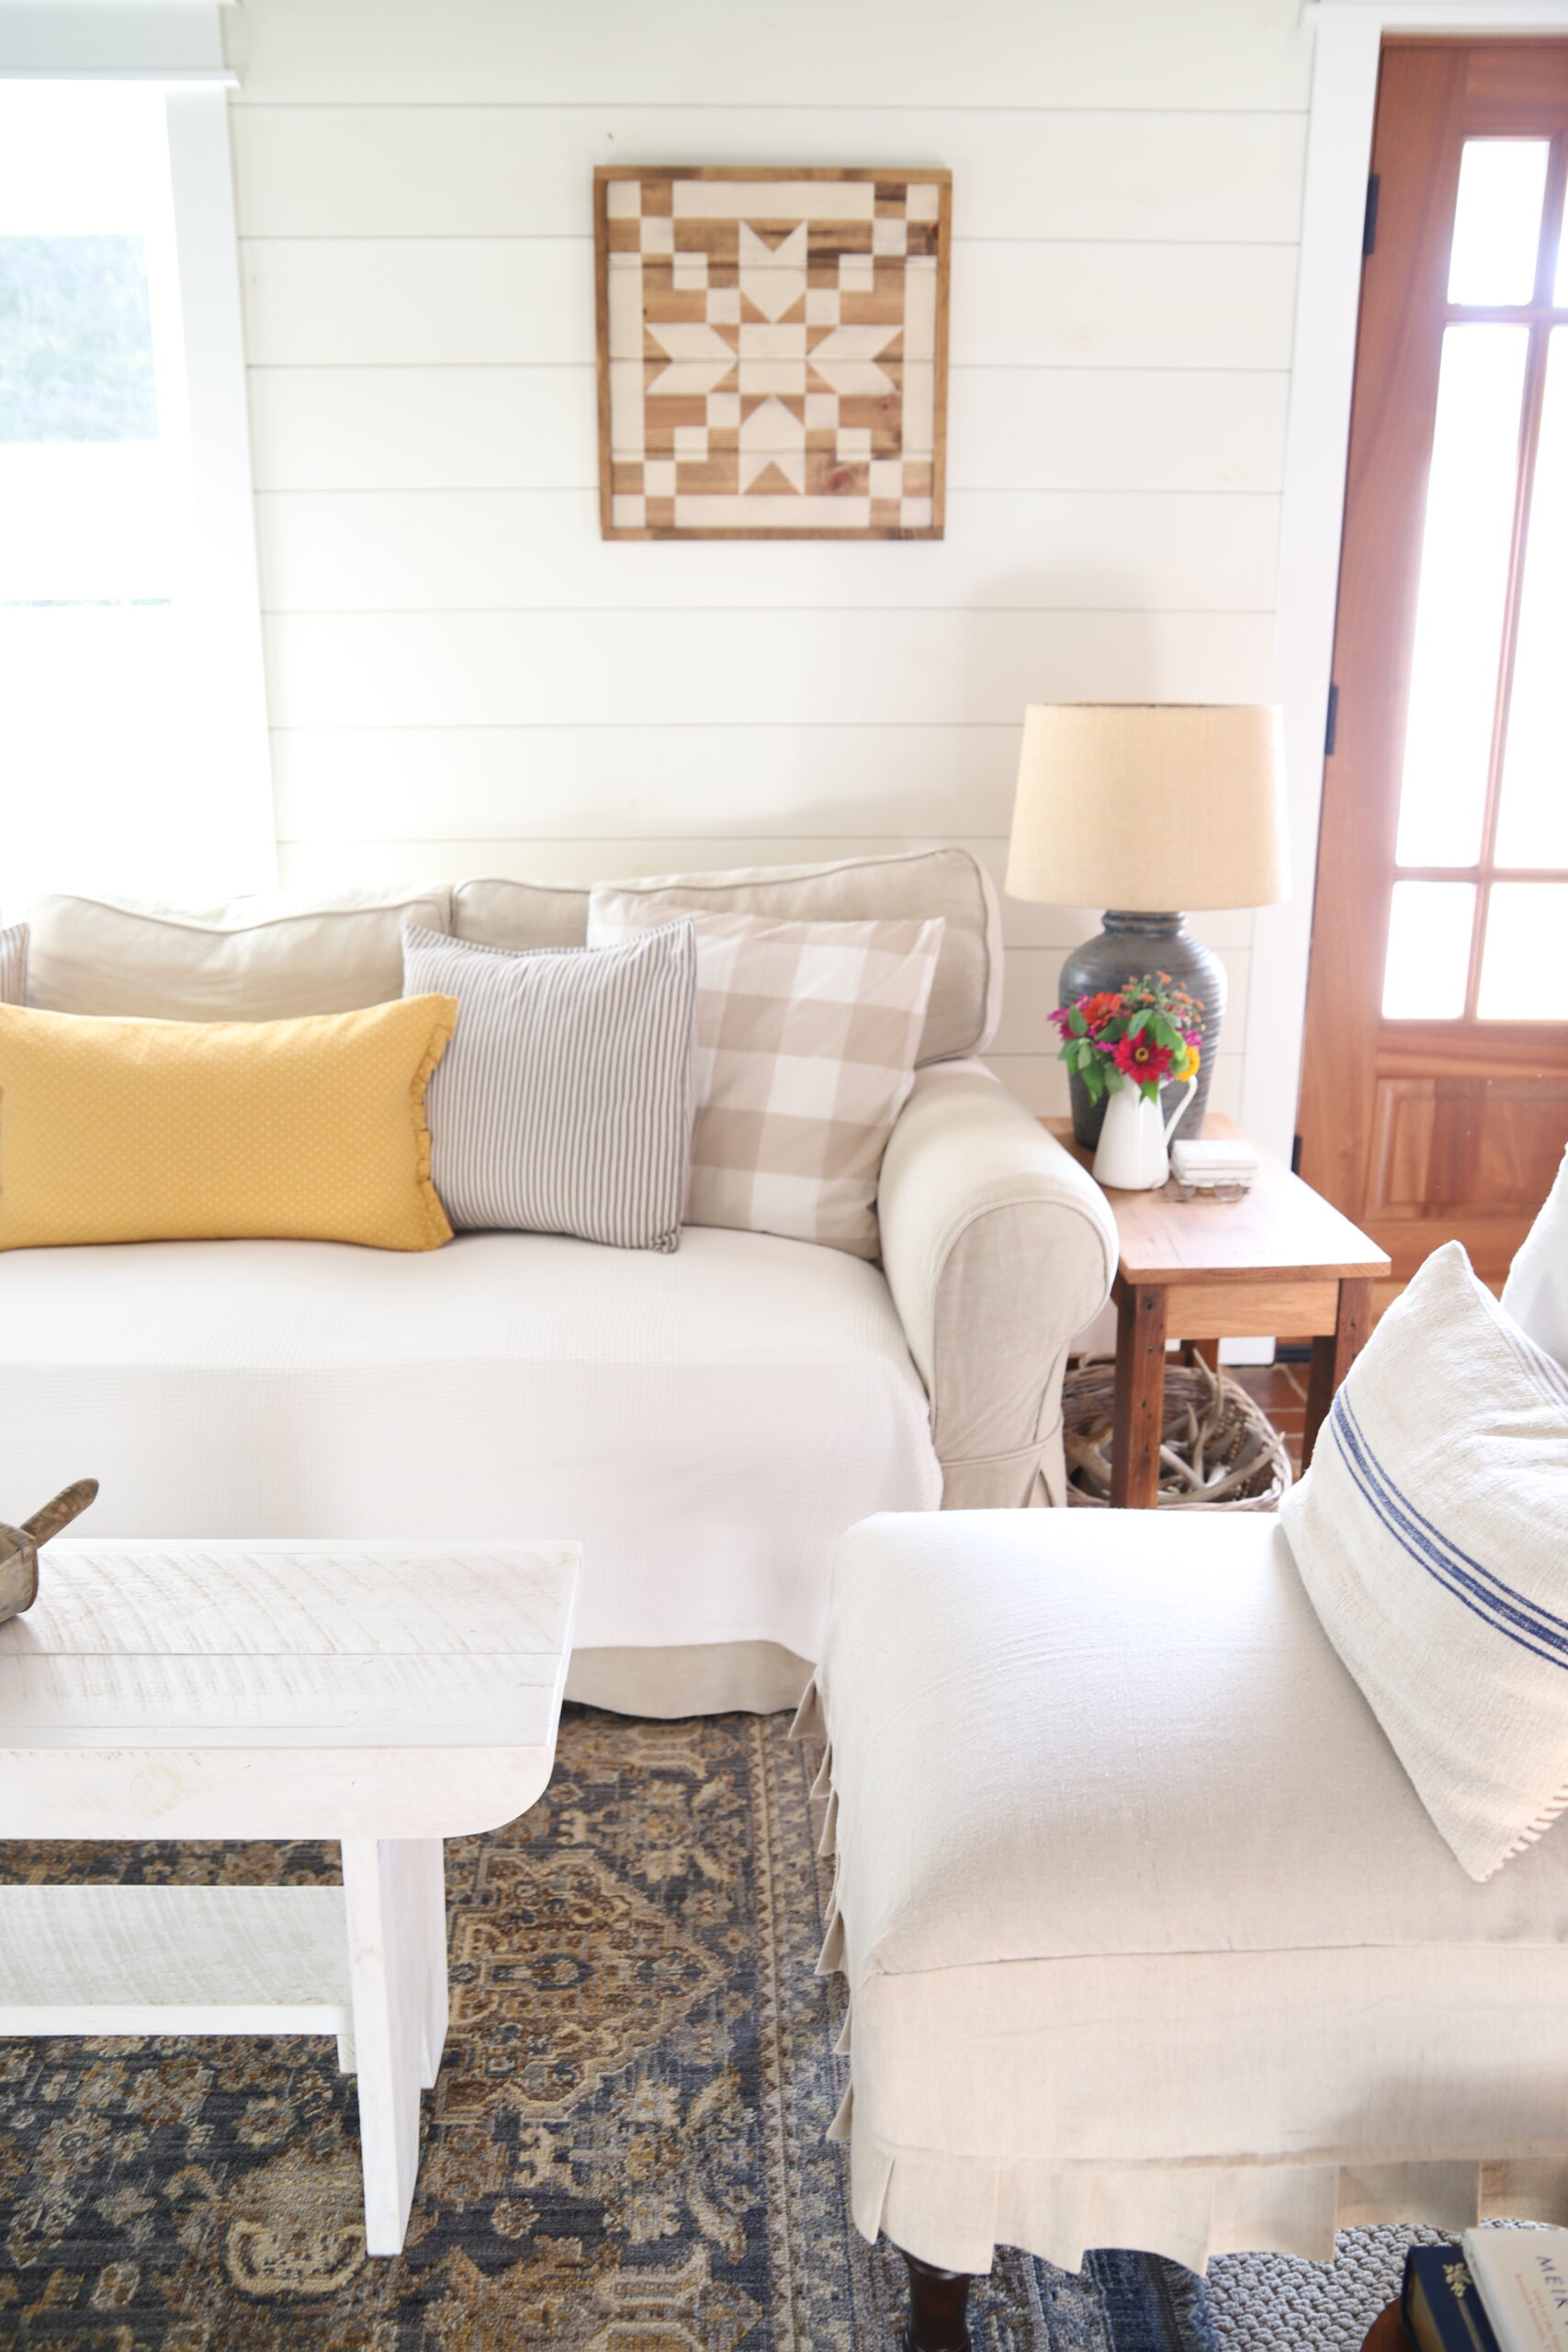
With our neutral backdrops and neutral furniture, it makes it simple to change up the look of a room without spending a lot of money. And in some cases, we don’t even have to leave the hollow.
I love adding texture and pops of color around our farmhouse! Fresh flowers from the garden, dried grasses, heirloom pumpkins, mini white pumpkins, bunches of eucalyptus, and soft throw blankets make for a cozy fall space.
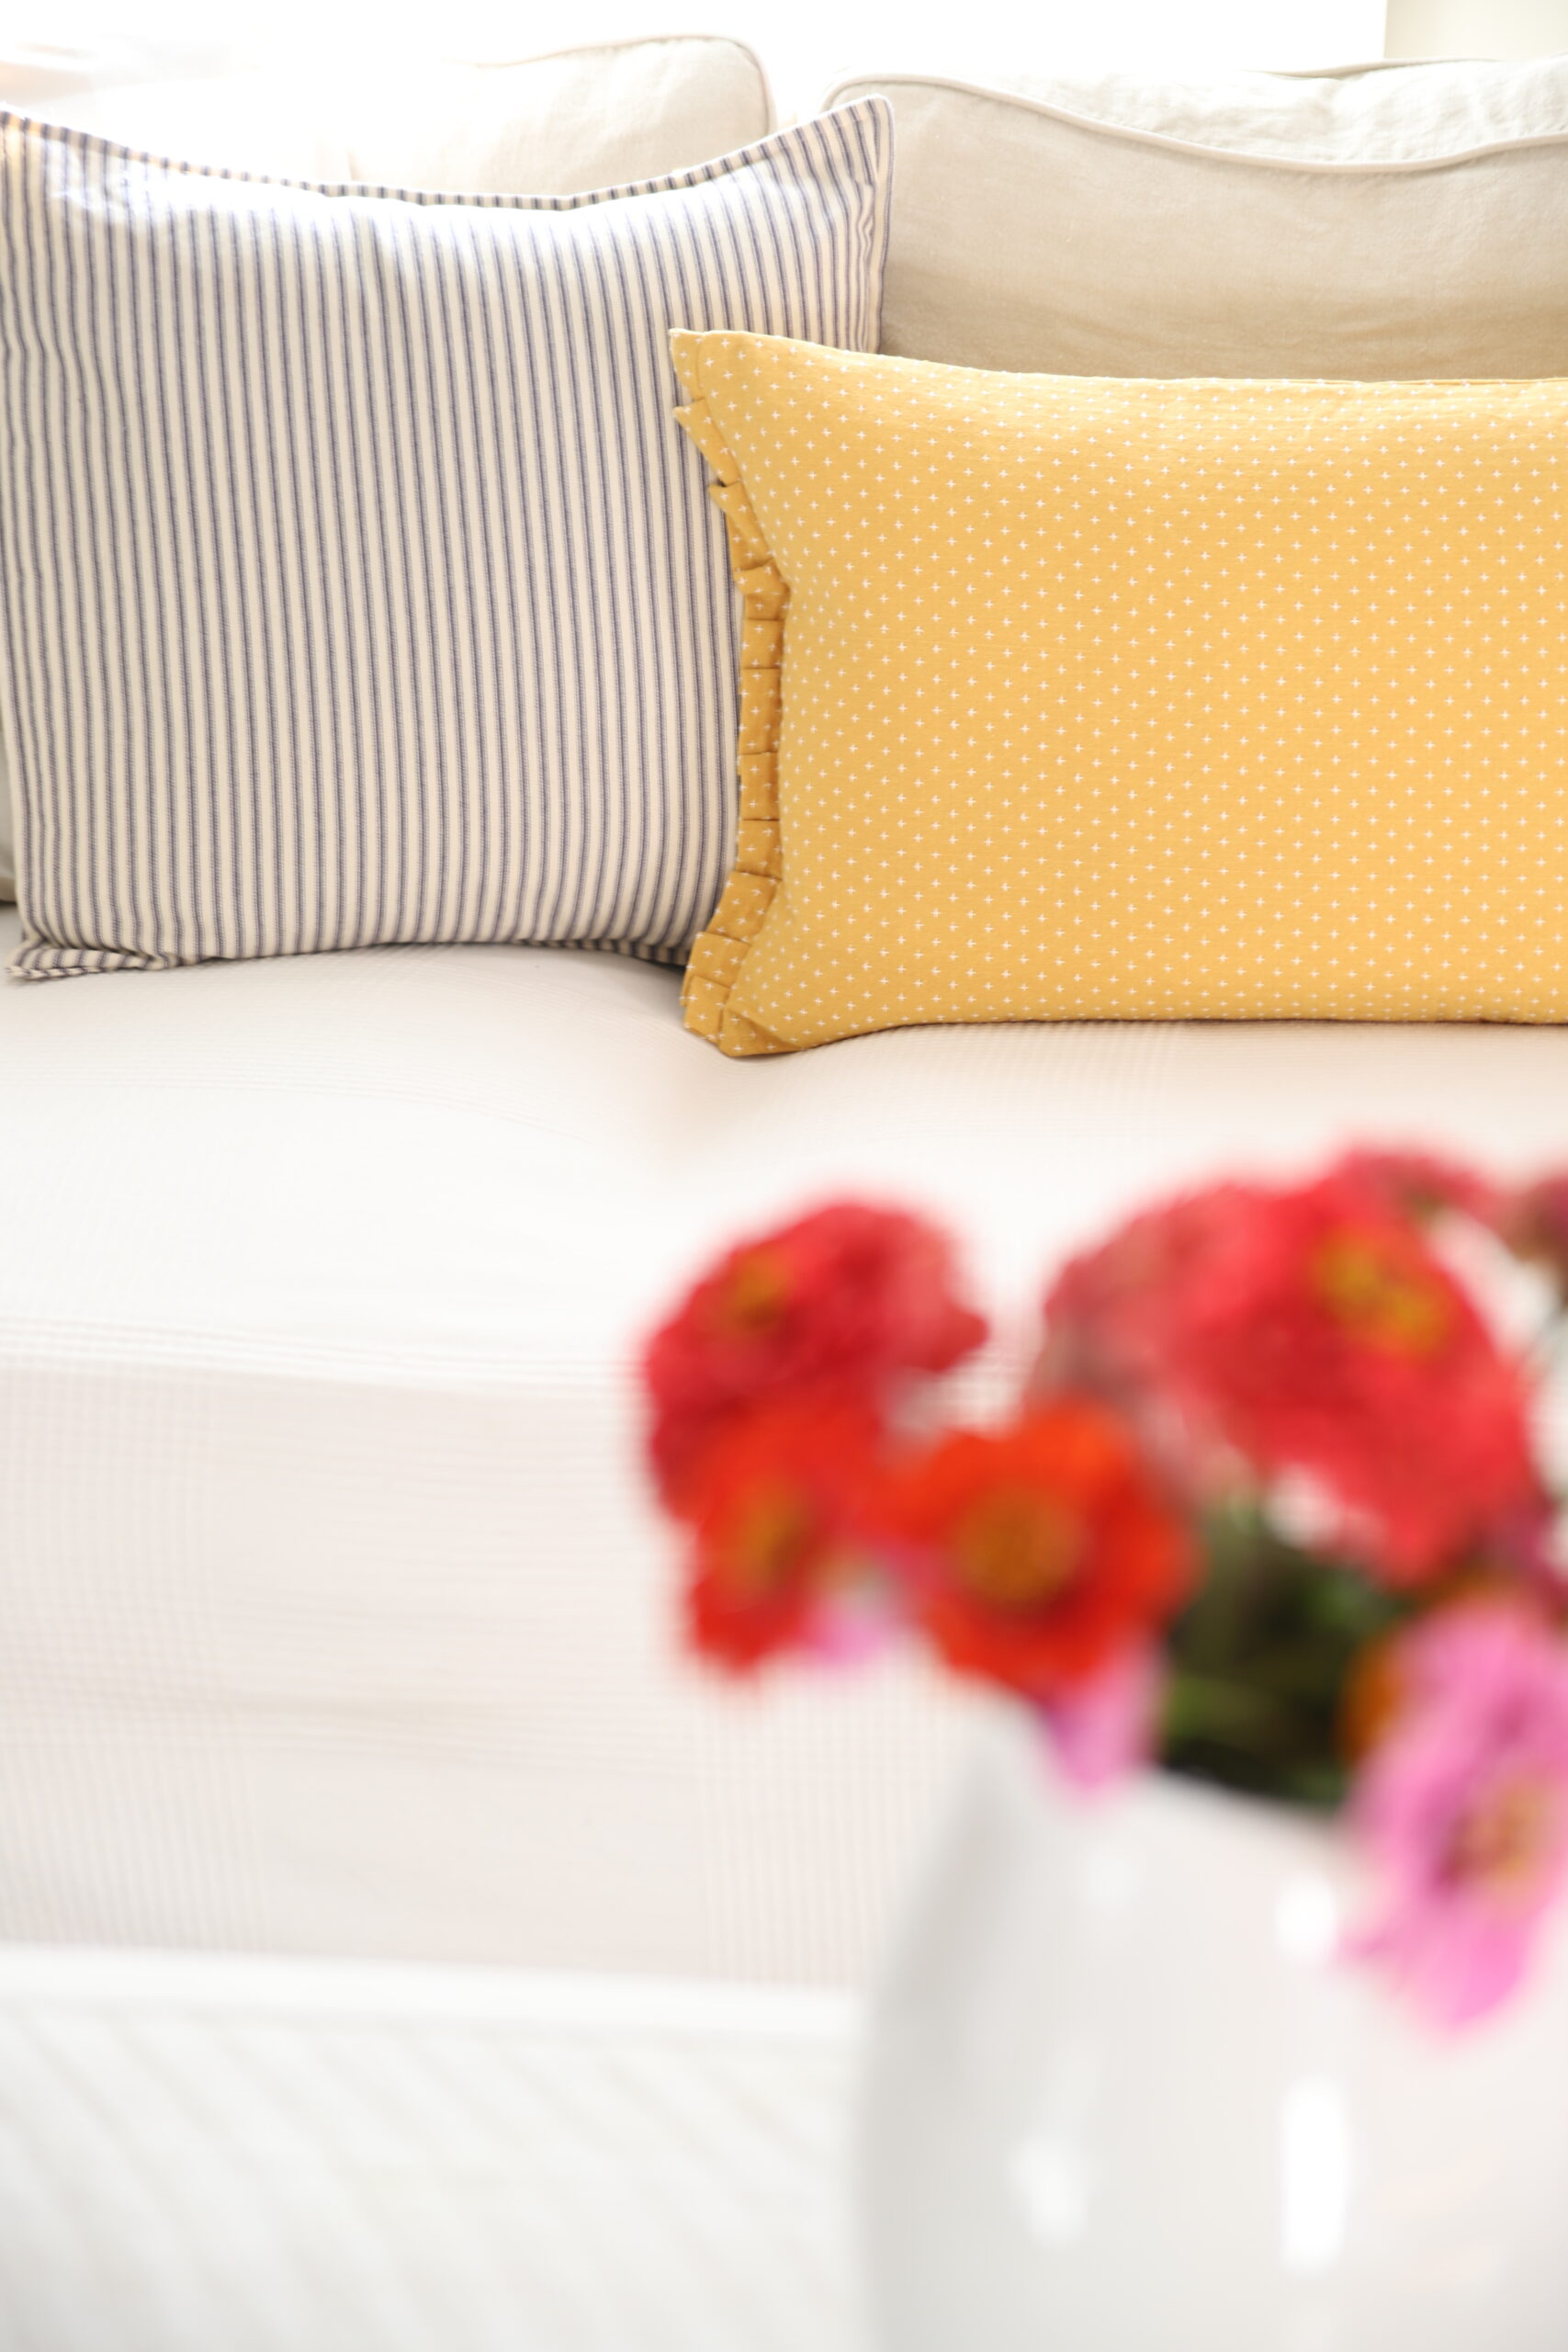
One of the ways we save money decorating our farmhouse is by reusing pillow slipcovers.
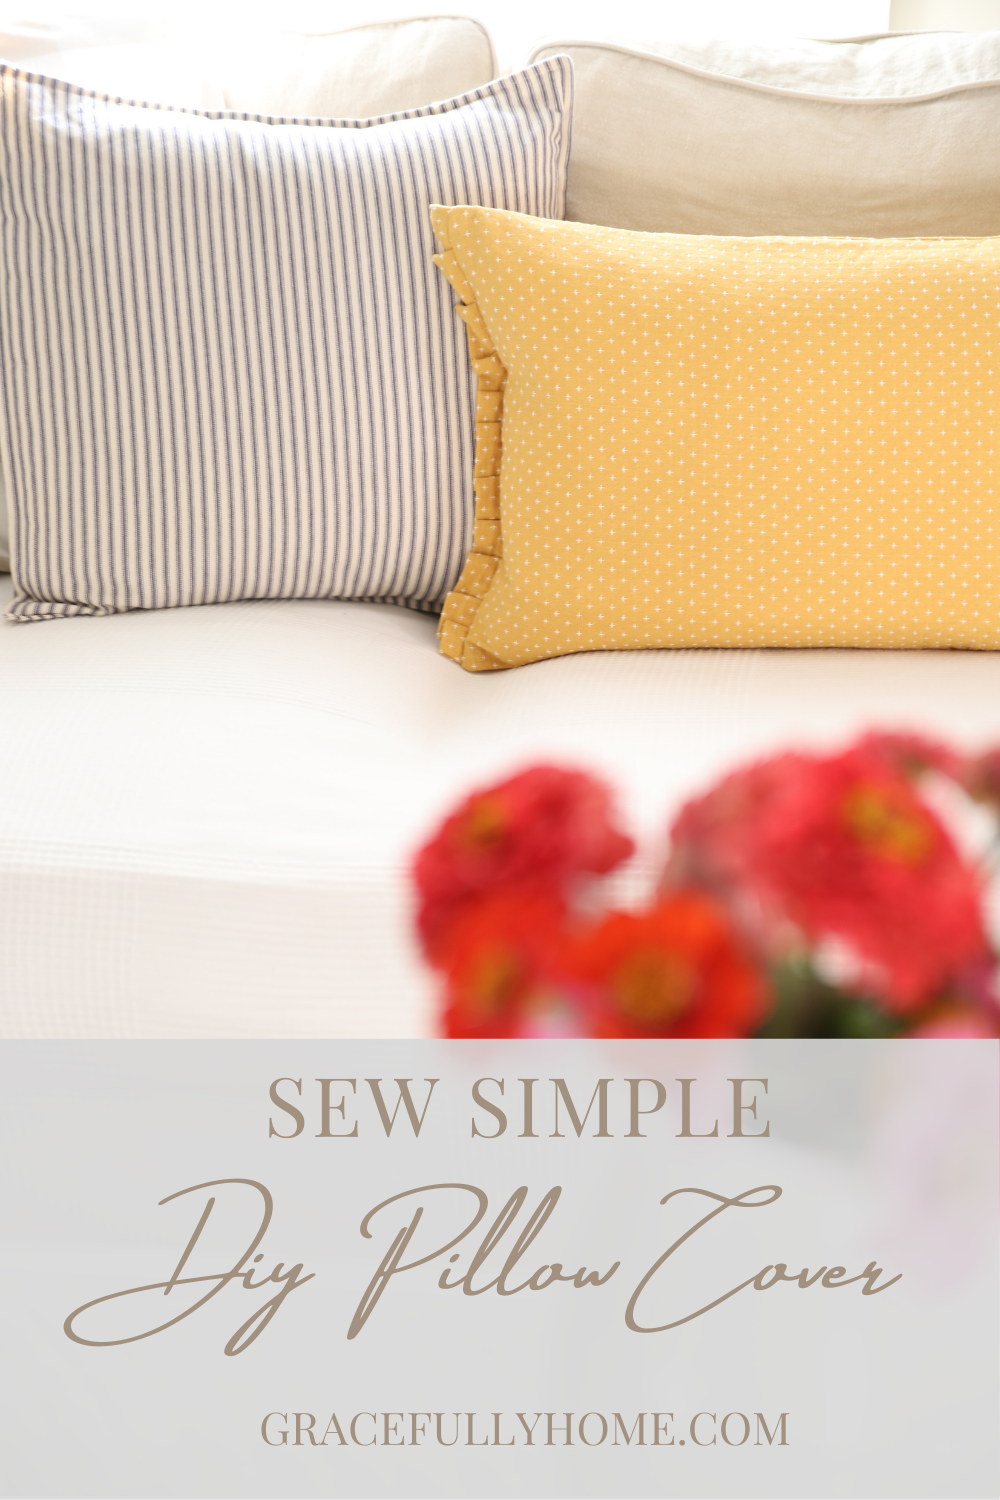
Sewing simple pillow covers is a great sewing project for beginners. For the more advanced sewers, adding a border of piping and a zipper enclosure, can elevate a casual pillow cover to a more elegant and custom look.
For this particular lumbar slipcover, I used my simple tutorial here and opted for the fast and easy envelope opening.
Sewing a zipper isn’t that difficult to do. Once you get some practice with it.
But the envelope method is a “no brainer” and I have been making them since I was eighteen. Which was a life time ago! (smile)
Nature is a great place to shop for beautiful and natural decor that can fit even the tiniest of budgets. Because it’s FREE! Who doesn’t love that?!
Often times, I will see dried arrangements for sale in the box stores, but I leave empty handed because I know I can easily shop our farm for unique dried flowers and mixed grasses that don’t cost a thing.
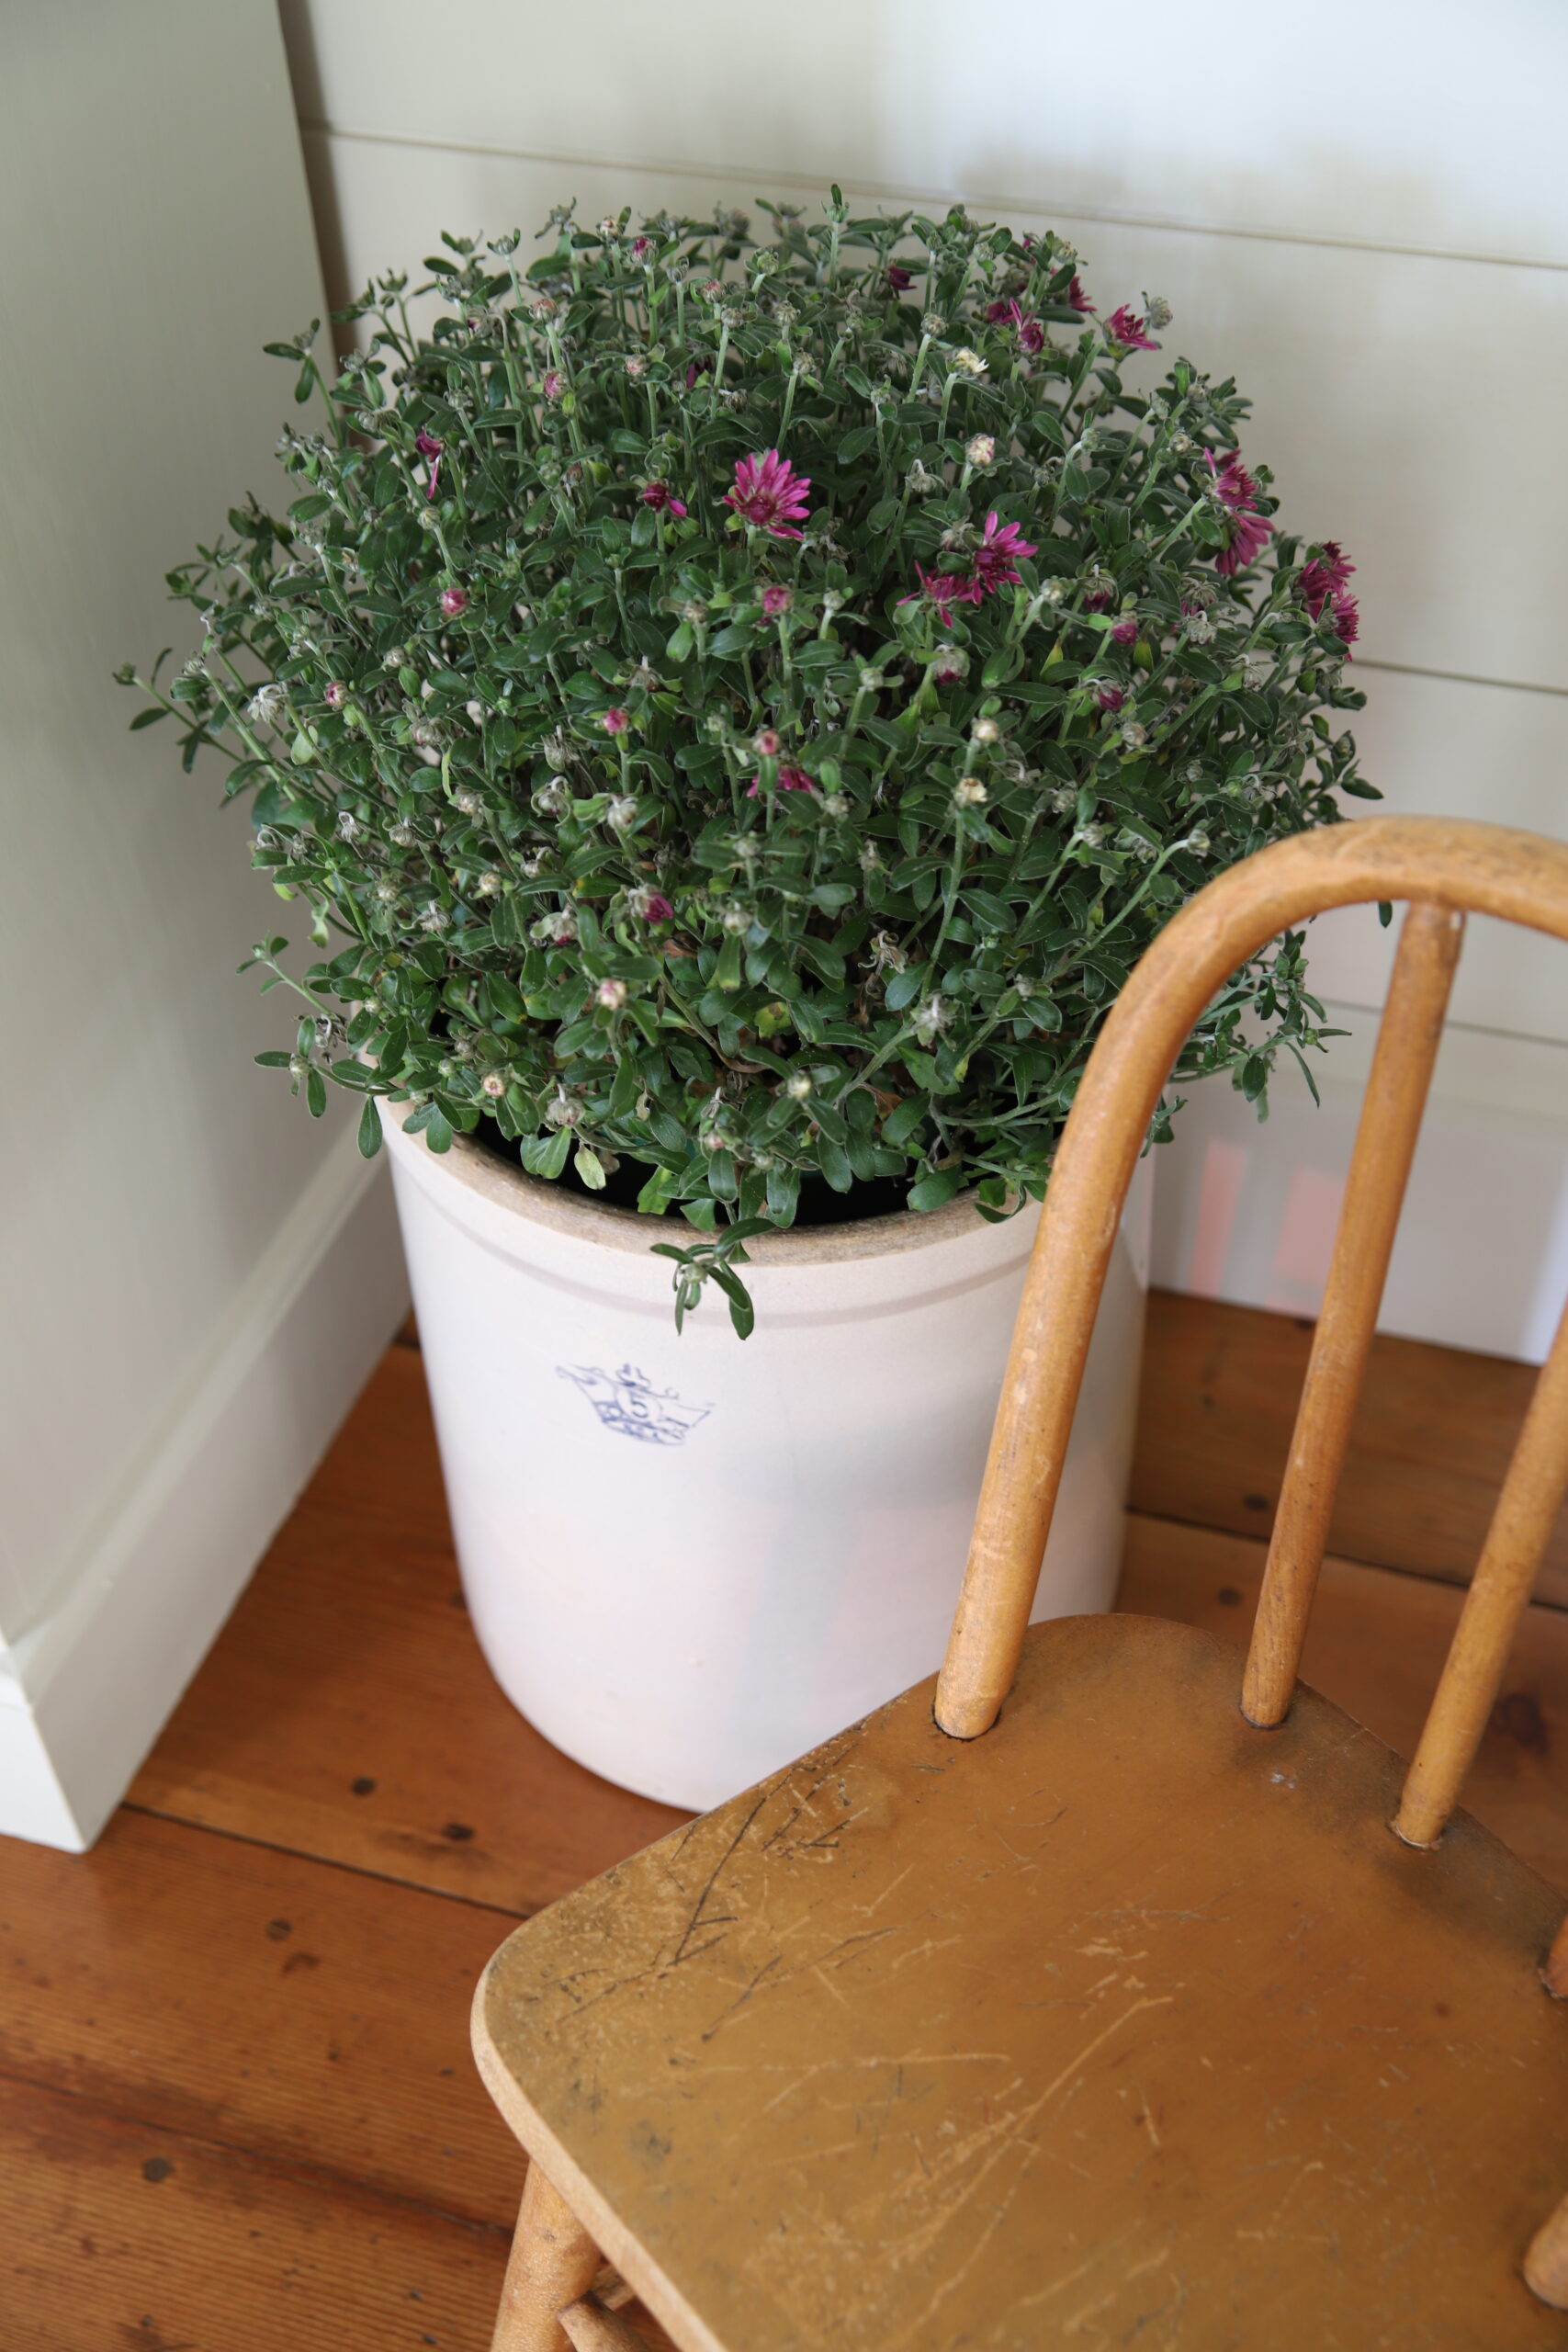
Mums and pumpkins placed around the home are a staple for autumn decorating. And when cared for well, they can last all the way through into late November or longer, indoors.
God’s creation trumps anything we could ever make in a factory or assembly line! Don’t you think?
That’s why I think so many folks are drawn to the natural beauty and elements around us.
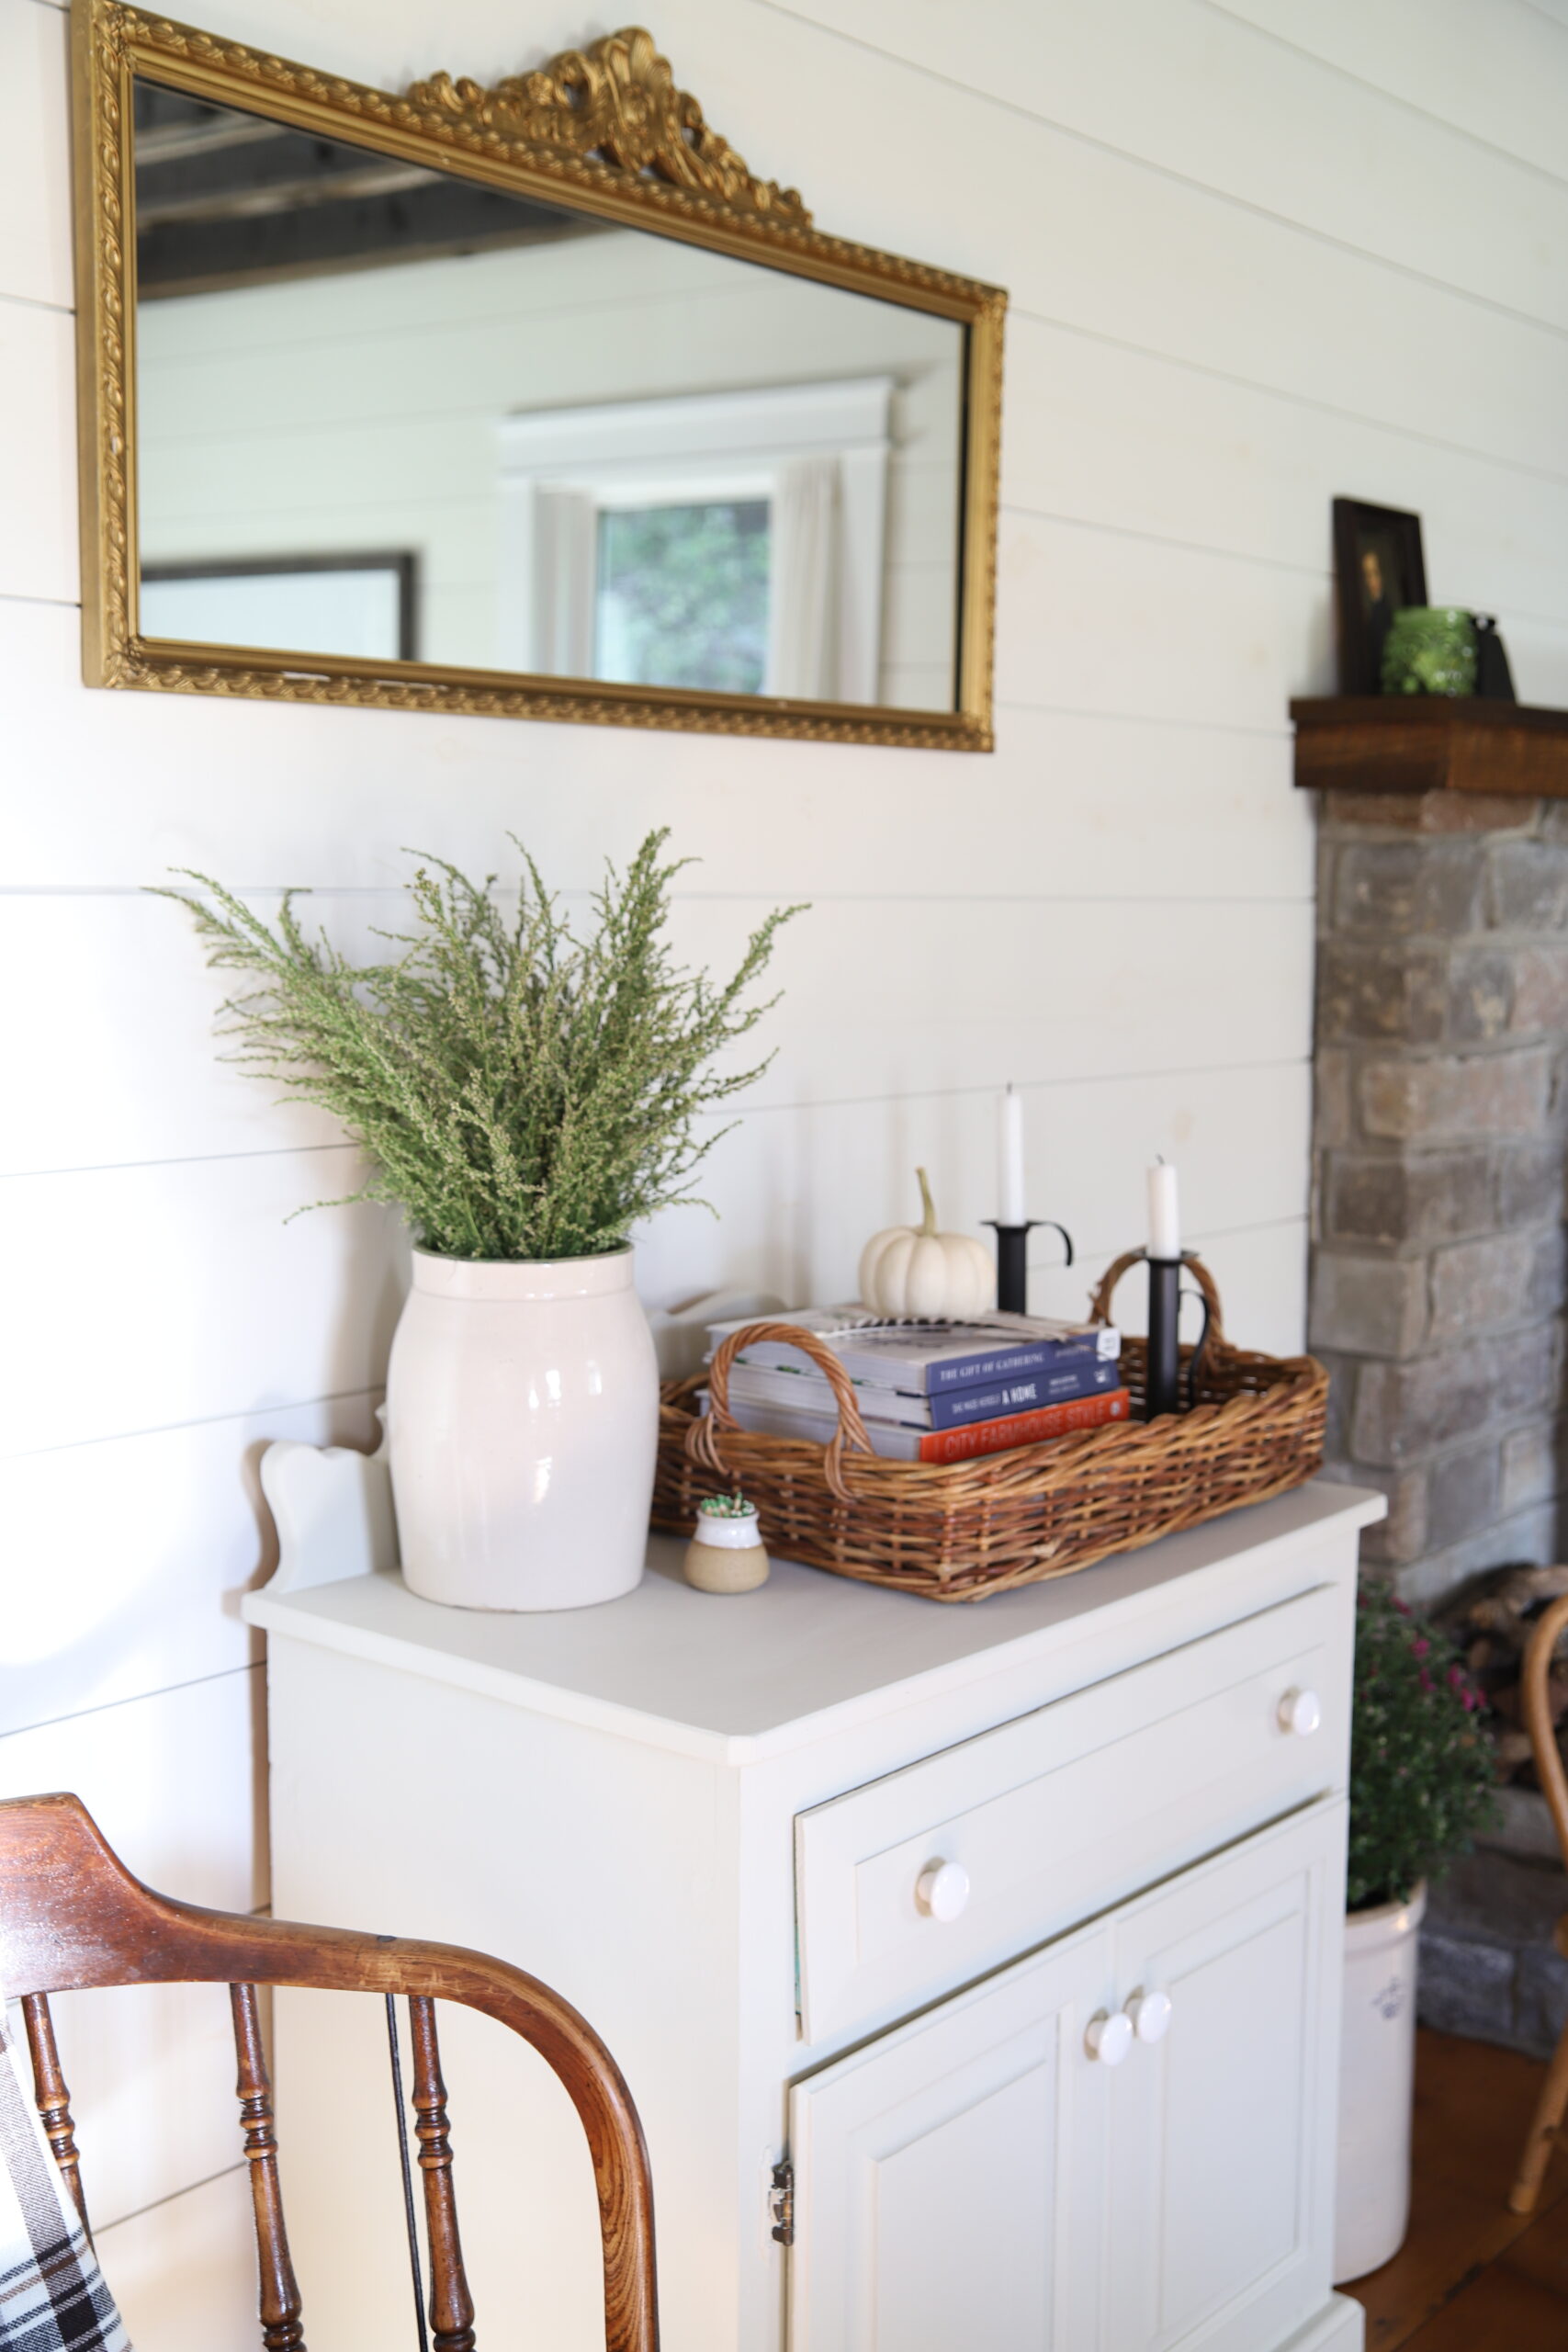
Recently, while checking on our bull, “Big Jake” in our back forty, we came across a pretty cluster of this dried grass.
I like to keep gardening gloves and gardening sheers in our UTV (utility task vehicle) for such an occasion. Living in the country, you never know what you’ll find out there. (wink)
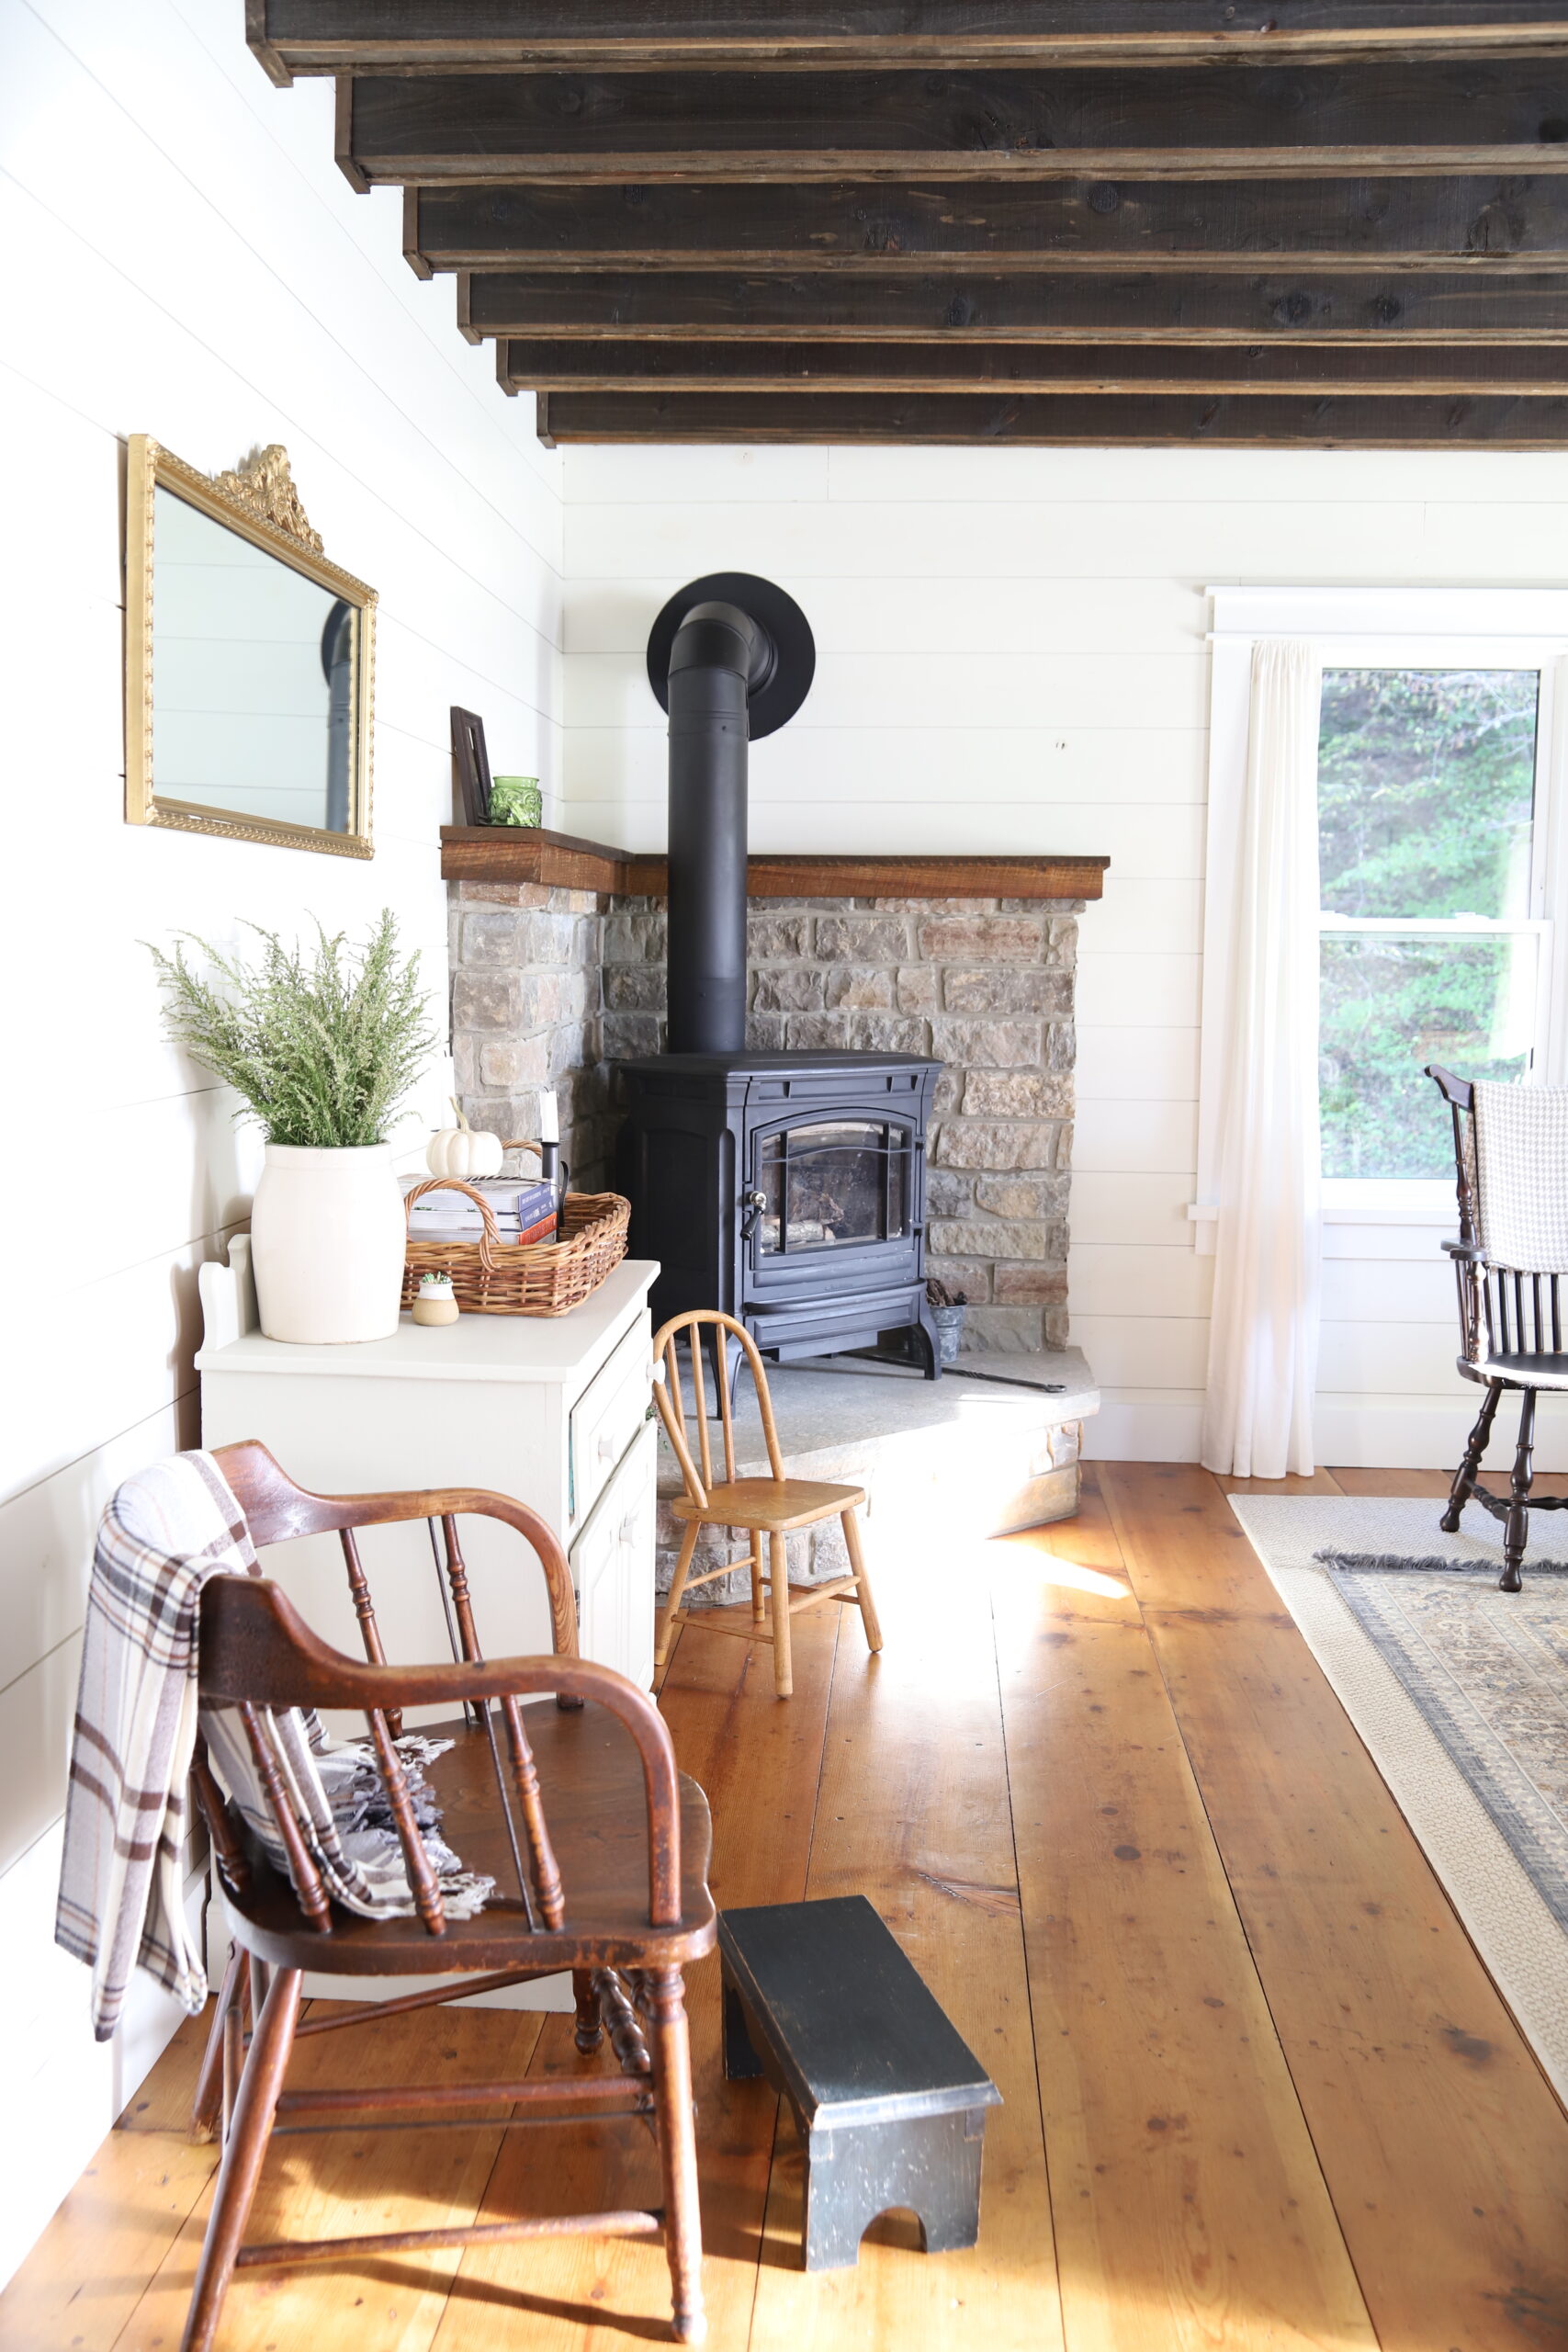
I placed them in an old stone butter crock and set it on the road side cabinet that I recently painted. For $50 and a can of paint, it was a great find! You can see the simple transformation here.
The vintage gold leaf style mirror hung above the cabinet, has been on my “farmhouse wish list” for years. I was so excited when this particular one showed up at the auction house. I was even more thrilled when the owner let me barter for it!
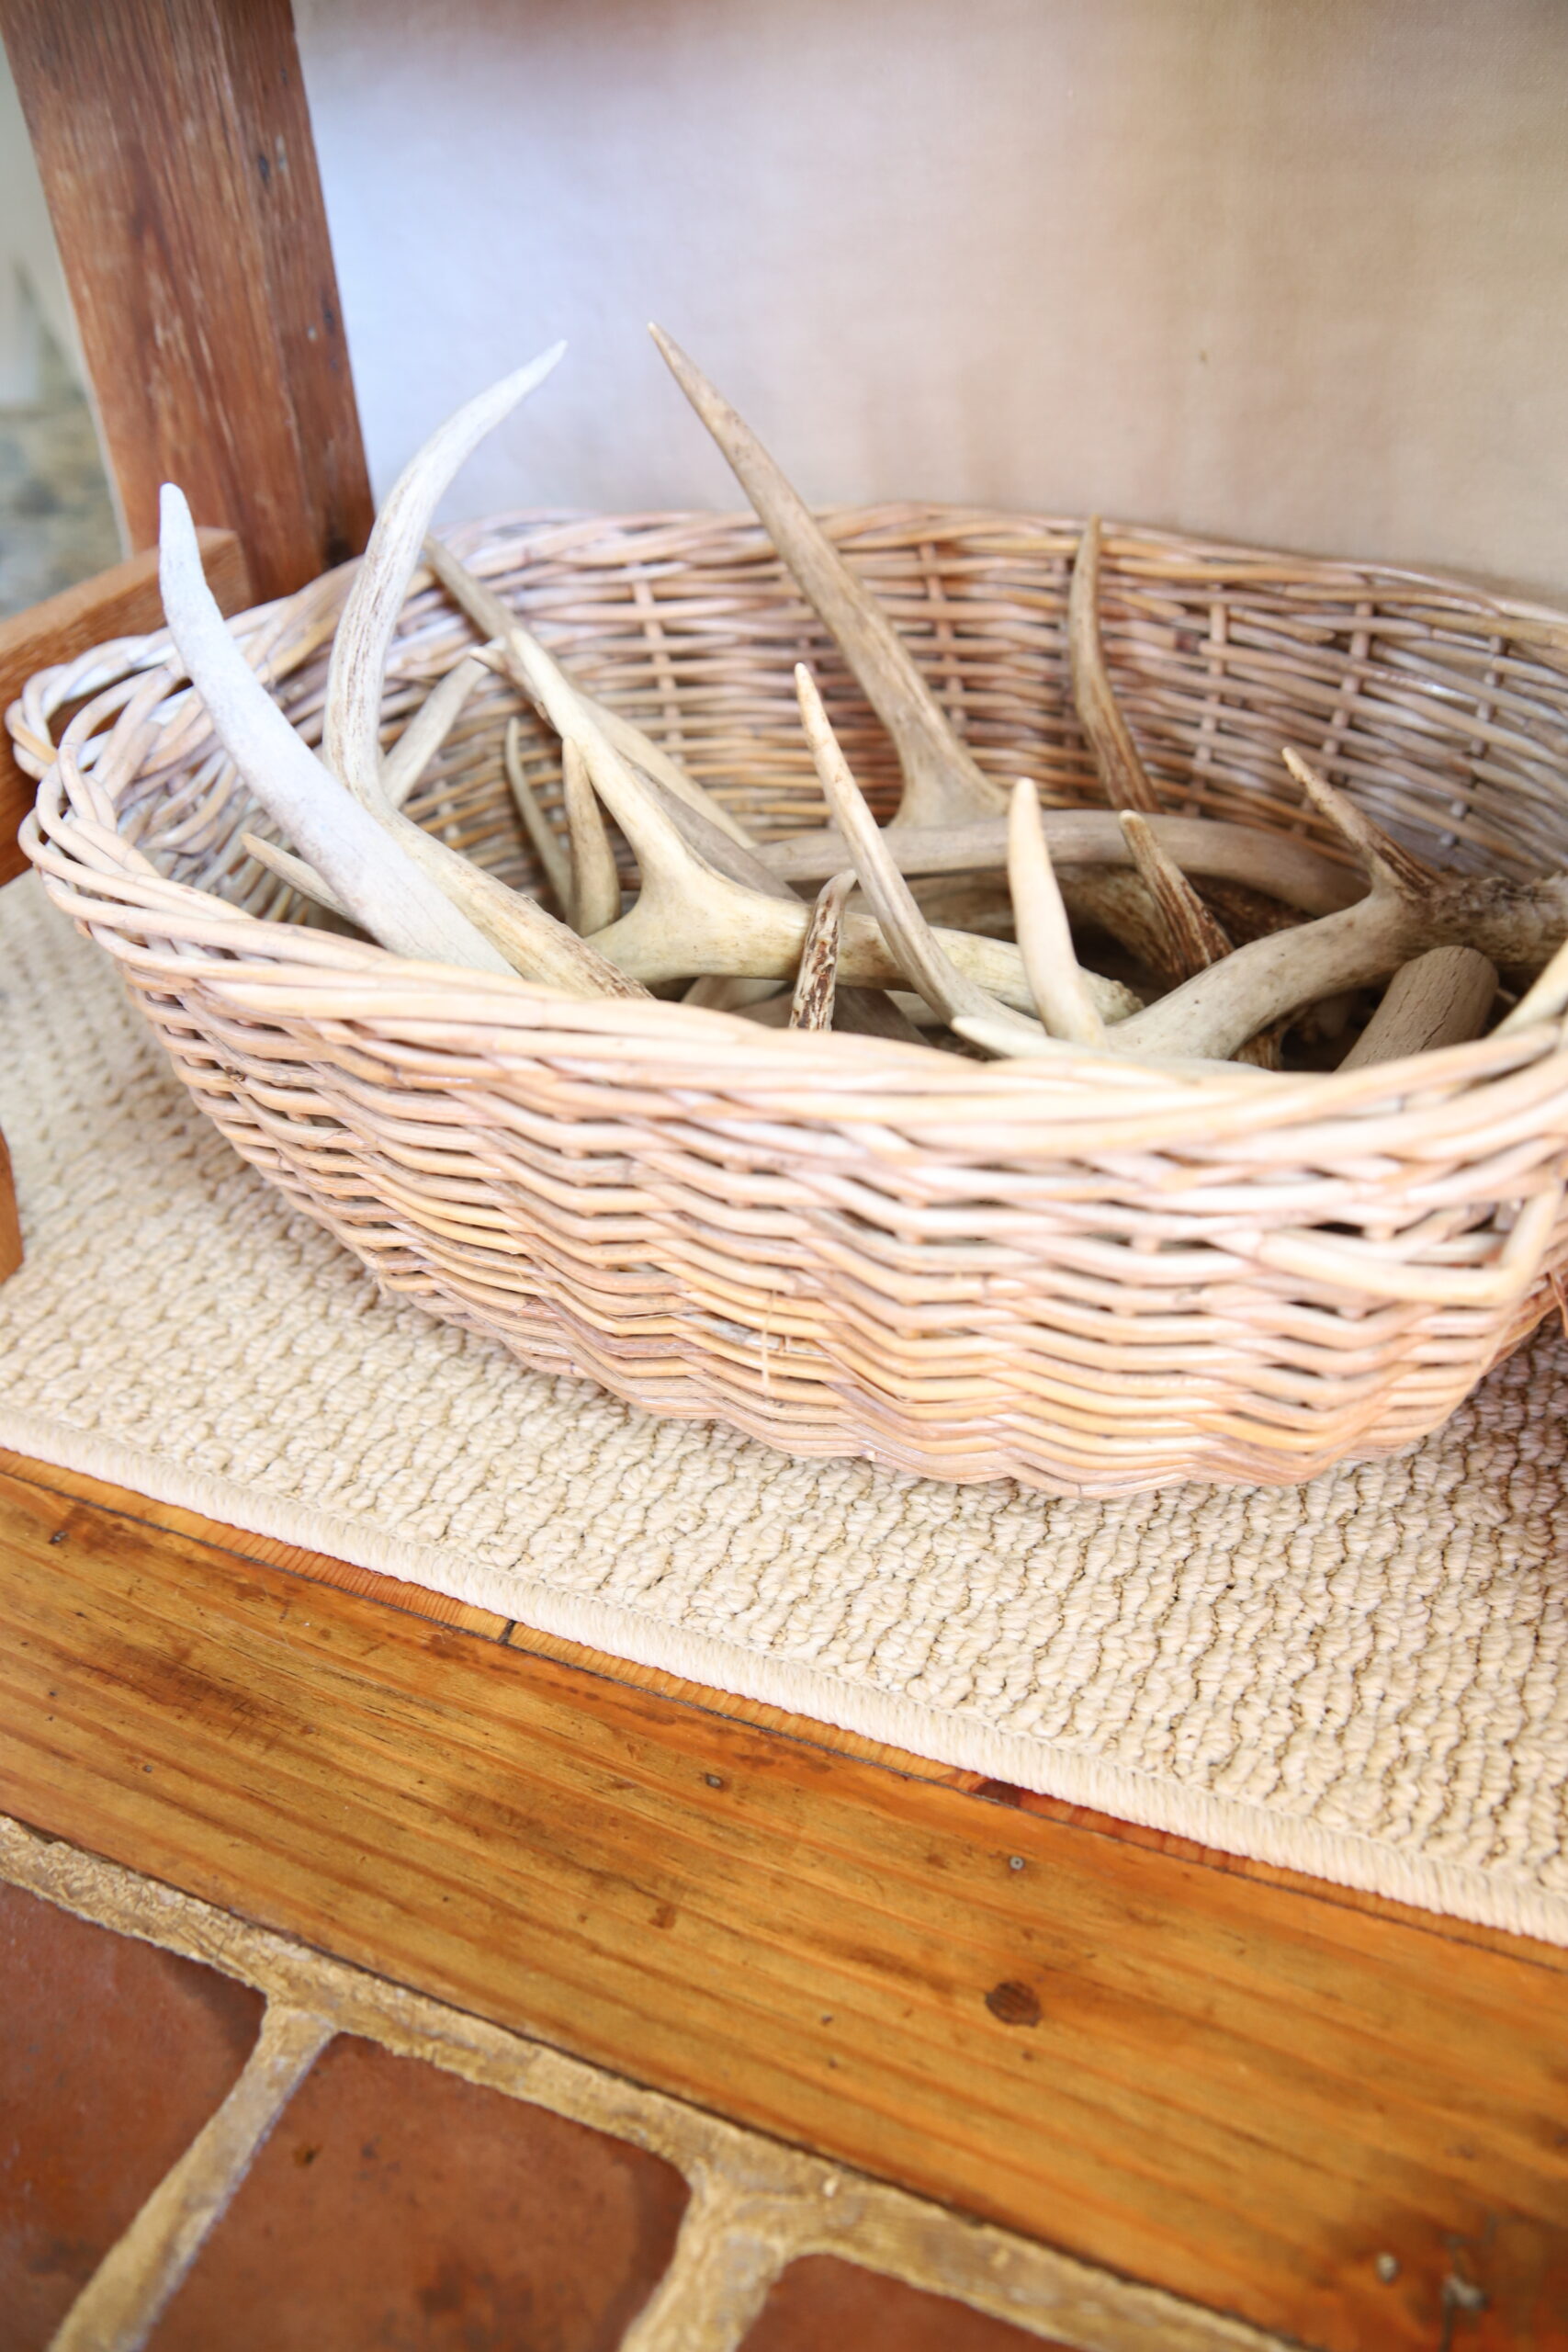
Occasionally, during one of our family hikes, we’ll get lucky and find some deer antlers. One time, while my husband was chopping wood in one of the back pastures, we found two perfect deer antlers in separate areas of the field. Usually, if we come across them, it is only one set. You can imagine the thrill of finding two in one day!
These days, I have quite the collection of antlers. I keep them corralled in this inexpensive basket that I found during a fun homeschool trip to Missouri last year.
PIN IT FOR LATER:
THE ENTRYWAY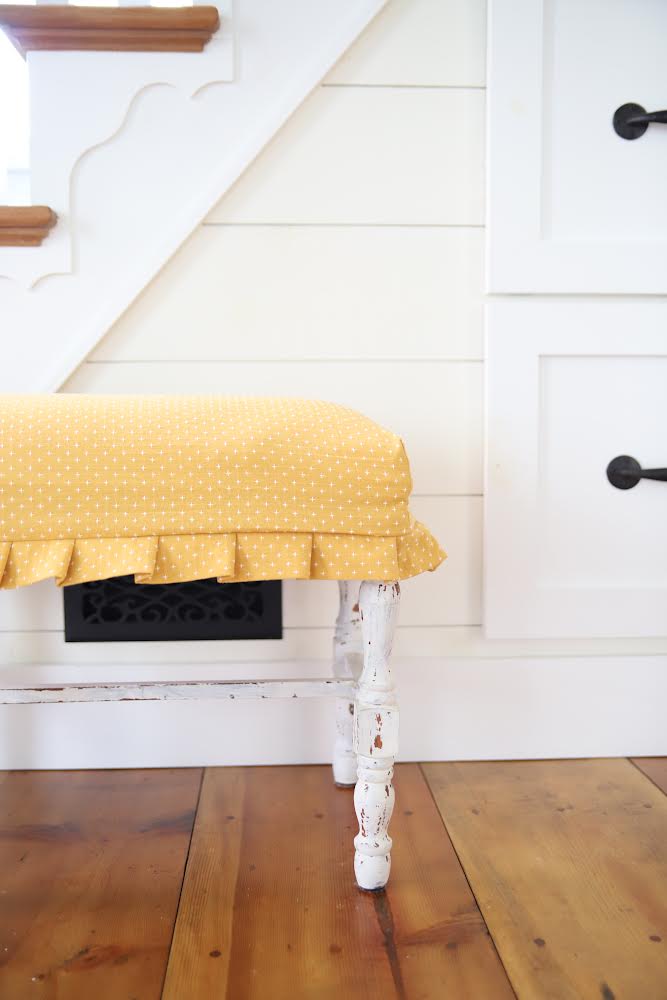
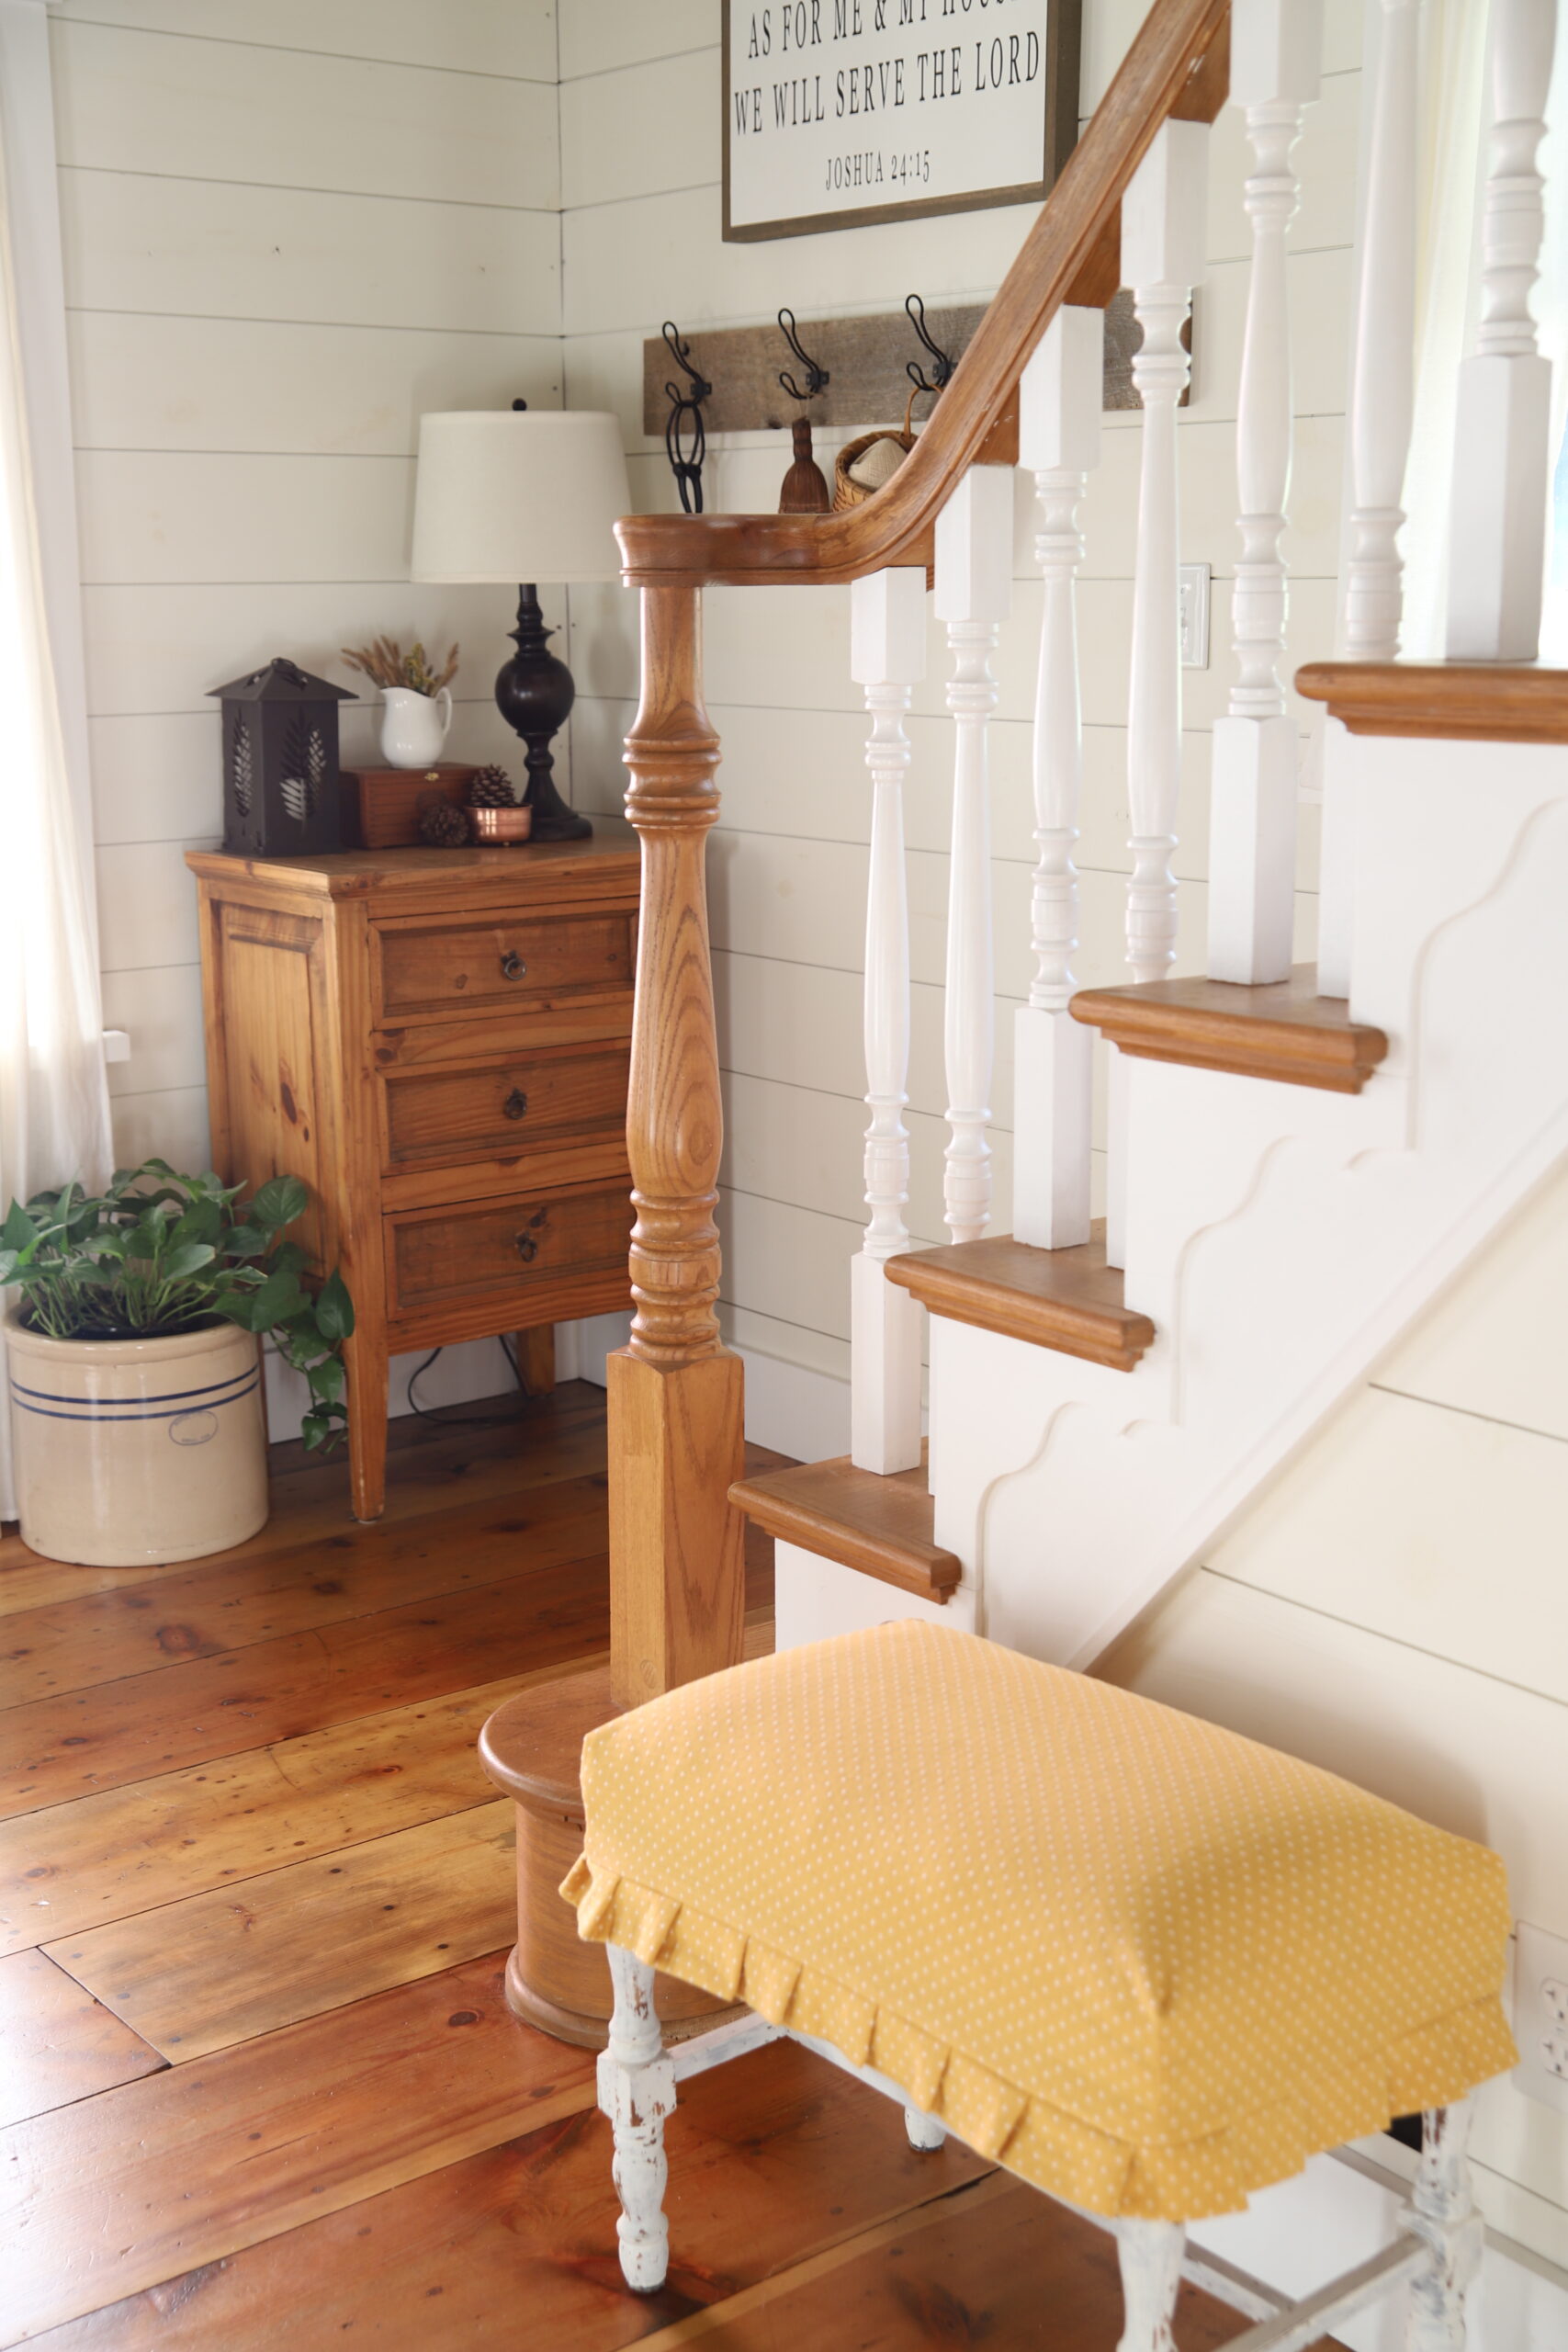
I found this bench at a local friend’s pop up sale at her home. She is a professional designer and has a booth at a couple popular antique malls. I love her style and now, have a few of her beautiful pieces in our home.
This bench is one of them. Changing out slipcovers is a great way to get a different look without having to regularly replace every piece of furniture to fit a season.
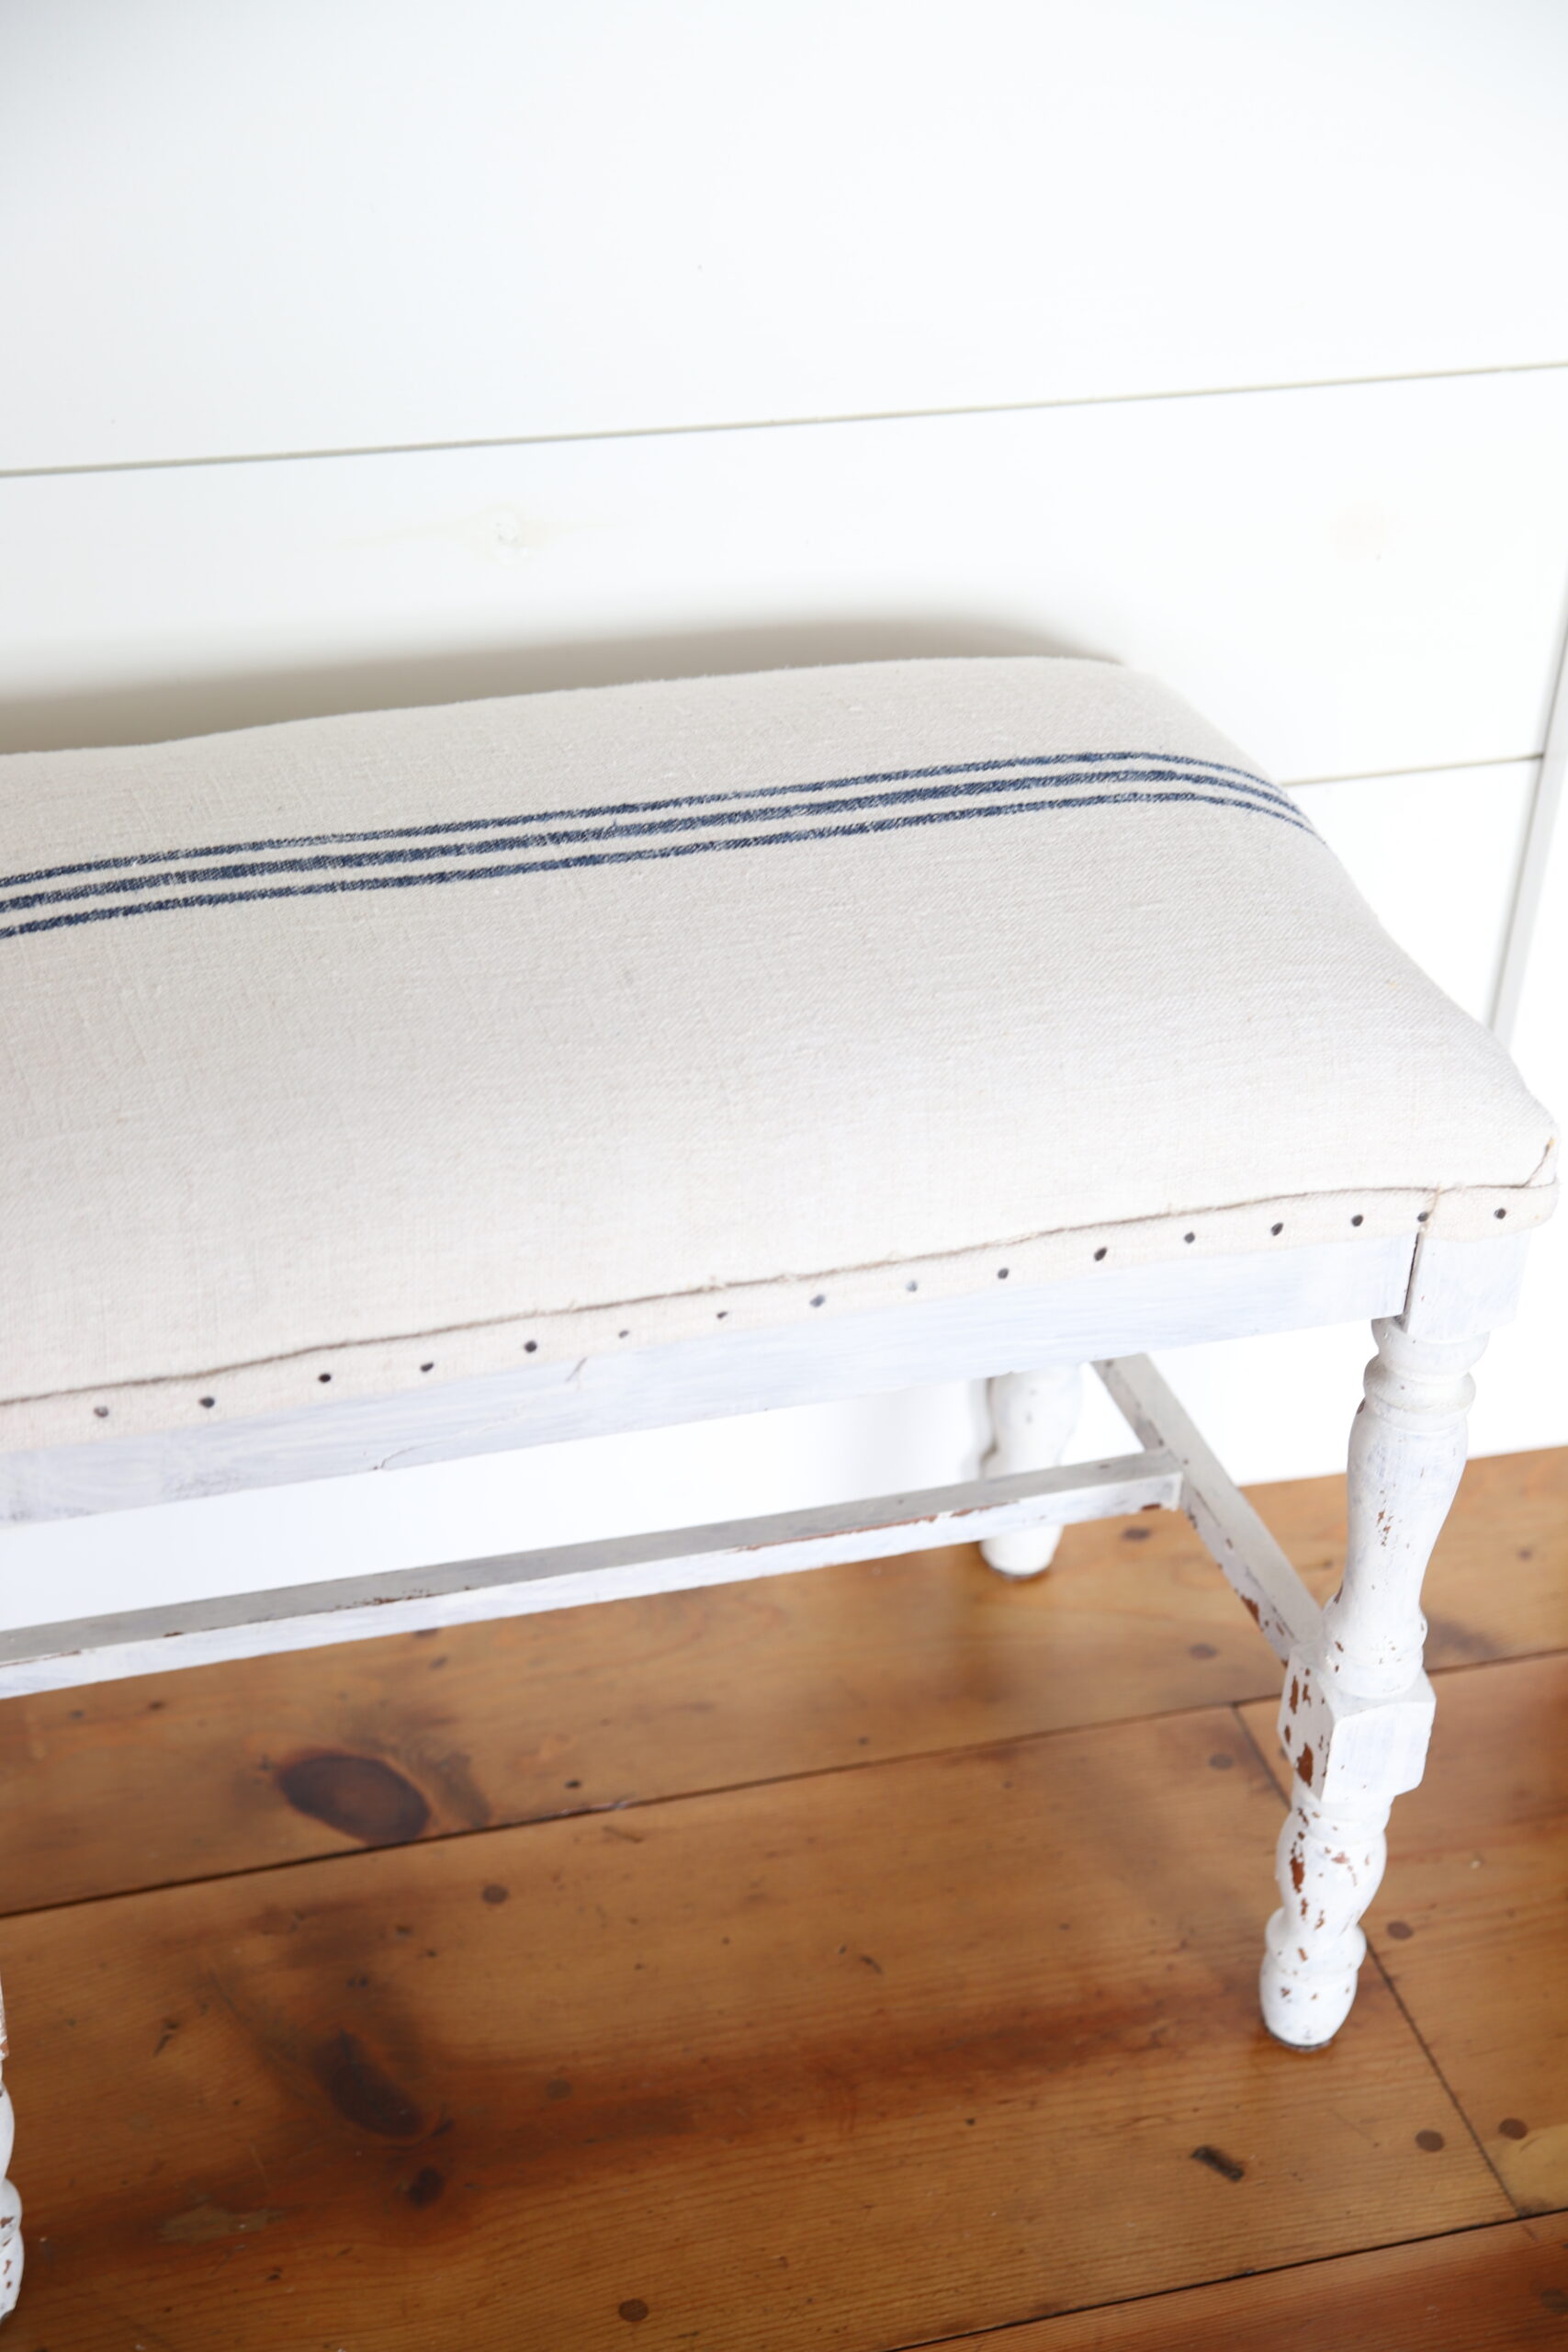
Underneath the new tablecloth bench slipcover is a lovely vintage grain sack cover.
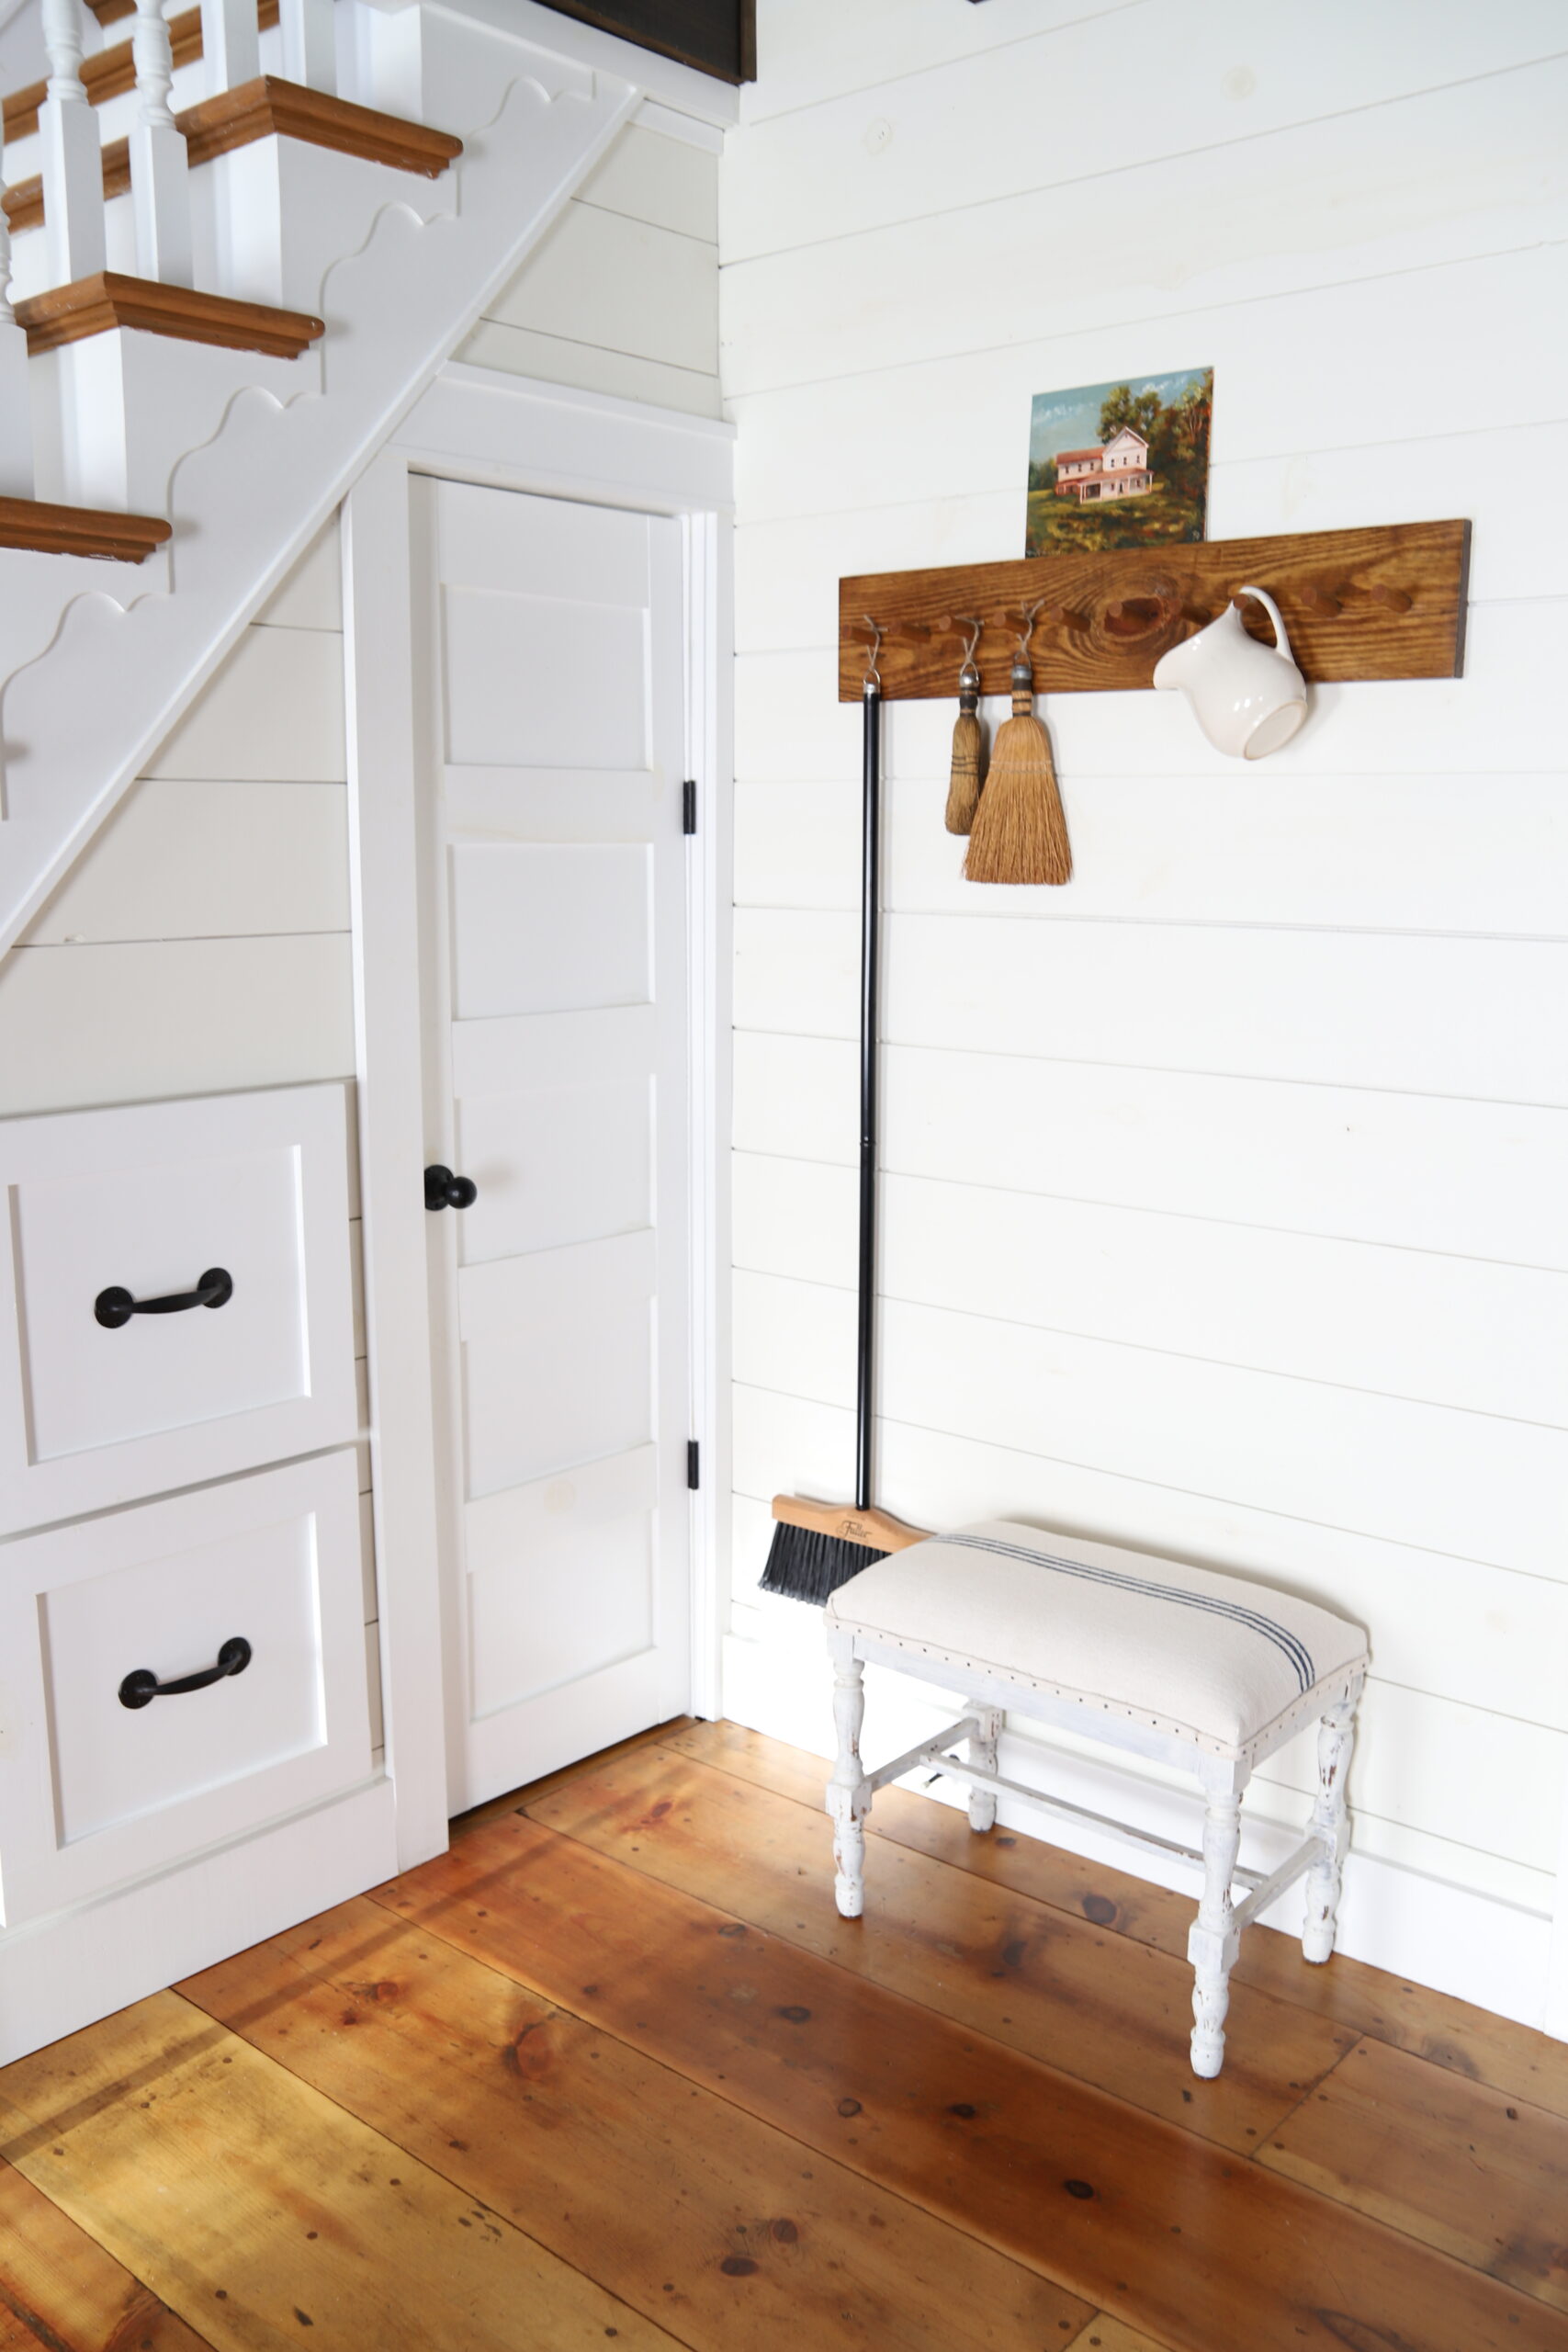
Under-the-stairs storage was an amazing and unexpected blessing for our family.
This area was largely unused before my husband revamped and rebuilt it from the studs. It helps keep our winter gear together and other extra supplies for refilling things like toilet paper and paper towels in one place.
See our front room renovation process and the reveal here.
In the winter time, I like to hang a handmade wreath on the small door that my husband built.
PIN IT FOR LATER:
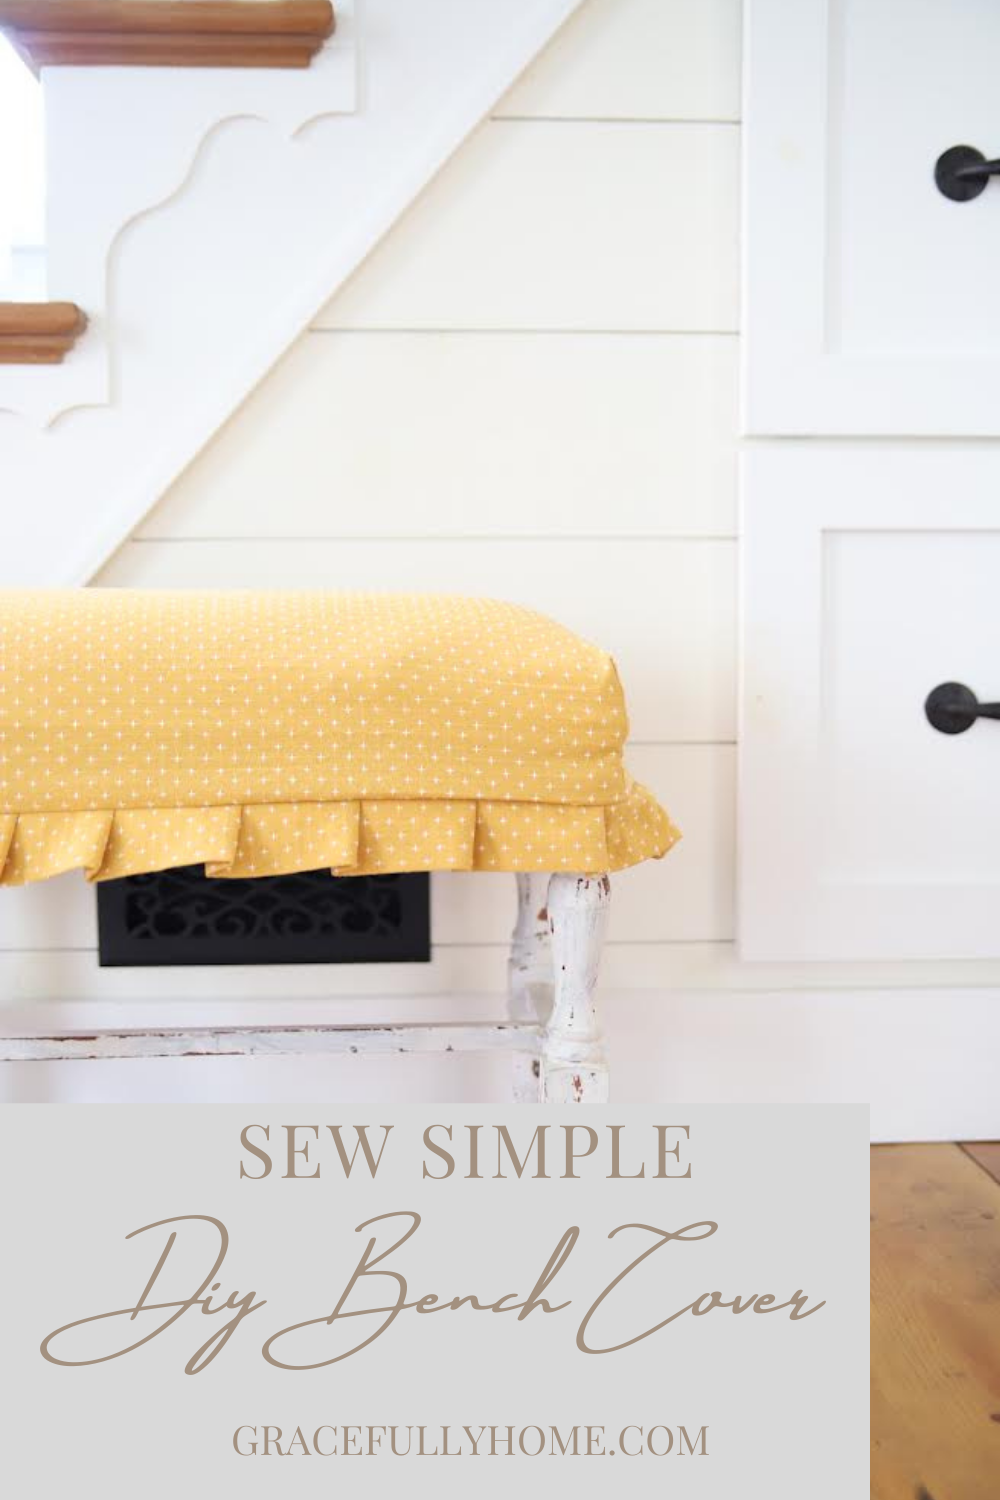
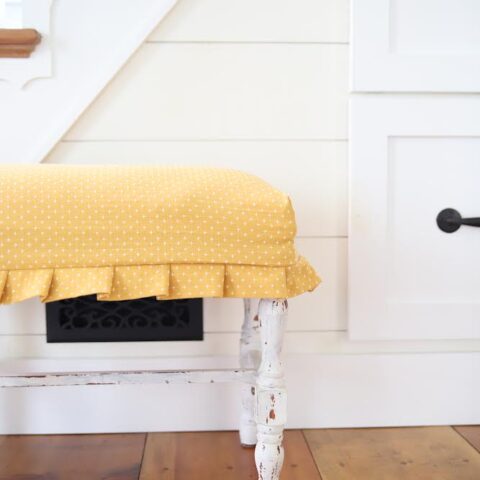
DiY Tablecloth Bench Slipcover
Nicer patterned fabric can come with a hefty price tag, these days. So when you find a table cloth that you love, why not use it to make handmade decor for your home? Come see how I turned one tablecloth from Home Goods into three very distinct and unique pieces for our farmhouse for the fall.
Materials
- Tablecloth or fabric of your choice (size will vary depending on the size of your bench)
- Coordinating thread
Tools
- Sewing machine
- Measuring tape
- Straight pins
- Scissors
- Iron and ironing board
Instructions
- You can use this "no pattern" method on your choice of bench. I used a bench that I found at a friend's local Pop Up Sale as my template.
- Place the tablecloth or fabric of choice, over the bench and add at least a couple inches and a half overhang to factor in seam allowance.
- Cut the fabric to size with added seam allowance and flip over with wrong sides out.
- Next, pin the corners together forming a triangle-like flap on the edge of all four corners of your bench. Make sure it is a snug fit, but not too snug.
- Sew a straight line down the edge of your triangle.
- Test out the fit on the bench with right side facing up. Make any adjustments as necessary.
- Then cut pleat strips out of a 4 inch piece of fabric. (width will depend on your preference and the look you are wanting to achieve) Fold in half and iron flat.
- NOTE: I did not have a long enough piece to fit the whole circumference of my bench, so I simple sewed two identical strips together, then folded them in half and ironed flat.
- Next decide how wide you want your pleats to be. Starting at the back of your bench and working your way around the bench, pin and fold the pleat strip all the way around the bench, attaching the upper box piece of fabric's raw edge (with right sides together) and the raw edge of your pleat strip.
- Once the entire pleat strip is pinned into place, sew a straight line attaching both the upper box piece and the lower pleat together.
- Carefully cut any excess thread. Then turn the slipcover right side out and place on bench to ensure the fit is right.
Notes
I didn't measure my pleats, I simply went with what I thought would look best and eye balled it. Then I worked my way around the entire piece, pinning the first upper box portion to the raw edge of the pleat.
Make sure to back stitch at the beginning and end of your stitch line to lock your stitches in place.
You can choose to serge around the raw edges once the piece is done or if you do not have a serger, you can always use the zigzag option (on the lowest setting) on your sewing machine to prevent fraying.
This "no pattern" version comes in handy when you have a unqiue piece that may not have a pattern available to use.
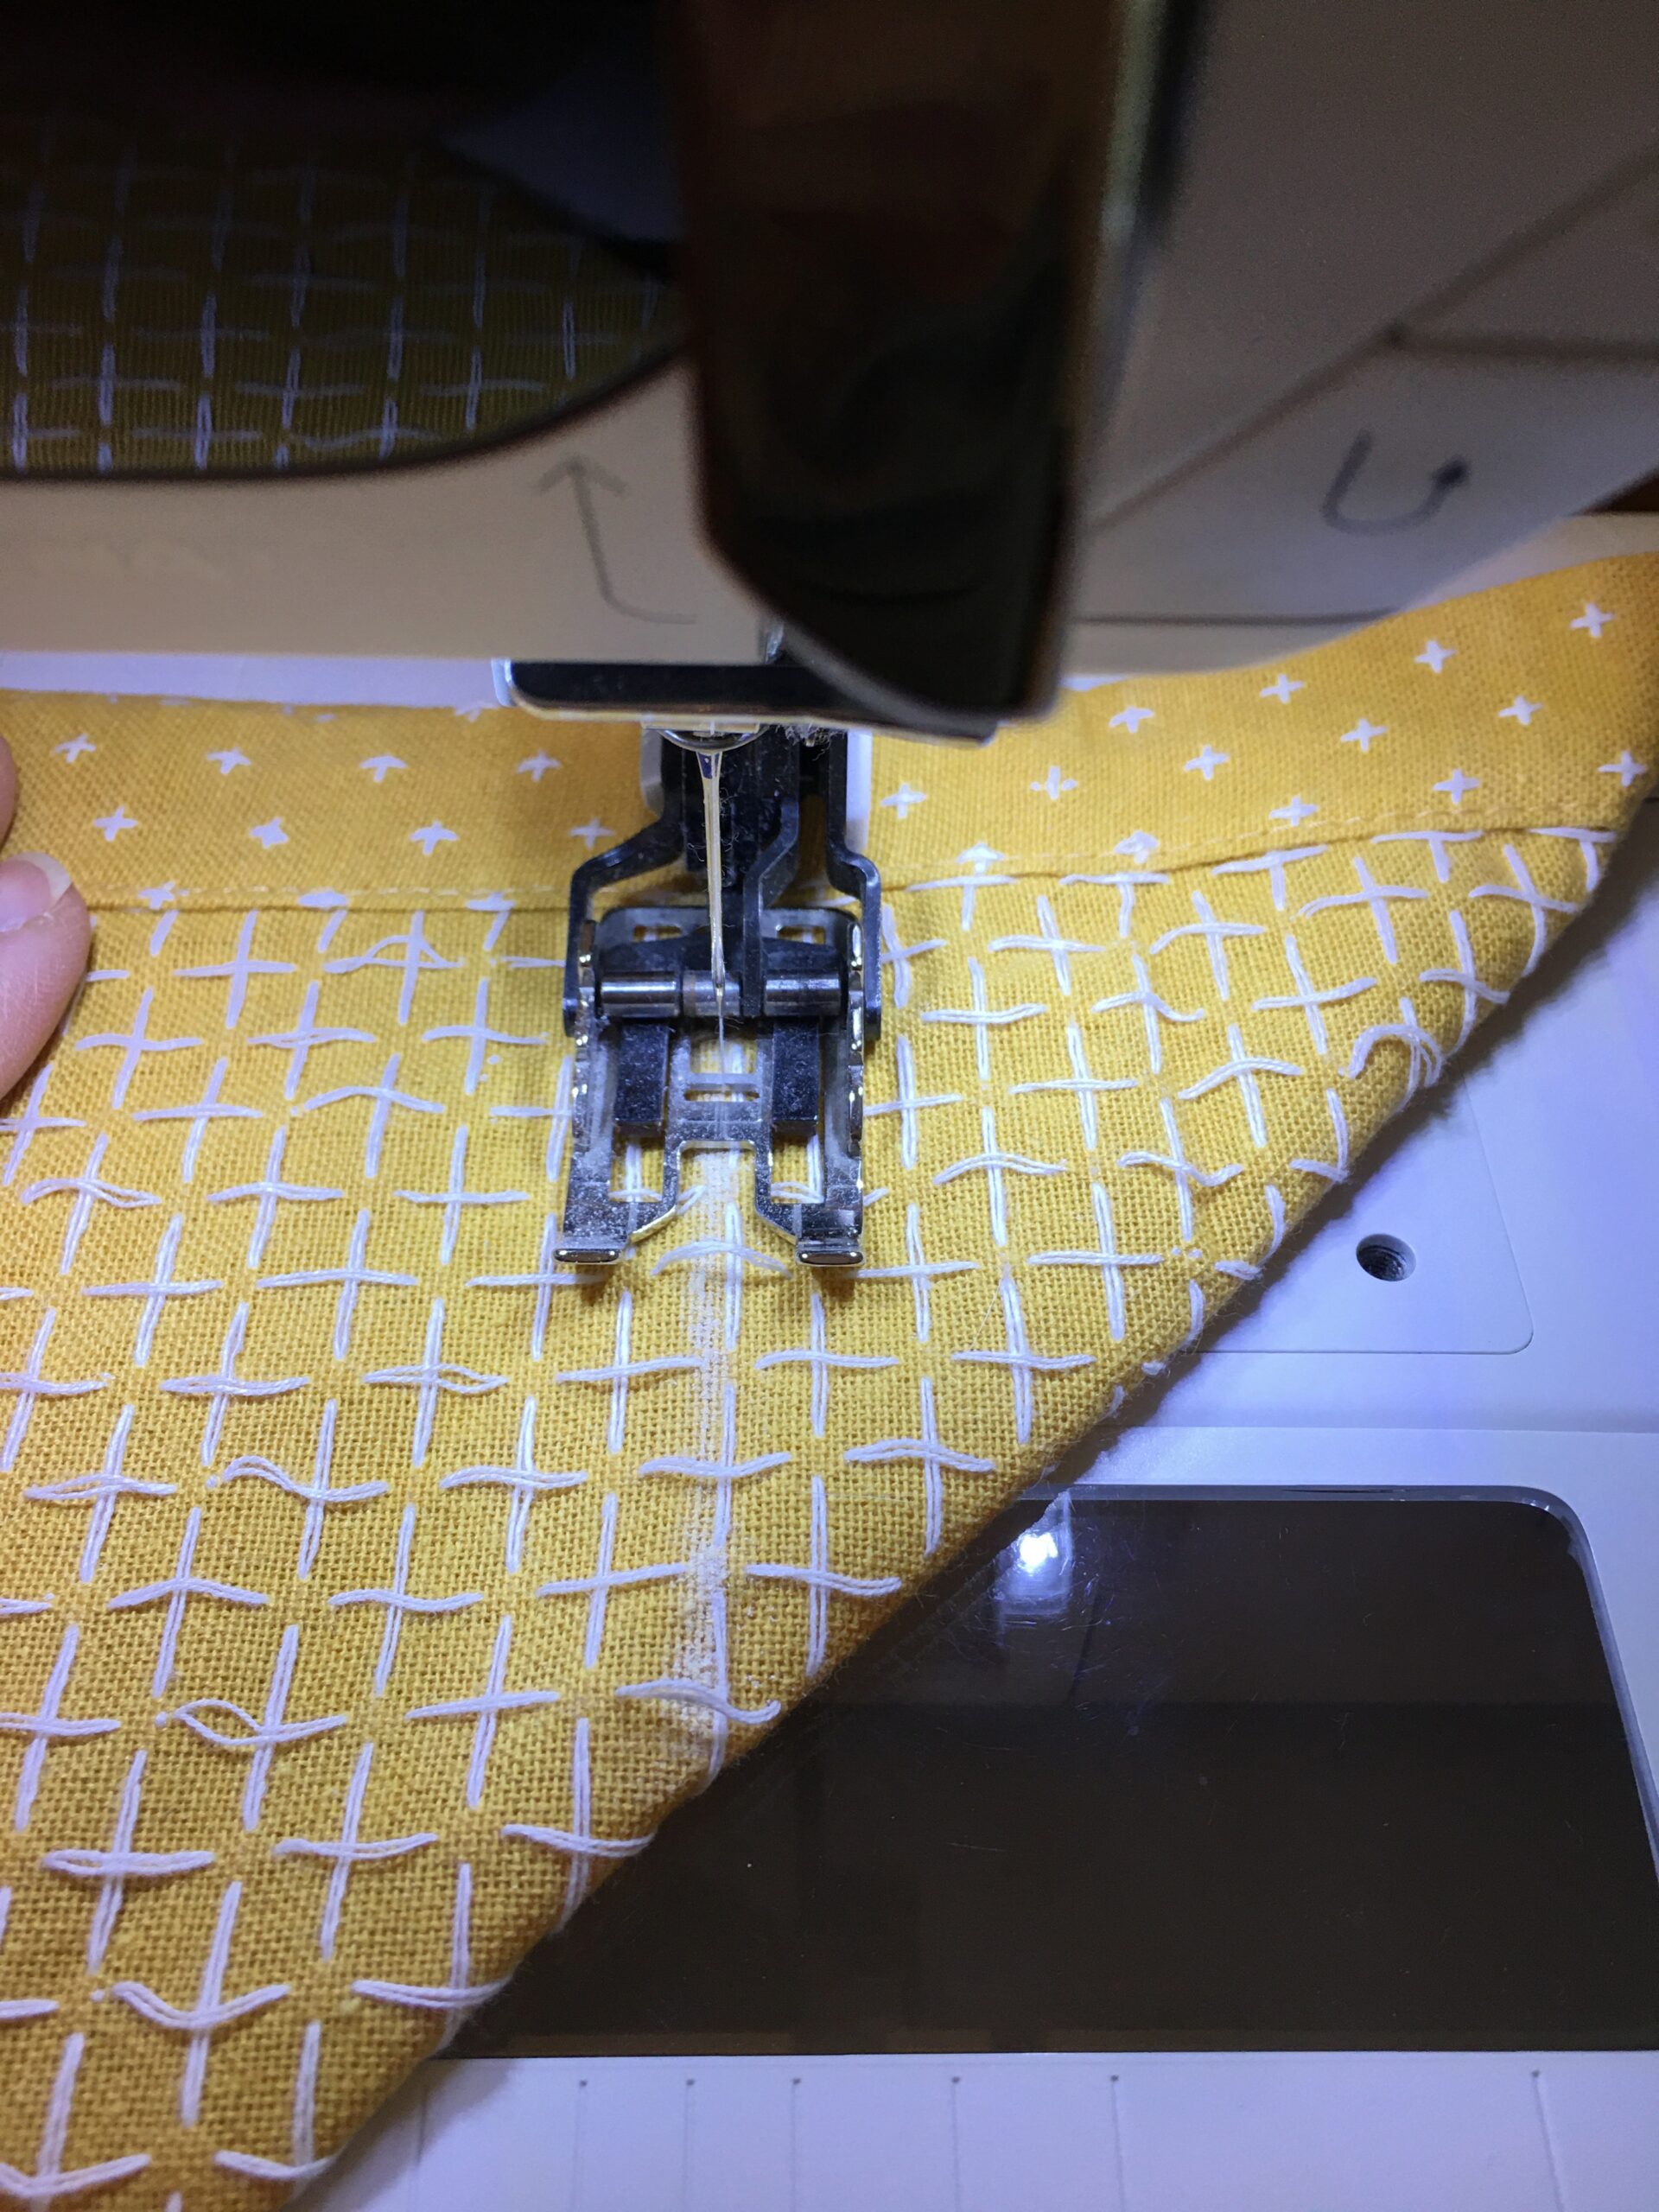
This is what the corners of the box piece looked like after I had pinned it and was about to sew the edges.
THE DINING ROOM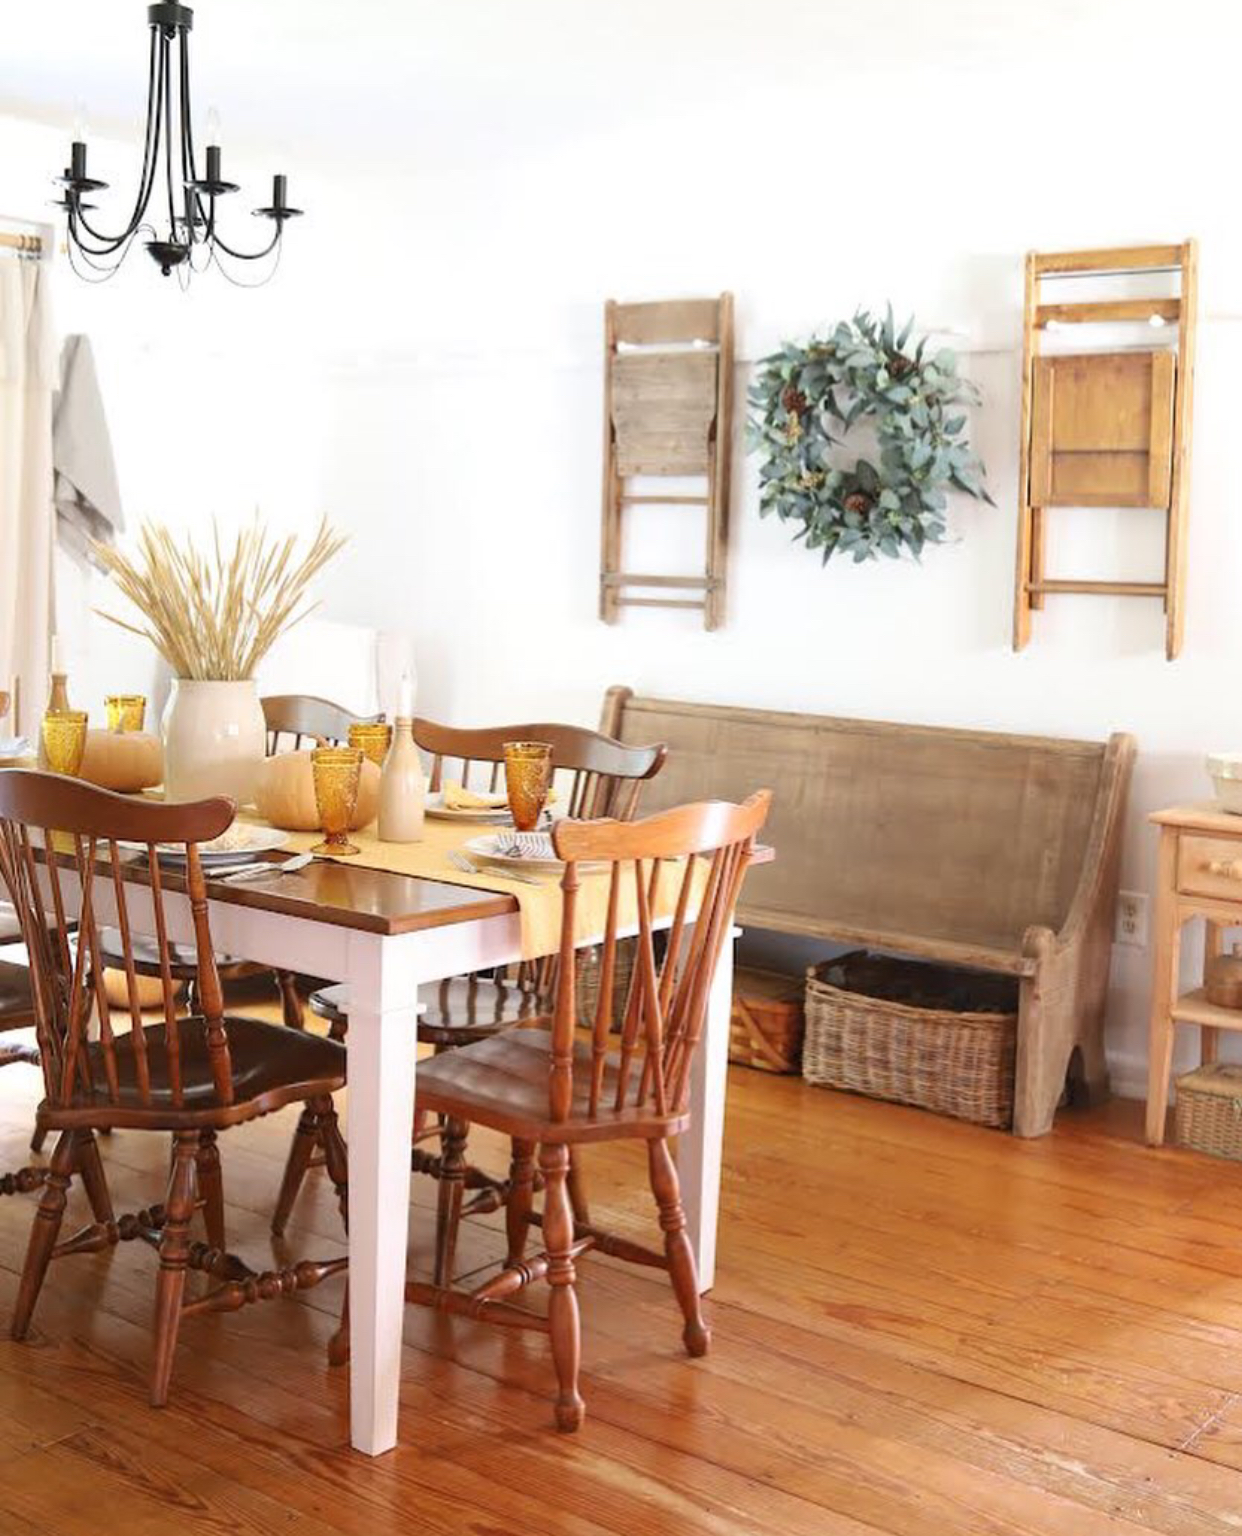
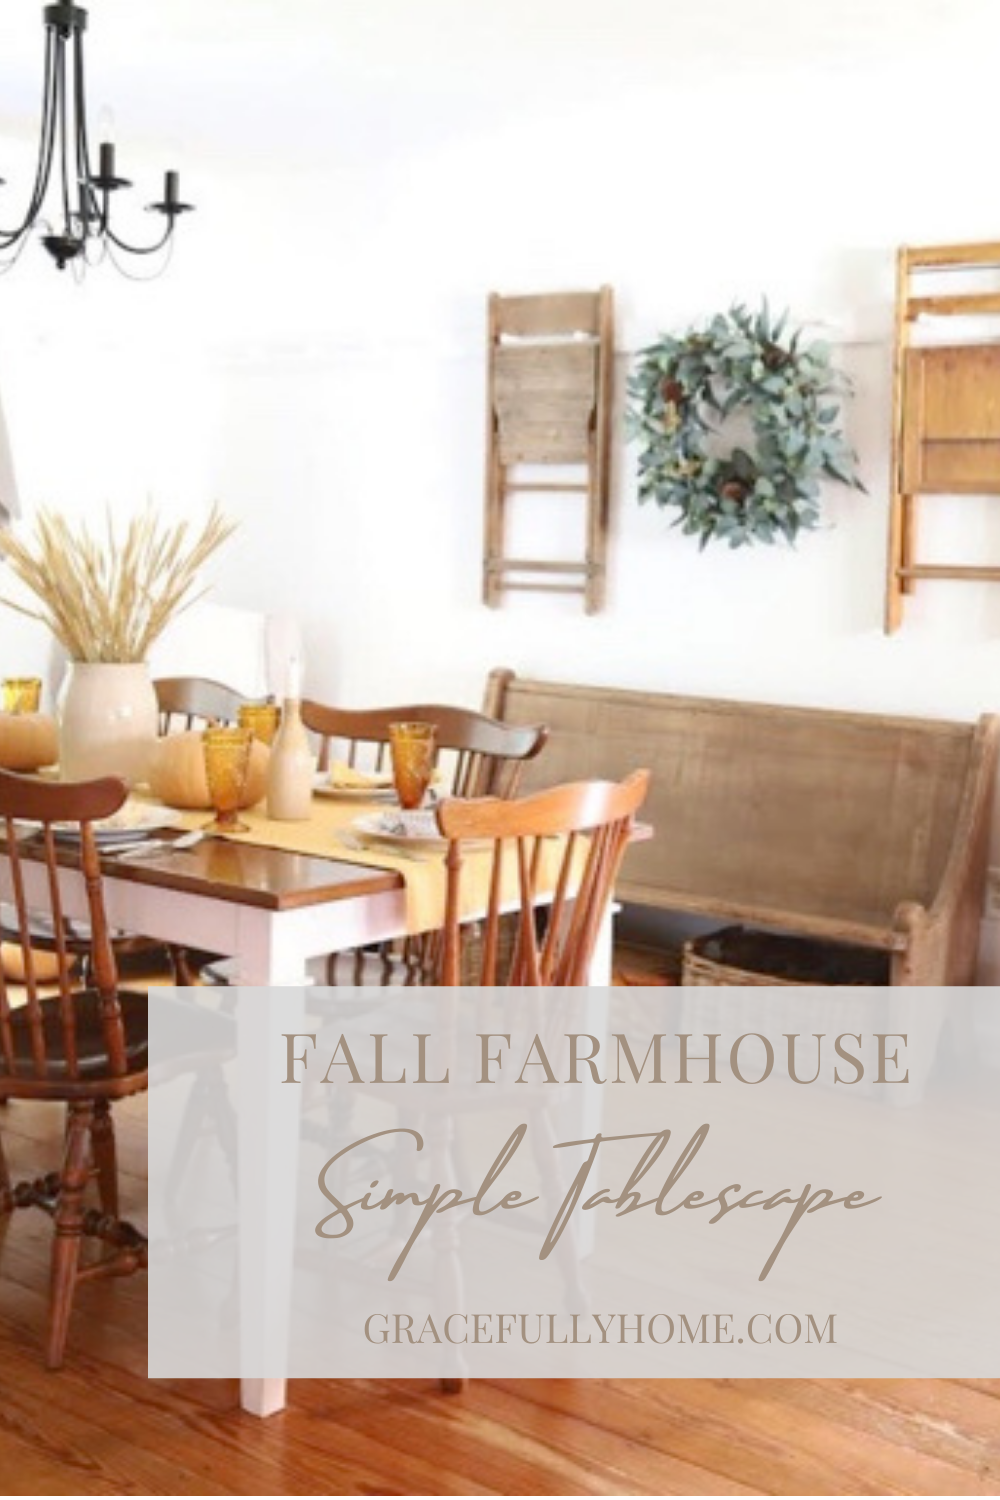
Last Thanksgiving, our tablescape (here) was much more elaborate than this year’s, but that is what I love about shopping our own home and adding special pieces to create a whole new look.
This table runner took no time at all to make. Especially since I purposefully used the finished edges of the original table cloth.
All I needed to do was fold a couple raw edges and sew a straight line to finish off the new hem. A quick ironing removes the creases and gives it a nice, crisp look.
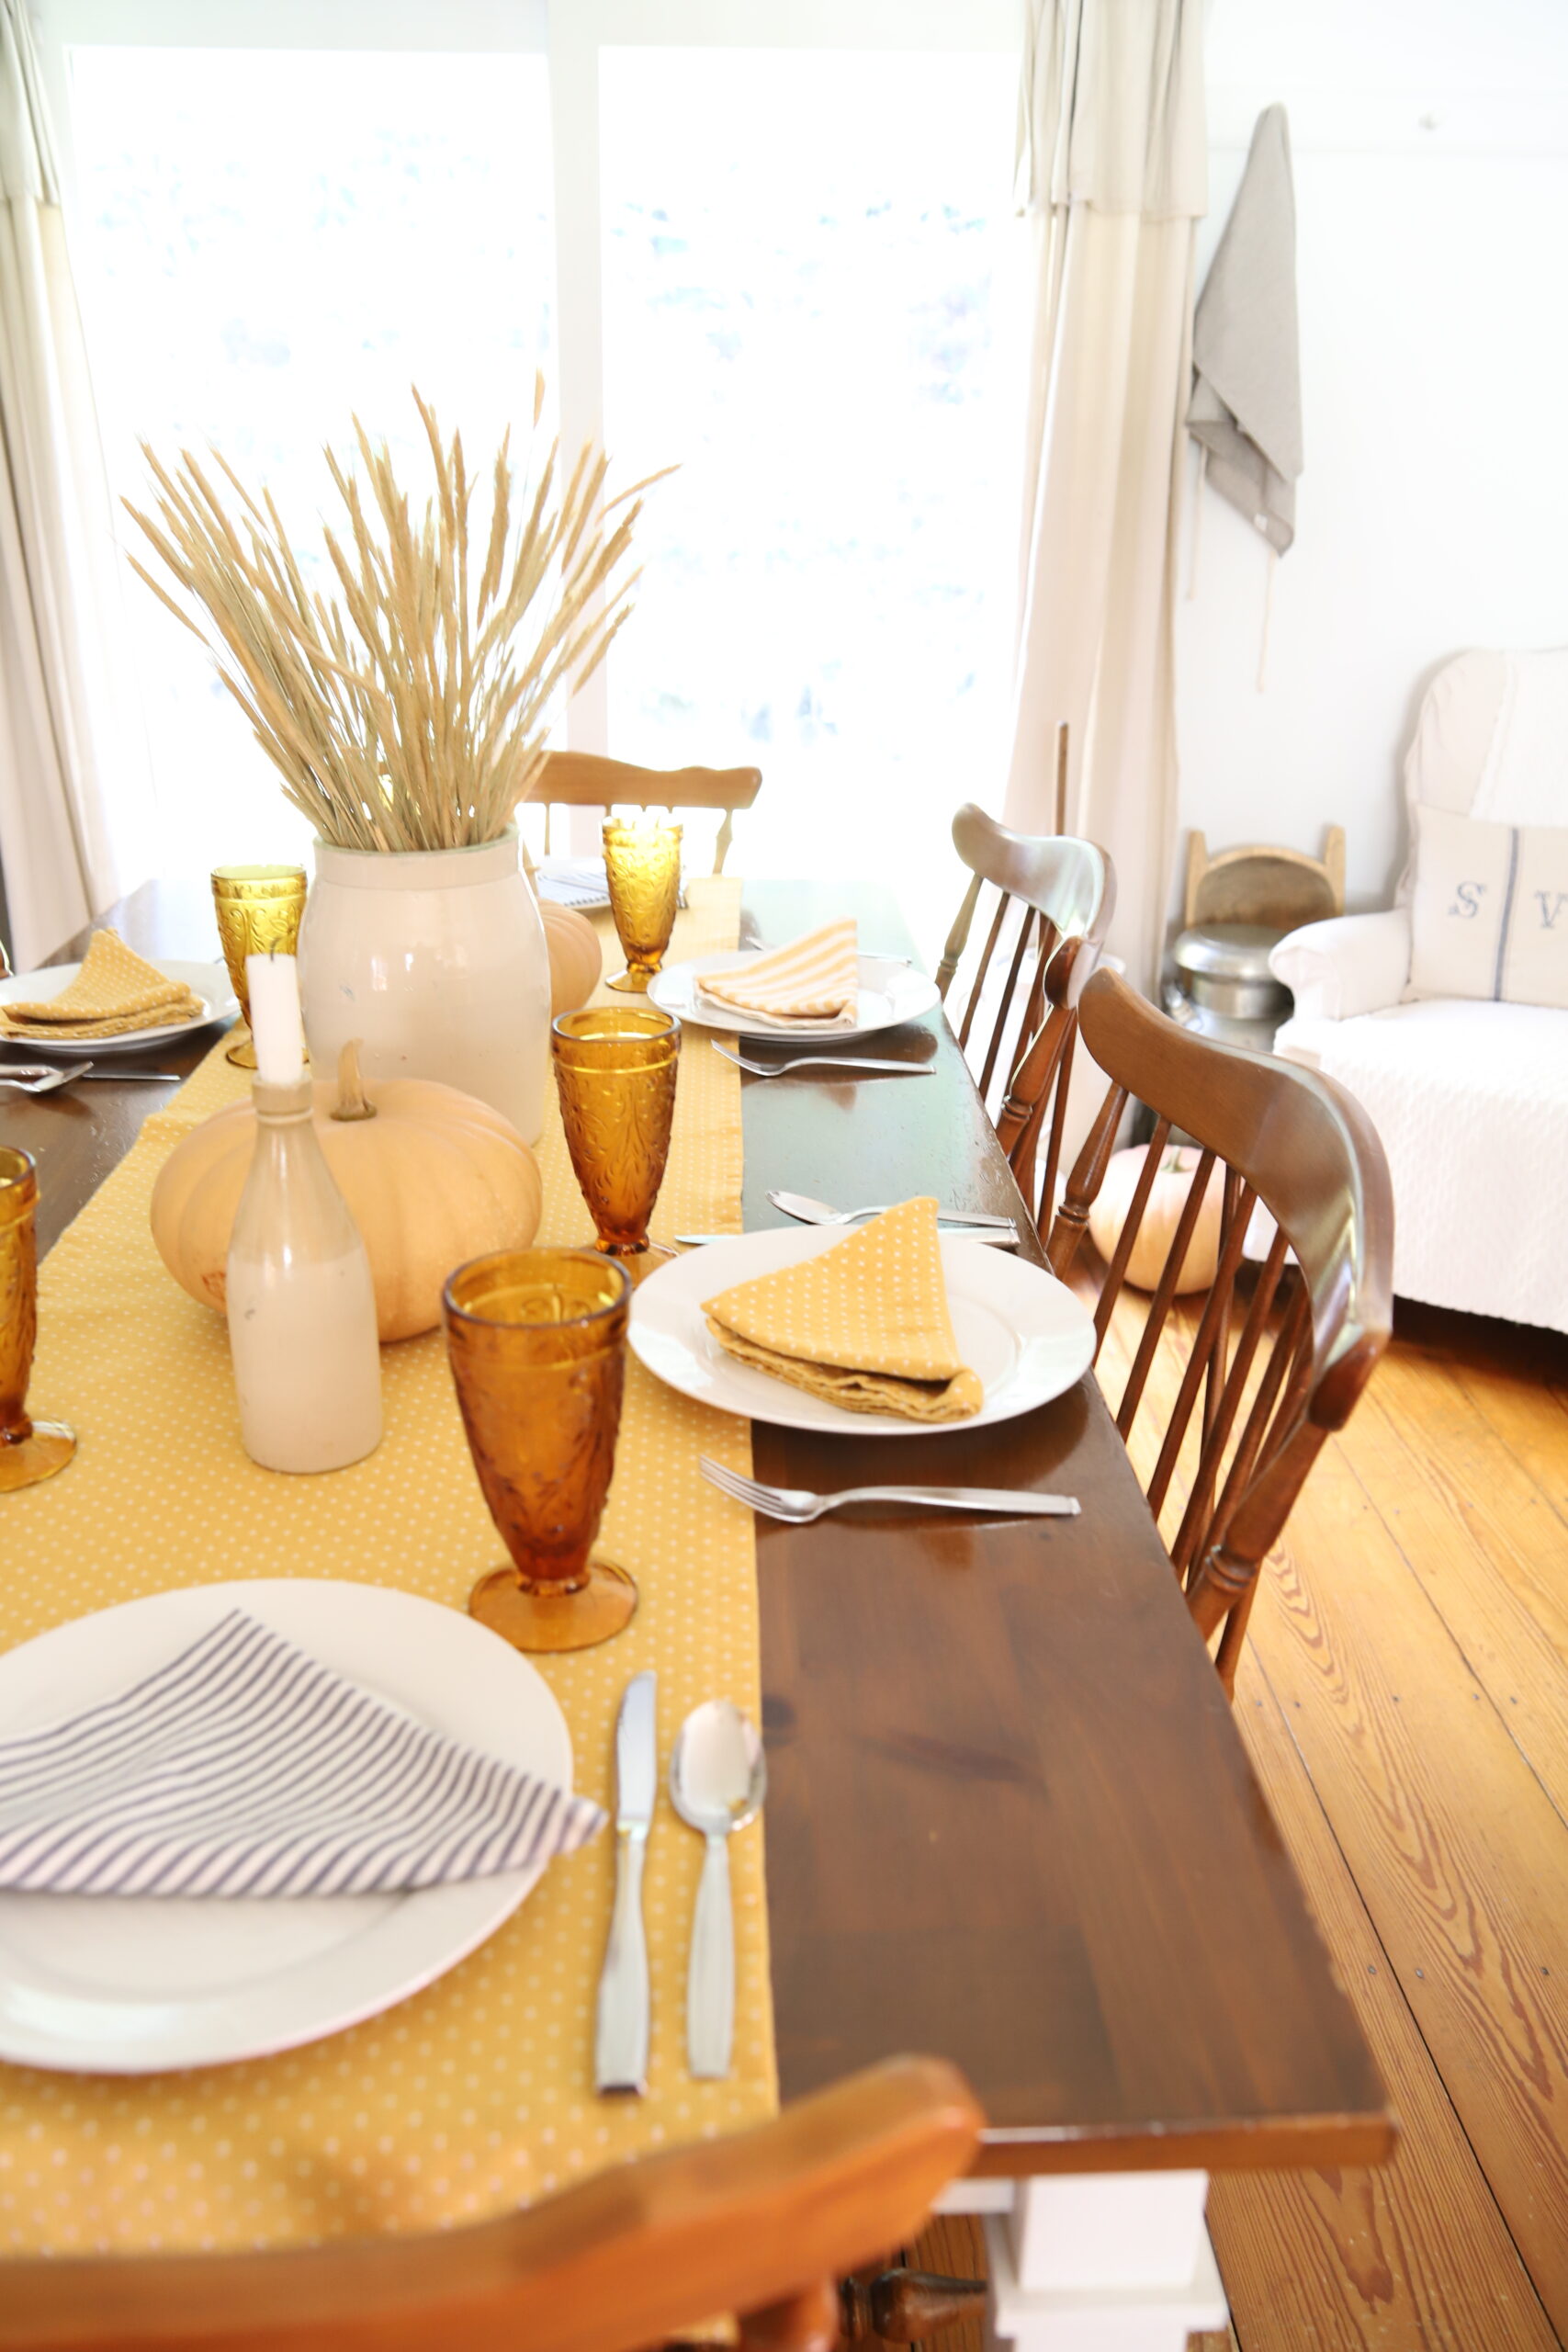
I had purchased the wheat stalks from Hobby Lobby last fall when they were 75% off. I have been saving them for such a time as this. (wink)
I found these vintage amber Tiffany goblets at our antique auction house. They were typically a bit more if purchased individually. I got them for six for $20. It was a bit of a splurge for me.
But I have no regrets because they add so much beauty to our simple tablescape.
We all loved the way they looked so much that I went back to purchase the rest of the set. We now have a total of eleven goblets.
You can’t beat that beautiful amber color for autumn.
PIN IT FOR LATER:
MORE ANTIQUE FINDS
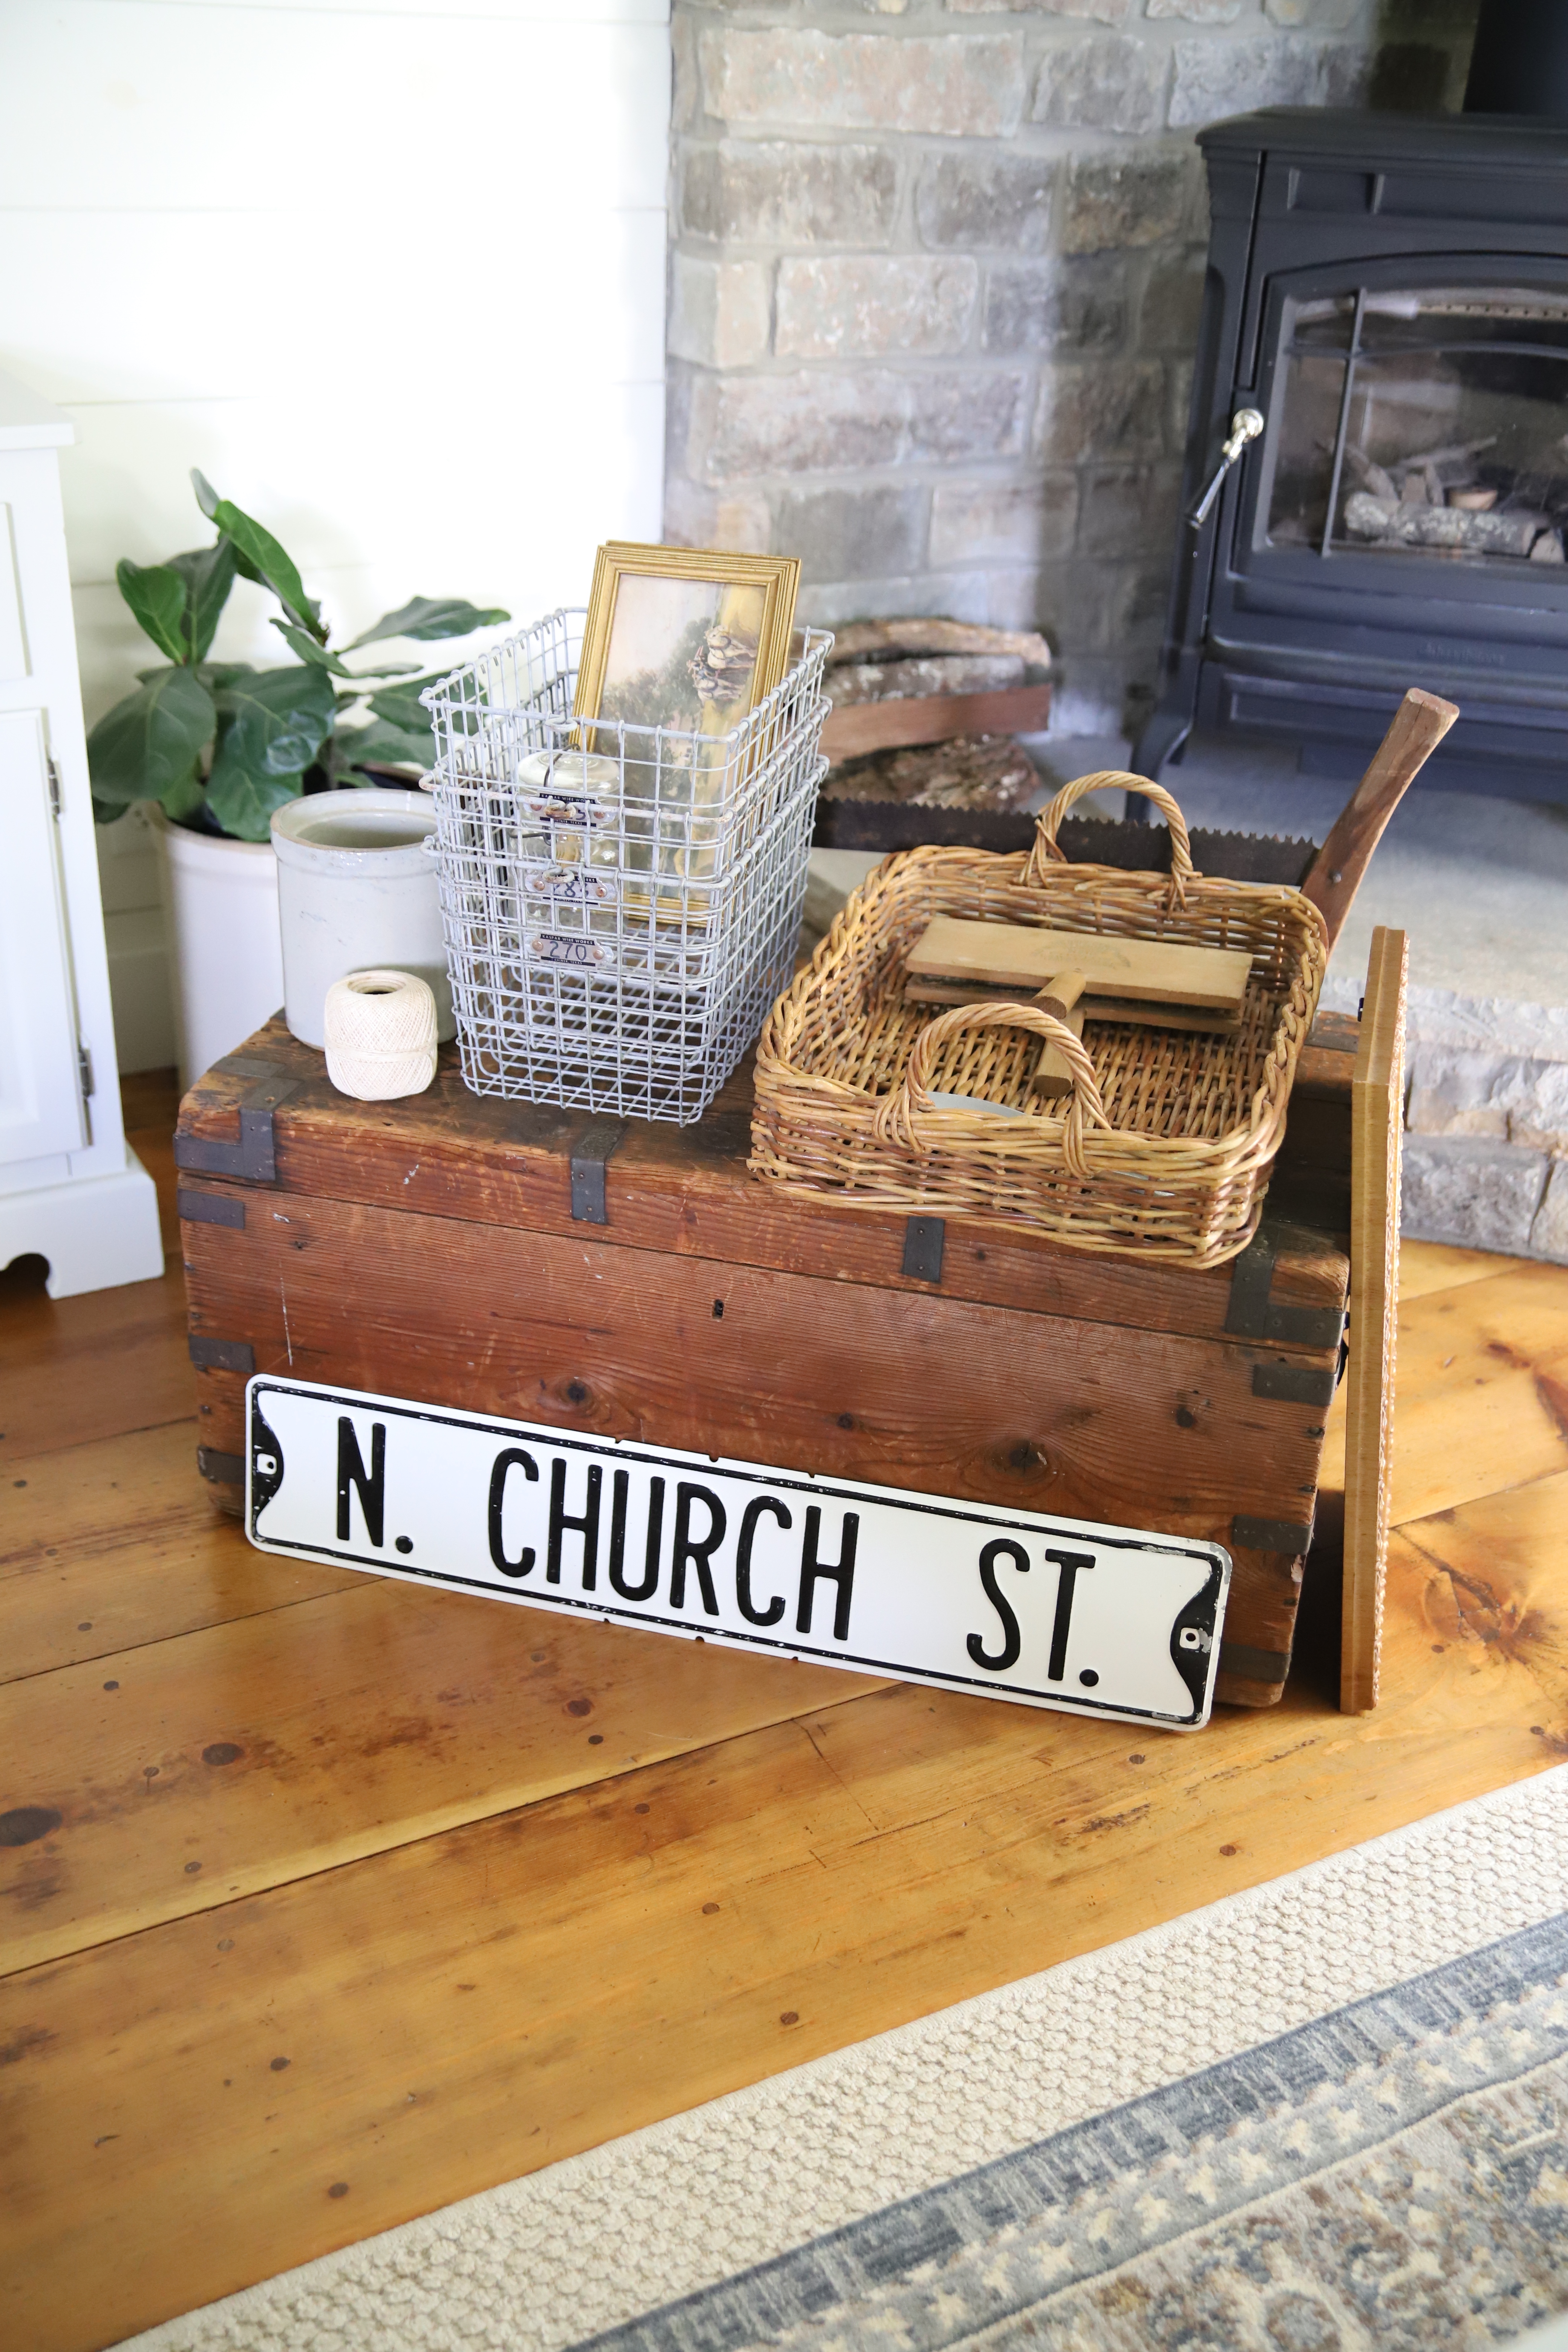
Along with the natural elements that I brought in from the outdoors, I love to mix and match wood tones and the neutral colors of stoneware and baskets all around the farmhouse.
These recent antique finds were just what we needed for organizing some of our homeschool and kitchen supplies. They definitely add some coziness to the different corners around the farmhouse.
Decorating your home can be as simple or as complex as you want it to be.
It can be tough trying to keep up with all the latest trends, so we choose not to and just go with what we love for our family and our farmhouse.
Over the years, we have paired down A LOT of our things. We have purged, donated, and sold items that we have outgrown.
Simplifying can be so freeing! We are thankful for the simple things in life.
Faith, family, fellowship, freedom, and the basic necessities…what else could we ask for?!
Hope you have a blessed and safe Thanksgiving!
1 Thessalonians 5:16-18
Rejoice evermore.
Pray without ceasing.
In every thing give thanks: for this is the will of God in Christ Jesus concerning you.
PIN IT FOR LATER:
FOR MORE FALL INSPIRATION AND SIMPLE TABLESCAPE IDEAS, VISIT THESE POSTS…
FIVE STEPS FOR A SIMPLE THANKSGIVING TABLESCAPE
3 SIMPLE THANKSGIVING PLACE CARD IDEAS WITH FREE PRINTABLE


What a beautiful and simple idea! I’m inspired for fall decor now.
Aww, thanks so much for your encouraging words, Megan! So glad you enjoyed these simple projects.
My wife is addicted to farmhouse styling our urban house and these will no doubt be used. I’ll pass them right along
Awesome Brad! Hope she enjoys these simple fall ideas! Thanks so much for passing it along.
Your home is absolutely lovely! So bright and fresh and those benches are beautiful… I LOVE the grain sack fabric.
Thank you Julie for stopping by and taking the time to leave a kind comment. Glad you enjoyed our fall farmhouse post.