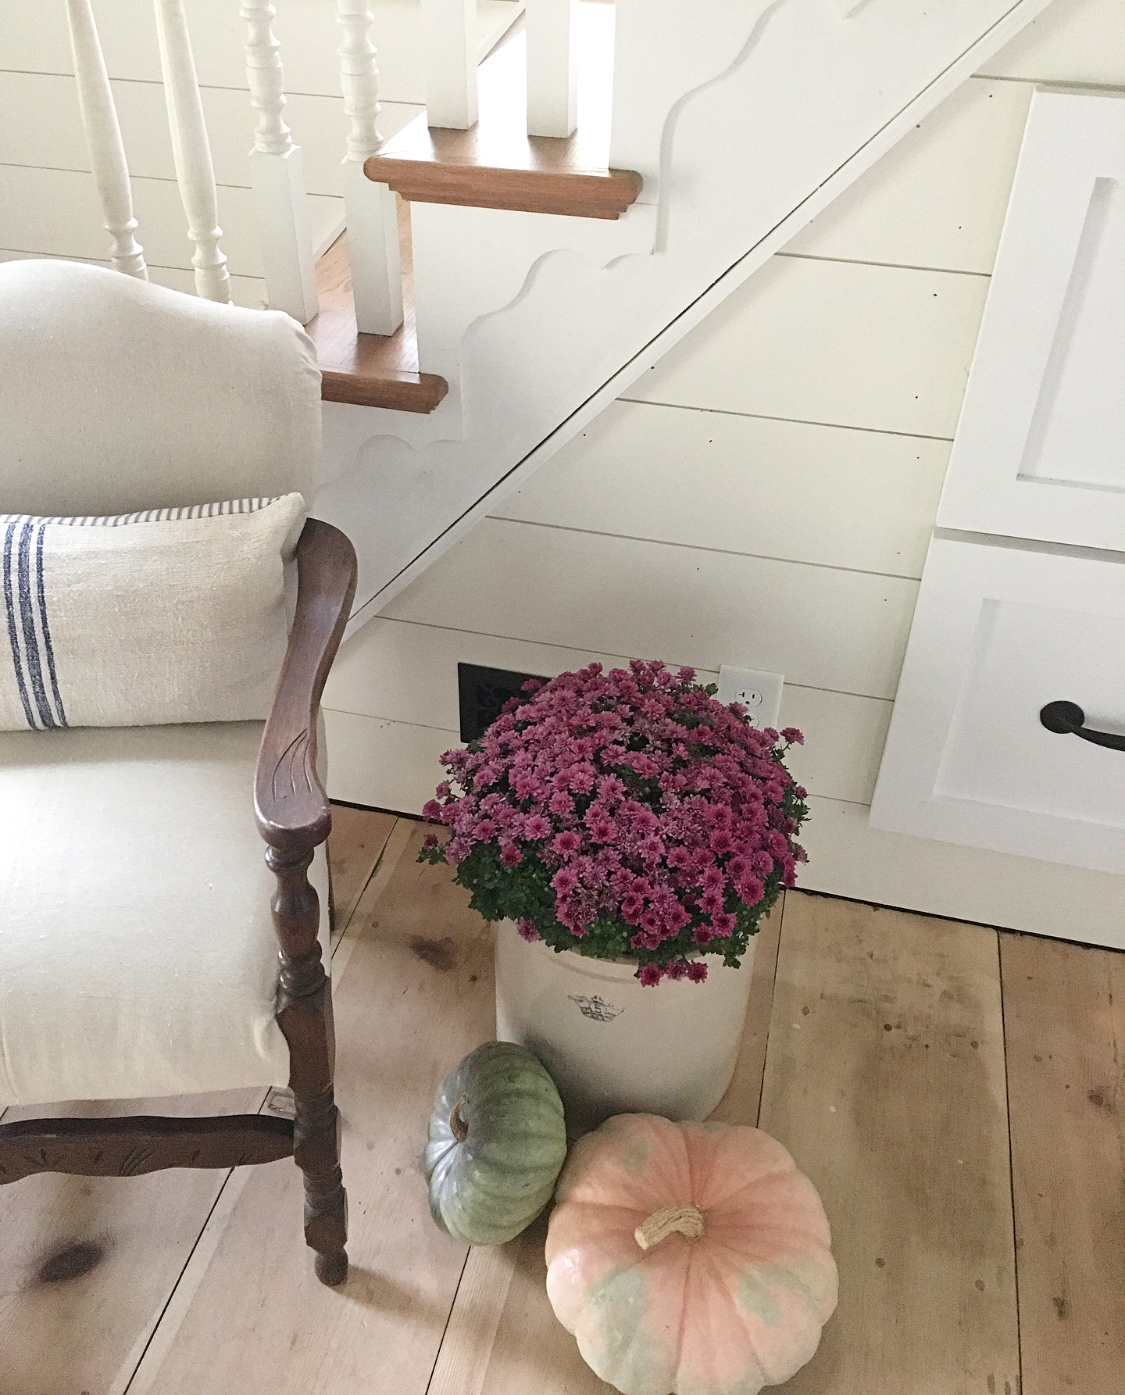
I am so excited about how this little $20 thrift store find turned out! It has been sitting for months, waiting for just the right time to give it a simple revamp. When I found it, it was brown and dingy, but it had good bones. I thought about sewing a slipcover for it, but I decided to try my hand at trying to reupholster it instead. It turned out better than I thought it would and I literally got it done in under four hours. I was totally winging this one and so the ideas were coming as I worked. Not to mention the problem solving. (smile) I think it would have gone a lot faster if I had thought it all through ahead of time, but where’s the fun in that?! Hahaha! I’m spontaneous like that!

SUPPLIES YOU WILL NEED
-Drop cloth scraps
-Burlap scraps
-Electric staple gun
-Glue gun
-Scissors
-Table knife
-Straight pins (optional)

The first thing I did was wipe down the chair a bit. Normally, I would vacuum the piece, but I started the project a little later in the evening and the littles were in bed already.
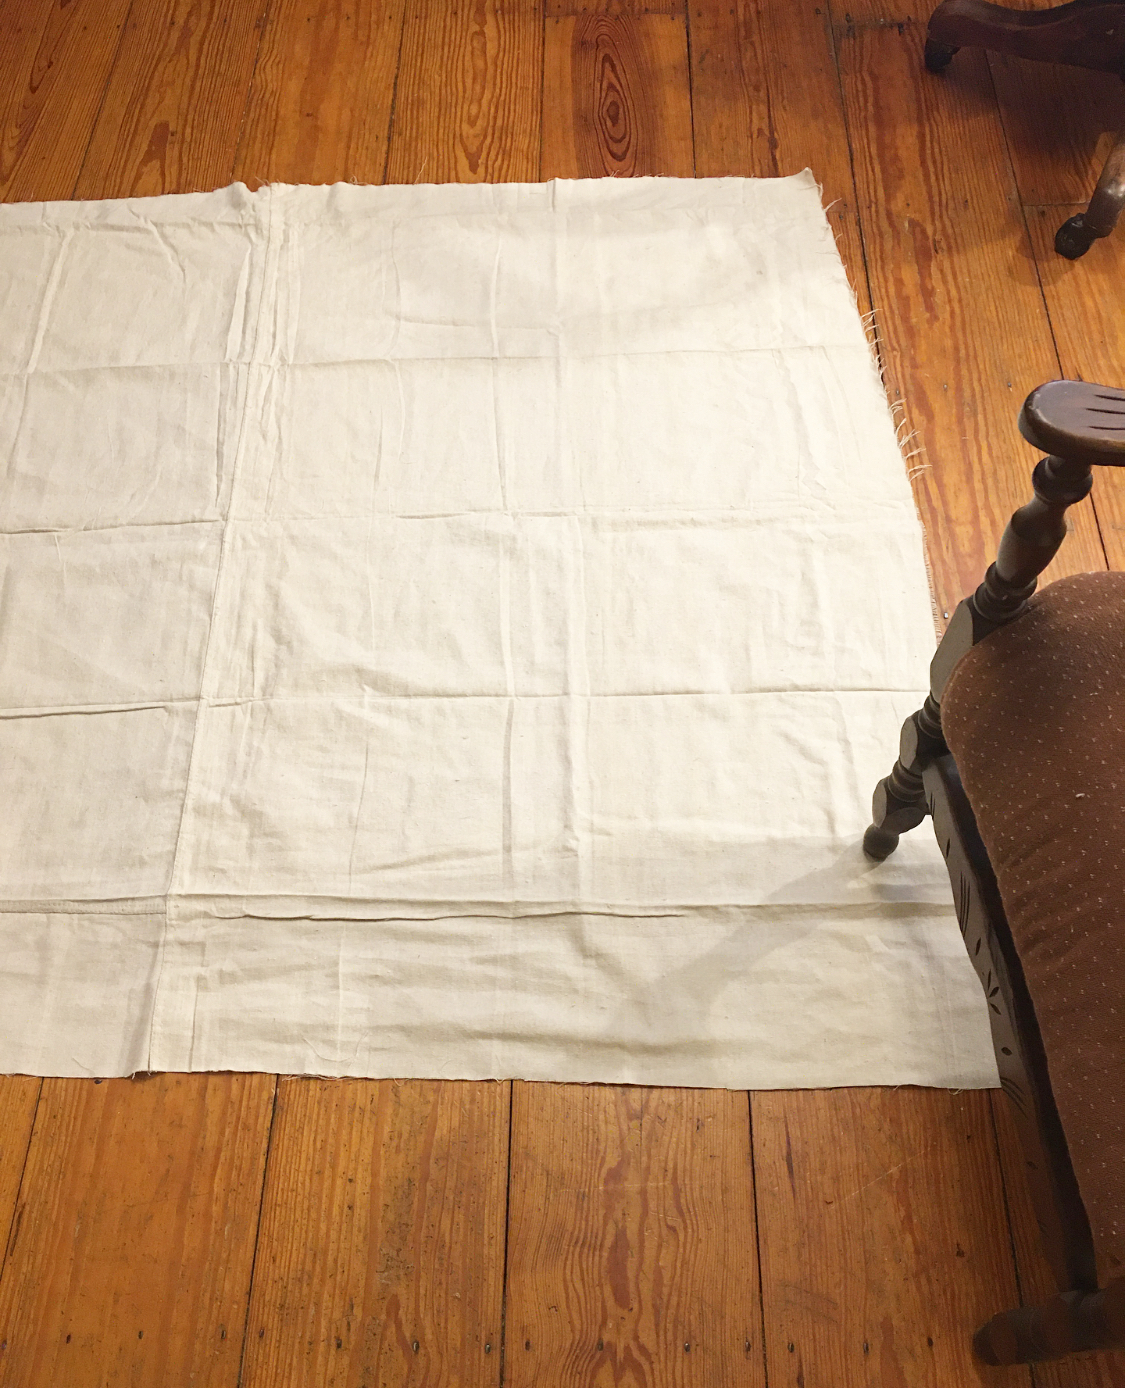
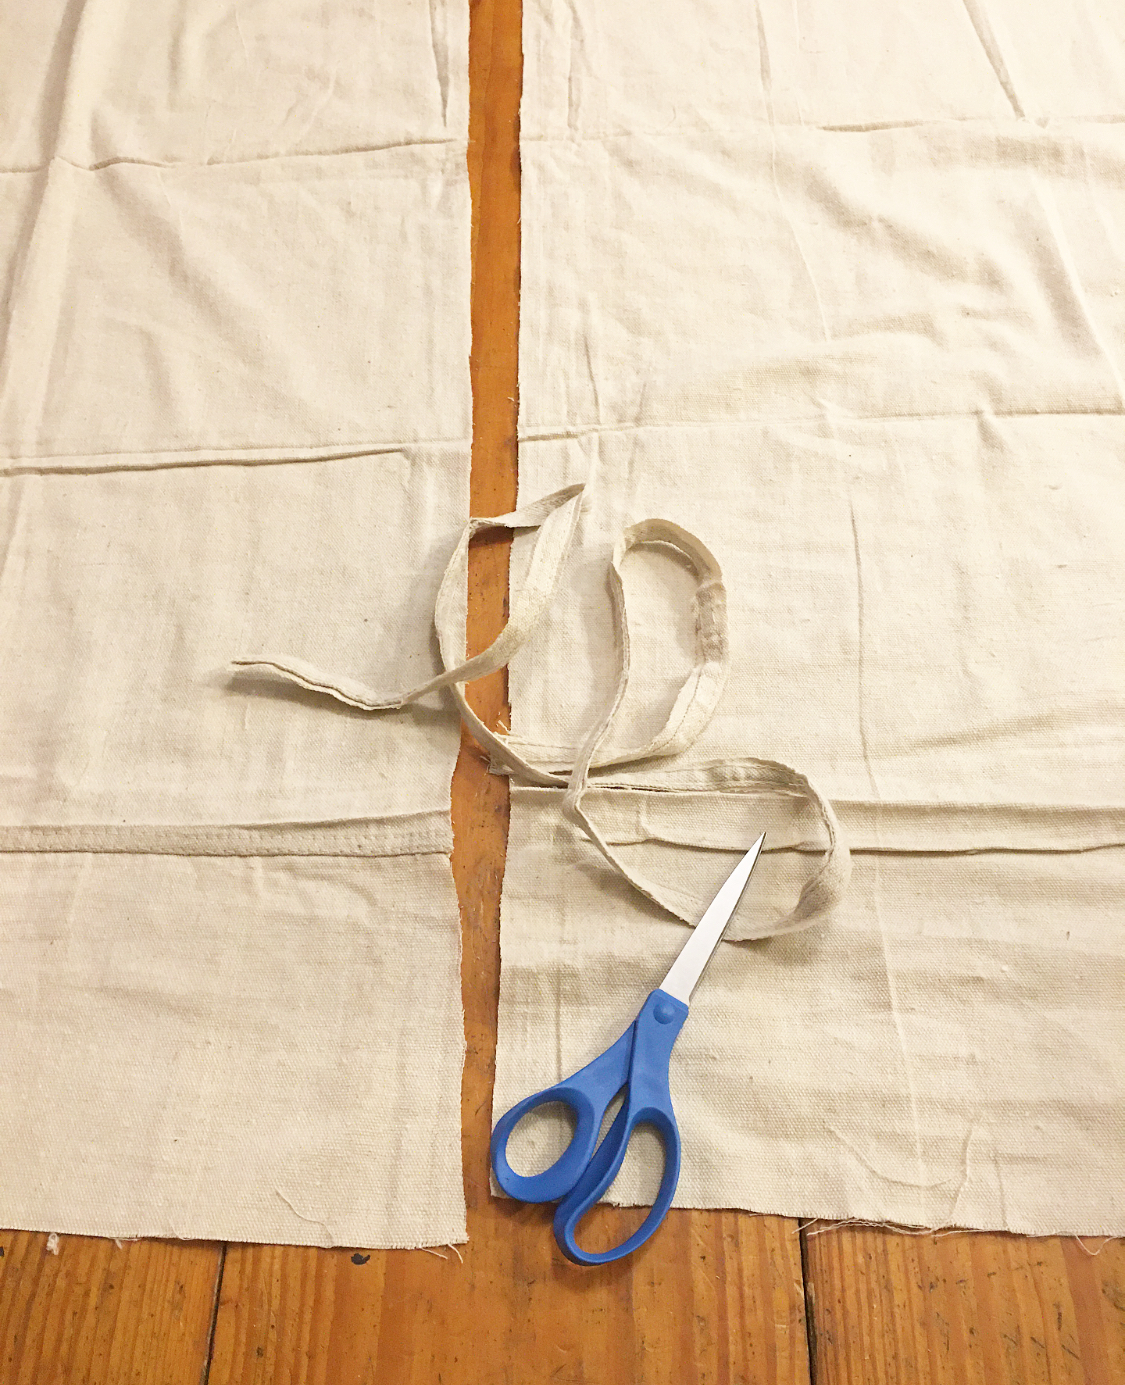
I worked on the seat portion first because it had more meat to it. I took my long drop cloth scraps, found the seam, and cut down the line. Then I took one piece and placed it on the seat to see how much of it I would actually need to use.
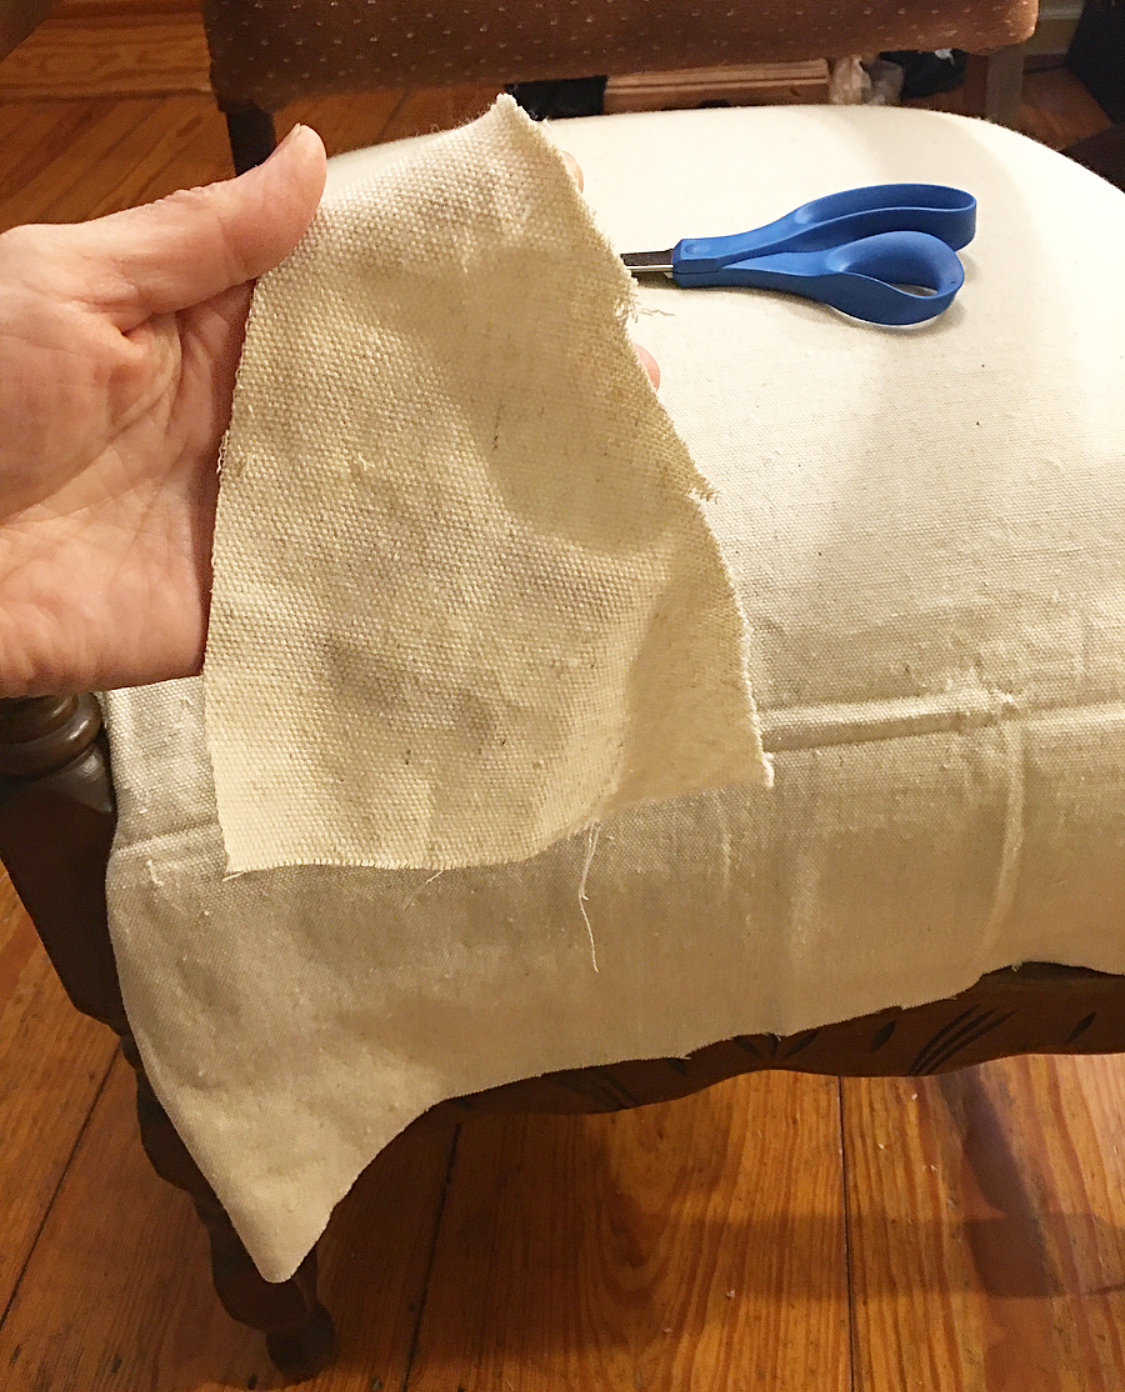
Once in place and straight, I cut diagonally towards the arms. Making sure to leave enough space to fold under. This created a cleaner look and should keep it from fraying any time soon. Then I started to gently tuck and push with the table knife into the nooks and crannies of the arms. Once the arm corners were tightly in place, I worked my way around folding, pulling, and stapling the fabric to the frame of the chair. The seat was super fast and simple to get done. Once I was done with that, I knew this had a chance of turning out well. (smile)
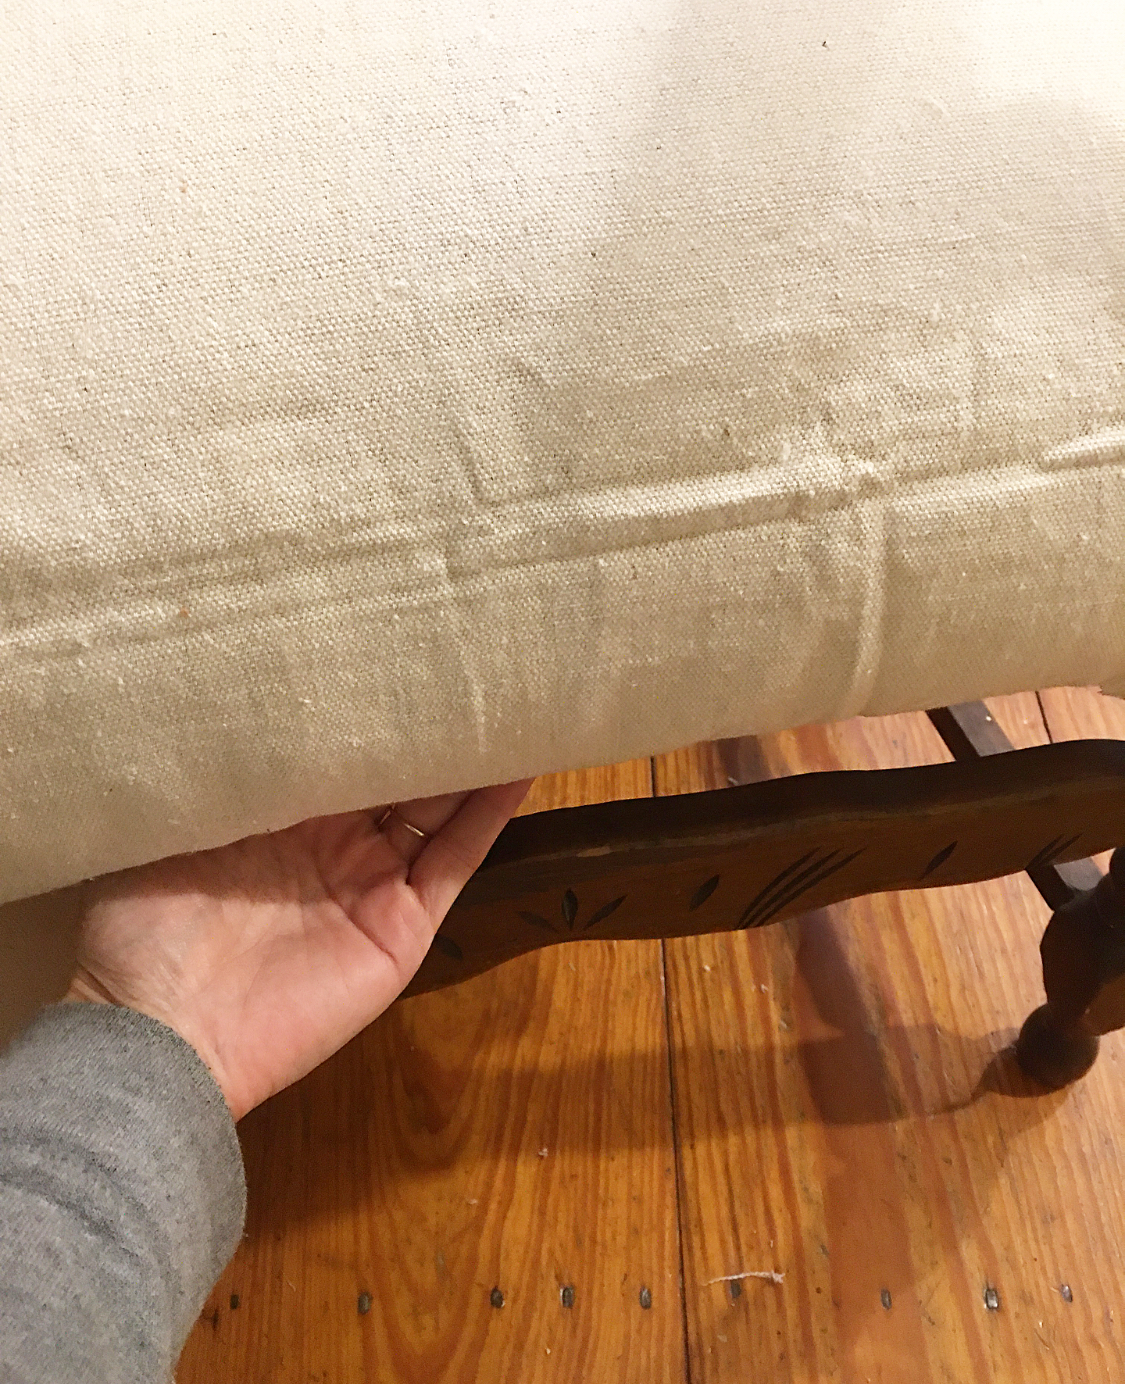
Then I started to go around the seat cutting it to fit better with about 1.5 to 2 inches overhang to create a folded seam. I wasn’t sure how this would turn out, so I didn’t bother sewing any raw edges. I may regret that eventually, but it looks so nice, I am going to just enjoy it for now! Hahaha! I simply folded the raw edge under to create a neat hem and to keep the raw edges covered.

The seat back was a little trickier and took the longest because it had a curved profile, but I decided to start on the front face and work my way back, stapling the fabric in place. I pleated the rounded portion and then stapled it in place. I tried to make sure both sides looked the same before stapling.

Then I took the scissors and cut around the raw excess edges to eliminate some of the bulk.

At first, I was thinking that I would just hot glue another drop cloth piece to cover the staples, but then I as I was cleaning the underside of the chair (you should have seen the spider sacks), I exposed the burlap that they used on the springs and “Light bulb!” I ran and got some burlap from our stash and glued that on instead. It has more weight and is stiffer than drop cloth, so it finished the back off nicely and gave it some added interested and detail. It reminds me of that deconstruction look that is so popular these days with vintage farmhouse style.
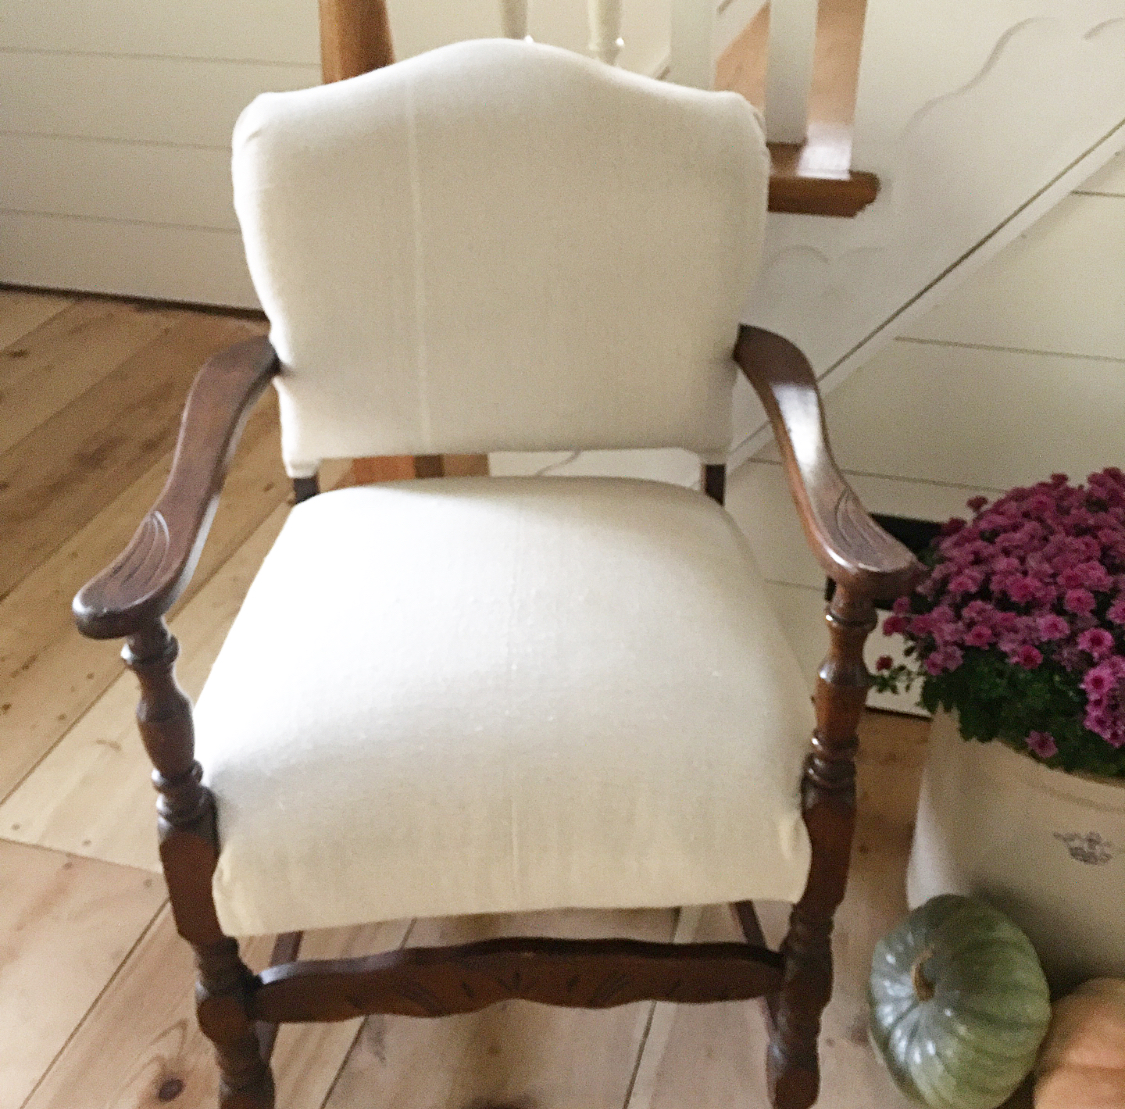
The drop cloth I was using on the back portion had a faded line on it. I thought it gave it even more of an earthy, homemade look, so I just kept it visible. I love the way it turned out! I think the lighter color of the fabric goes well with the original wood details.
The moral of this DiY story is that we don’t have to buy new all the time or buy super expensive pieces to make our homes unique and inviting. Buying used and repurposing items is a great way to style your home and save money. One man’s trash is another man’s treasure, can go a long way, especially when incorporating vintage farmhouse style. This $20 chair has never looked better! Sometimes the smaller projects can bring such satisfaction. Have you tried your hand at reupholstering a special piece in your home? I would love to hear about it.


Leave a Reply