Living on a farm, way out in the middle of nowhere, our pantry gets A LOT of use on the homestead. Now, it can be functional and pretty! Come see the process leading up to our DiY Farmhouse Pantry Reveal.
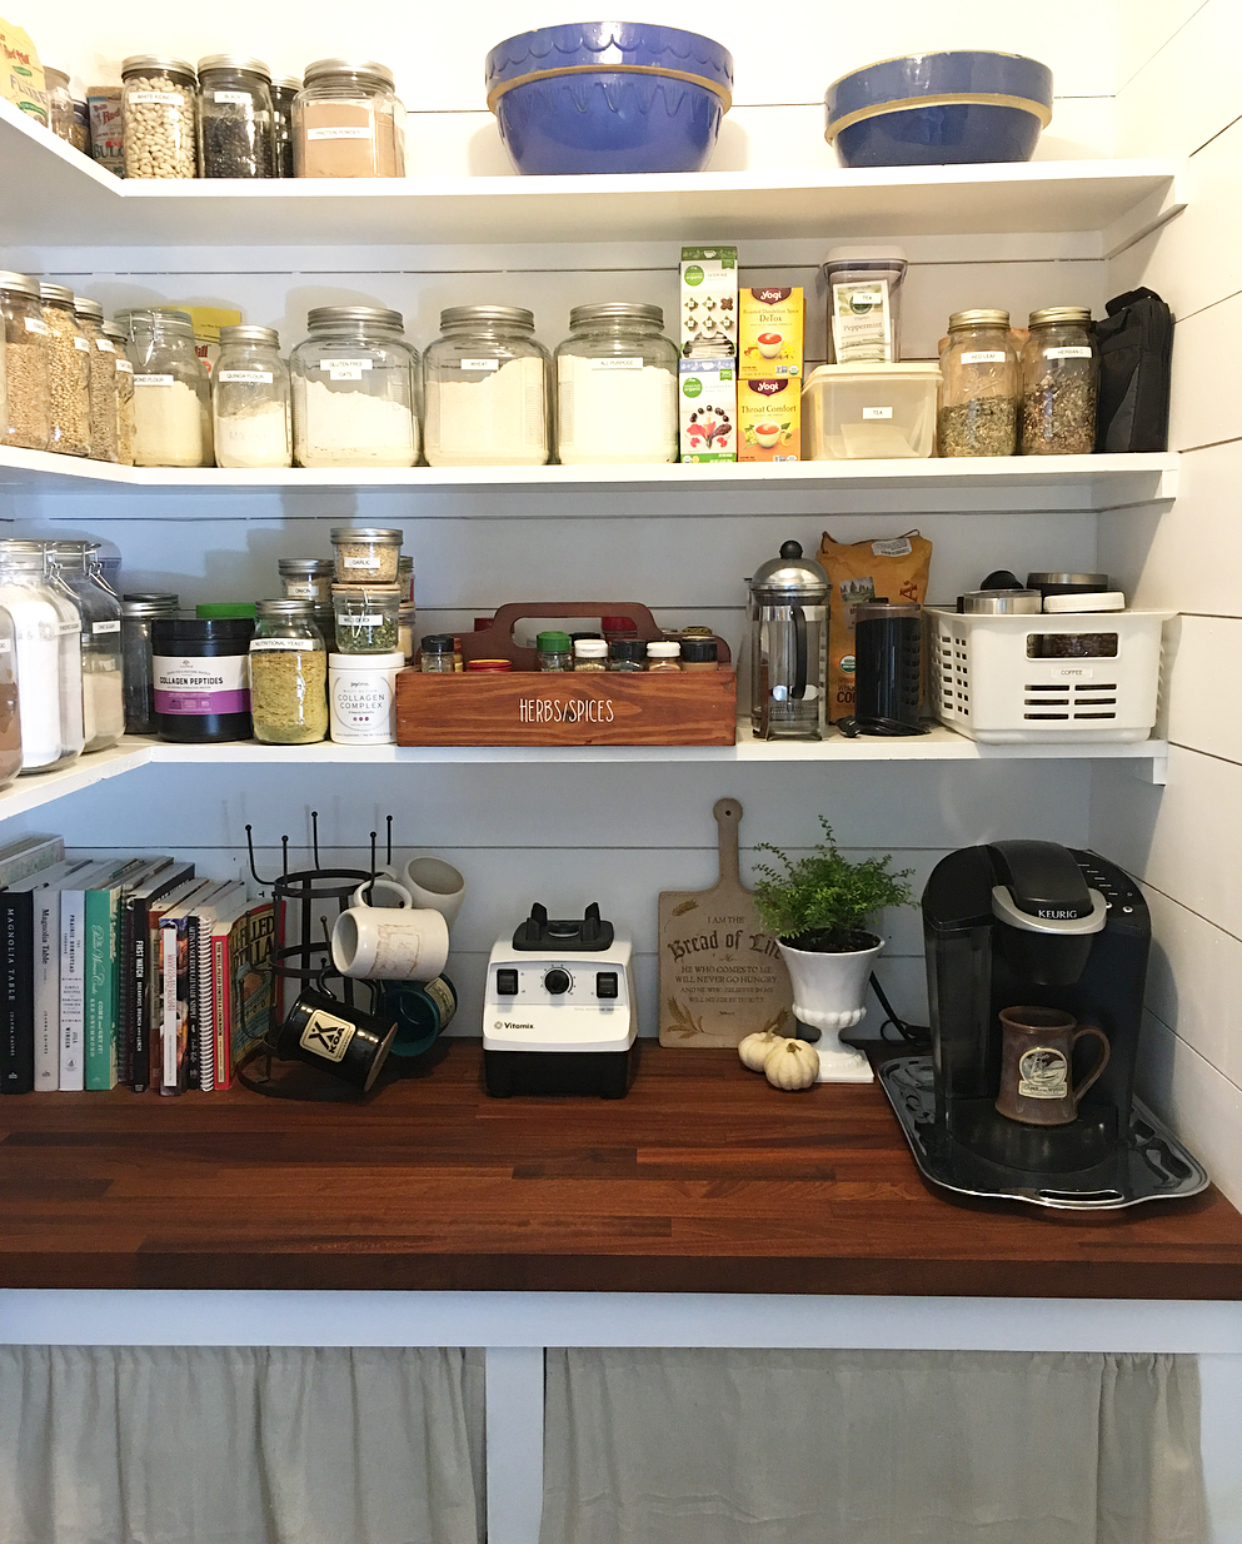
Seeing the progress on our DiY pantry makeover has been super exciting for me! Since a majority of our farmhouse projects are taken on by us and good help is hard to come by in these here parts. Especially on a budget. You can imagine my excitement when we can see the finish line.
I started this makeover back in August to surprise my husband who was working out of town. It quickly became a fun project that got some extra TLC from the real carpenter of the family.
BEFORE
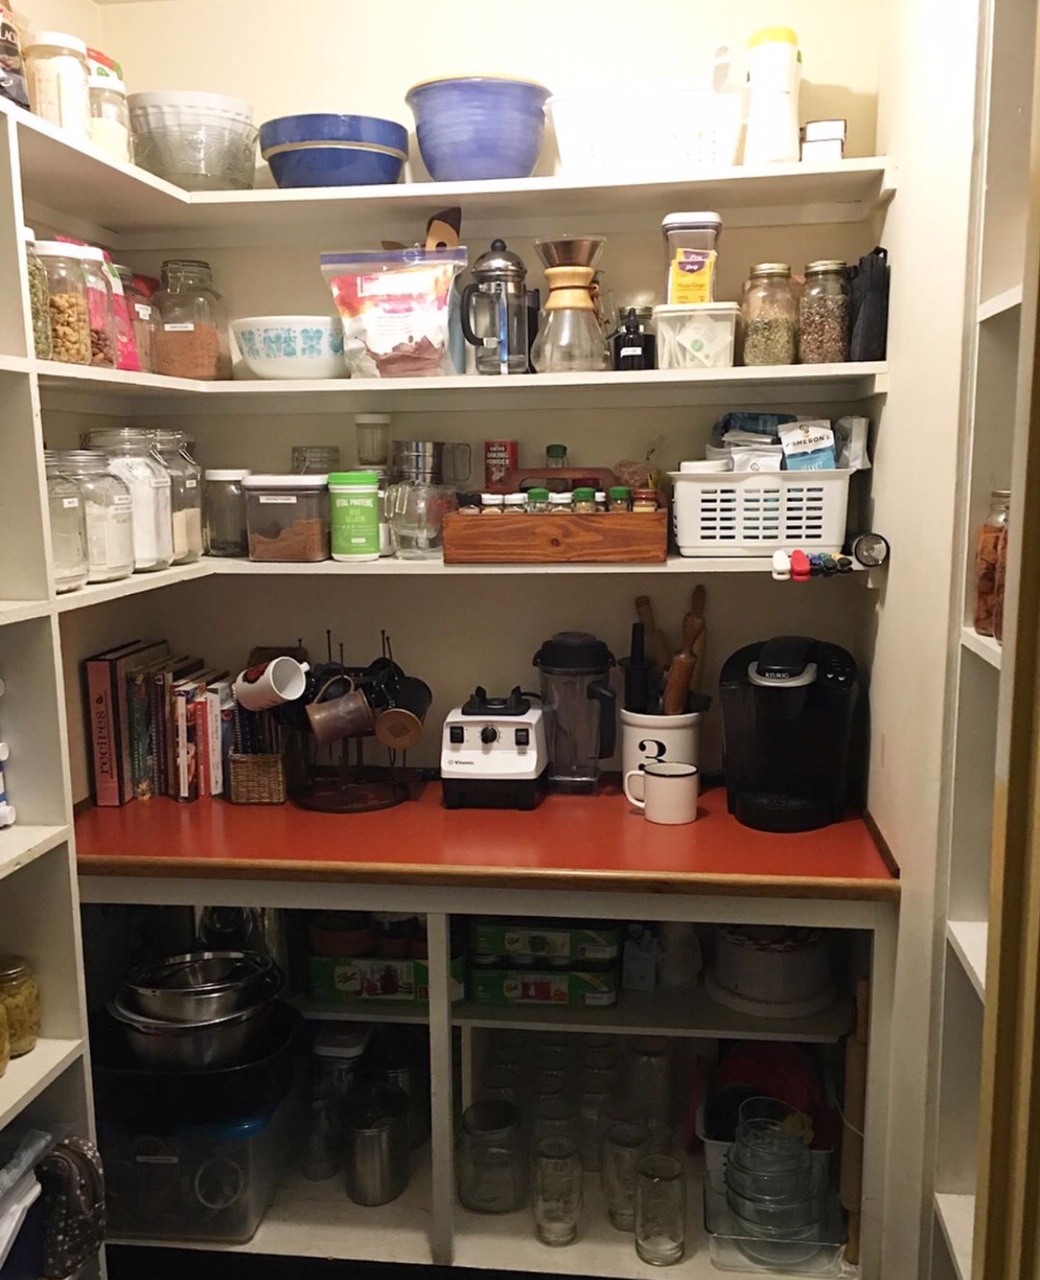
A “reveal” wouldn’t be a reveal without a few before and during photos. The pantry was not much to look at, really. Very functional, but crowded and a little awkward in spots.
The old owners admittedly were not ones for cleaning…and it showed. (gasp)
Since transitioning to the homestead, we have slowly been working our way around the property to update, repair, renovate, and you guessed it…clean up!
FORM AND FUNCTION
When it came to organizing this space, we kept things essentially the same.
Organization was never a problem with this small space, but storage and the dated countertop needed a bit of an update.
We didn’t purchase any new containers. I simply put my Silhouette Portrait vinyl cutter to work and added a label or two, here and there.
Adding labels to a project can make a space look more polished and put together.
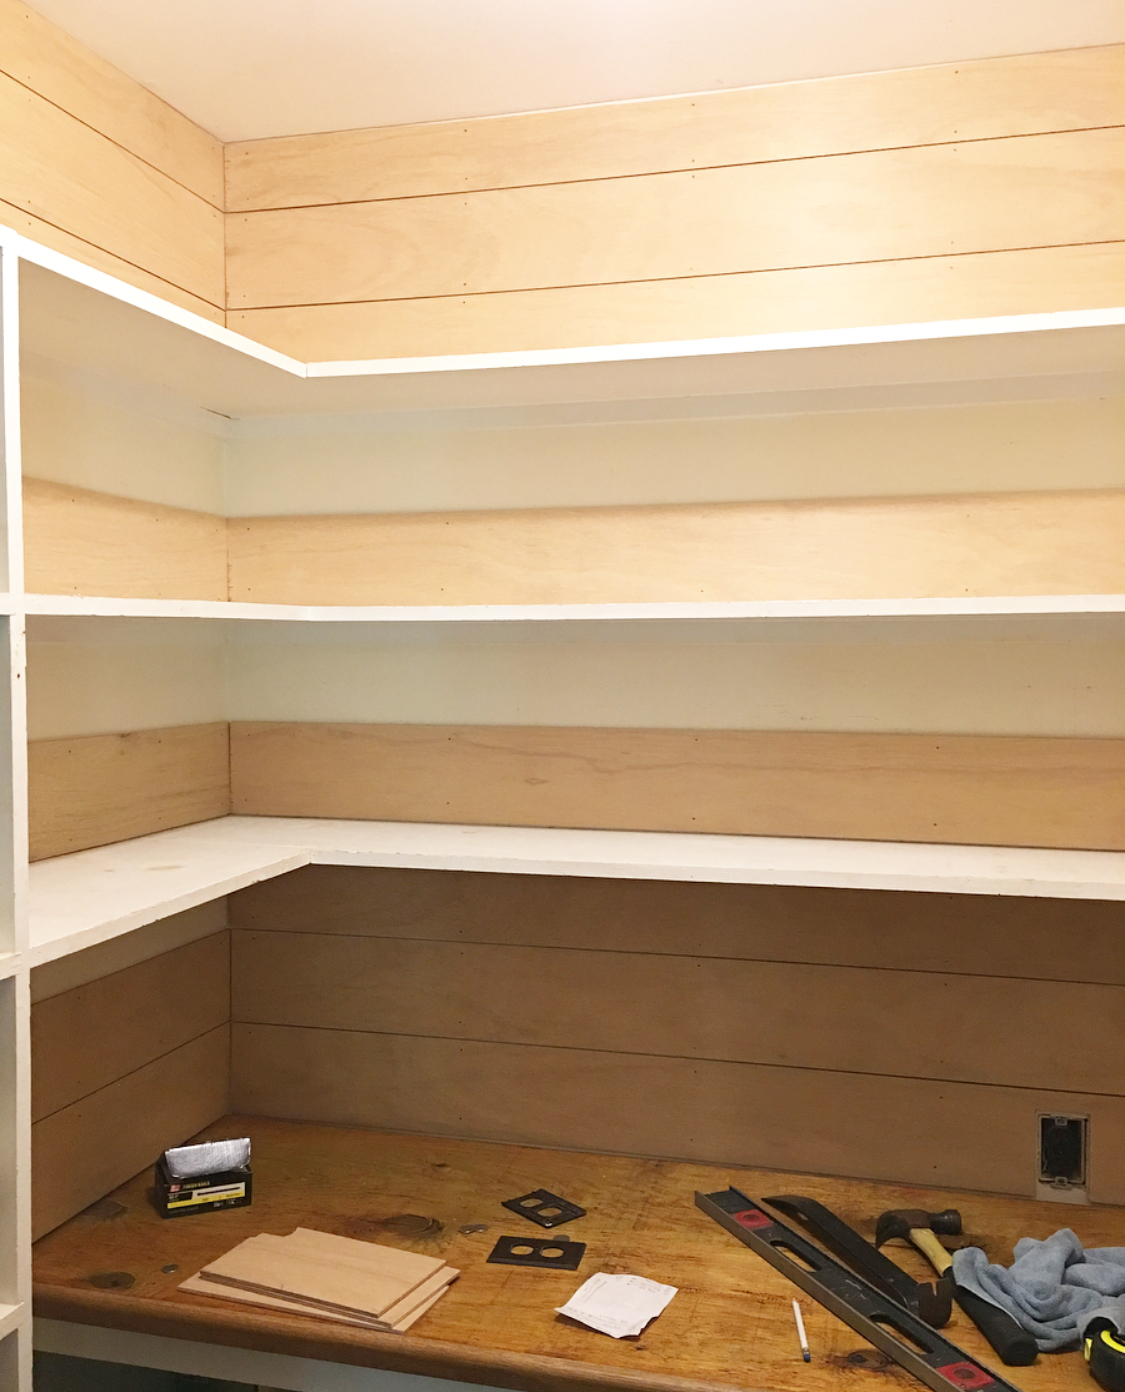
This was the first real DiY project of this magnitude that I took on by myself.
I wanted to surprise my husband by painting and adding faux shiplap to the pantry.
It turned out so nice that he helped make it even better by building a more functional storage space for under the new butcher block countertop.

PAINT AND SHELVES
We used a semi-gloss paint to make the shelves easy to clean and wipe. Our pantry gets a lot of use for our large family and homestead living.
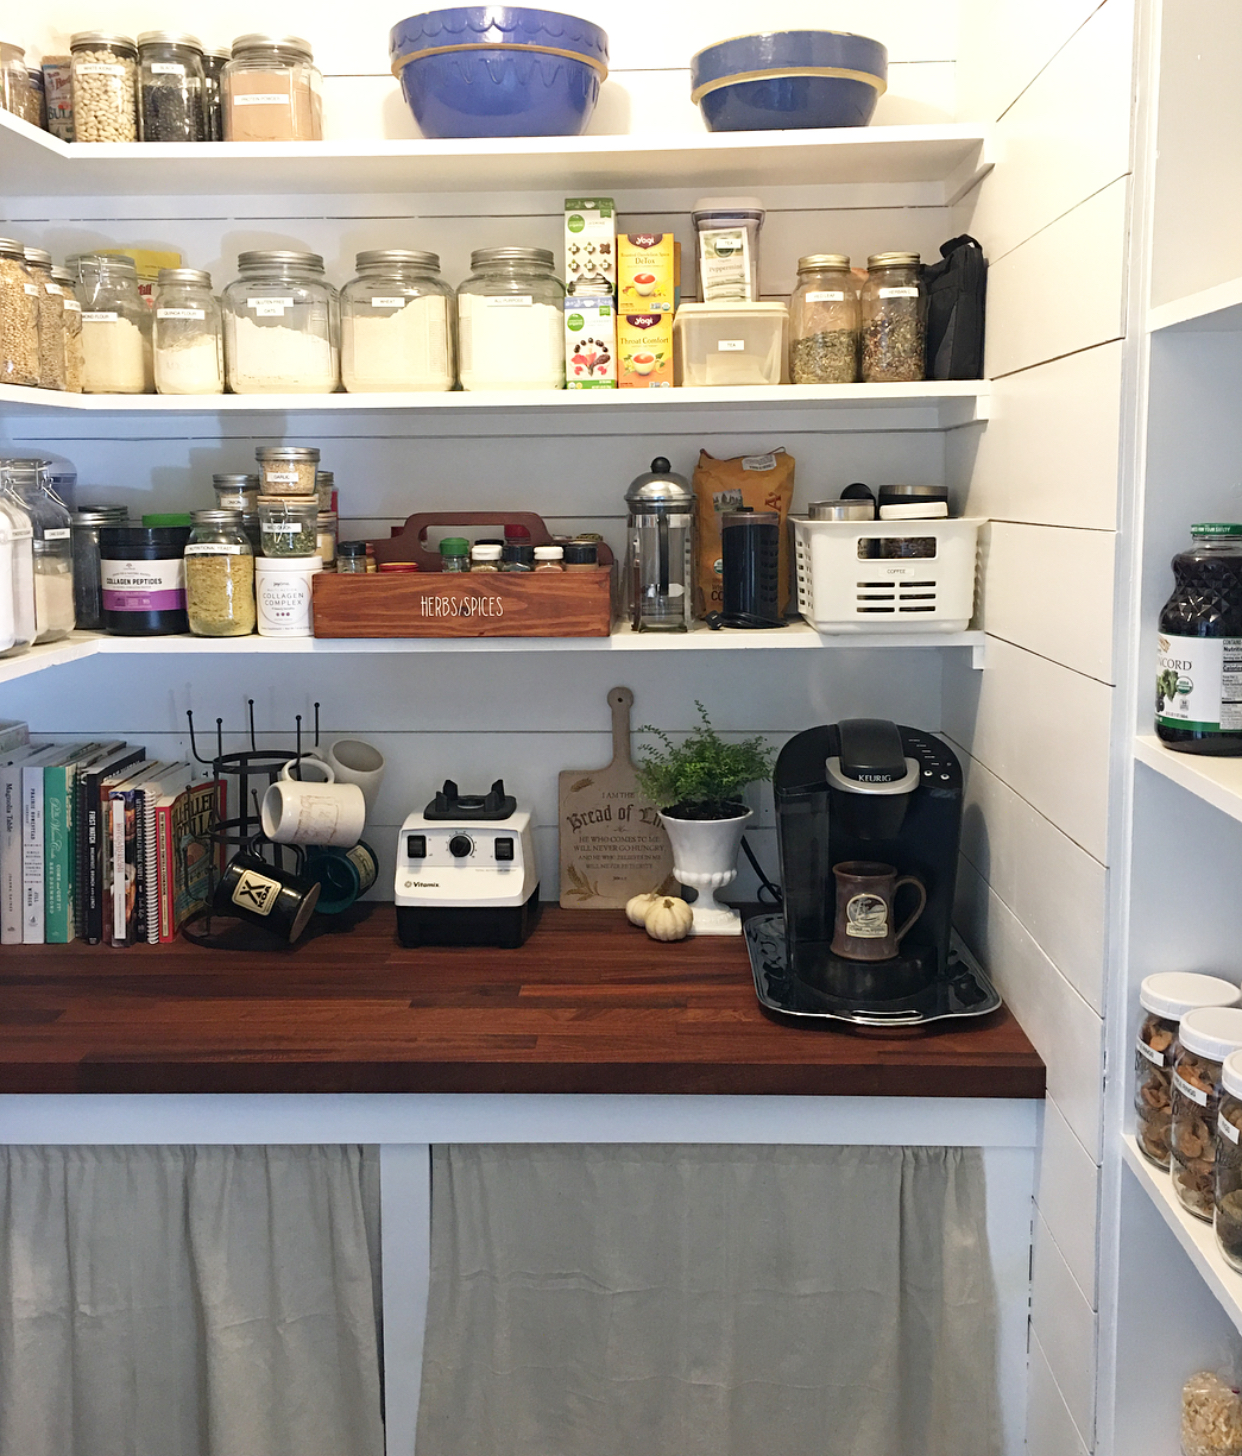
With the new shelves, we can fit more of our canning jars and equipment without it looking so cluttered. I sewed some curtains out of some left over drop cloth to hide the items under the counter.
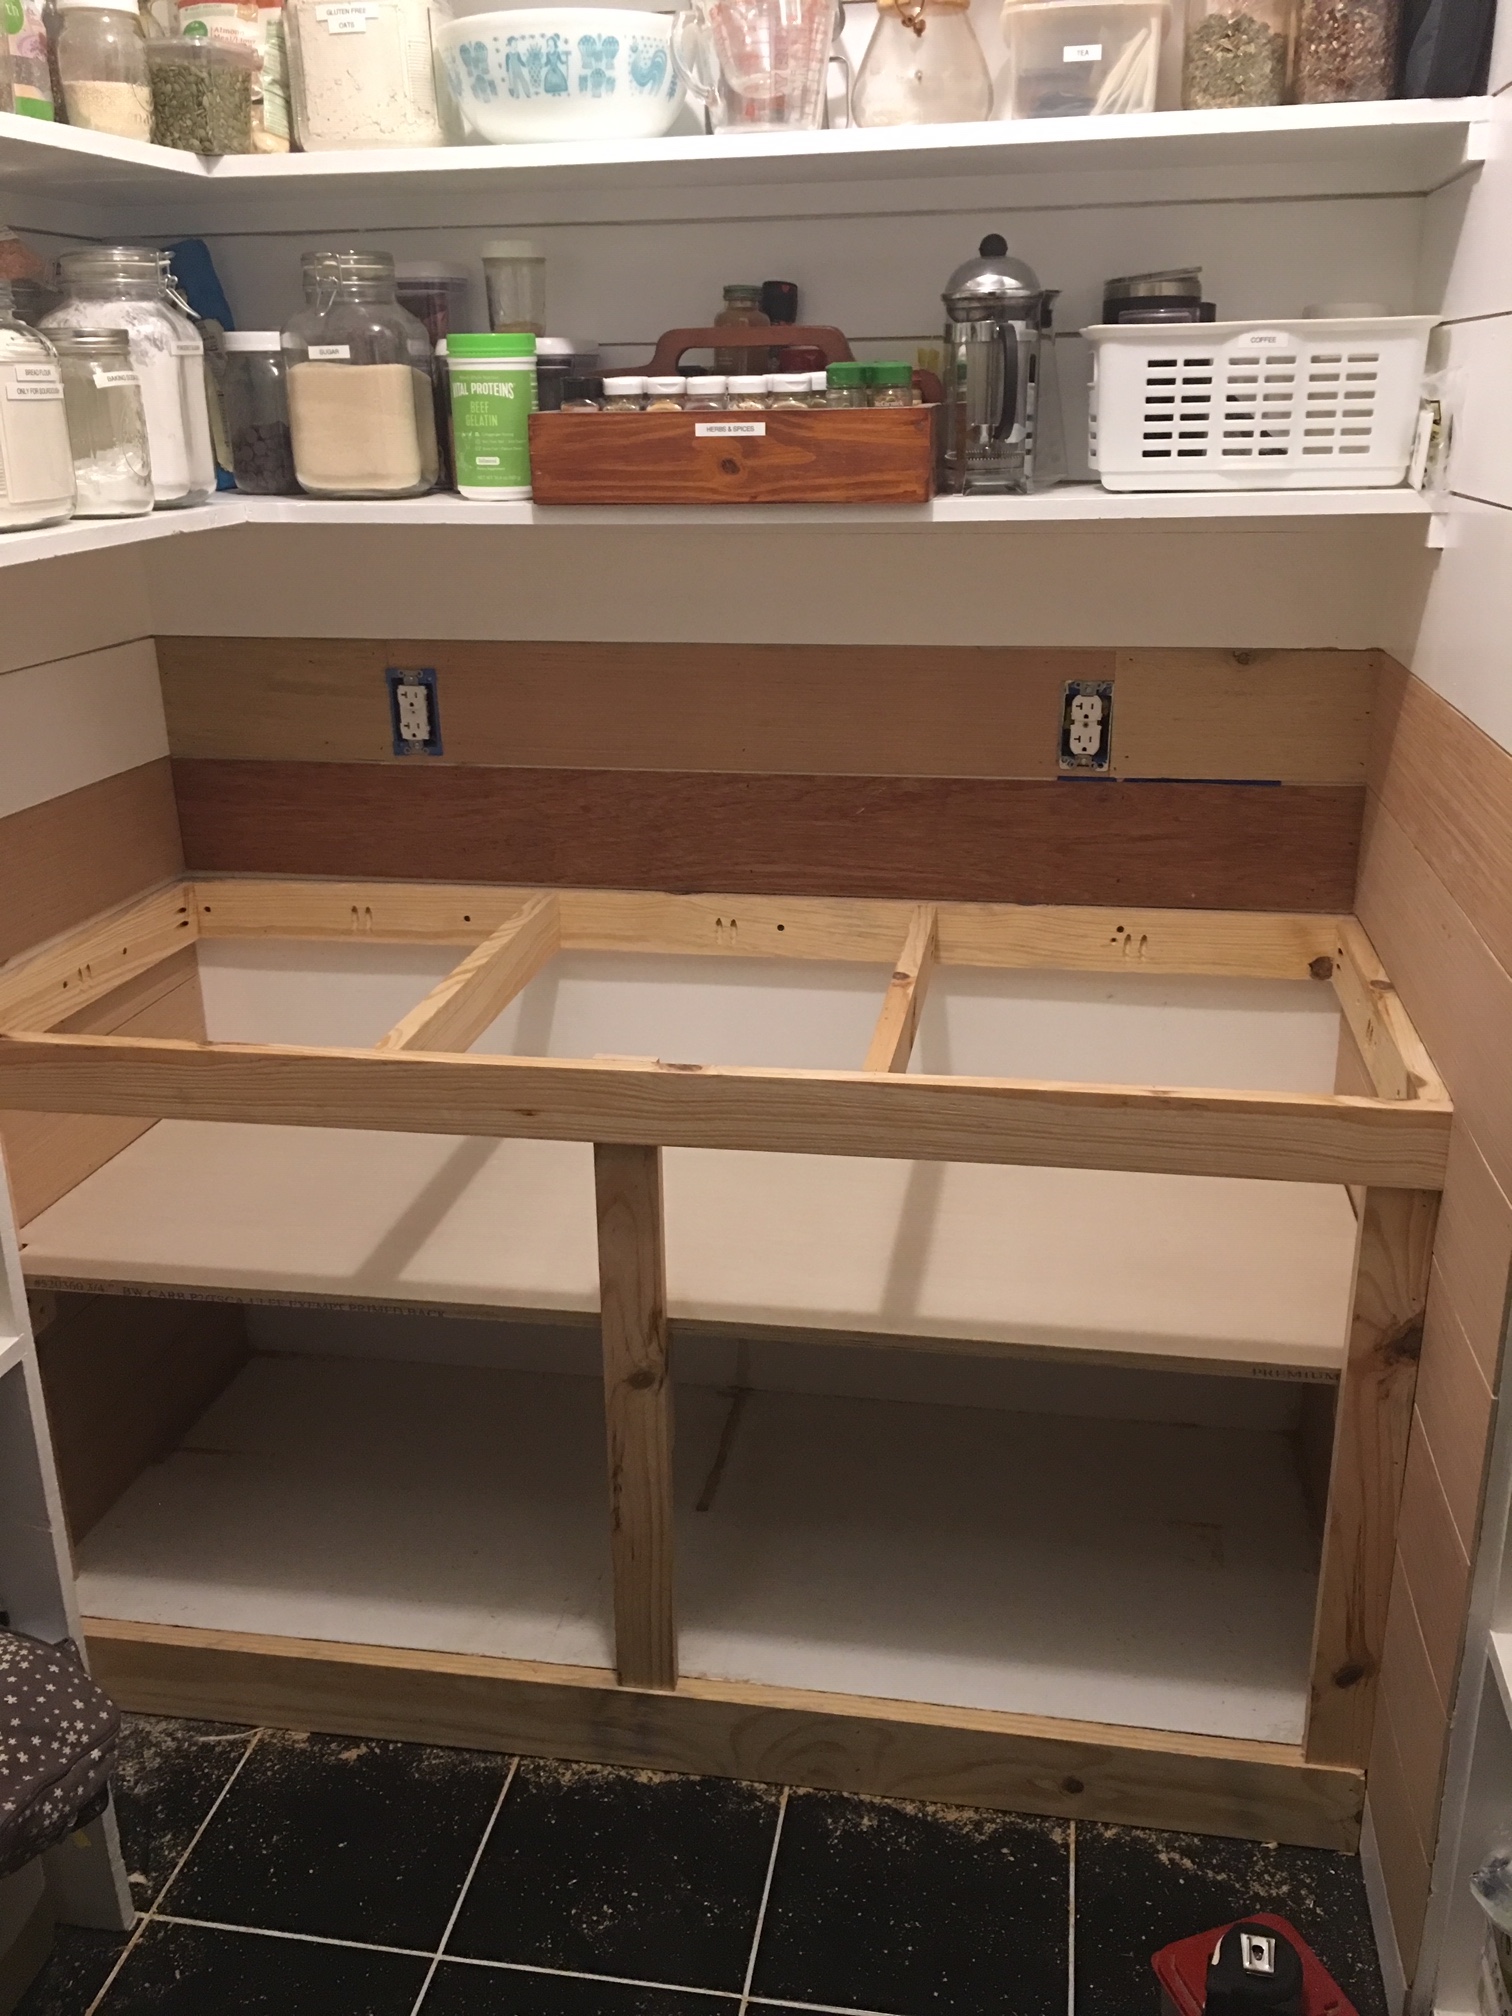
While we waited for the butcher block to cure, we worked on building the new shelves. We basically tore out all the legs and old short shelves, then cut new pieces from our wood stash in our barn.
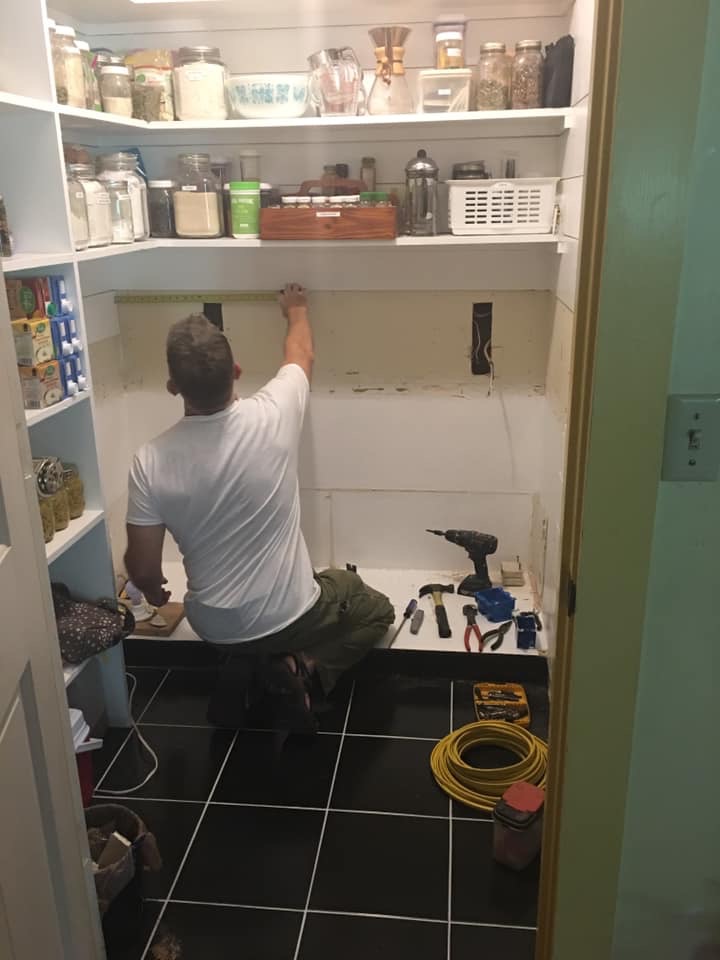
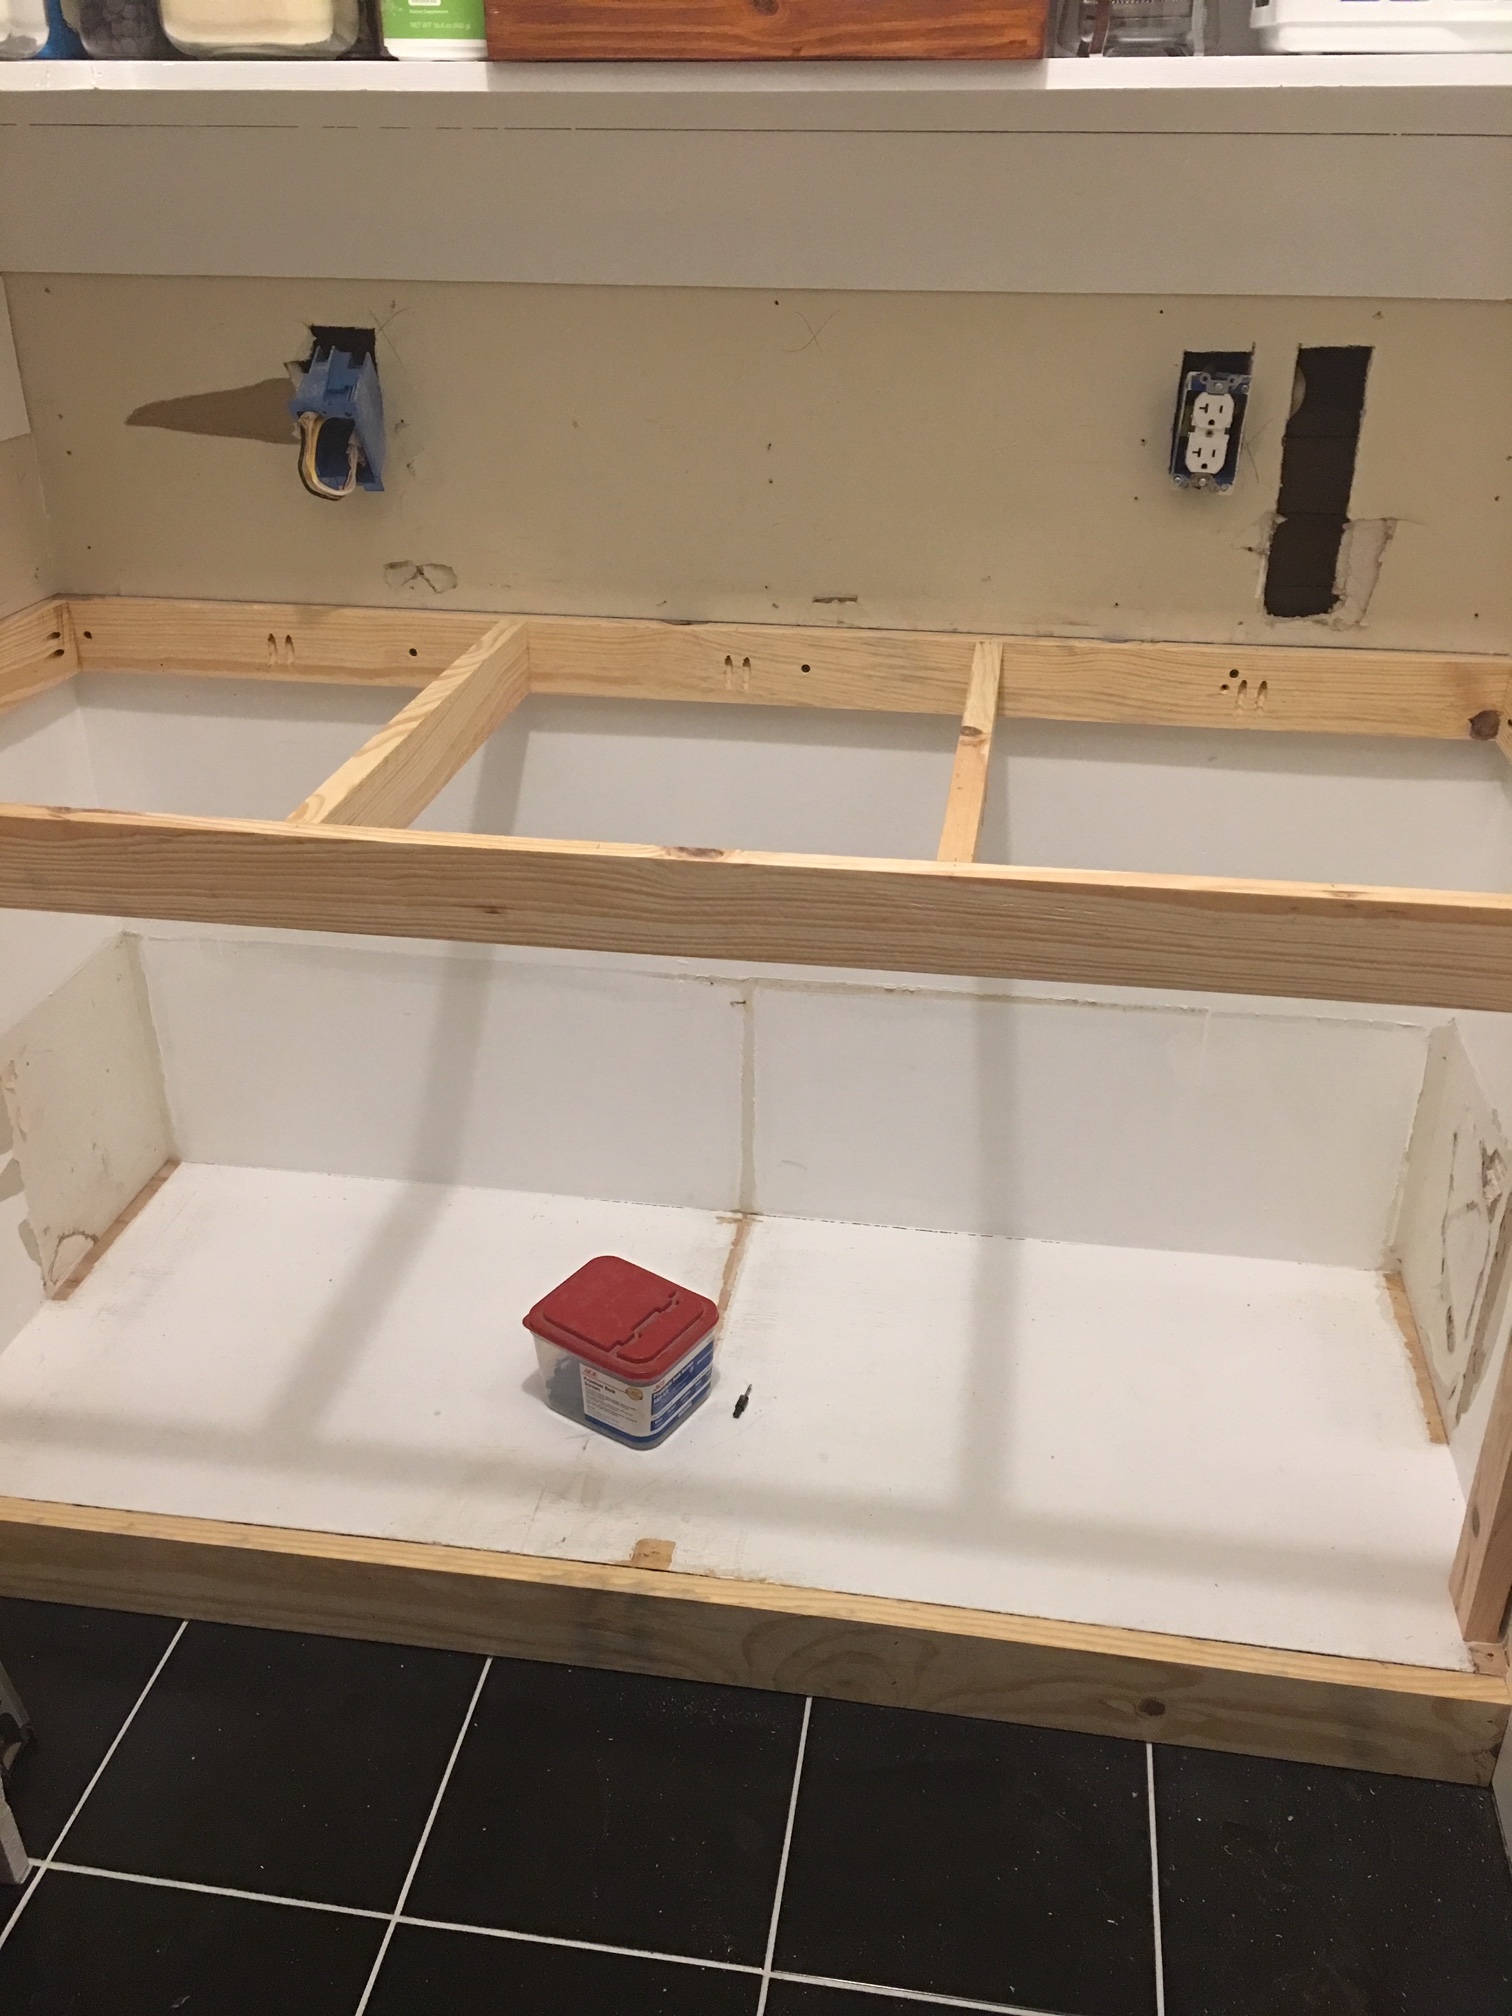
My husband took this project up a notch when he added another outlet and beefed up the base. We have so much more storage space under the counter!

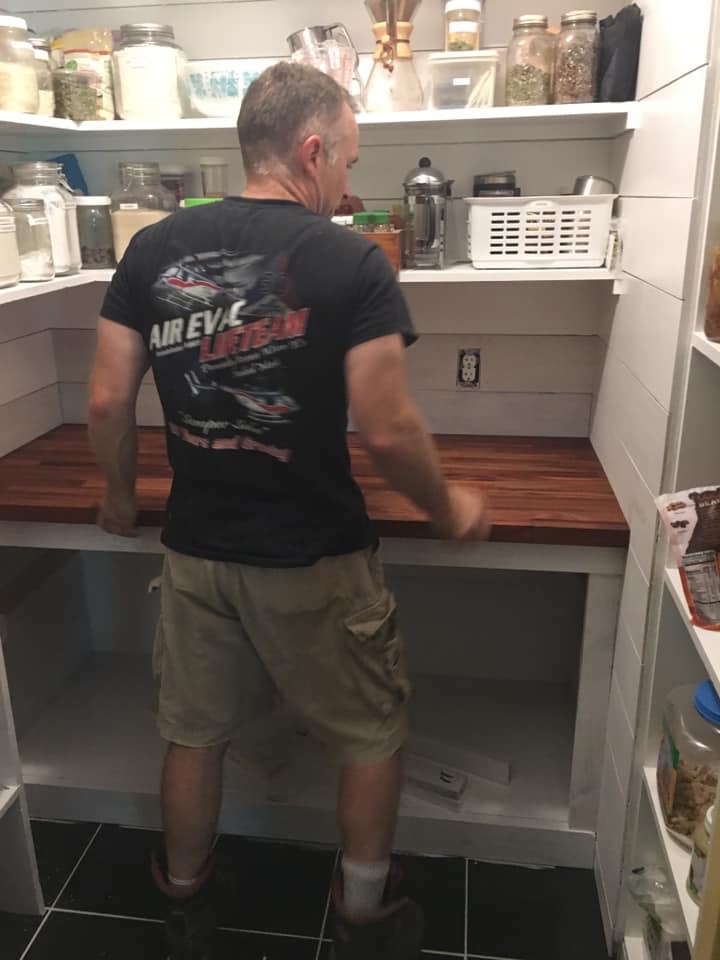
The butcher block came raw. Here it is curing before installment.
**This post may contain affiliate links. Please see full affiliate disclosure here.
THE COUNTERTOP
We received this beautiful new butcher block counter from our friends at Hardwoood Reflections. Their built-to-last butcher counter tops can be found at Home Depot.
I met Jake at the Haven Conference this last summer in Atlanta and I couldn’t believe how well made their products were and how they went out of their way to get us what we needed to really complete this DiY project. Top notch service, for sure!
We chose the Sapele hardwood. It is commonly known has Sapele Mahogany as well. It has a similar look as this here.
Our front door that we had installed a couple years ago is made of the same wood. It actually is one of the hardest woods and rates stronger than traditional mahogany. This wood comes from Africa.

ADDING THE DETAILS
We first sanded the piece and then did some research on line on which option was best for keeping it food safe. We went with an oil mixture from Milk Paint Co.
We brushed it on and let is sit for 24 hours and then repeated it several times until the oil really soaked deep down into the pores of the wood. Then polished it with a clean rag.
We treated one side at a time and then let it cure for about 30 days before installing it.
By replacing the counter top, we were able to fix some of my “whoopsies” on the faux shiplap. So glad it was just in a few spots!

Before priming and painting the new shelves under the counter, we added a veneer front face to the raw edge. This gives it a more smooth and finished look.
In projects like these, it’s all about the little details!

We purchased this roll from Lowe’s here, but I am sure Home Depot carries it as well.

We just have a couple of base boards that still need to be installed and a few areas need to be touched up with paint, but overall it is pretty much done. We are loving the finished product.
Eventually, when we update the floors in the kitchen, we will most likely replace these black tiles with brick for more of an authentic farmhouse look. Make sure to stay tuned for that!
DIY FARMHOUSE PANTRY REVEAL
She’s stylin’ now! Isn’t she?
PIN IT FOR LATER

It is amazing how a space can be transformed with just a little DiY knowledge, some elbow grease, and a whole lot of paint!
I hope this simple DiY farmhouse pantry project helps give you some ideas for your next small space overhaul.



Can you share what width the boards are for your faux shiplap?
Sure, Connie. We made ours about 6 inches wide, but I have seen smaller and larger widths as well. It depends on what look you are after. Hope that helps.