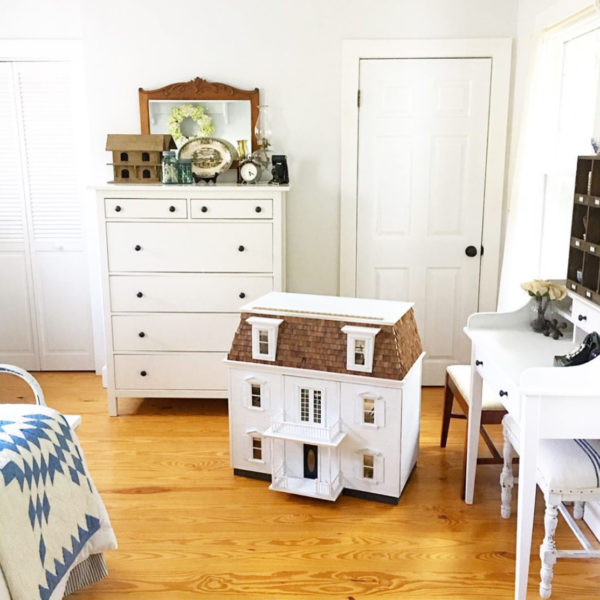
If you are new to sewing, these simple farmhouse pot holders are a great way to get your feet wet. Use this simple tutorial with your own favorite fabric combinations and keep your kitchen drawers well stocked with charming pot holders you can be proud of.

These simple potholders make great last minute housewarming gifts, as well as birthday and hostess gifts.

A simple change of fabrics can turn these useful potholders into stylish new creations for the changing seasons.

This simple blue and white ticking fabric version, without the pocket offers a simple spring vibe.

This red and white striped hot pad version, makes for a charming and festive holiday table.
**This post contains affiliate links. Please see full affiliate disclosure here.
MATERIALS AND TOOLS YOU MAY NEED
- Scraps of fabric of choice (cotton, hemp, linen, or drop cloth work well…avoid thin lightweight fabric and synthetic fabrics that can melt and are not able to withstand the heat)
- Quilt batting or terry cloth (towel) fabric
- Insulated heat resistant batting (like Insul-Brite)
- Coordinating fabric for making the binding
- Iron
- Sewing machine
- Pins
- Scissors and/or rotary cutter
- Coordinating thread
HOW TO SEW A SIMPLE POTHOLDER
1. First, start by cutting out your fabric pieces.
- two 8 x 8 pieces of main fabric (top and back of finished potholder)
- one 8 x 8 square of lightweight quilt batting
- two 8 x 8 squares of heat resistant batting (like Insul-Brite)
- two 5.25 x 8 rectangular pieces for the pocket
- one 5.25 x 8 rectangular piece of quilt batting for pocket liner
- one 46 inch piece of coordinating fabric, two inches wide to make the bias tape and hanging loop
NOTE: Potholder sizes can vary from 8 x 8 to 10 x 10. I like mine to be on the smaller size. As a result, I make mine an 8 x 8 size.

2. With an iron, press your pieces flat. This step is optional, however it helps to keep all the layers from getting wonky.
LAYERING THE PIECES

3. Layer your square cut pieces with the top and bottom fabric facing with right sides (nice side) out and with batting and Insul-Brite sandwiched in between.
CREATING YOUR BIAS TAPE

4. To make the bias tape, simply fold the ends of the 2 inch contrasting fabric toward the middle of the fabric and press with iron. Making sure not to overlap the raw edges. Fold the piece in half and press flat with iron. This piece will be used to cover the raw edges.

Here is a picture of the width of the bias tape before folding.
SEWING THE LAYERS TOGETHER
5. Sew horizontal and vertical lines, equally spaced across the square pieces of the potholder (keep the rectangular piece separate at this point), to create a more quilted look. This also helps keep all the layers together without shifting.

6. Repeat step 5 for the rectangular pocket piece. Finish off the top edge of the pocket by sandwiching the layers in between the bias tape. Sew a straight line across the bottom to secure the bias tape.
NOTE:
In this picture above, I do not have the batting sewn on yet. It does make a difference with the stiffness of the pocket. I learned that the hard way!
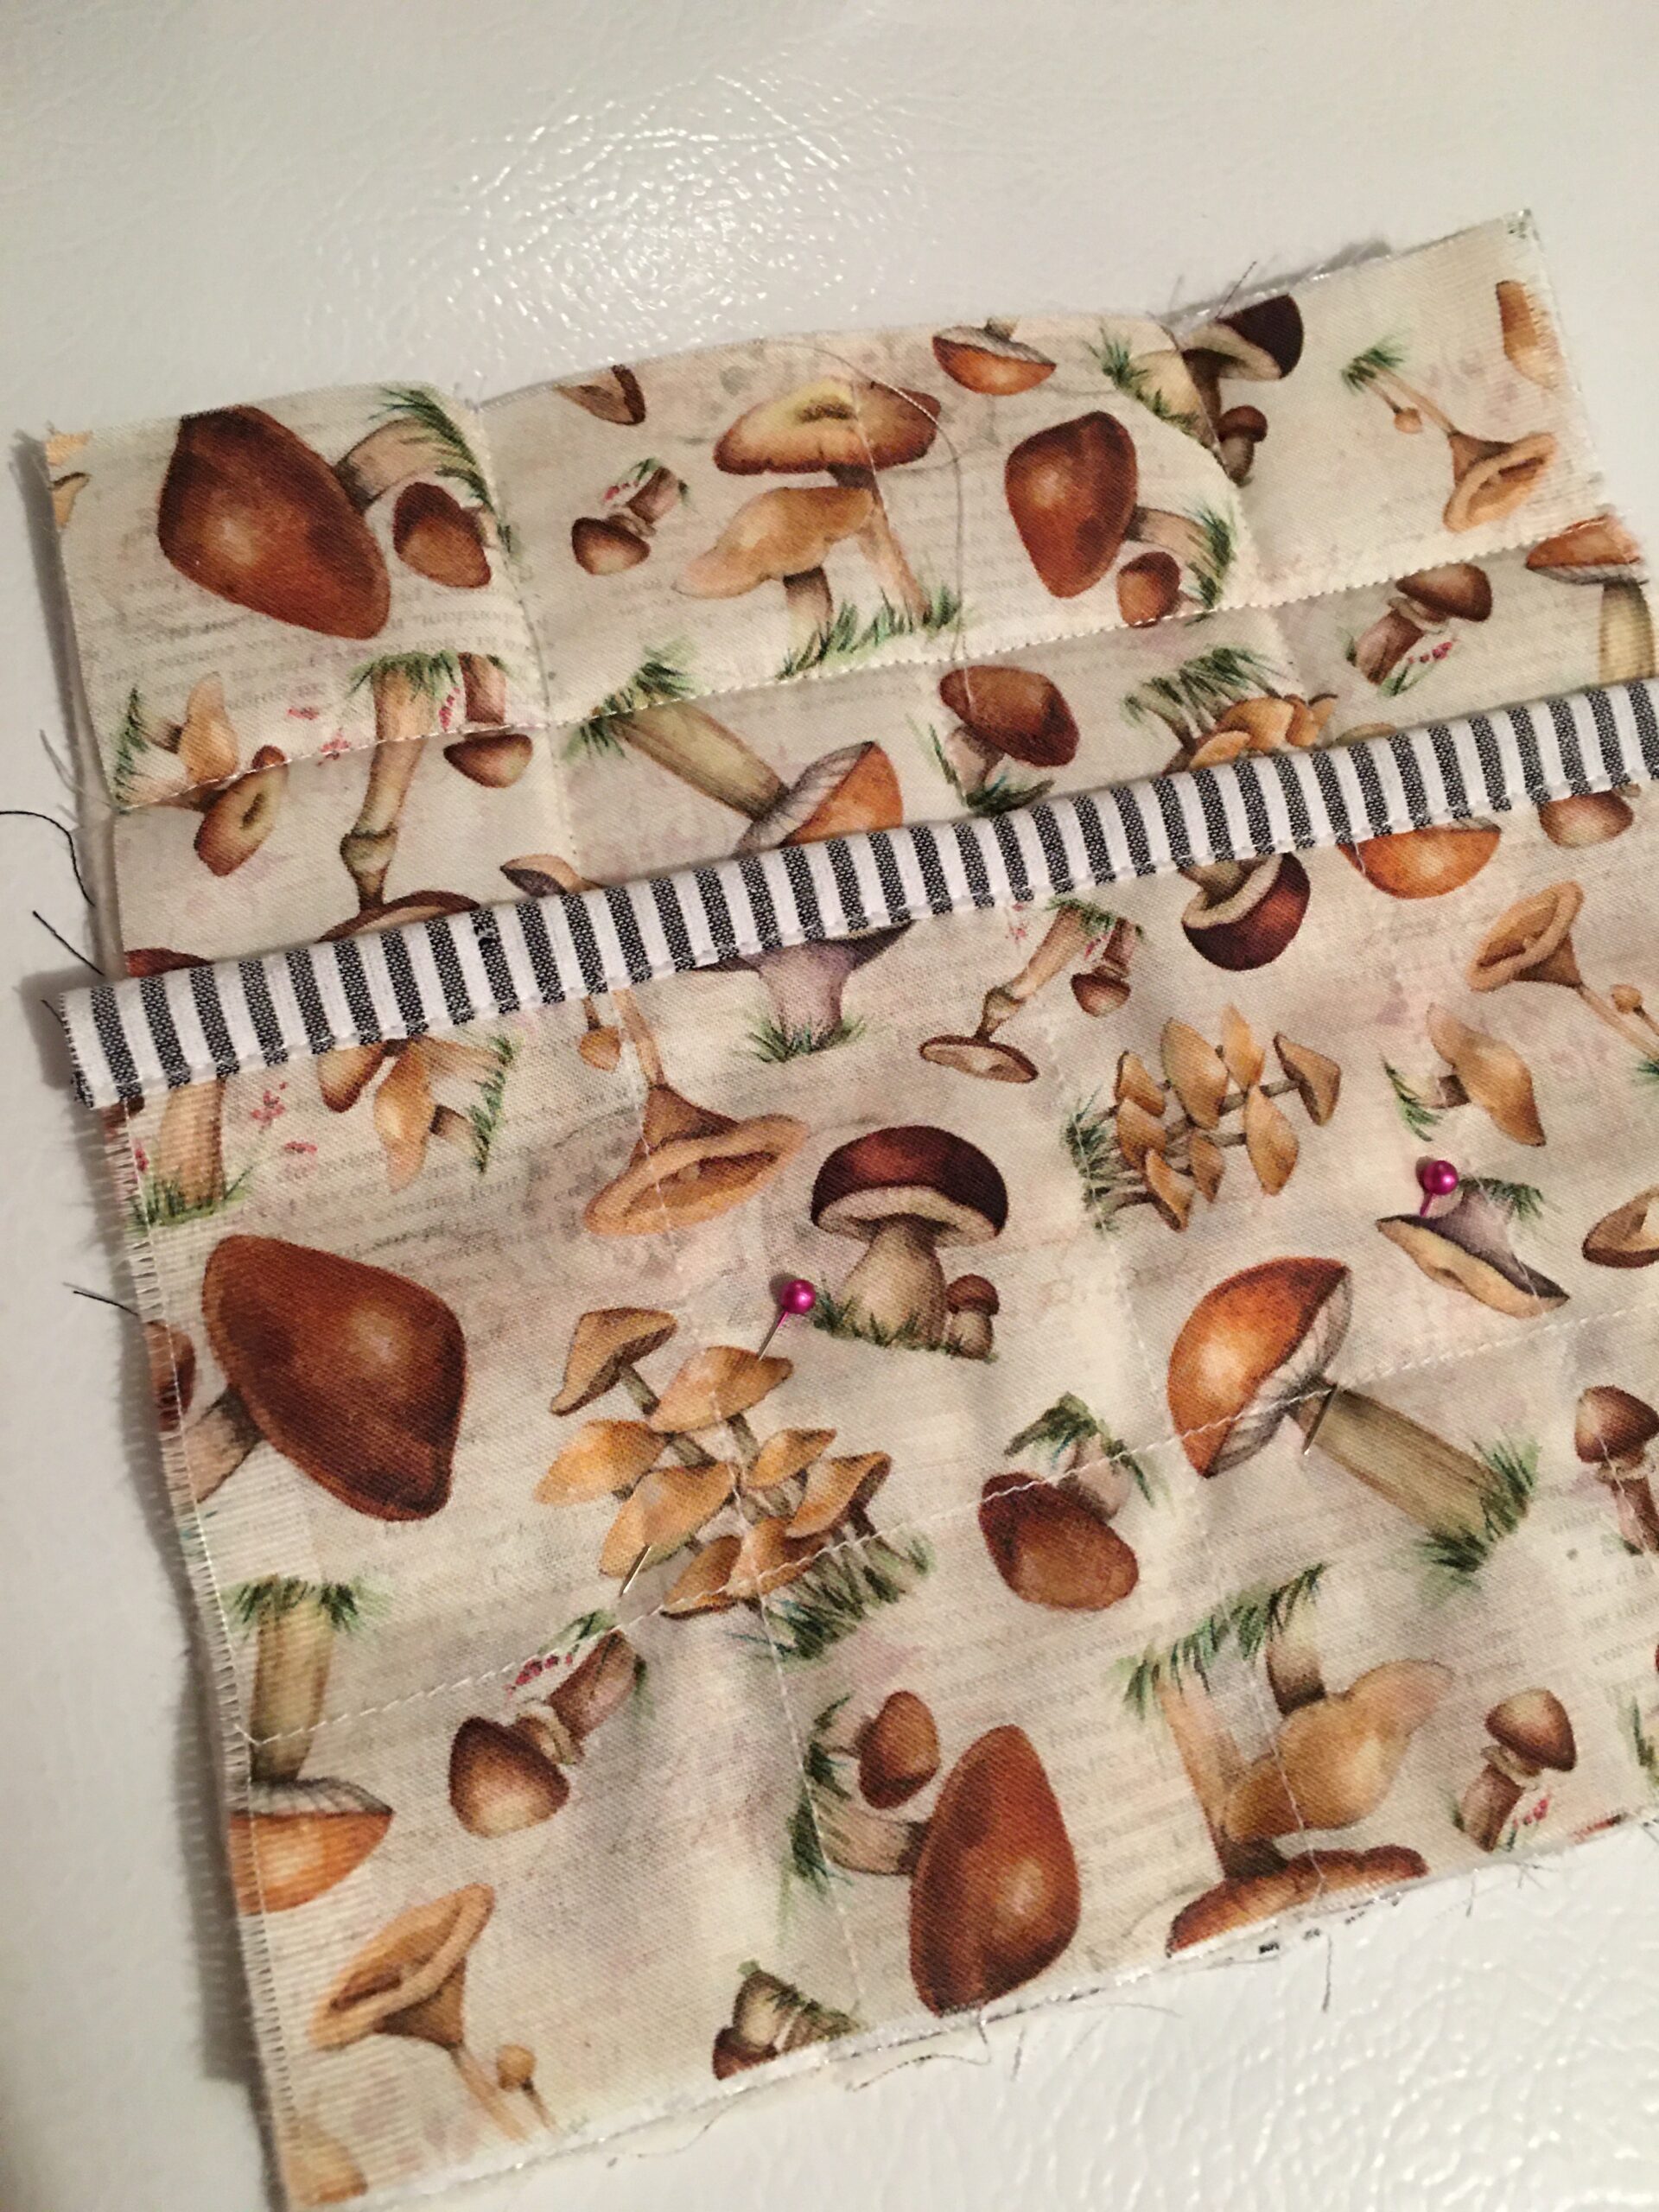
7. Place the rectangular piece on top of the layered square pieces, forming a pocket. Pin in place. Trim any of the edges that may not be the same size. Make sure that the outer edges are as straight as possible (I used my quilting ruler) for attaching the bias tape all along the border. Set aside.
ADDING THE FINISHING TOUCHES
8. It’s time to add the bias tape. Begin at the top upper left corner. Pin in place for easier sewing. This will be where you start the bias tape and finish it off with the loop.


9. Attach the bias tape by sewing as close to the bottom edge as possible, working your way around the potholder.
NOTE:
As you work your way sewing around the potholder, you should end up with a tail at the same place you started. This will make your loop for hanging. You may need to trim some off to make the loop the size you prefer.
10. Take the tail of the bias tape and sew a straight stitch to close the open portion, as shown above. Stop just before the top edge of the potholder.
11. Next, simply tuck the end piece back towards itself (toward the corner inseam) and sew to hide the tail. Make sure to backstitch to prevent unraveling.

Sew a Simple Potholder
Use this simple tutorial with your own favorite fabric combinations and keep your kitchen drawers well stocked with charming pot holders you can be proud of.
Materials
- Fabric of choice (cotton, hemp, linen, drop cloth, avoid thin lightweight fabric and synthetic fabrics that can melt)
- Insulated batting (heat resistant)
- Quilt batting or terry cloth towel fabric
- Complimentary fabric for making the binding
Tools
- Sewing machine
- Scissors
- Rotary cutter (optional)
- Pins
- Iron
- Coordinating thread
Instructions
- Start by cutting out your fabric pieces:
two 8 x 8 pieces of main fabric (top and back of finished potholder)
one 8 x 8 square of lightweight quilt batting
two 8 x 8 squares of heat resistant batting (like Insul-Brite)
two 5.25 x 8 rectangular pieces for the pocket
one 5.25 x 8 rectangular piece of quilt batting for pocket liner
one 46 inch piece of coordinating fabric, two inches wide to make the bias tape and hanging loop - With an iron, press your pieces flat. This step is optional, however it helps to keep all the layers from getting wonky.
- Layer your square cut pieces with the top and bottom fabric facing with right sides (nice side) out and with batting and Insul-Brite sandwiched in between.
- To make the bias tape, simply fold the ends of the 2 inch contrasting fabric toward the middle of the fabric and press with iron. Making sure not to overlap the raw edges. Fold the piece in half and press flat with iron. This piece will be used to cover the raw edges.
- Sew horizontal and vertical lines, equally spaced across the square pieces of the potholder (keep the rectangular piece separate at this point). This also helps keep all the layers together without shifting.
- Repeat step 5 for the rectangular pocket piece. Finish off the top edge of the pocket by sandwiching the layers in between the bias tape. Sew a straight line across the bottom to secure the bias tape to the top of the pocket.
- Place the rectangular piece on top of the layered square pieces, forming a pocket. Pin in place. Trim any of the edges that may not be the same size. Make sure that the outer edges are as straight as possible for attaching the bias tape all along the border. Set aside.
- It’s time to add the bias tape. Begin at the top upper left corner. Pin in place for easier sewing. This will be where you start the bias tape and finish it off with the loop.
- Attach the bias tape by sewing as close to the bottom edge as possible, working your way around the potholder.
- Take the tail of the bias tape and sew a straight stitch to close the open portion. Stop just before the top edge of the potholder.
- Next, simply tuck the end piece back towards itself and sew to hide the tail. Make sure to backstitch to prevent unraveling.
Notes
Potholder sizes can vary from 8 x 8 to 10 x 10. I like mine to be on the smaller size. So, I chose to make mine an 8 x 8.
PIN IT FOR LATER:

There you have it! Your new stylish potholder is ready for using. This is a fun project that you can make under an hour.
If you make this simple project and love it as much as I do, I would be thrilled if you gave it 5 stars and share it with your friends. Happy Sewing!
FIND MORE SIMPLE SEWING IDEAS
BENCH SLIPCOVER
SIMPLE PLEATED CURTAINS
CONCEAL THE CLUTTER WITH DROP CLOTH CURTAINS


I love this. I actually bought the inner fabric a while ago because I meant to do this kind of project. I just think they’re so beautiful. Thanks for the inspiration!
Oh, so glad you liked it, Julie! With the holidays coming up, these make a great handmade gift.