Who doesn’t love a good DiY hack now and again? If I can make our farmhouse pretty and functional at the same time, I am all on board!
So, when I saw this simple Ritva IKEA curtain hack that has been circulating around the internet, I knew I had to give it a try. Especially, since we have so many windows in our farmhouse that are without window dressings.
If you are looking for a simple and affordable way to dress up your windows, you are going to love this mini DiY project.
PIN IT FOR LATER:
**This post contains affiliate links. Please see full affiliate disclosure here.
When I first started looking at the options out there to create this inexpensive custom curtain look, it was overwhelming to read all the other tutorials out there on how to use simple pleated curtain hooks.
I don’t know about you, but I am a visual learner and typically will pick something up when I can read and see the steps while they are being done.
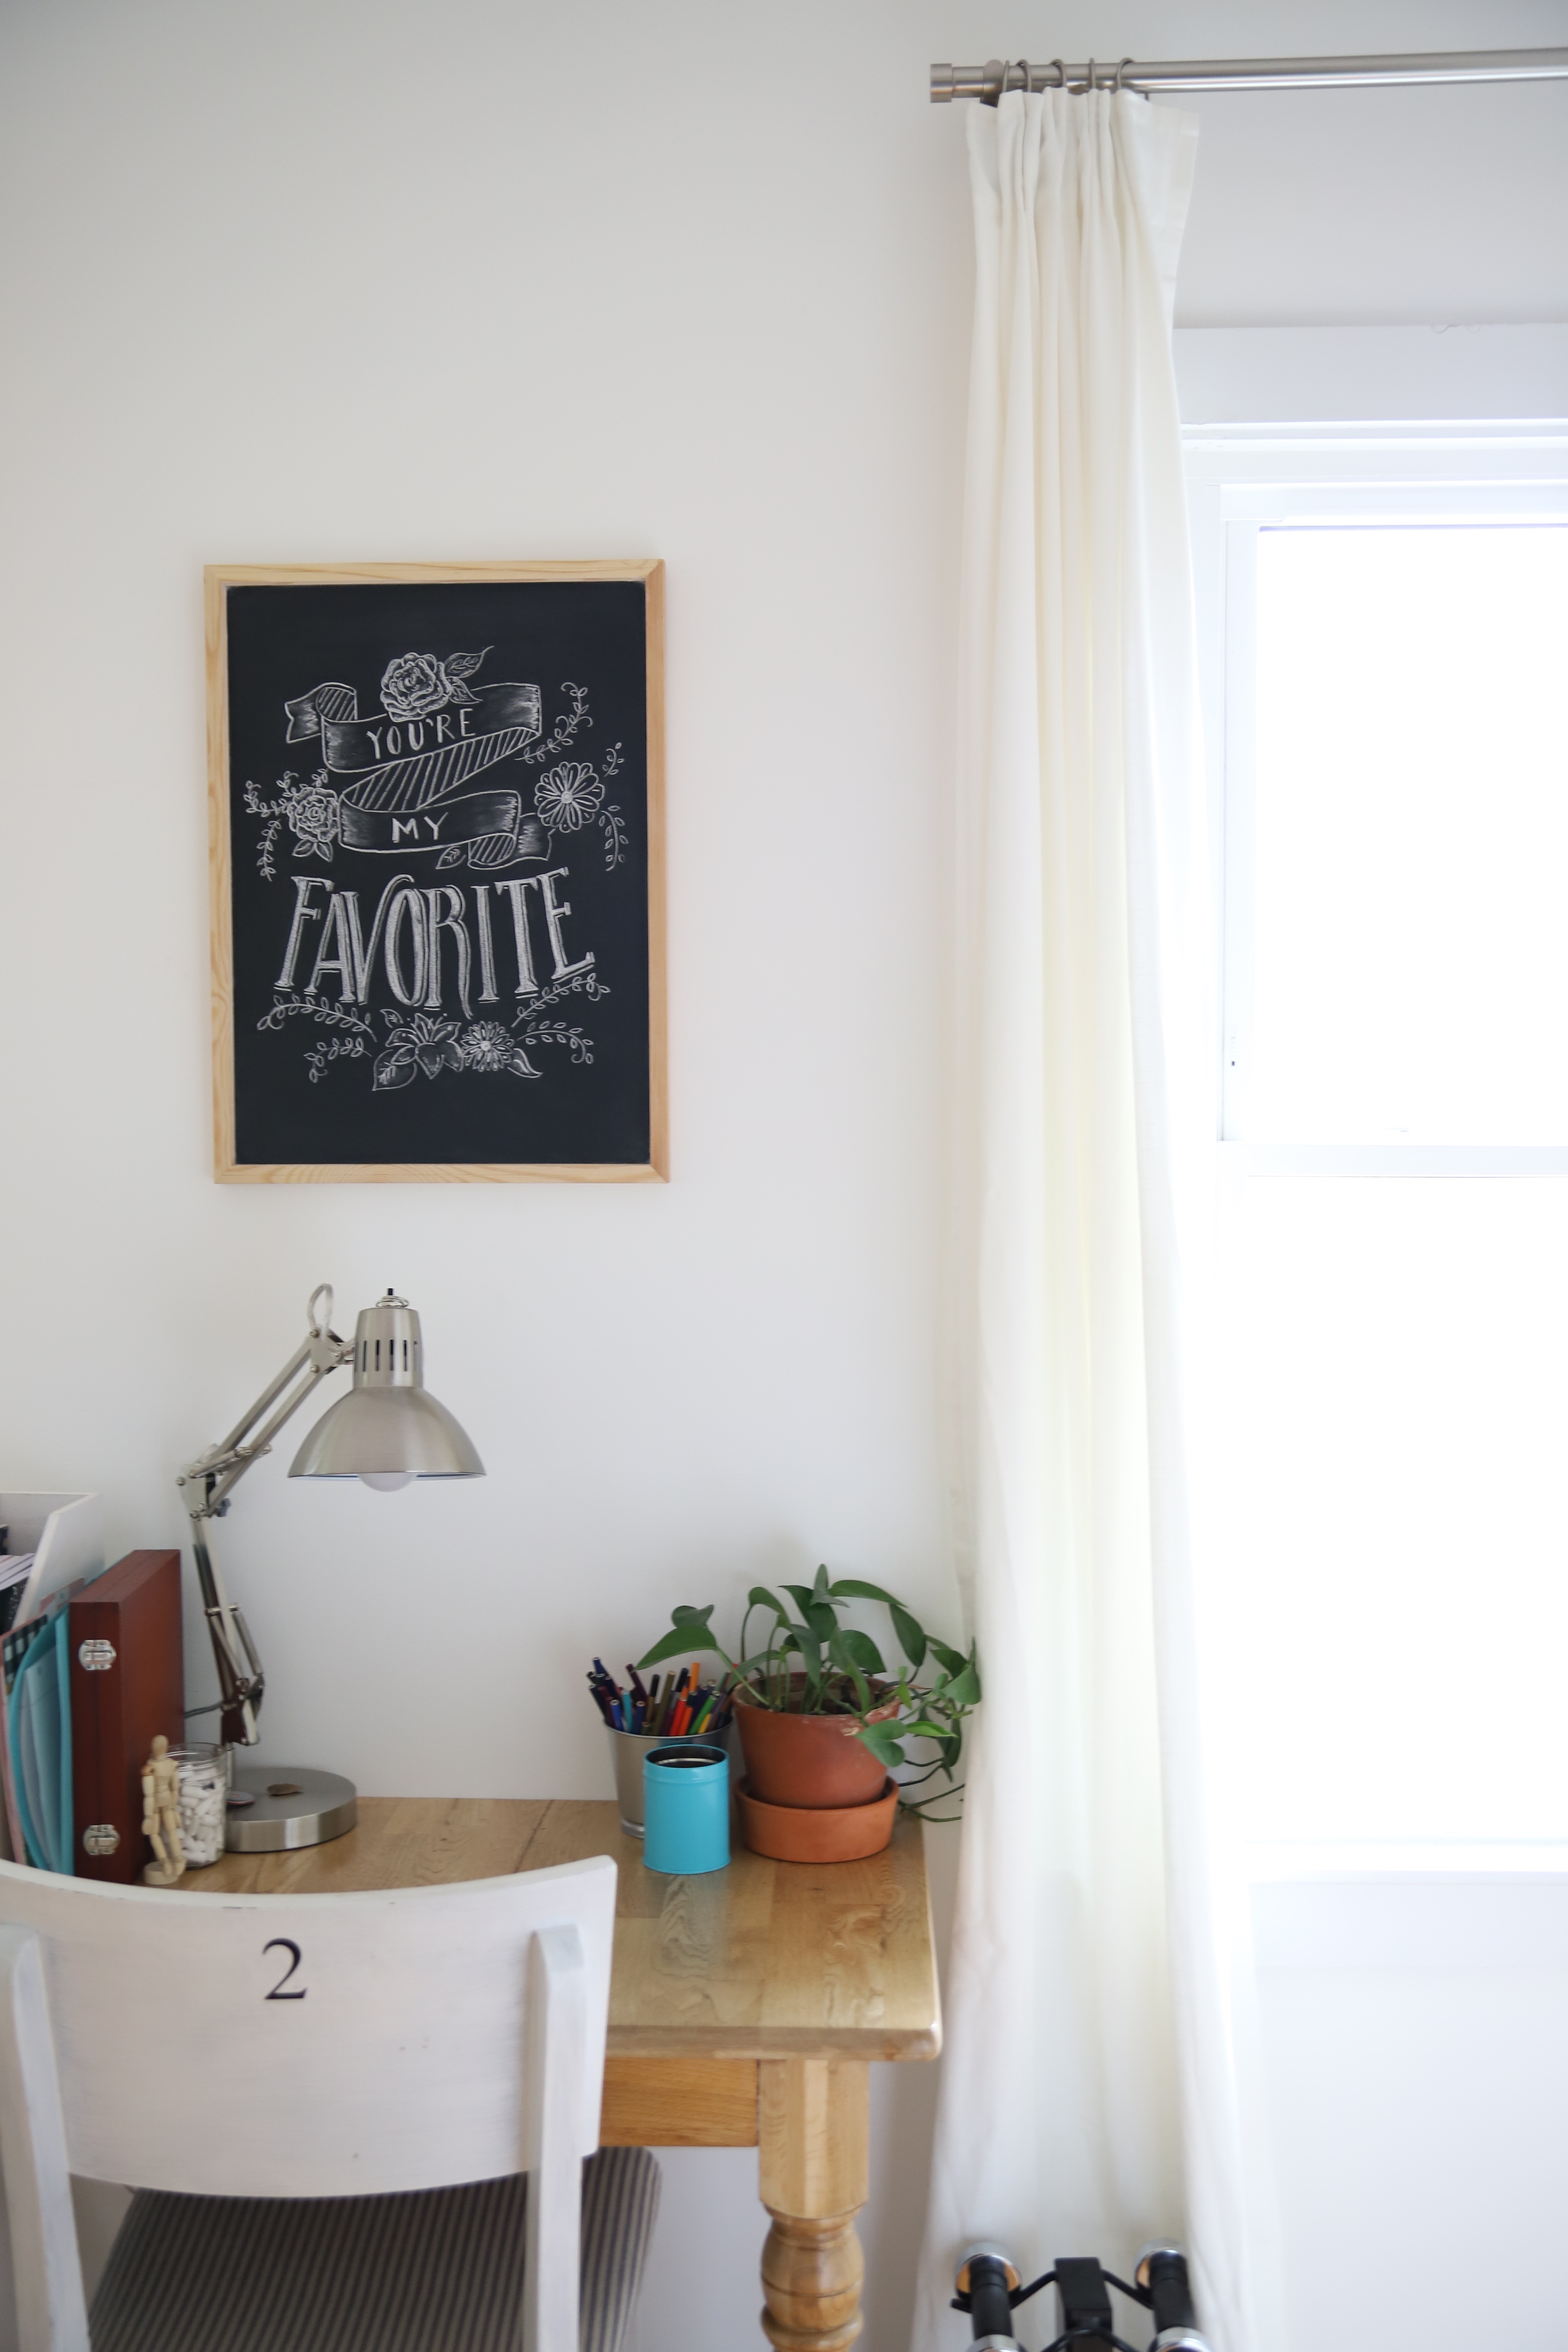
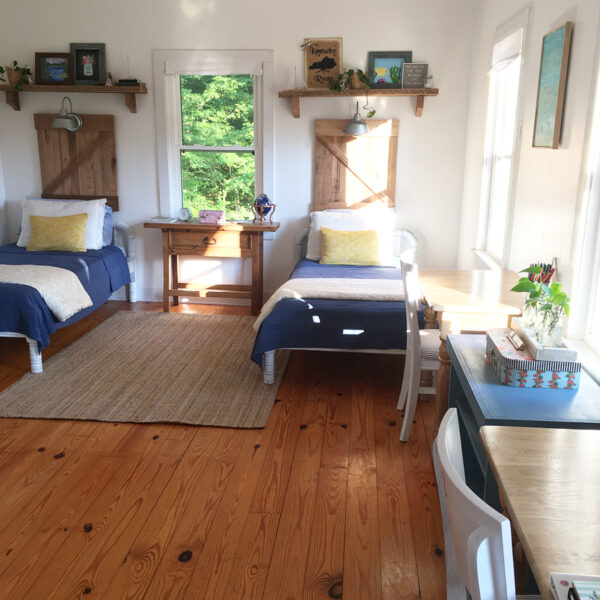
I wasn’t going to let a little “lost in translation” situation stop me from upgrading the window sheers in our coastal farmhouse teen and tween’s bed room to a more private and custom looking window treatment.
SUPPLIES AND TOOLS YOU WILL NEED
NO SEW VERSION
- Ritva curtains from IKEA
- Dritz pleat hooks
- metal curtain rings (Refer to NOTE below for a time saver on curtain rings)
- pliers
- measuring tape
NOTE: I didn’t realize that they sell these curtain rings with the eyelets here. That would have saved me A LOT of time. You’re welcome! (wink)
If you don’t need to hem your panels, scroll passed the hemmed version section and get pleating. (smile)
HEMMED VERSION
- scissors
- pins
- sewing machine (I have had the Bernina 380 for years and absolutely love it!)
- coordinating thread
NOTE: If you don’t have a sewing machine handy, you can always use the iron on fusing tape here.
HOW TO GIVE INEXPENSIVE RITVA IKEA CURTAINS A CUSTOM LOOK
HEMMING THE PANELS
After my husband installed the curtain rods, I measured the length from the top of the curtain rod to the floor and added a couple inches for seam allowance. We have taller ceilings in several of the rooms upstairs, so I went for the longer panels on Amazon.

Next, I took my scissors and cut the fabric to length, making sure to remember my seam allowance.

Then, I pinned the hem to length. After pinning, I realized I had pinned the fabric in the opposite direction I needed it to be. I simply adjusted to make it work.
NOTE: When sewing with pins, you generally want the head of the pin to face you for easy removal as you continue to sew the fabric.

I repeated the process for the remaining seven panels, using the first panel as my template. This made the process go a lot faster.

To finish up the hem, I simply sewed a straight line down the length of the newly folded hem. I made sure to backstitch in the beginning and end of the hem, to add some strength and prevent it from detaching when pulled.
BONUS TIPS
The way the Ritva IKEA curtains are made, there are nine separate sections with three rows of sixteen loops.
The key to making these inexpensive curtains look custom, is to make the placement of the pleat hook prongs consistent.
Some adjusting will need to be made after the pleat hooks are woven into the appropriate loops.

GET THE LOOK
When inserting the pleating hooks, this is the pattern I settled on, but you can use any pattern that works best for the look you are going for. This pattern gave me five pleats per panel.
The room has four tall windows, so I ended up with having to pleat and hem eight panels total.

STEP ONE
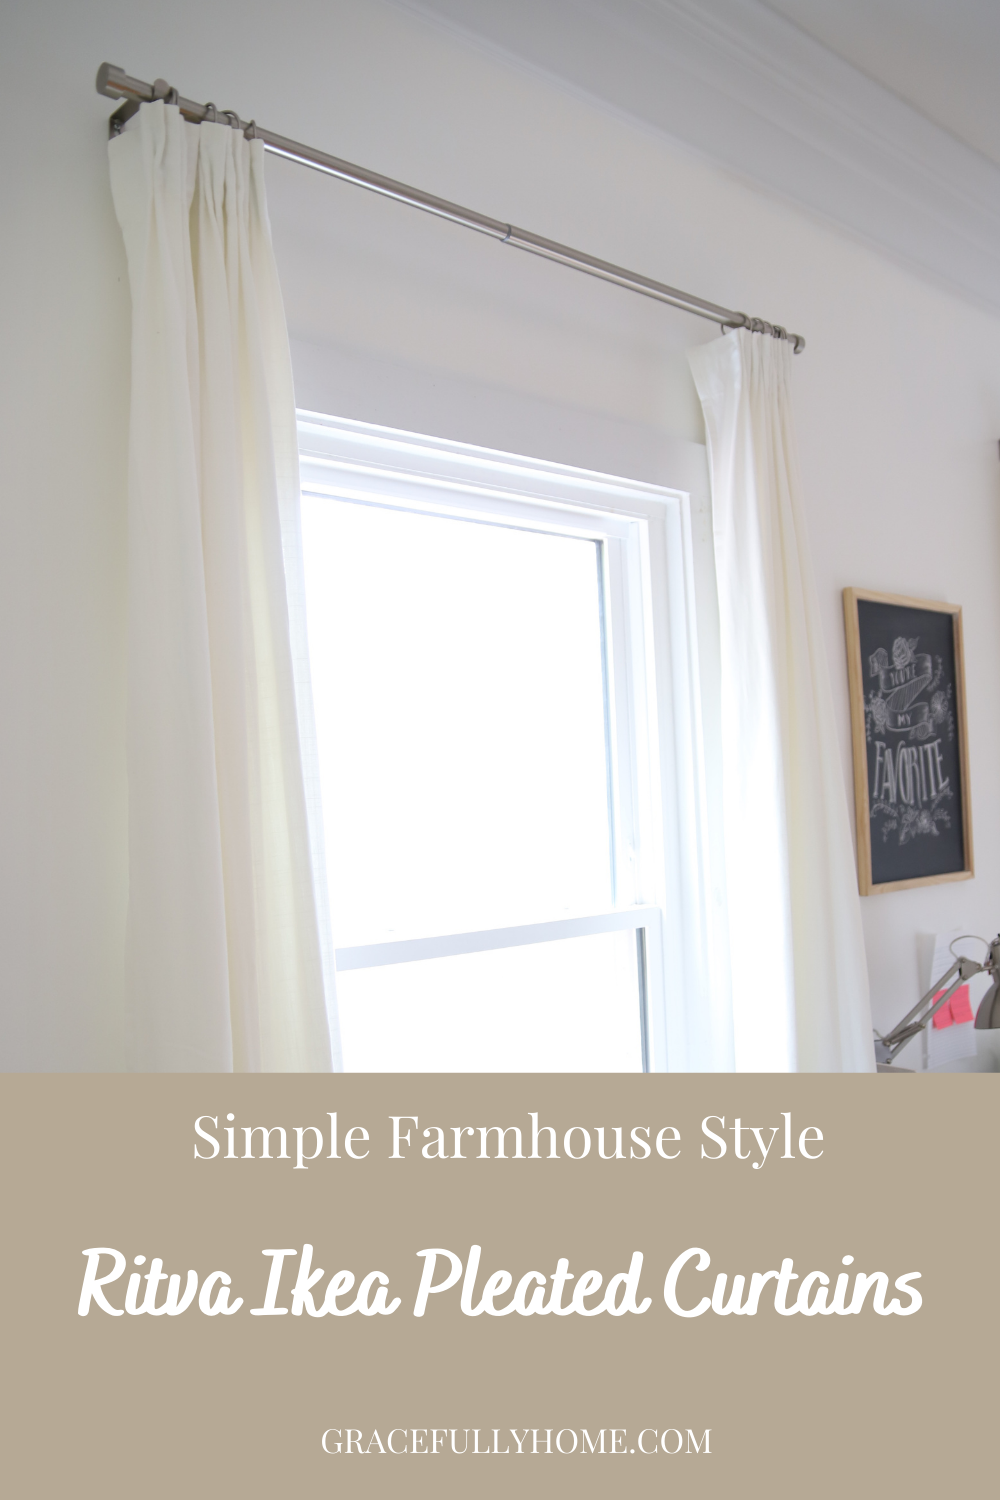
Measure and install your curtain rods at the height that you prefer and the look you are going for. I had my husband install our curtain rods from Amazon, higher than usual to highlight the tall ceilings in the room. We took into account that with the curtain rings, the finished length would be slightly longer than the top of the rod and adjusted accordingly.
STEP TWO
Decide which pattern you would like for your curtain. I used a 3+4 pattern with one loop remaining at the end. Don’t worry! It will all make sense as you continue to read through this post and watch the YouTube tutorial.
STEP THREE
Starting from the right, skip the first partial section and count 3 loops. Then place the first pleated hook’s prong under the first loop. Repeat this process with the other three prongs and then work your way up toward the next row. Make sure the the prong is going into the correct row or your pleat may turn out wonky. Continue until all rows are complete. Adjust pleat on the front side.
STEP FOUR
Next, skip the next section of sixteen loops before starting the same process with every other “working” section. Continue until all of your pleated hooks have been used and you’re left with a total of 5 sections with pleats.
STEP FIVE
The last step is to attach the pleated hook onto the curtain eyelet and hang on your curtain rod to enjoy.

REMINDER: Each curtain panel has nine sections. Within each nine sections, there are sixteen loops in one section with three rows above the previous row.

Insert hooks into slots as shown above. Repeat for each row above the previous row, until all three columns have the pleated hook weaved through.
BONUS TIP
Be careful while adjusting, the fabric can be slippery and your prongs may fall out.
Give Inexpensive Ritva IKEA Curtains a Custom Look
If you are looking for a simple and affordable way to dress up your windows, you are going to love this mini DiY project, where I take inexpensive Ritva IKEA curtains and give them a custom look.
Materials
- NO SEW VERSION:
- Ritva curtains from IKEA
- Dritz pleat hooks
- Metal curtain rings (Refer to NOTE below for a time saver on curtain rings)
- Pliers
- Measuring tape
Tools
- HEMMED VERSION:
- Scissors
- Pins
- Sewing machine (I have had the Bernina 380 for years and absolutely love it!)
- Coordinating thread
Instructions
- Measure and install your curtain rods at the height that you prefer and the look you are going for. I had my husband install our curtain rods from Amazon, higher than usual to highlight the tall ceilings in the room. We took into account that with the curtain rings, the finished length would be slightly longer than the top of the rod and adjusted accordingly.
- Decide which pattern you would like for your curtain. I used a 3+4 pattern with one loop remaining at the end. Don’t worry! It will all make sense as you continue to read through this post and watch the YouTube tutorial.
- Starting from the right, skip the first partial section and count 3 loops. Then place the first pleated hook's prong under the first loop. Repeat this process with the other three prongs and then work your way up toward the next row. Make sure the the prong is going into the correct row or your pleat may turn out wonky. Continue until all rows are complete. Adjust pleat on the front side.
- Next, skip the next section of sixteen loops before starting the same process with every other "working" section. Continue until all of your pleated hooks have been used and you're left with a total of 5 sections with pleats.
- The last step is to attach the pleated hook onto the curtain eyelet and hang on your curtain rod to enjoy.
PIN IT FOR LATER:

BONUS IDEAS
In addition to using pleated hooks for a custom look, you can also add your favorite trim with fabric glue or fusible ironing tape.
I’ve also seen others add an extra panel for the back to create even more privacy and to block out the natural light when closed.
If you are feeling extra fancy, you might try to add some whimsy by hand stitching some tassels or handmade pom-poms to the front of your panels.
With a little bit of creativity, these inexpensive curtains offer endless possibilities to put those finishing touches into your spaces.


Usually I never comment on blogs but your article is so convincing that I never stop myself to say something about it. Really helpful.
I appreciate your kind comment. Thanks for stopping by.