Learn how to create the look of stone pottery on secondhand 80’s stucco lamp bases with simple paint supplies you may already have on hand.
As much as I love the final stages of styling a room after one of our big DiY farmhouse renovations, I tend to drag my feet when it comes to choosing pieces for our new spaces. Especially when it applies to hanging artwork or picking out the larger furniture pieces that anchor a room.
My hesitation is partly due to the fact that after a long and drawn out process, I don’t want to ruin all our hard work with settling for any old mass produced item. I like to be slow and methodical when it comes to creating a space that is not only beautiful, but simple and functional for the whole family. Our front room is no exception!

**This post contains affiliate links. Please see full affiliate disclosure here.
I love to “window shop” and find unique vintage pieces that can pull double-duty around our farmhouse. Old baskets hold our craft and sewing supplies. Dresser drawers house our extra candle holders, candles, and family photo albums.
Wooden bowls come in handy for displaying seasonal items, like these antlers that were found over the years around our property. I have also found some while shopping antique shops and thrift stores during our travels.
Before we started renovations in our front room, it was already pretty dark…even with all four windows. You can see the renovation process and before photos on this post here. We have a partial wrap around porch that blocks some of the sunlight at different times of the day. So, finding key lighting was crucial if we wanted to make this beautifully restored room a usable space for our larger family.
WHERE I SHOP FOR USED ITEMS THESE DAYS
I had been hearing about how great FB Marketplace was, but until recently, I hadn’t really tried to use this feature. Once I saw how much it had to offer and the affordable prices I could take advantage off, I was hooked.
Let’s just say, that before the month of February, our littles counted 14 new chairs (including this slipcovered linen sofa for $150) that I had carefully brought home. What an exciting start to the New Year! (smile) But seriously, finding a pair of lamps with just the right texture for this project was a big BONUS!
I love old wooden Windsor-style chairs! Many of the ones I came across were under $10 a piece and sturdy or needed just a little wood glue and cleaning. This $75 violin shaped Windsor chair was a great SC find. It gave us an opportunity to extend last month’s anniversary and New Year’s celebration road trip as we made the detour to pick up the chair at my cousin’s. We also got a chance to safely visit with some of my husband’s side of the family. What a blessing to our souls to be around extended family!
I love the collected look of combining older antique pieces with rustic modern pieces! It creates a more cozy and relaxed environment. And with little ones, that is a must!
THINKING OUTSIDE THE BOX
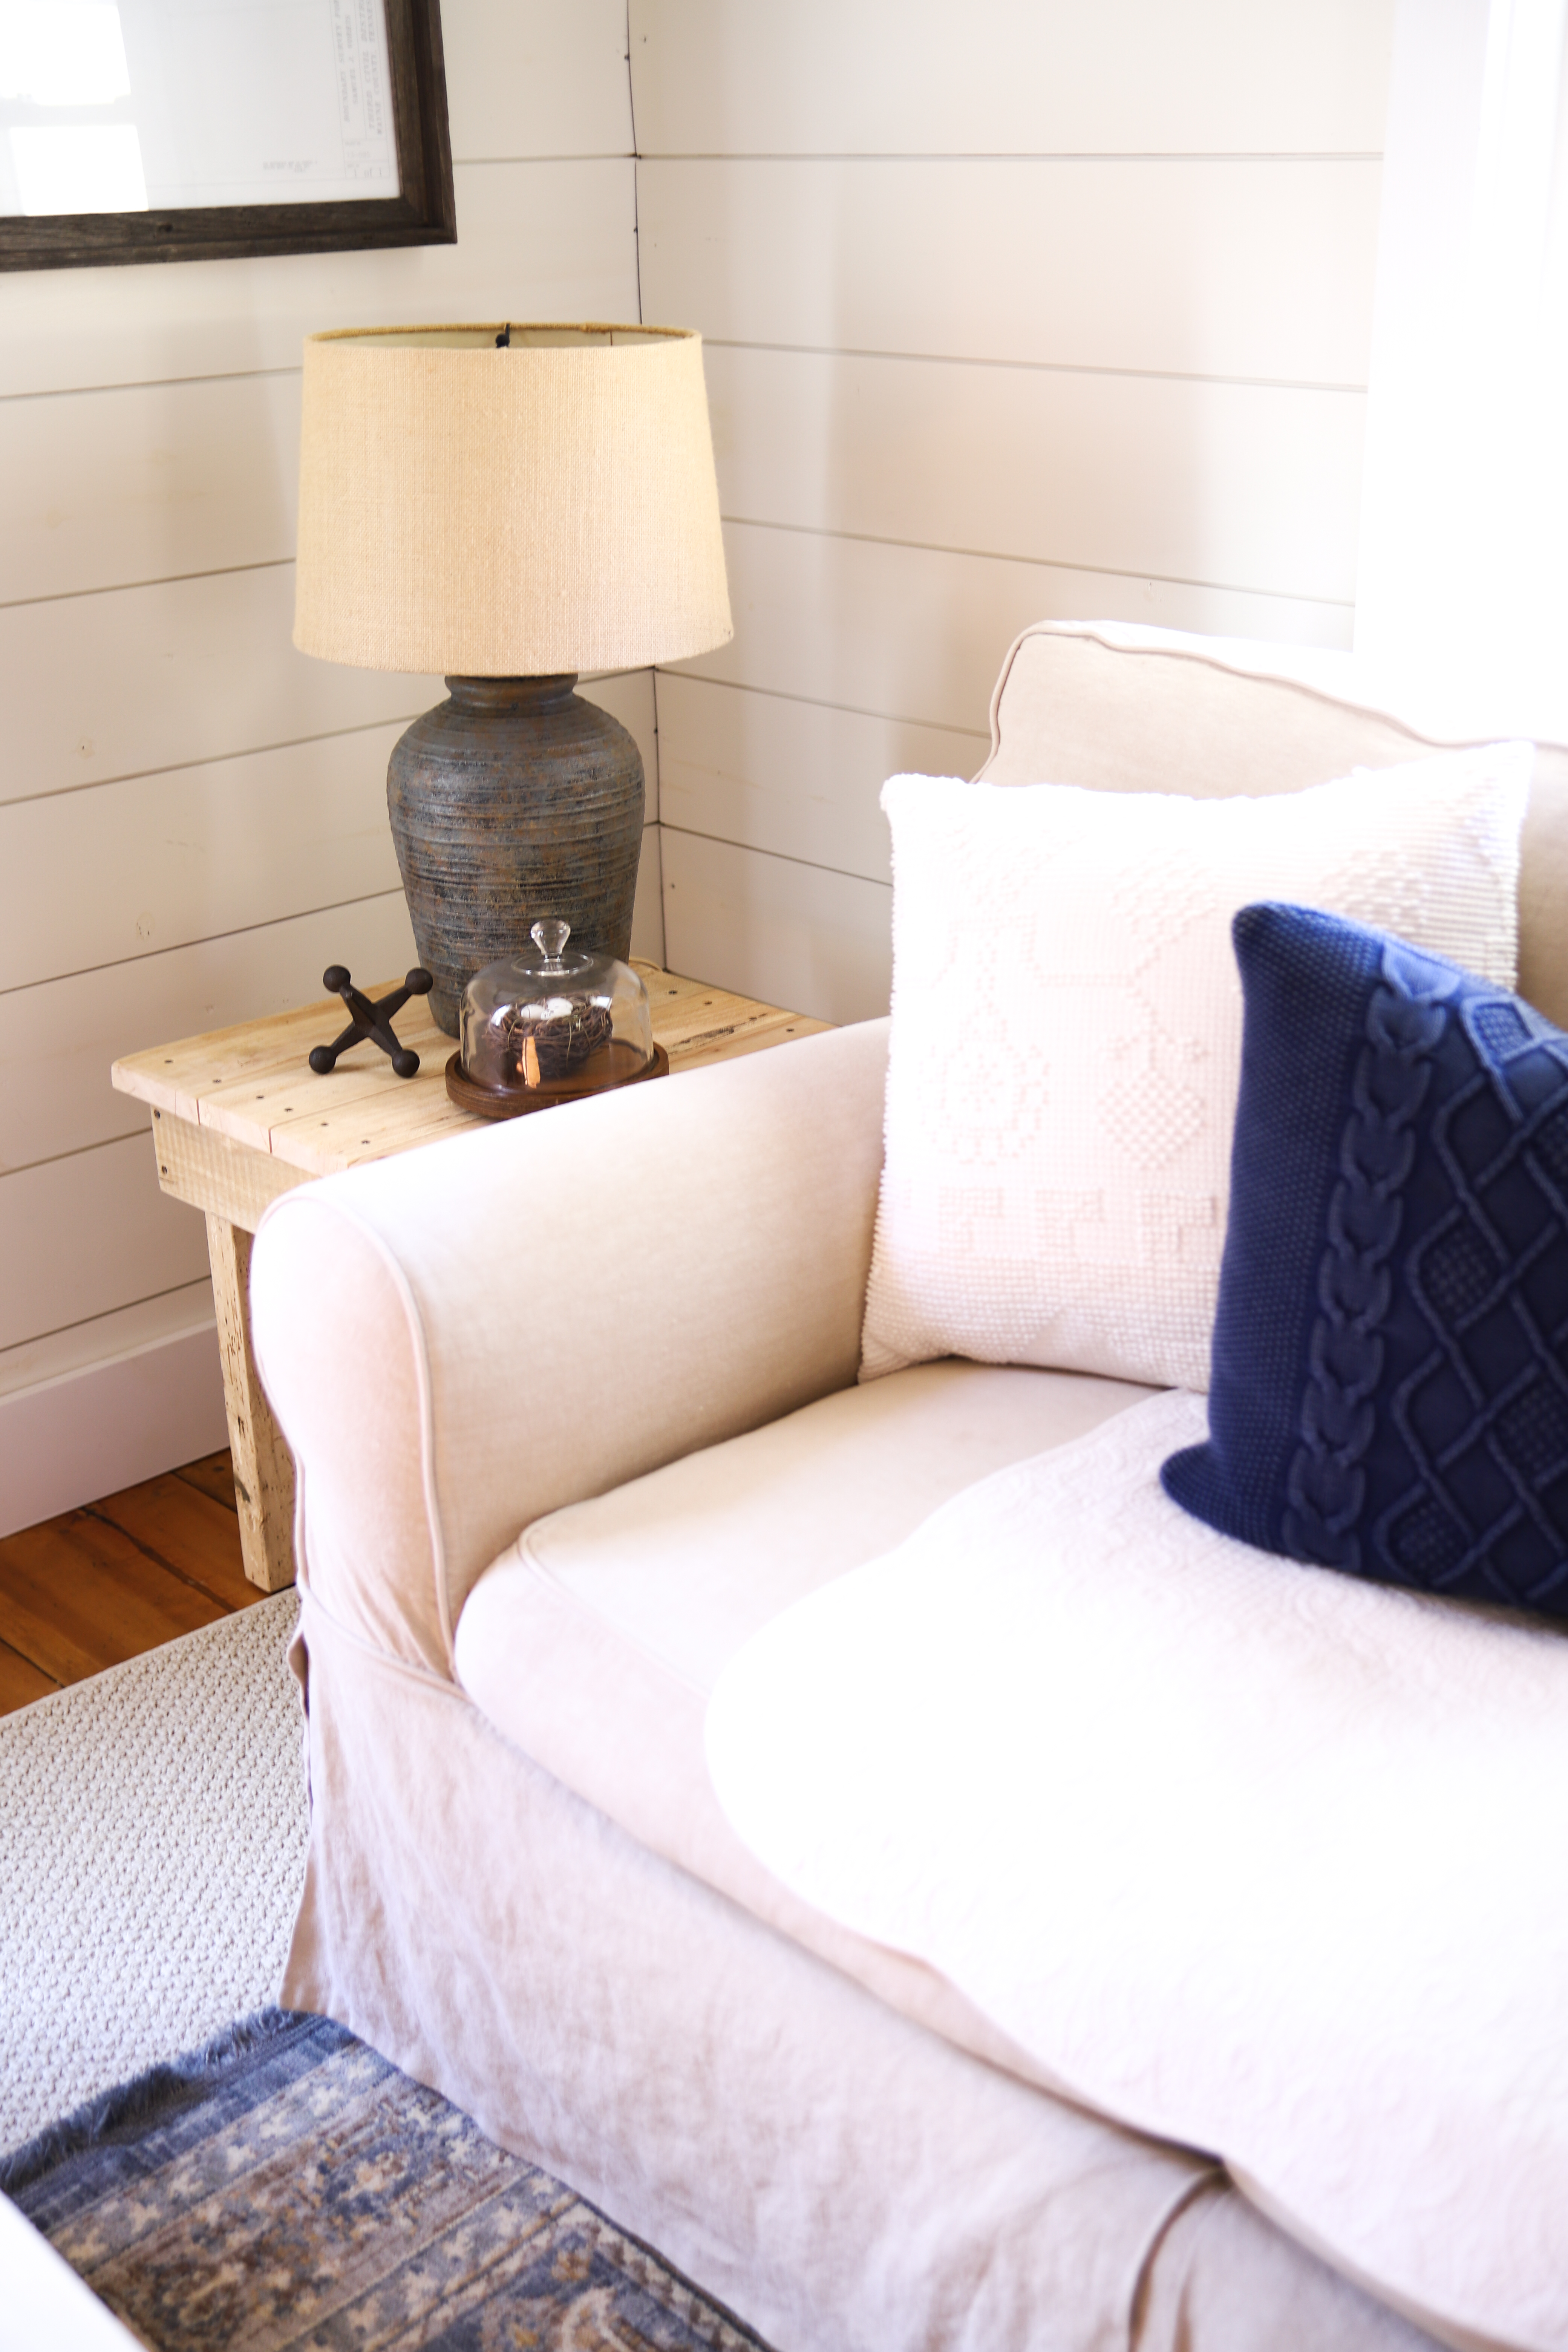
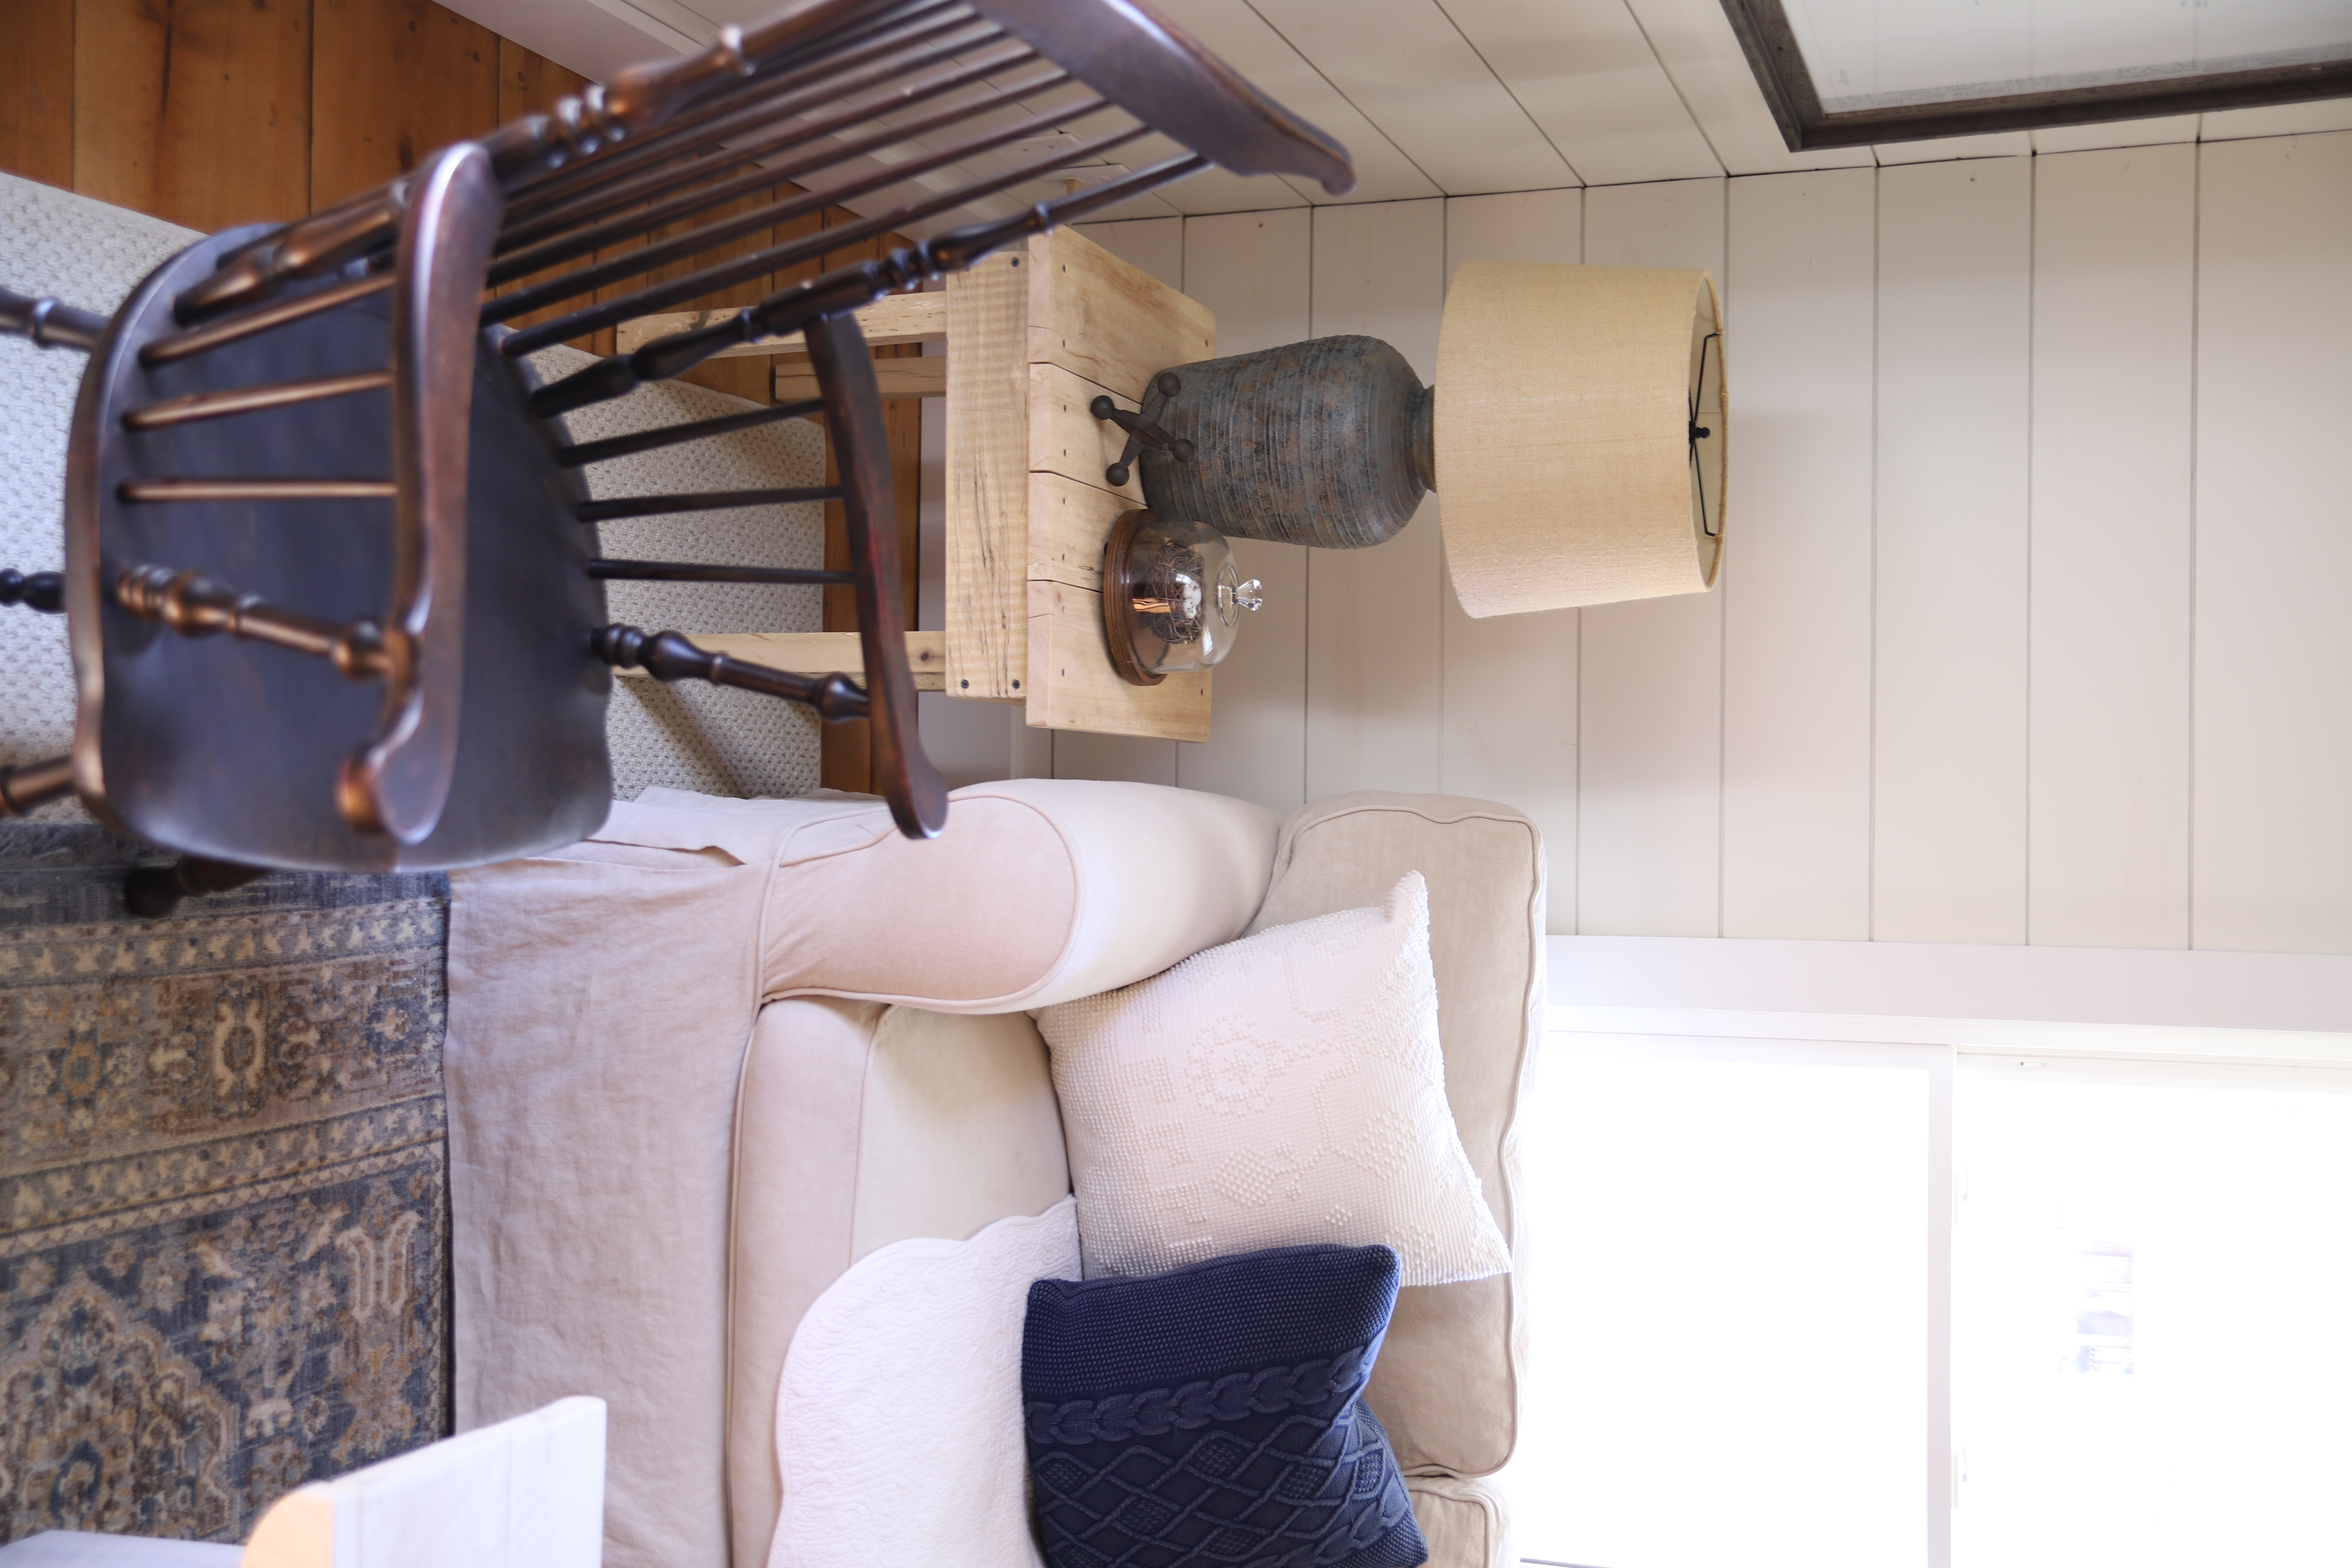
I have been seeing these super expensive pottery/stone-type lamps trending online and really liked the texture and rustic style, but did not care for their trendy prices! So, what’s a frugal mama to do? I started to camp out on Marketplace and see if any old southwestern base lamps would pop up. You can imagine my excitement when I found our two used stucco looking lamps for $20!

At first glance, my husband laughed and was surprised that I “liked” the 80’s stucco look. But I assured him that after I was finished with them, they would not only serve their purpose of providing extra light for our newly renovated front room, but that they would also look fabulous!

THE KEY TO SHOPPING FB MARKETPLACE
- Shop often
- Don’t be afraid to negotiate a prices
- Be willing to make the drive outside of your immediate area
- Don’t hesitate to ask questions and get more details
- Be willing to do a little extra work like cleaning or easy repairs
PIN FOR LATER: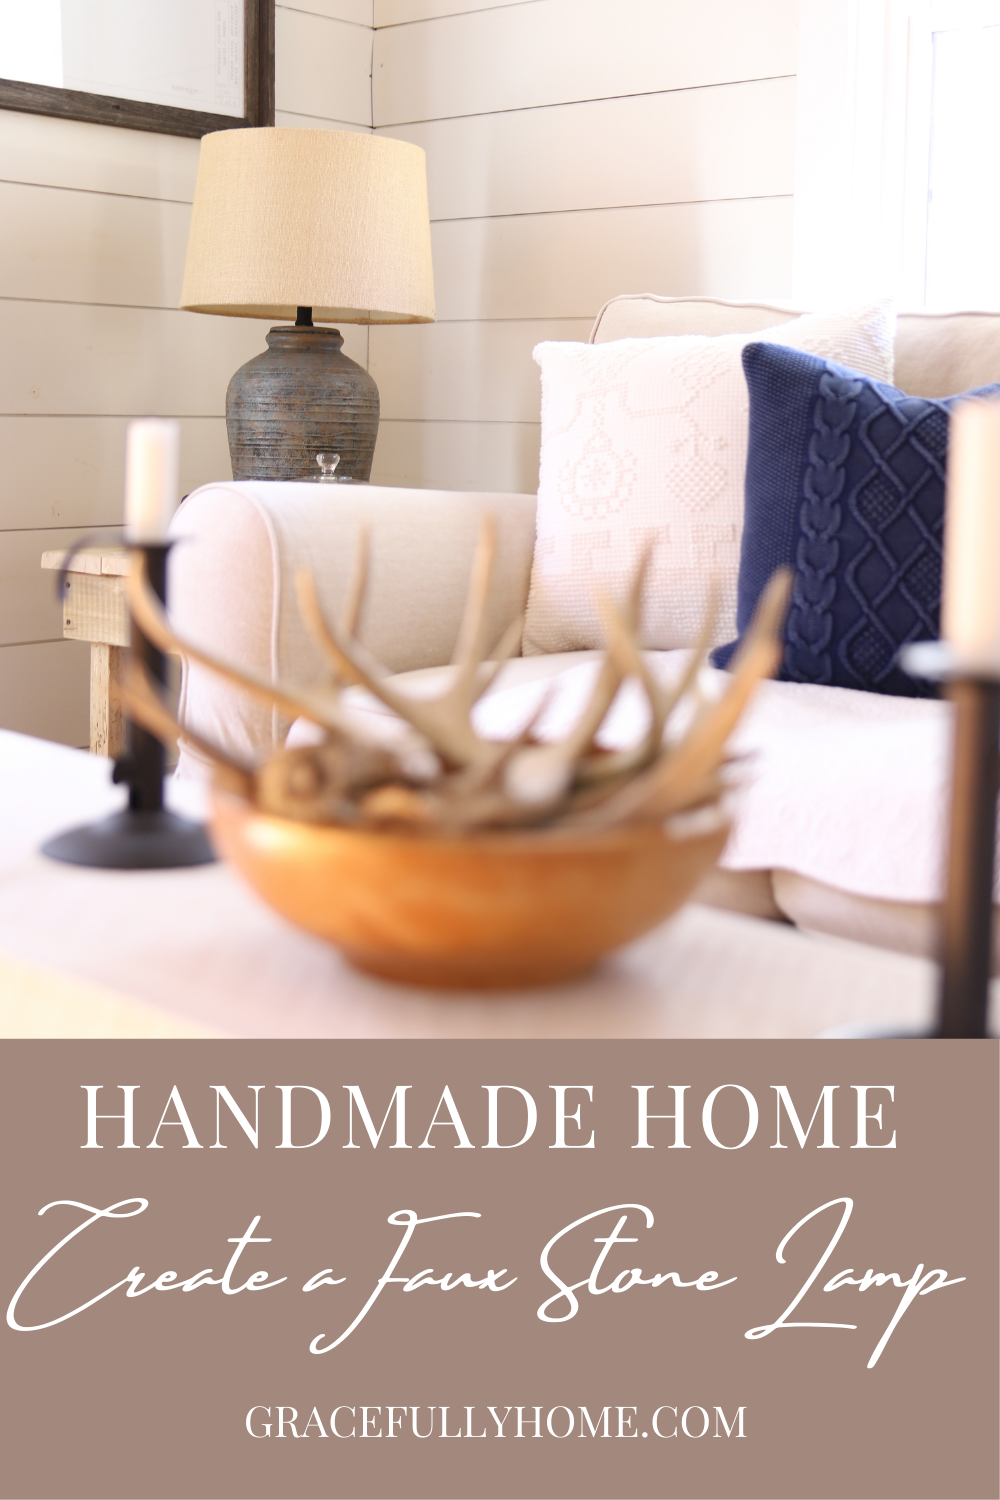
SUPPLIES AND TOOLS YOU WILL NEED
- southwestern style lamp base or one with some texture
- black paint (I used our Amy Howard chalk paint)
- paint brush
- paper towels
- craft paint in varying shades of brown and tan
- painter’s tape (we like Frog Tape)
- cardboard or plastic trash bag to protect your work surface
- all purpose cleaner
- rag
- paint stirrer (optional)
- gloves (optional)
- lamp shade (harp) extender (similar to this one here)
- lamp shade (we found barrel burlap shades at our local Lowe’s)
LET’S GET CREATIVE!
STEP ONE
Gather up your supplies from around your home. More likely than not, you’ll be able to find many of these already in your creative project stash.
I love shopping our home before I make any other purchases. It saves us so much money in the long run and helps to give our farmhouse that cozy vintage collected look that we have come to love.

STEP TWO
Prepare your lamps by removing any hardware that you will be replacing and tape any area that you don’t want to get paint on with painter’s tape. We find that Frog Tape works the best for clean lines and less bleeding. I mainly taped the cord because it was a lighter color and would stand out if I got any paint on it.

STEP THREE
With all-purpose cleaner (we use white vinegar) and a rag, give the lamp a good cleaning. You can see how we save money and reduce toxins in our home by using natural alternatives here. Make sure to get all the dust and grime off to help allow the paint a chance to stick. Allow to dry fully before applying the base coat.
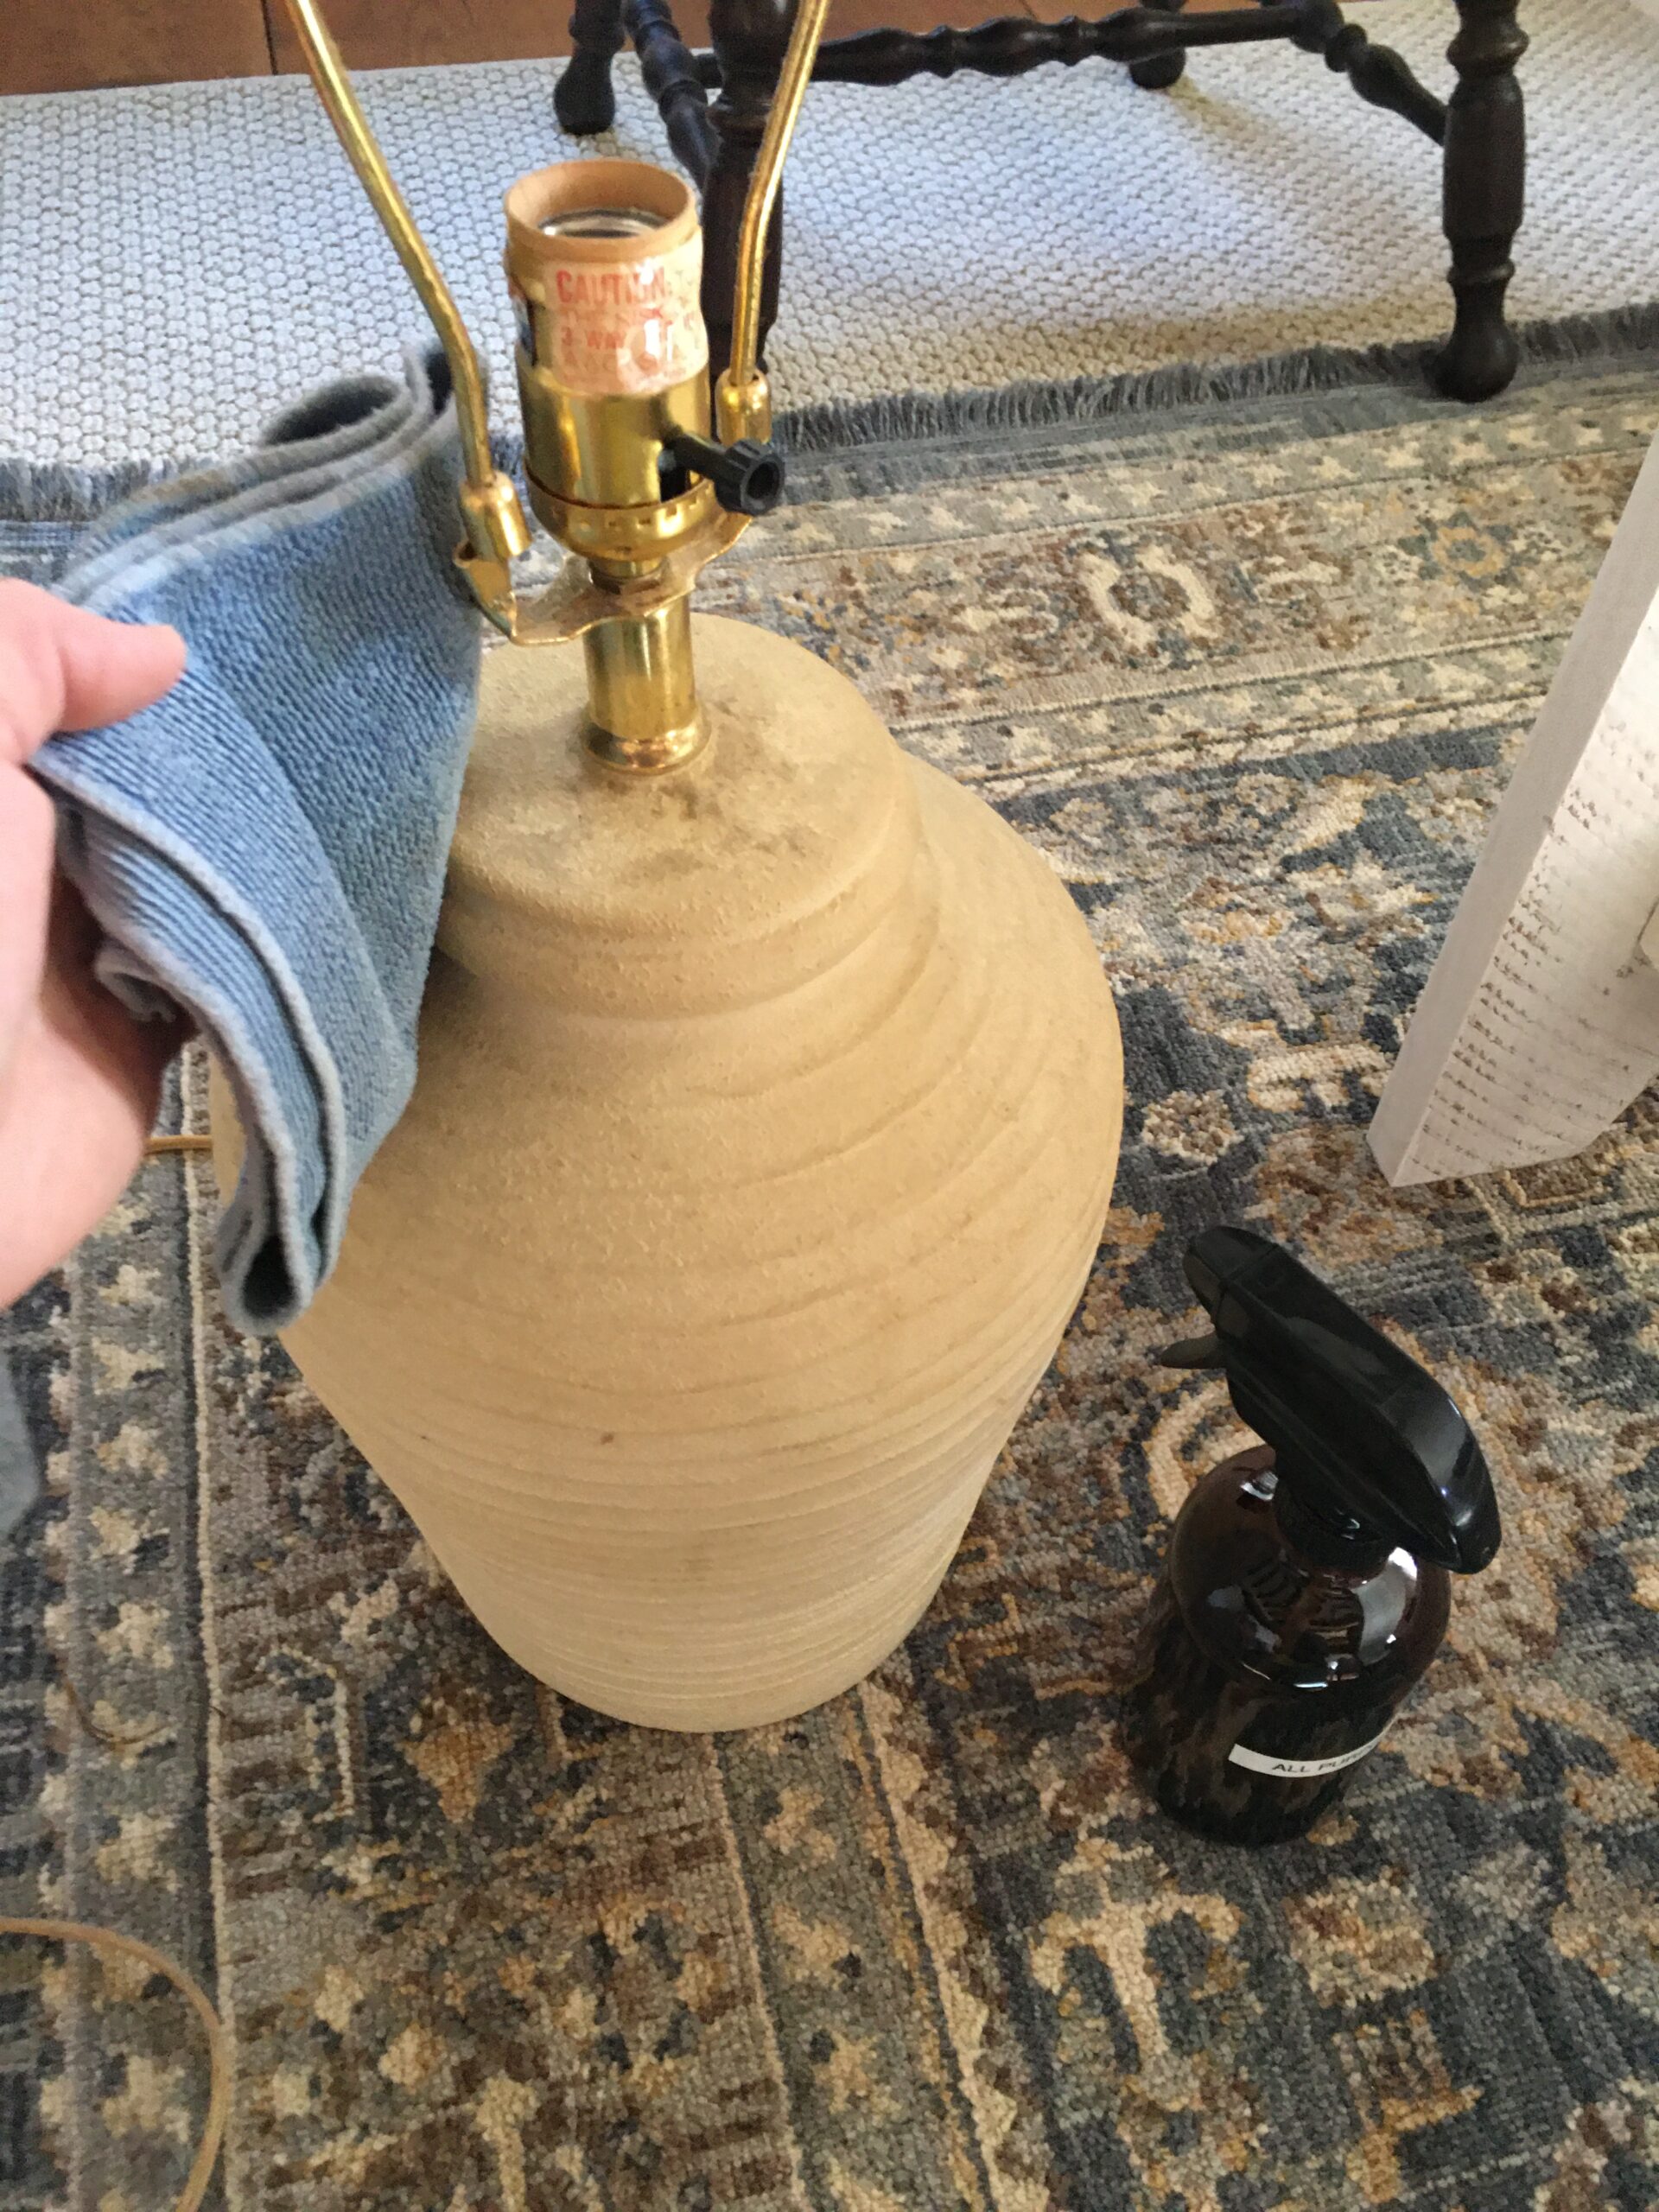
These lamps were pretty filthy, but nothing a rag and some natural cleaners couldn’t cure. After I wiped away the years of dust that had been collecting on these bases, I removed the lamp shade and lamp shade harps.

The original harp extenders made the lamp shade a little too tall for my tastes, so I found some replacement ones in a bronze oil finish for $5 at Lowe’s. Here is a similar version on Amazon. I also picked up two new lamp burlap shades to update the look. They were pricier than I would have liked, at $26 a piece, but they were just the look I wanted. At the end, this simple faux stone lamp makeover still cost less than half of what a new stone table lamp would have cost us.
STEP FOUR
Paint your base coat on with even strokes. Make sure that you get full coverage by working in good lighting and taking a look all around the lap before moving on to the next step.

I had to come back a couple of times because this stucco surface made it easy to miss some spots.

STEP FIVE
Allow base coat to dry completely before moving on to the fifth step of dabbing on your contrasting colors. With chalk paint and craft paint, drying time didn’t take long at all.

I started with this dark gray color and simply smeared a light coat on to give the pieces more depth.
BONUS TIP
I worked on both lamps at the same time to help me keep my marks more uniform. I also started on the back side of the lamp to make sure that if I messed up, it wouldn’t be that noticeable on the back. Once I got the right amount of pressure and the dabbing technique down, it starting to take on that stone look I was after.
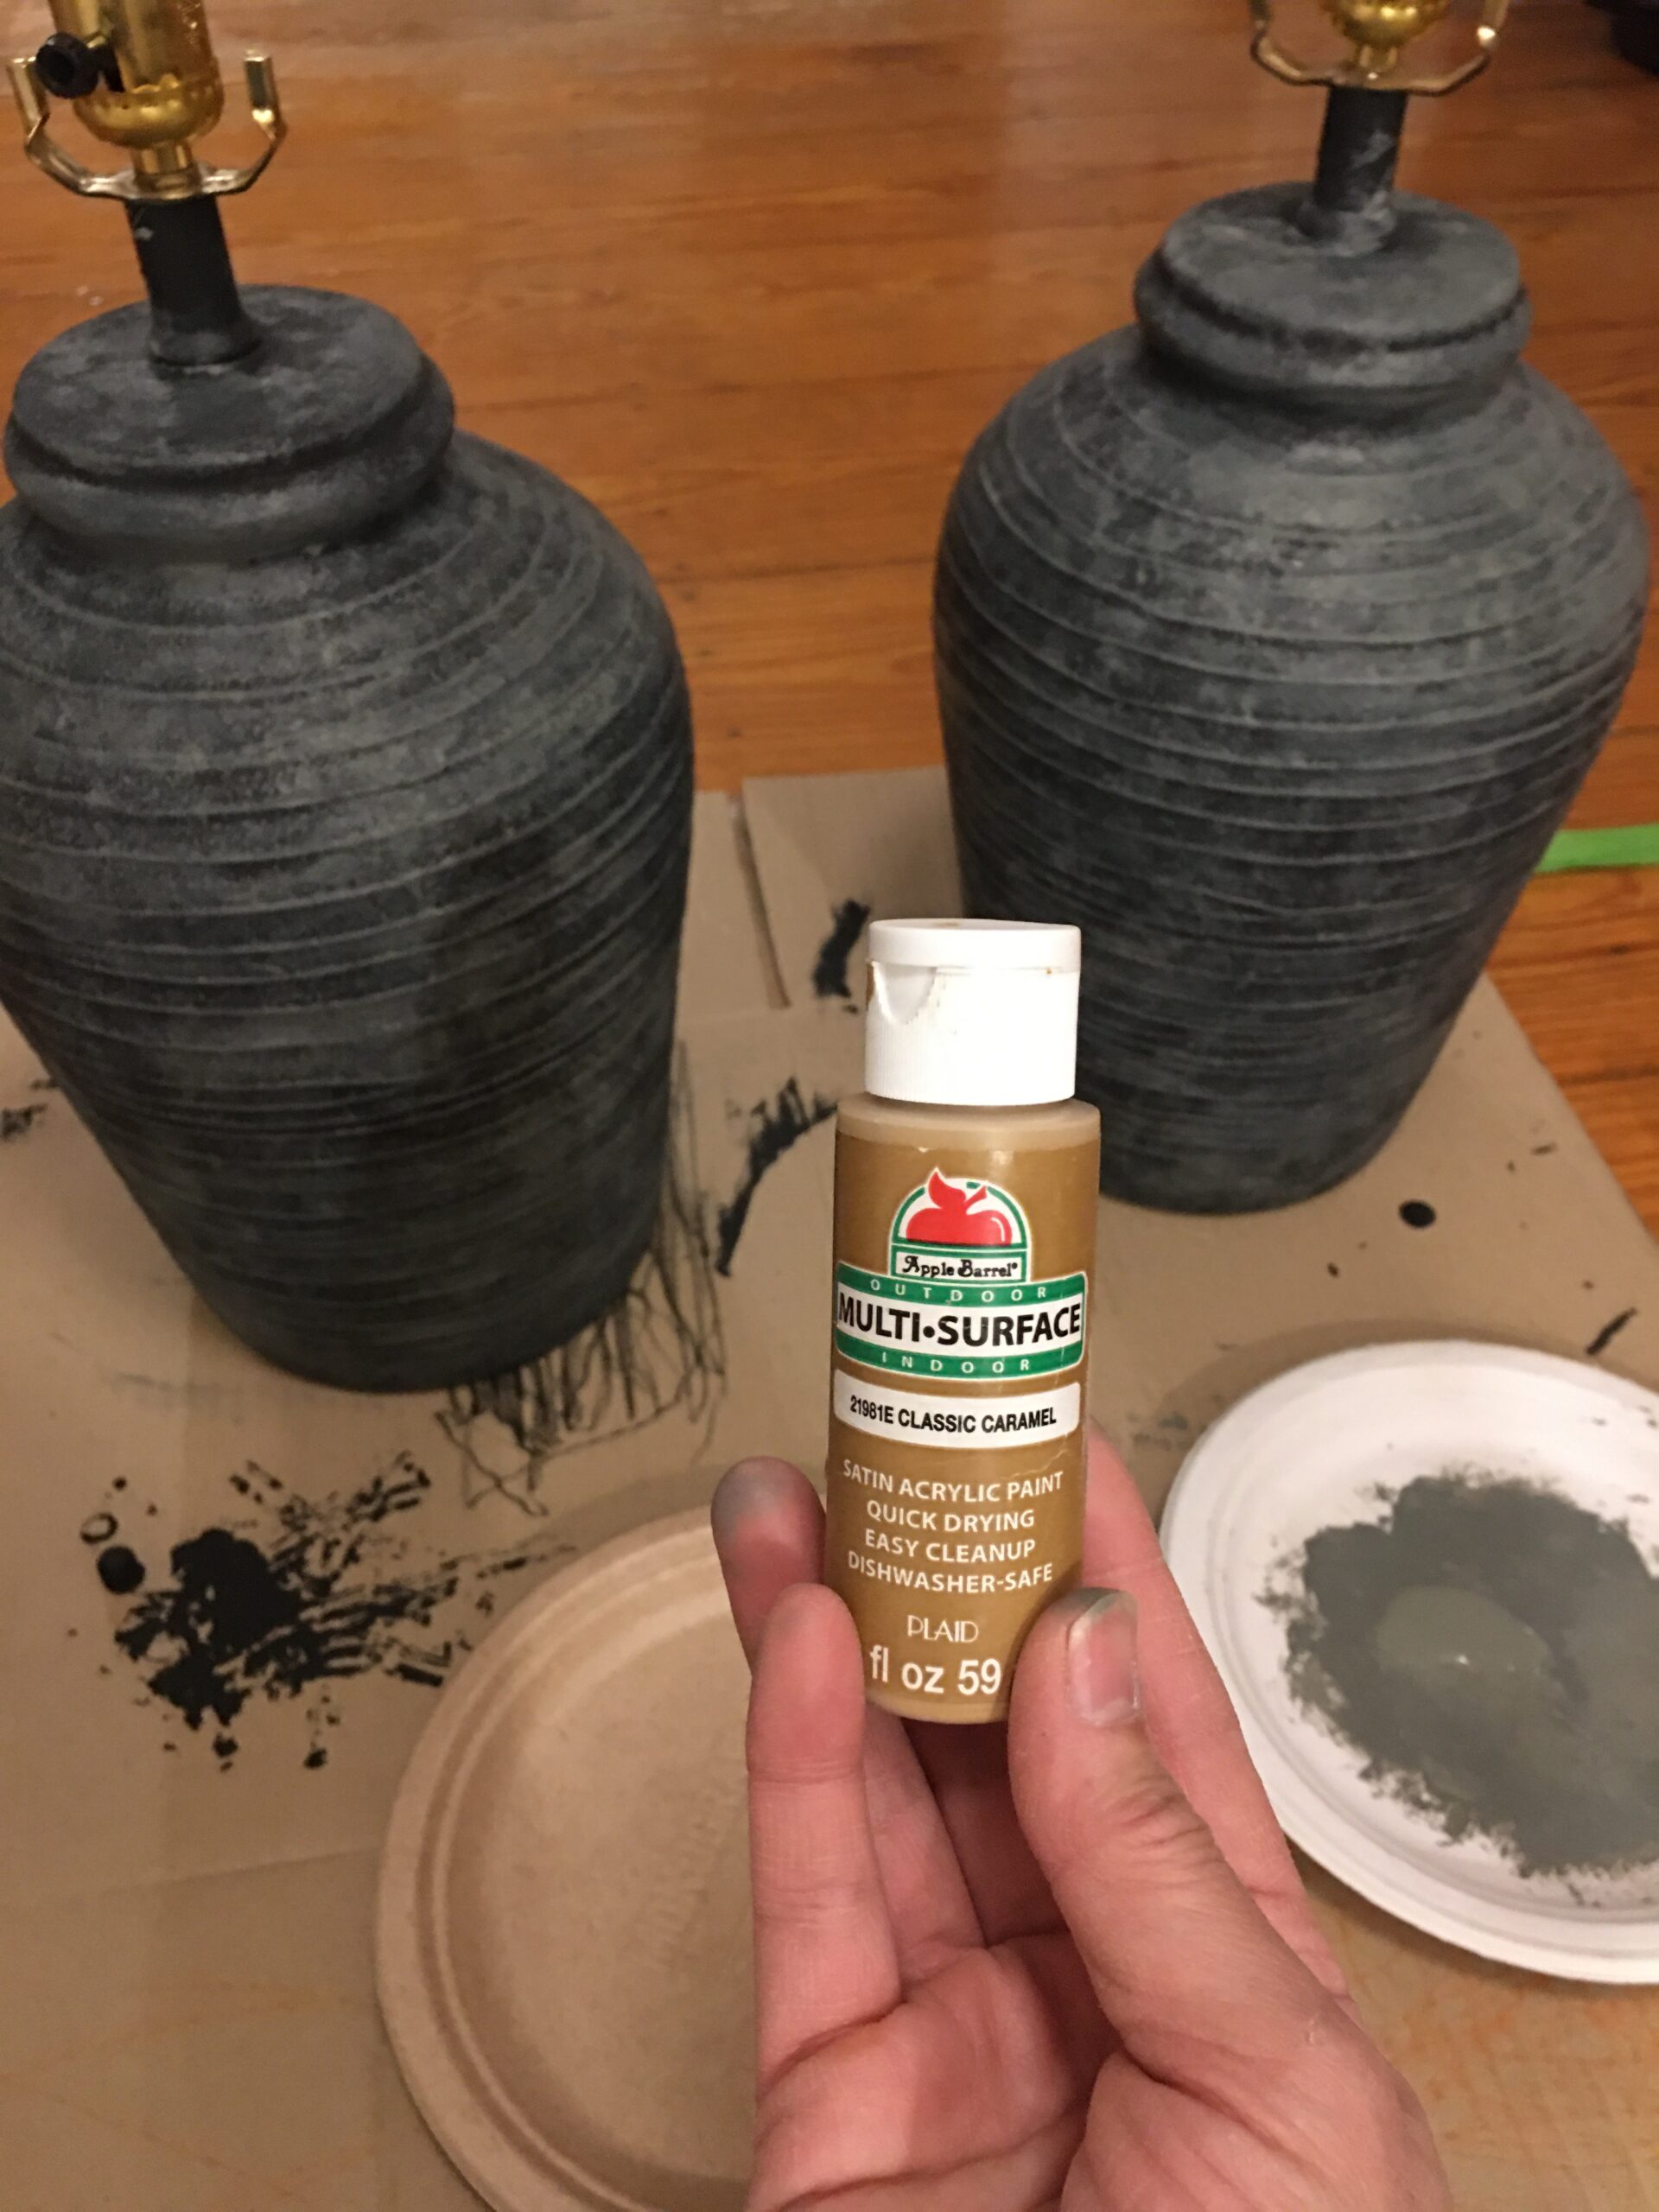
Then I added this caramel color that I love to use on a lot of mini projects.

Lastly, I added this pretty linen color that I used on these DiY barn quilt coasters here.

BONUS TIP
Keeping your paper towel on the drier side and consistent dabbing helps prevent smearing and larger blotch spots.

STEP SIX
Allow your lamp base to completely dry before attaching your harp extender and lamp shade back on. And that’s it! Super fun and super simple!
Now, sit back and enjoy your one of a kind, faux stone lamp and keep shining!


Unbelievable transformation! When we were recently building our house FB market place was the first place I looked each morning. My kitchen island is refurbished factory tables and the lights hanging over the island is refurbished copper pots. I love your bowl of antlers. I have a large wooden bowl full of antlers, birds nests and even wasp nests.
That’s awesome, Glenda! FB Marketplace was a great discovery for this frugal mama, too! 🙂 Sounds like you found some amazing deals! Thanks so much for taking the time to follow along and check out our posts. I appreciate your support!
Your home is so cozy looking and I love how you thrift that’s my thing to. Sharing yourself and family and God is such a blessing
Thrifting is such a fun way to style your home! Finding deals and making our home cozy for the family and our guests is one of my favorite pastimes! 🙂 Thank you so much, Sherri for continuing to share encouragement and kindness in our online community. I appreciate your support!