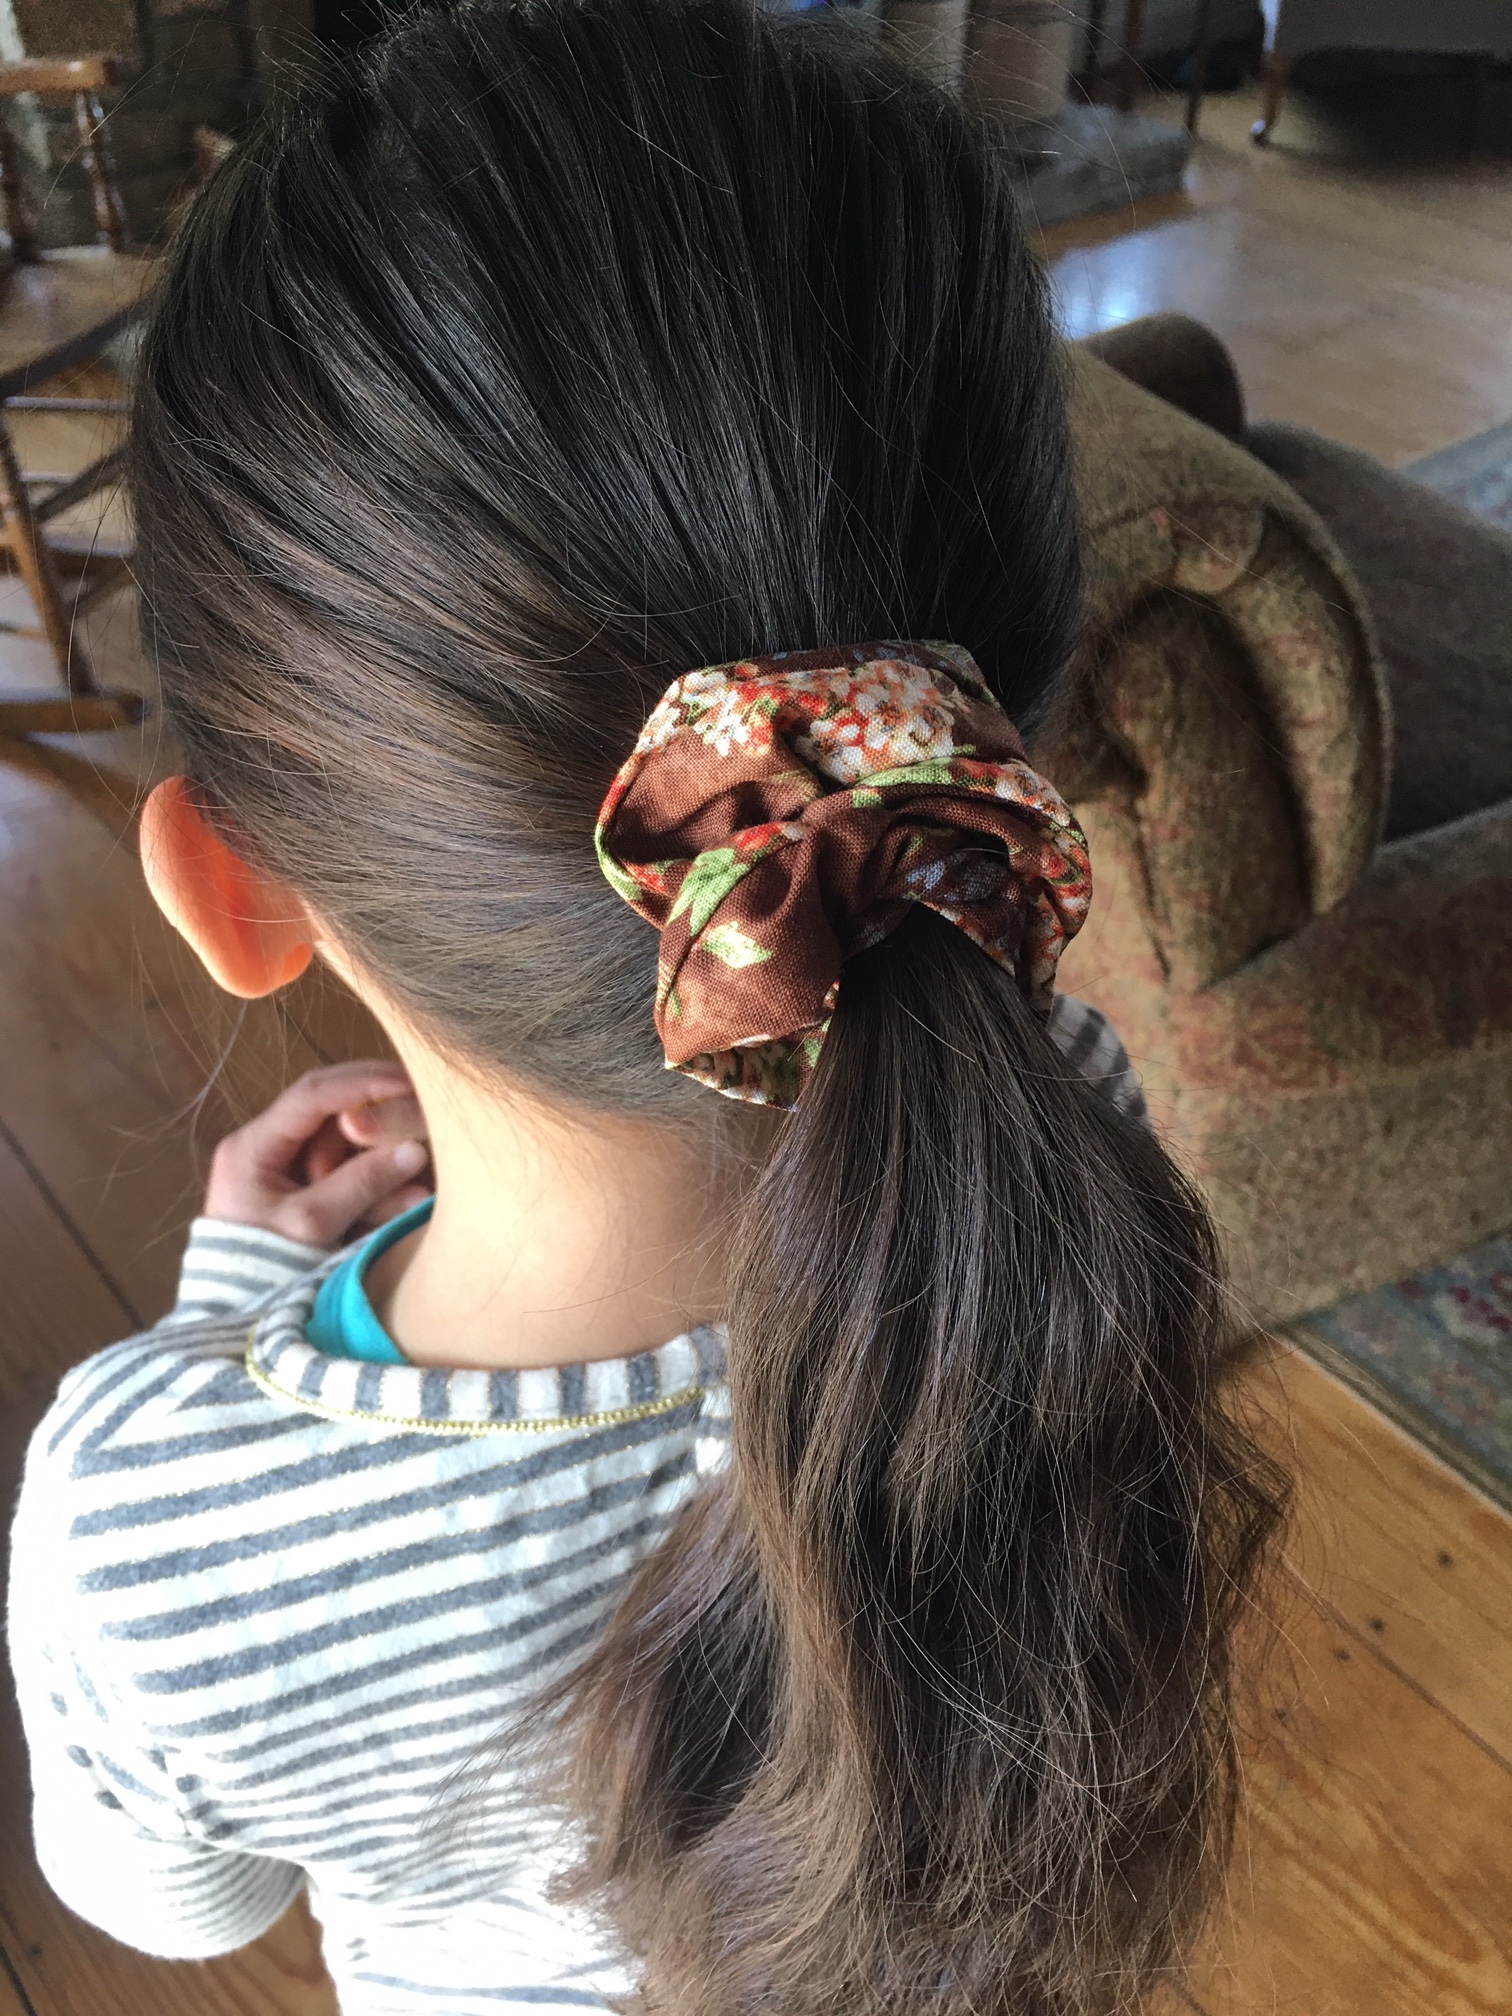
They say if you wait long enough, old trends find their way back around. Somehow, the 90’s are apparently back in style and trending these days. Ha! Not my most finest moments when it came to fashion, but you live and learn. (smile) The 90’s wouldn’t have been the 90’s without the super teased and blow dried big hair, accompanied by a whole lot of Aqua Net hair spray and cloth pony tail scrunchies.
Making your own hair scrunchies at home are not just super simple, but they are super inexpensive and with all the new patterns and fabric options out there on line, the choices are endless. If you like matching your kiddos, this is a great way to save money while turning up the cuteness dial. This is a great beginner sewing project to do with your children. Teens and tweens will be able to make these all on their own and if you don’t have a sewing machine, no worries! You can make these with a basic knowledge of hand-stitching with needle and thread.
**This post may contain affiliate links. Please see full affiliate disclosure here.
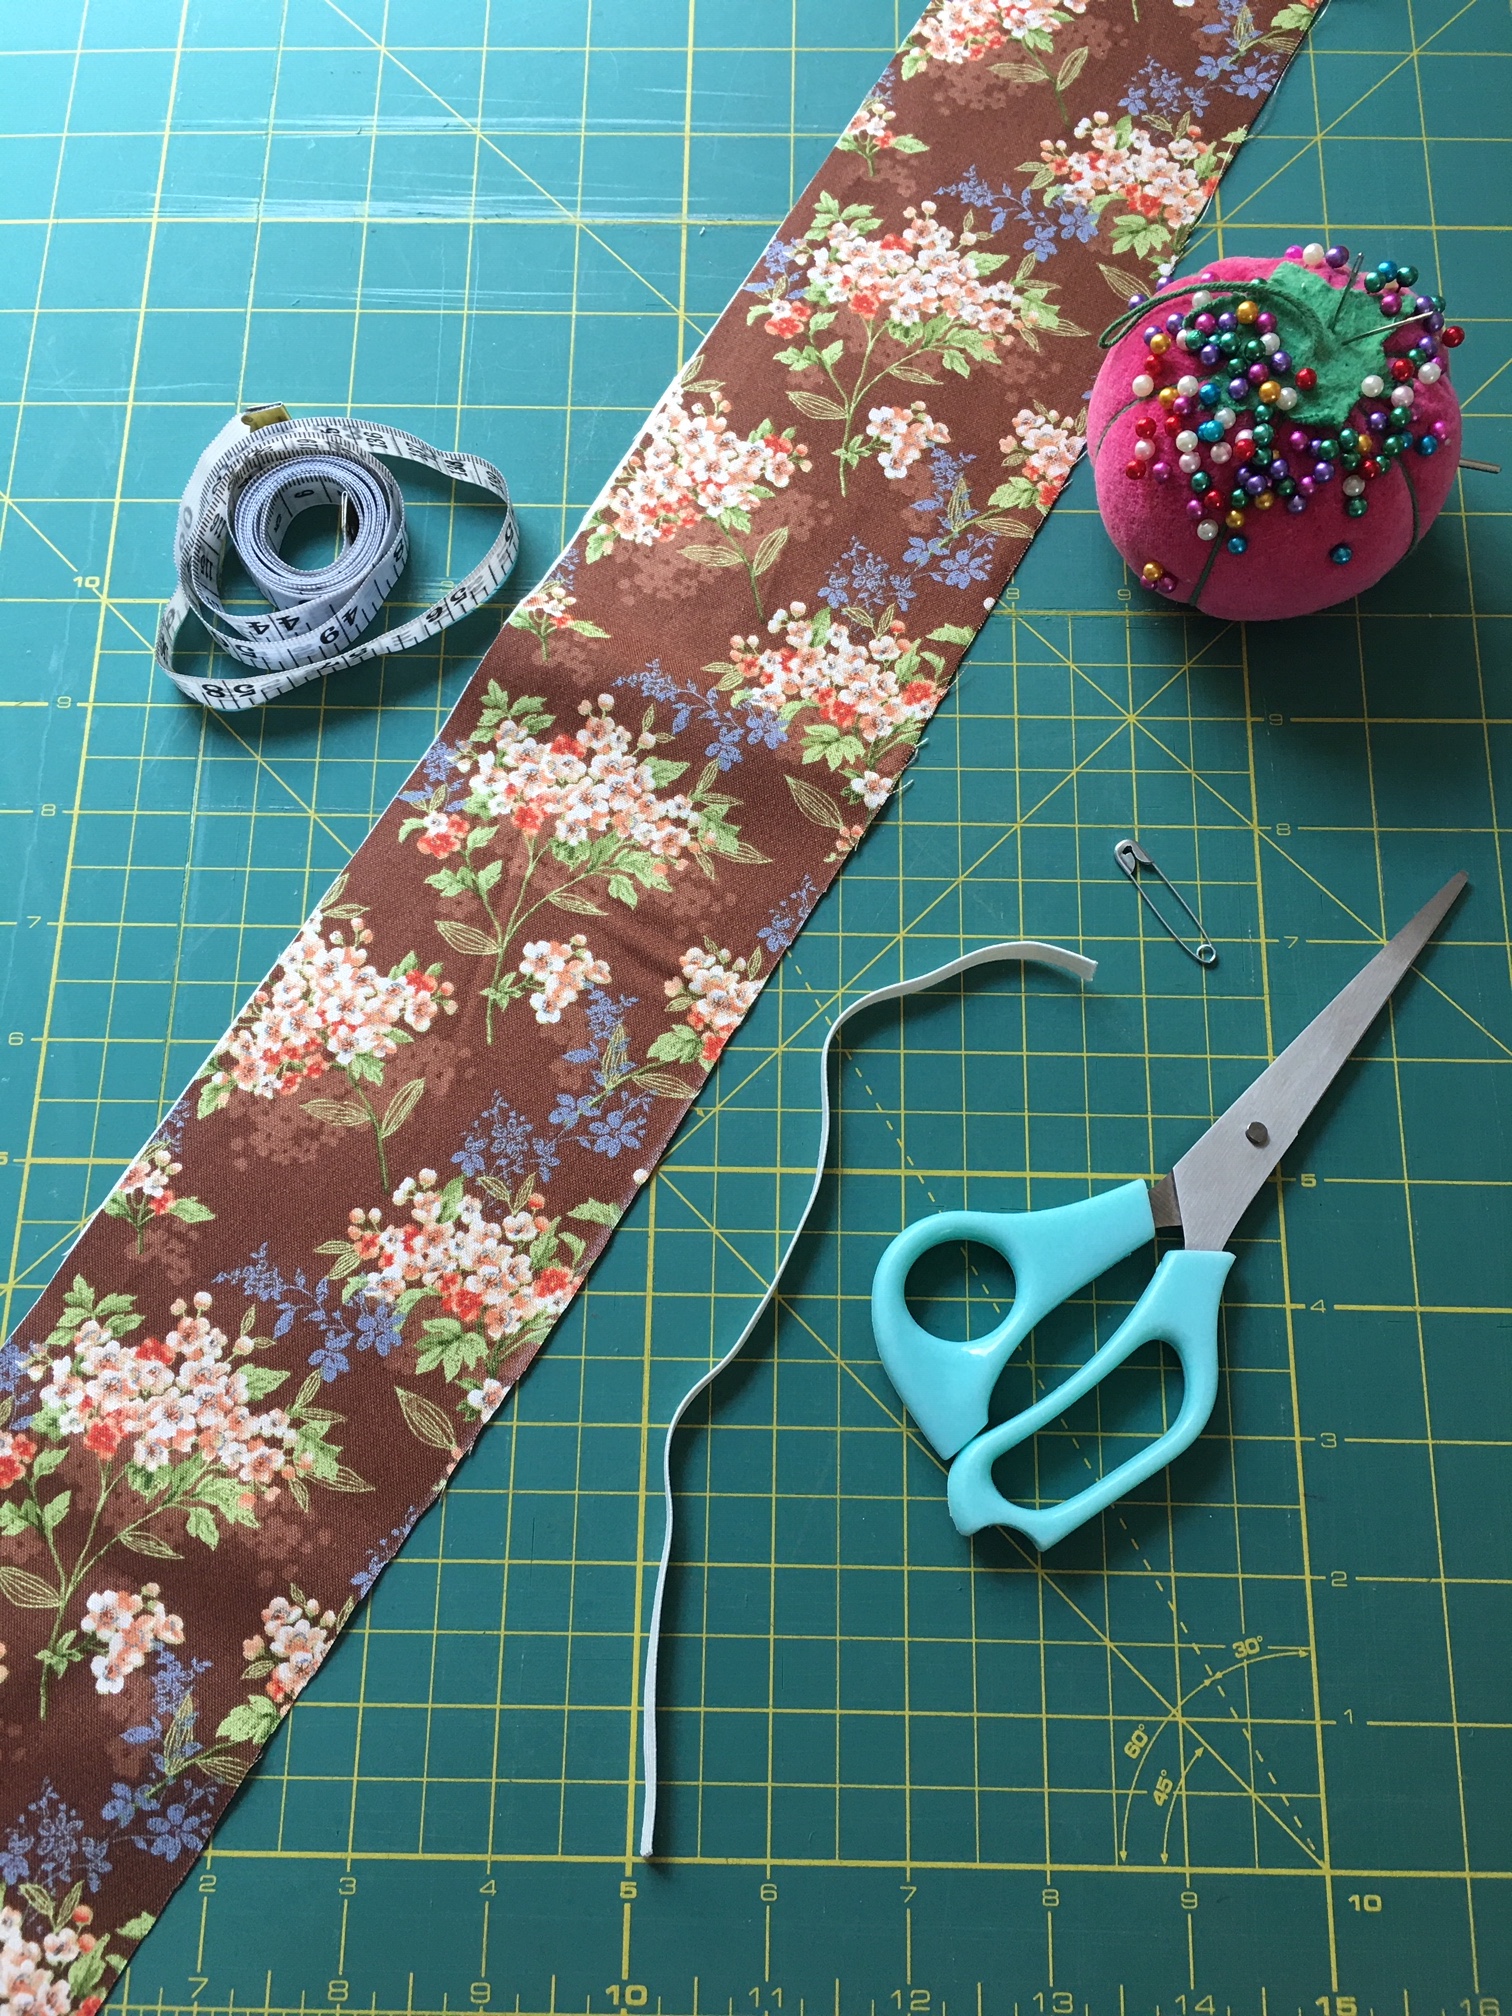
SUPPLIES YOU WILL NEED
- Fabric of your choice (I really like cotton and linen, but recently I found this linen/cotton blend here that would be really pretty for this project. It comes in so many color choices.)
- 1/4 inch elastic band
- Sewing machine
- Pins (optional)
- Thread
- Measuring tape
- Safety pin
- Chalk for marking
- Scissors
LET’S GET STARTED!
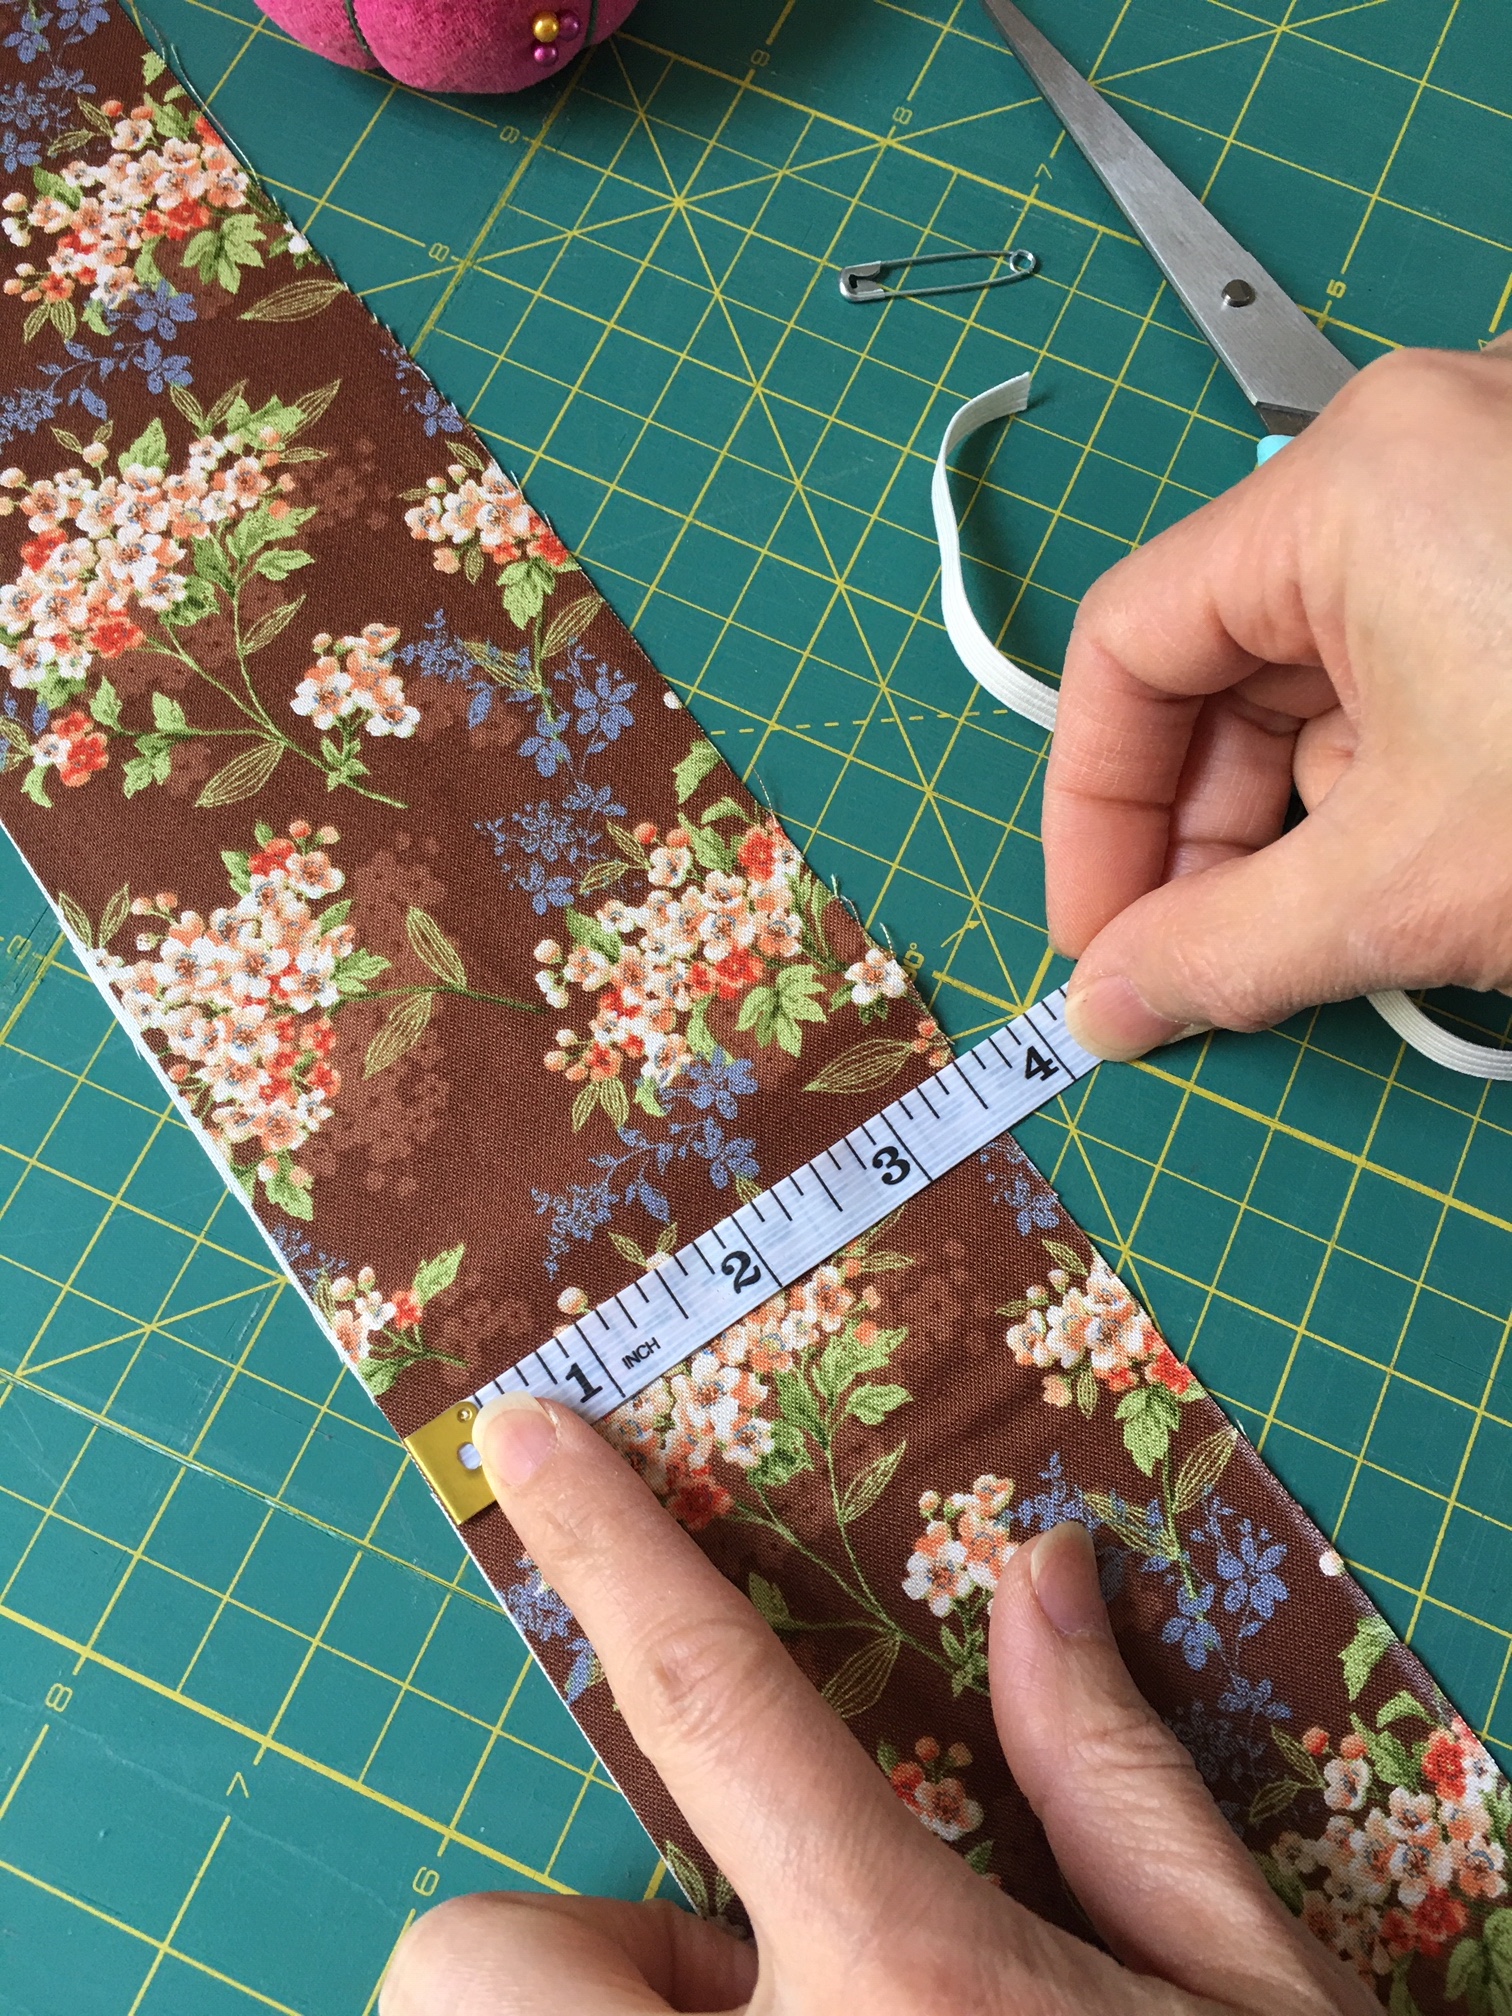
STEP ONE
Take fabric and measure 3 and 1/2 inches wide x 22 inches long. Mark and cut. Set aside.

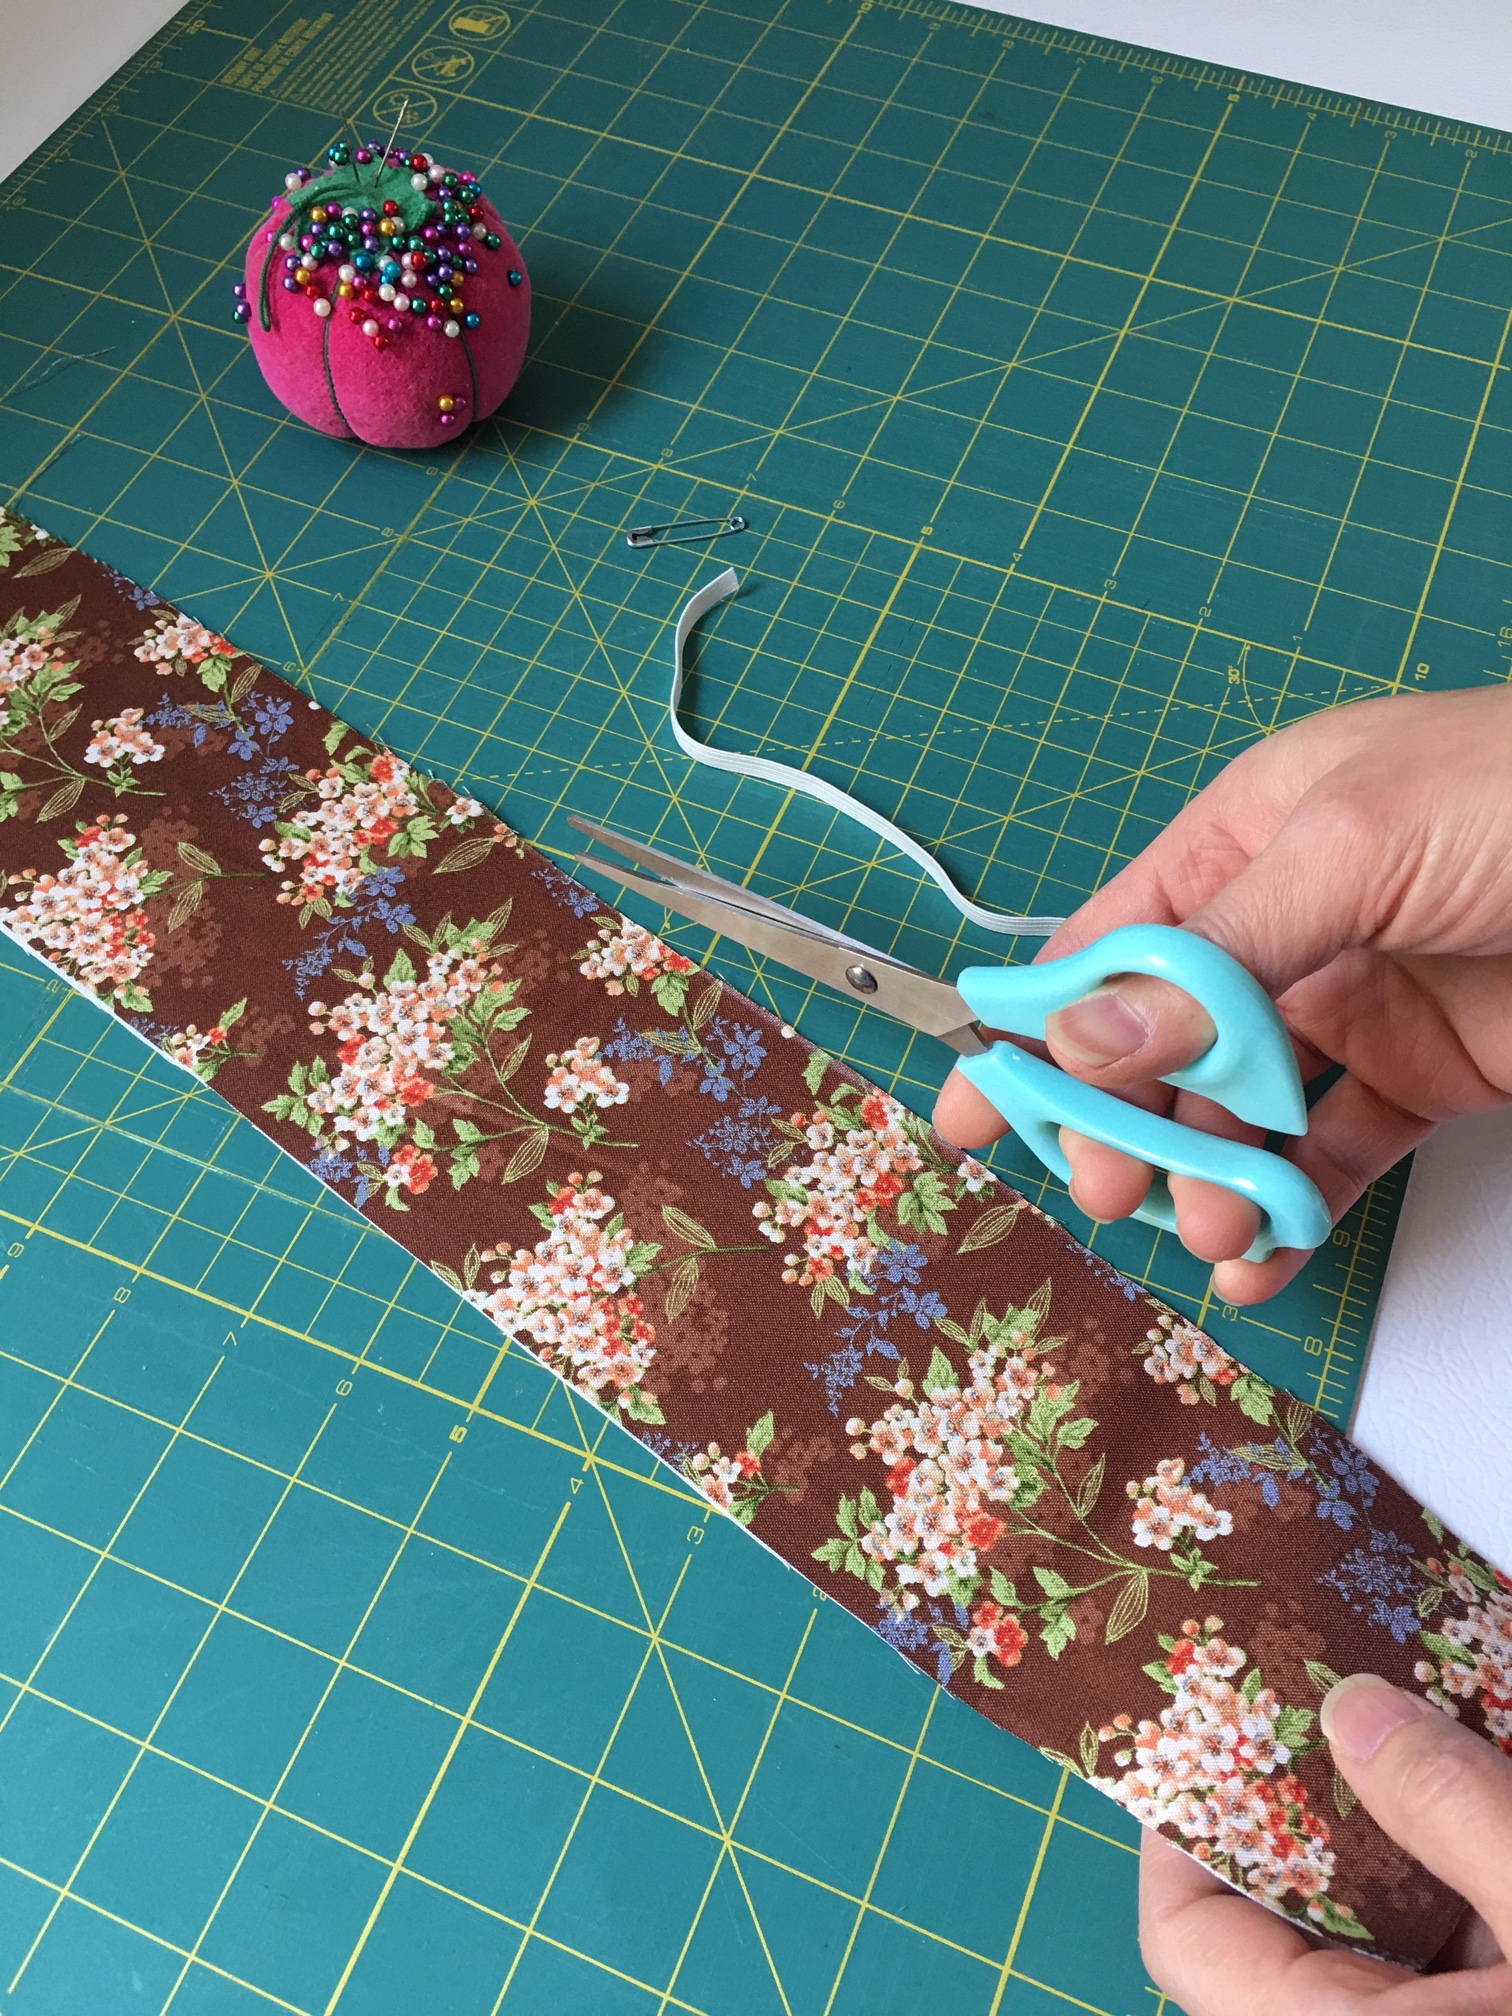

STEP TWO
Take elastic band and measure 9 inches long and cut. Set aside.

STEP THREE
Take one end of cut fabric and fold down with right side out.

PRACTICAL TIP
If you are new to sewing, feel free to pin the sides together to prevent slipping.

STEP FOUR
Fold right sides together in half, lengthwise and sew a straight line between a 1/4 inch to 1/2 inch along the long side of fabric.

PRACTICAL TIP
Make sure to back stitch to secure when you start your stitch and end the stitch.

STEP FIVE
Take a safety pin and pin it on one side of the fabric and slowly feed the fabric through until the fabric is right side out.

STEP SIX
Take the elastic and do the same, but make sure to secure the tail end of the elastic by holding or pinning in place. When done, take both ends of the elastic and tie a knot or two. Be sure to tie it tightly. You can also sew the ends together to secure if you prefer.

STEP SEVEN
Lastly, place the raw tail edge into the folded edge and make sure the raw edges are not exposed. Sew a straight line to secure closed. Remember to backstitch to secure. There you have it!
Super simple. Super stylish. And super affordable.



Leave a Reply