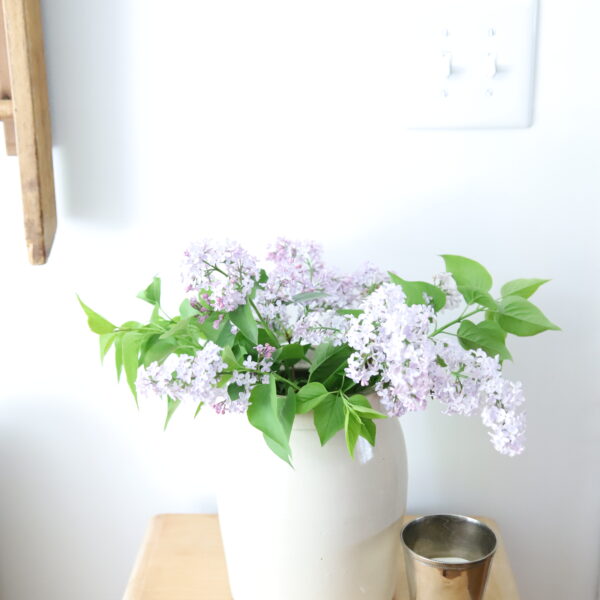
If you love simple and beautiful vintage farmhouse style like I do, you probably have grown an affinity for flowers like hydrangeas, lilacs, sunflowers, viburnums, zinnias, and peonies. (smile) There is just something about these popular flowers that seem to go hand-in-hand with the relaxed farmhouse style that we love. Hydrangeas have been a favorite of mine for years. I just recently cut the last of our hydrangeas for the season and am letting the smaller blossoms dry on the bush to decorate with in the fall.
Hydrangeas have a special place in my heart. When my husband and I first got married, we planted some on the patio of the first home we purchased. In those days, I gravitated towards the purples, pinks, and blues. Since then, we have left our trail of hydrangea plantings at different duty stations, including upstate NY. We planted a small bush in the backyard of our 1920’s craftsman bungalow. By the time we had to move, the bush had tripled in size and had the most beautiful pink and blue hydrangea blossoms. For some reason, I never cut those blooms. The littles and I just enjoyed looking at them and playing hide and seek behind them. Sweet memories!
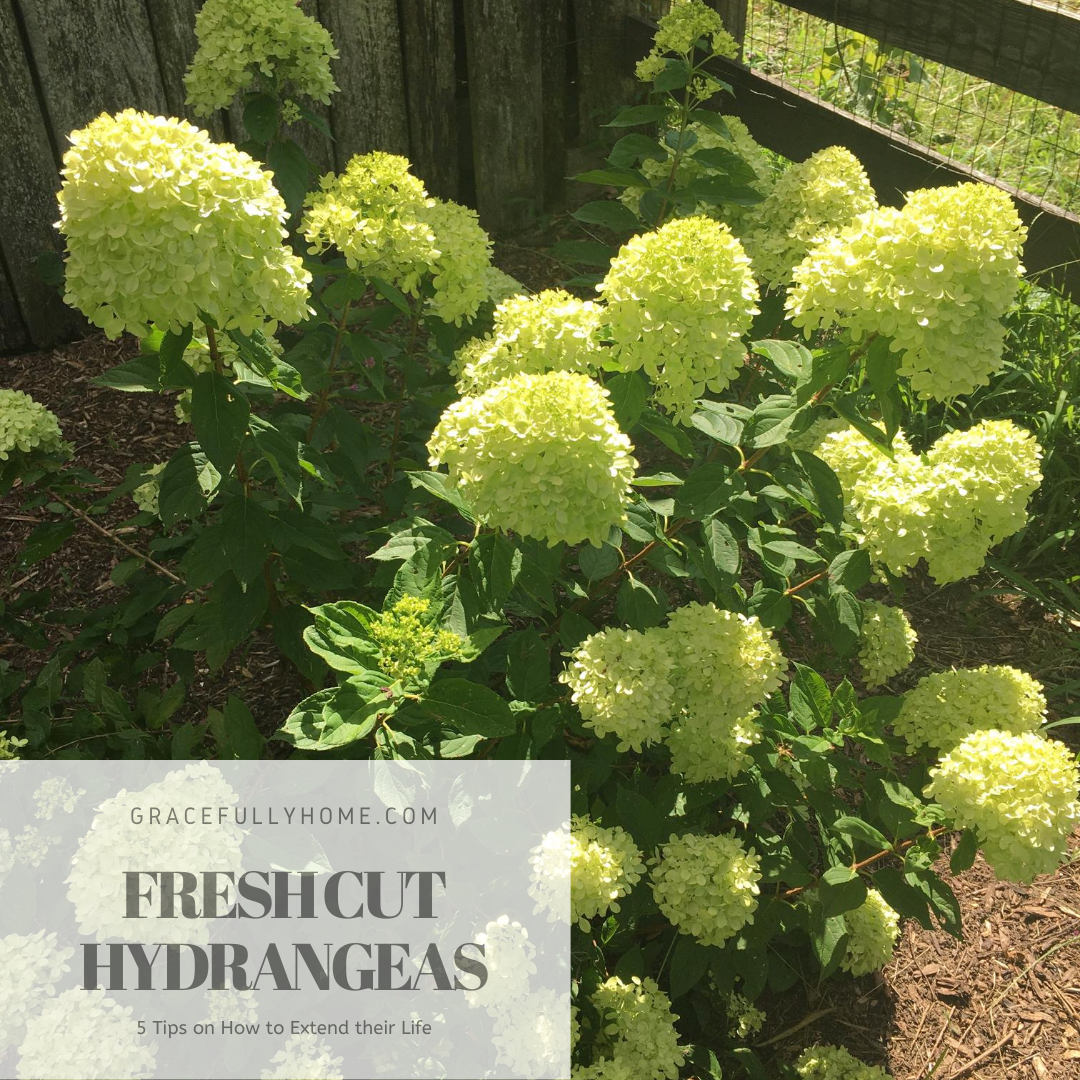
Since then, we have planted several more on our current homestead. You can bet that we still enjoy admiring their beauty outdoors. But these days, you can definitely find them gracing the inside of our farmhouse too. I have even successfully dried and displayed them year round. But for this post, I’ll be sharing some of the simple tips that have helped keep our cut hydrangeas looking fresh and vibrant for longer.
BONUS TIP:
The key to keeping your blooms looking beautiful longer is all in the stem preparation.
1. AVOID CUTTING DURING THE HOTTEST PART OF THE DAY
Cutting your hydrangeas in the morning after the dew has dried, is the best time to prevent wilting because it is less stressed from the heat of the day. Choose the most mature blooms for the main display and then add other green cuttings and smaller blooms to fill in the arrangement.
2. SET YOURSELF UP FOR SUCCESS
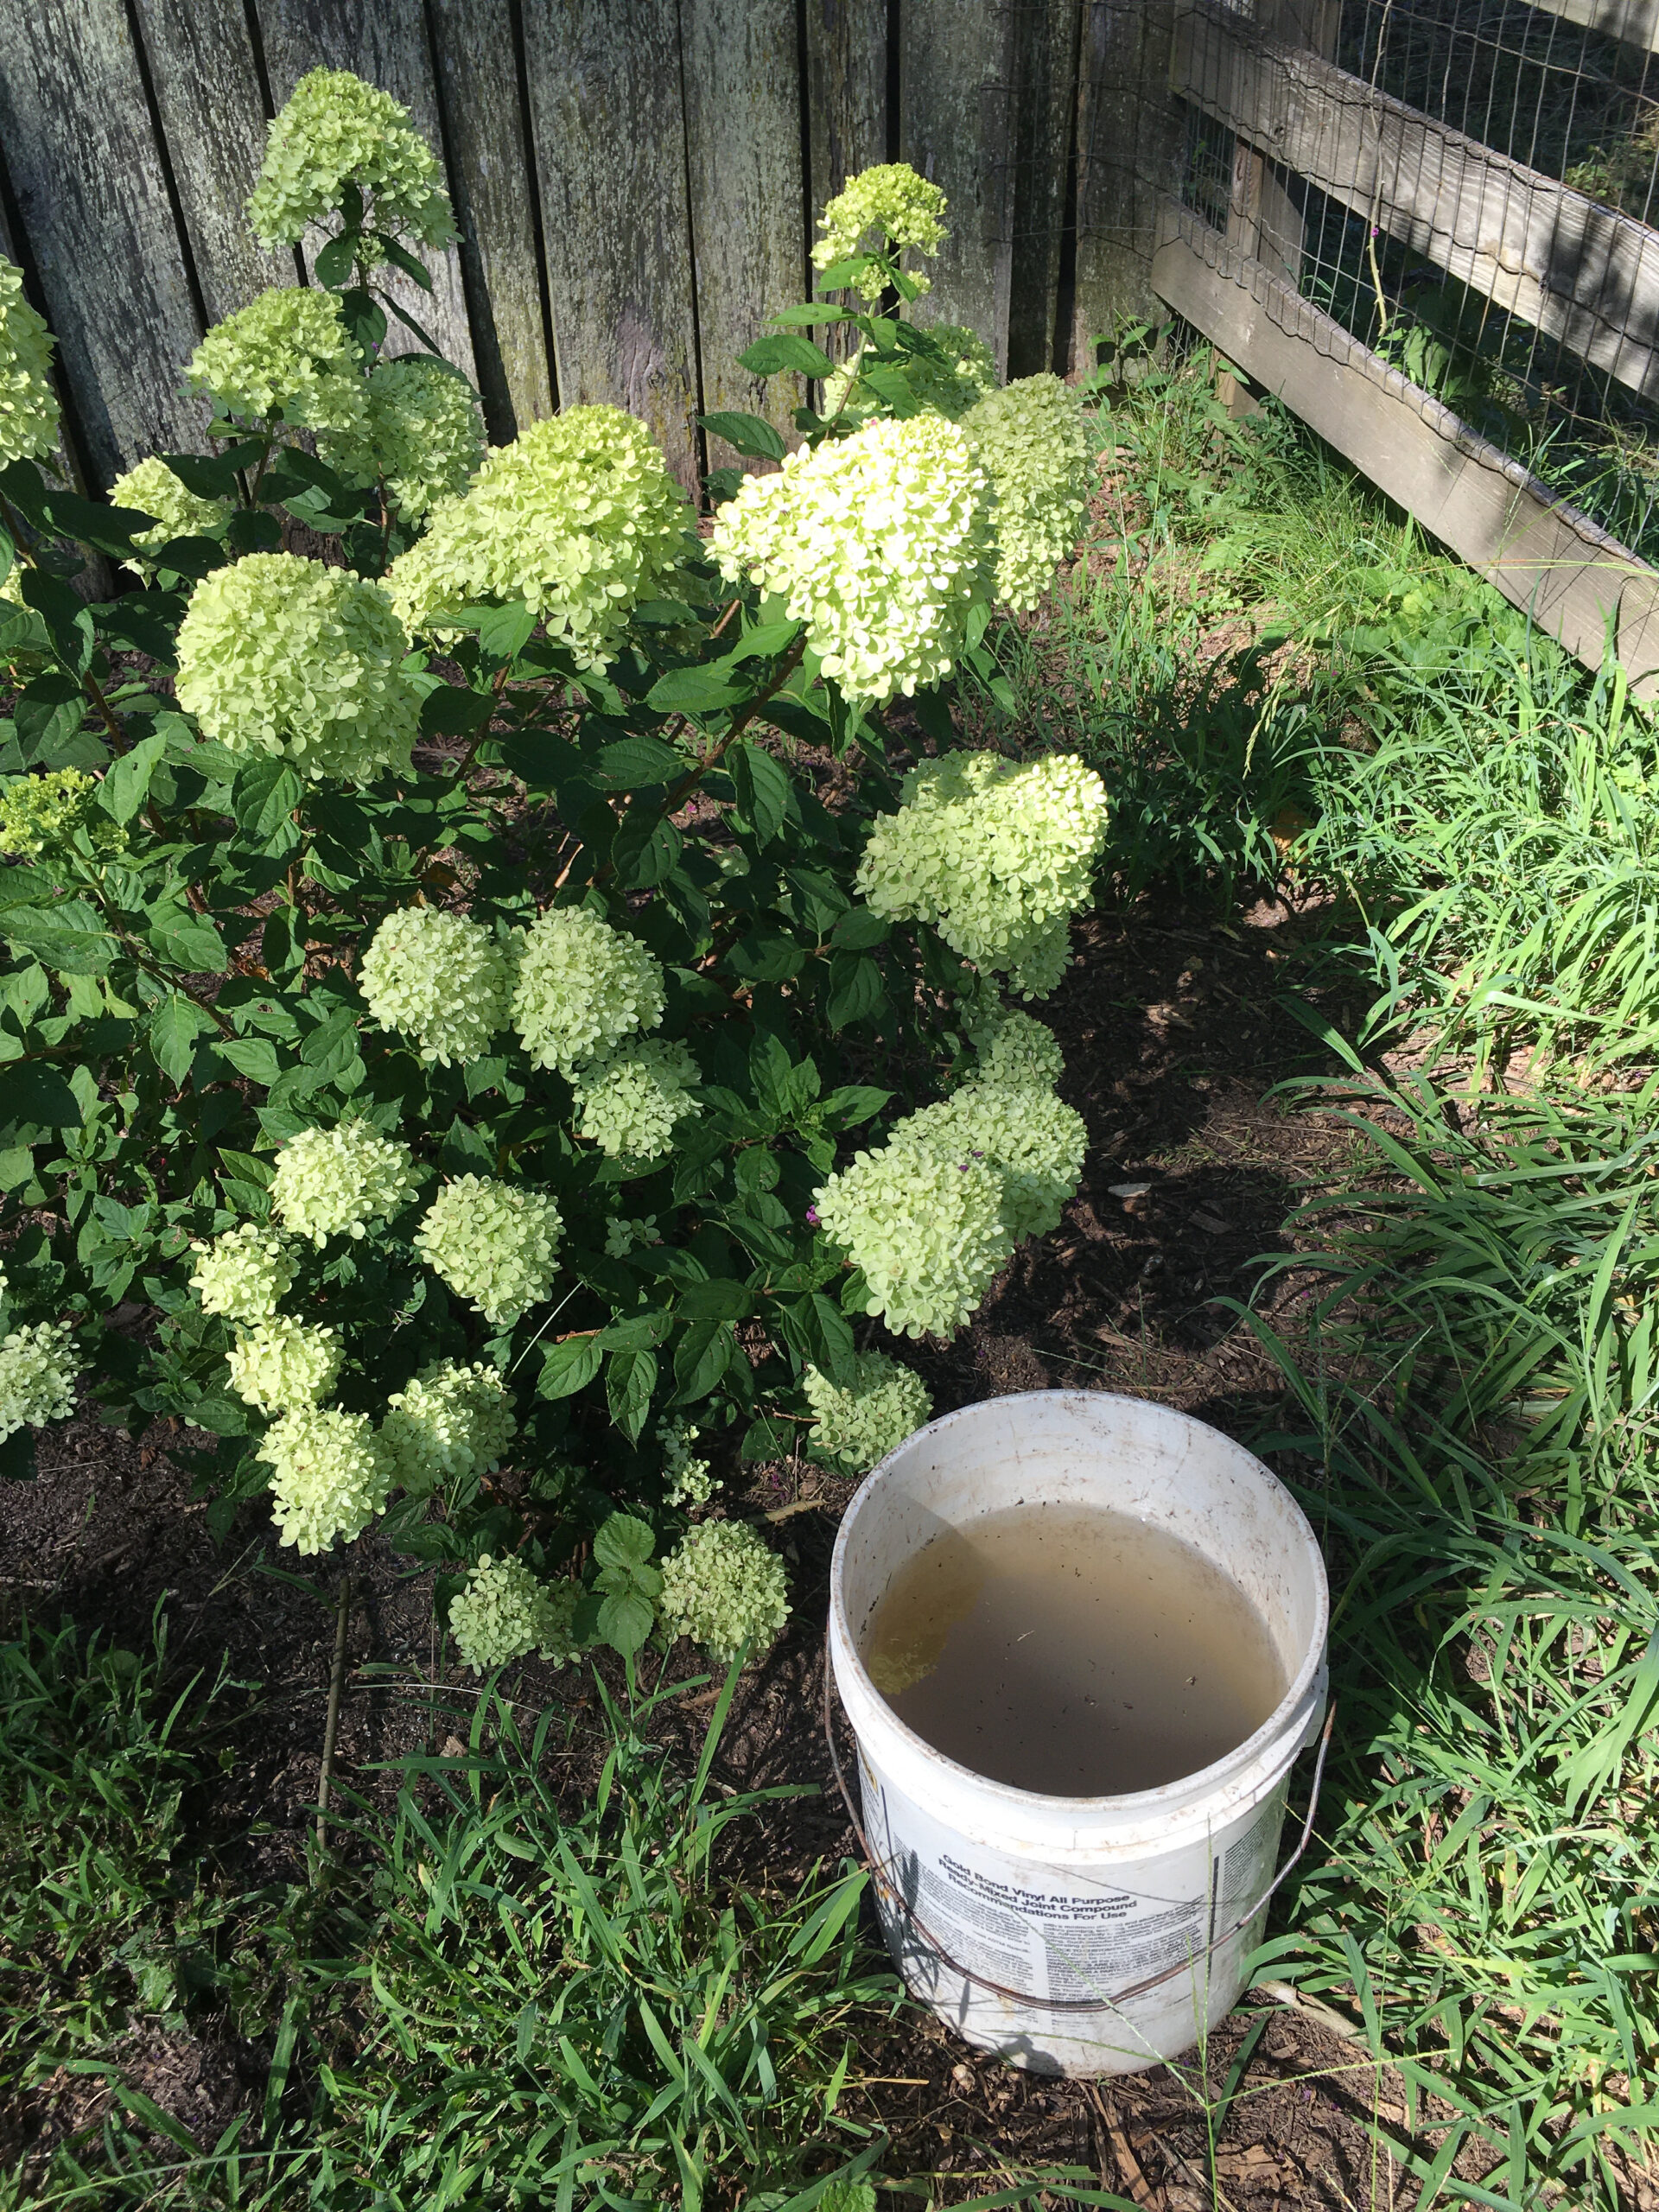
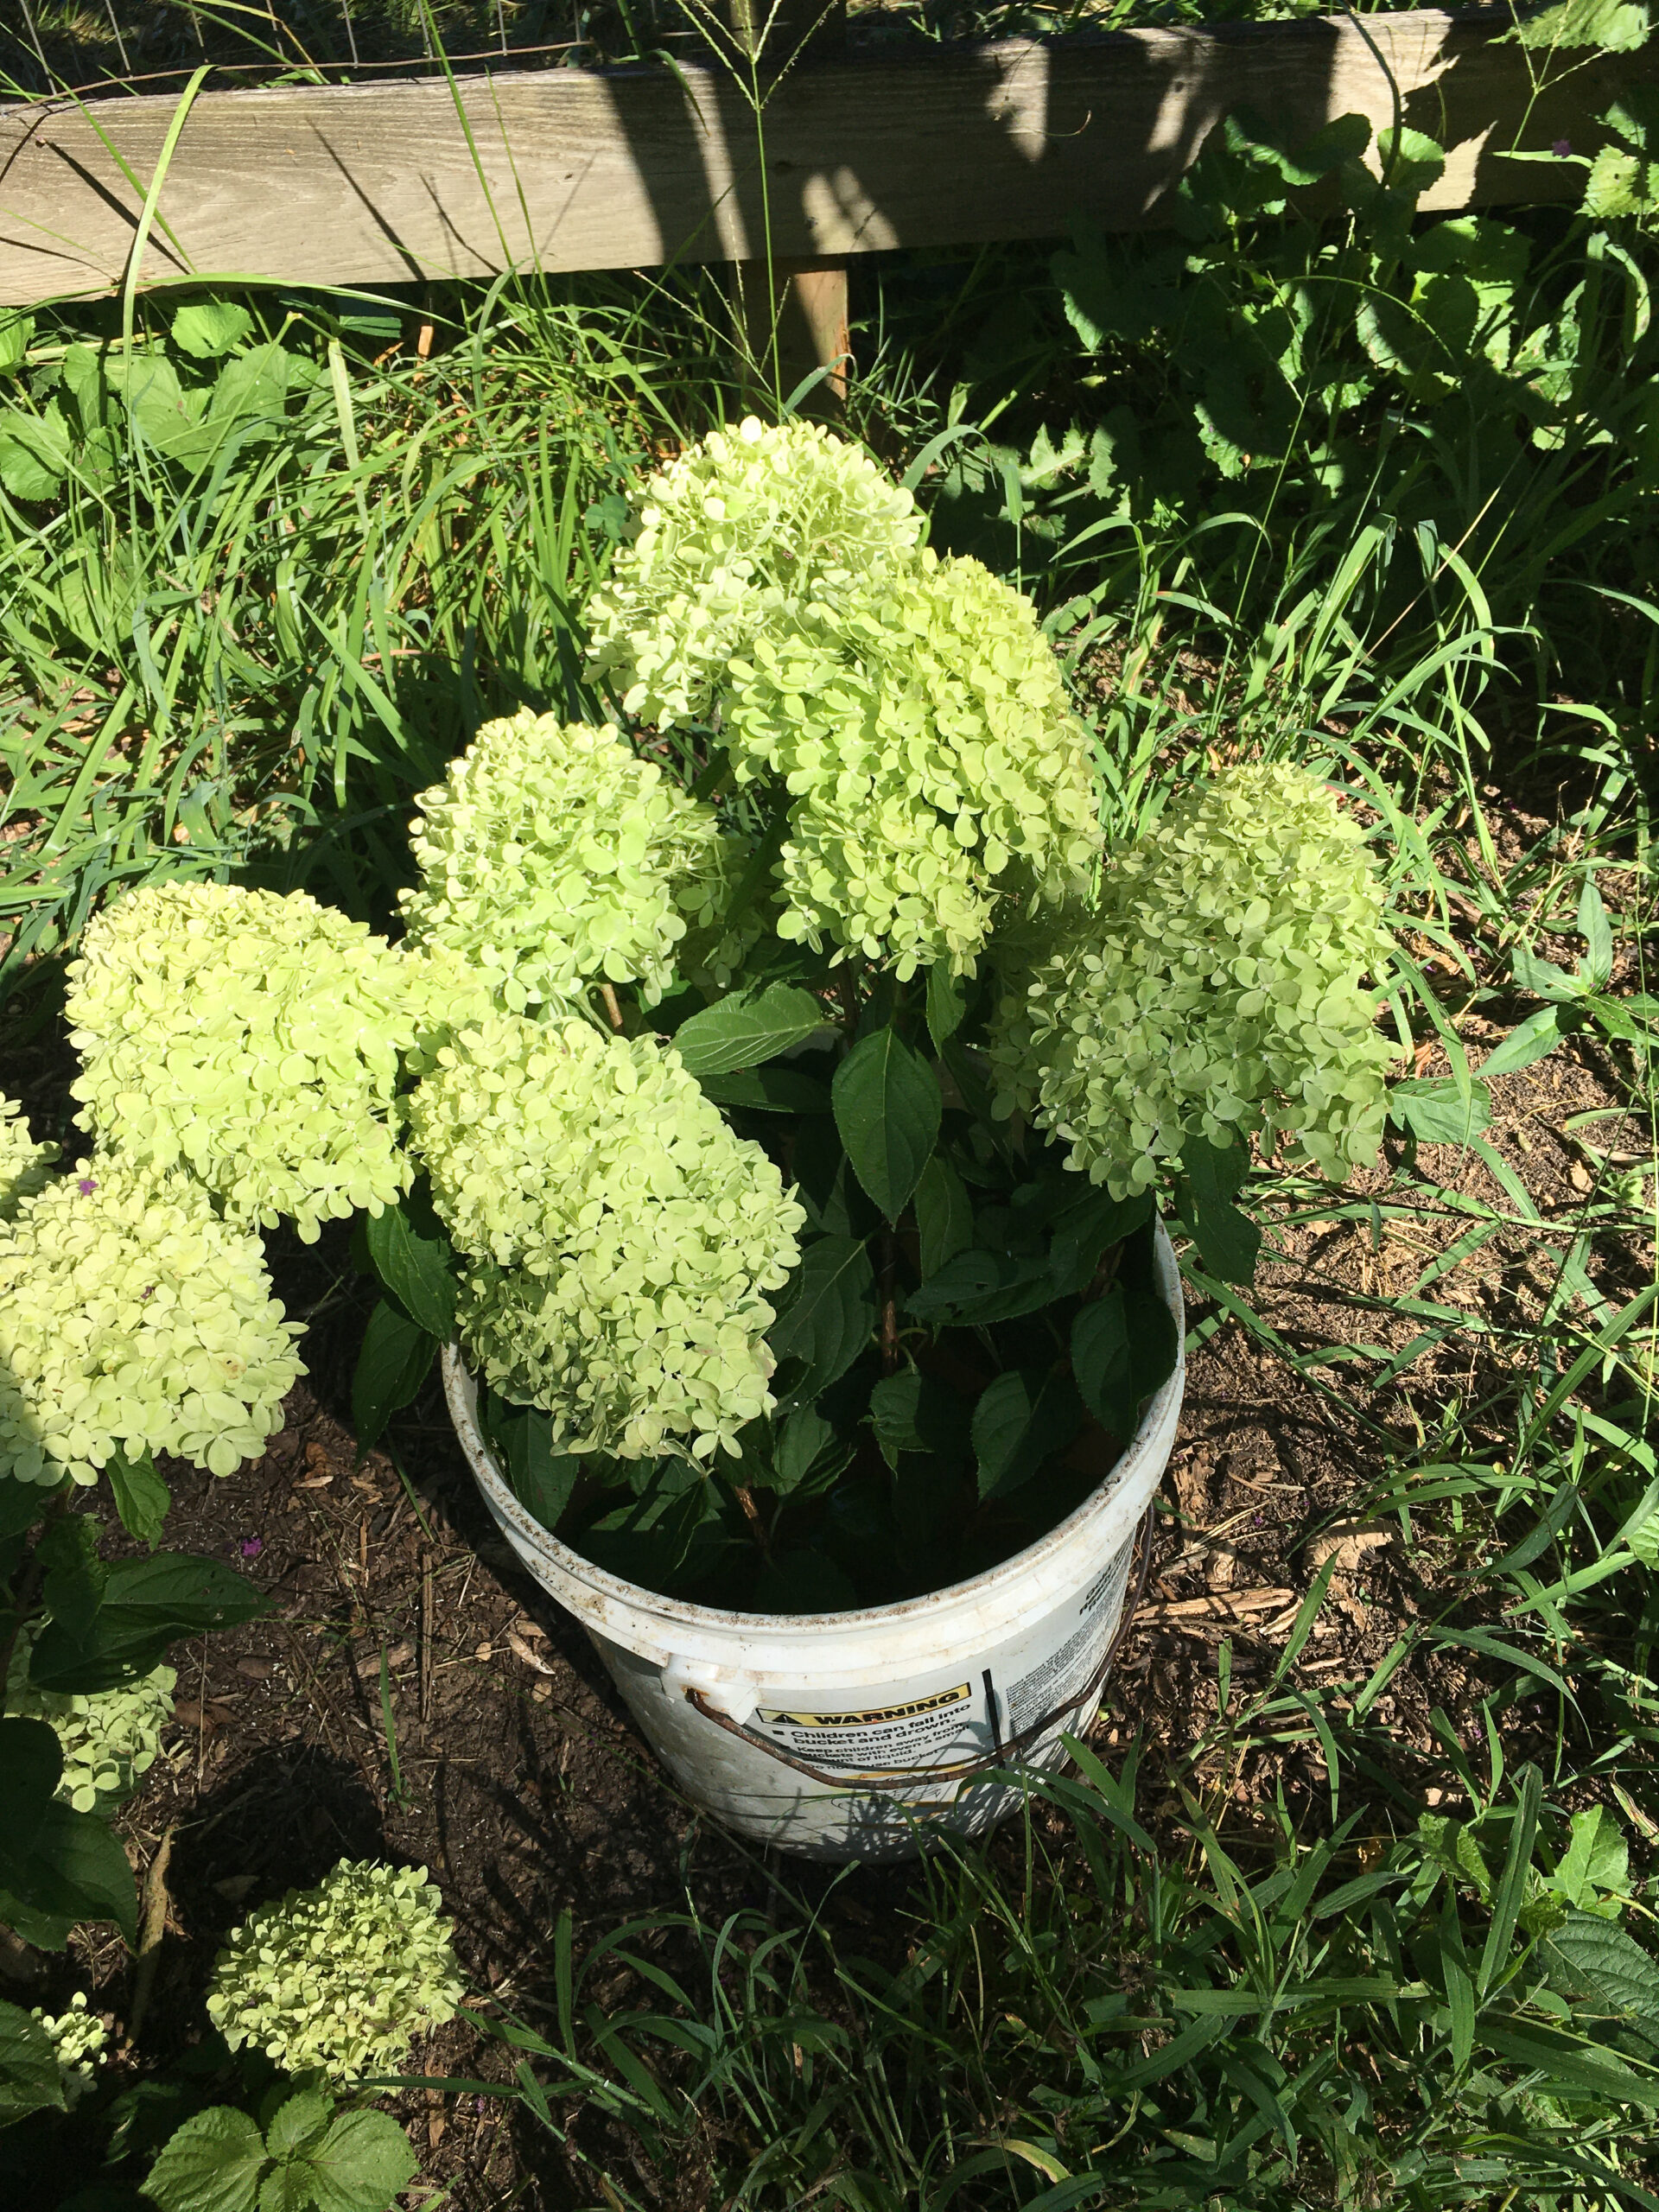
Before I cut any flower stems, I make sure that I have a 5 gallon bucket of fresh creek or spring water with me. This way, as I cut the flower stems, I can easily get them into water before they begin to wilt.
BONUS TIP:
Cut your stems as long as possible so that when you bring them inside to make your arrangements, you have more options to vary the heights depending on your choice of vessel.
3. REMOVE ANY EXCESS LEAVES FROM STEM
When submerged, the bacteria from the leaves can speed up the decaying process and produce a slimy, foul smelling buildup in your vessel. That buildup can prevent the stems from absorbing the water, which will shorten your blooms life.
4. CHOOSE THE RIGHT TOOL
I typically use a sharp pair of clippers that I have designated specially for cutting fresh garden veggies and flowers, but you can carefully use a sharp knife as well. Dull scissors can crush or damage the stem making it more challenging for it to absorb the water.
BONUS TIP:
When cutting fresh mature hydrangea stems, experts recommend cutting them at a 45 degree angle to help the stem soak up as much water as possible. Mature stems can be tough, so make sure to have a good grip before cutting.
5. LOOSEN UP THE STICKY SAP
The boiling method is a popular recommendation among flower enthusiasts. The heat from the water loosens up the natural sticky sap from the stem so the stem can absorb the water more freely. Simply boiling water and placing the freshly cut stem in the water for 30 secs is all you need. You can use this method for your store bought hydrangeas as well.
BONUS TIP:
Recut stems after 2-3 days, rinse any buildup on stems, clean vessel, and replace water with fresh water to help keep your blooms beautiful for several days and/or up to a week.
I hope that you found these simple tips helpful next time you are ready to cut some hydrangeas in your garden.


Leave a Reply