Living in the country makes “quick” trips to Home Depot or Lowe’s a bit of a challenge. The closest ones range from 45 mins to an hr from the hollow. So, needless to say, we find ourselves having to be creative on the farm by thinking outside the box and repurposing the supplies we have on hand. This can be super fun and rewarding, especially with projects like this one. This took me a few days to make, but only because I was multi-tasking like I do on another project. That post is coming up! (wink)
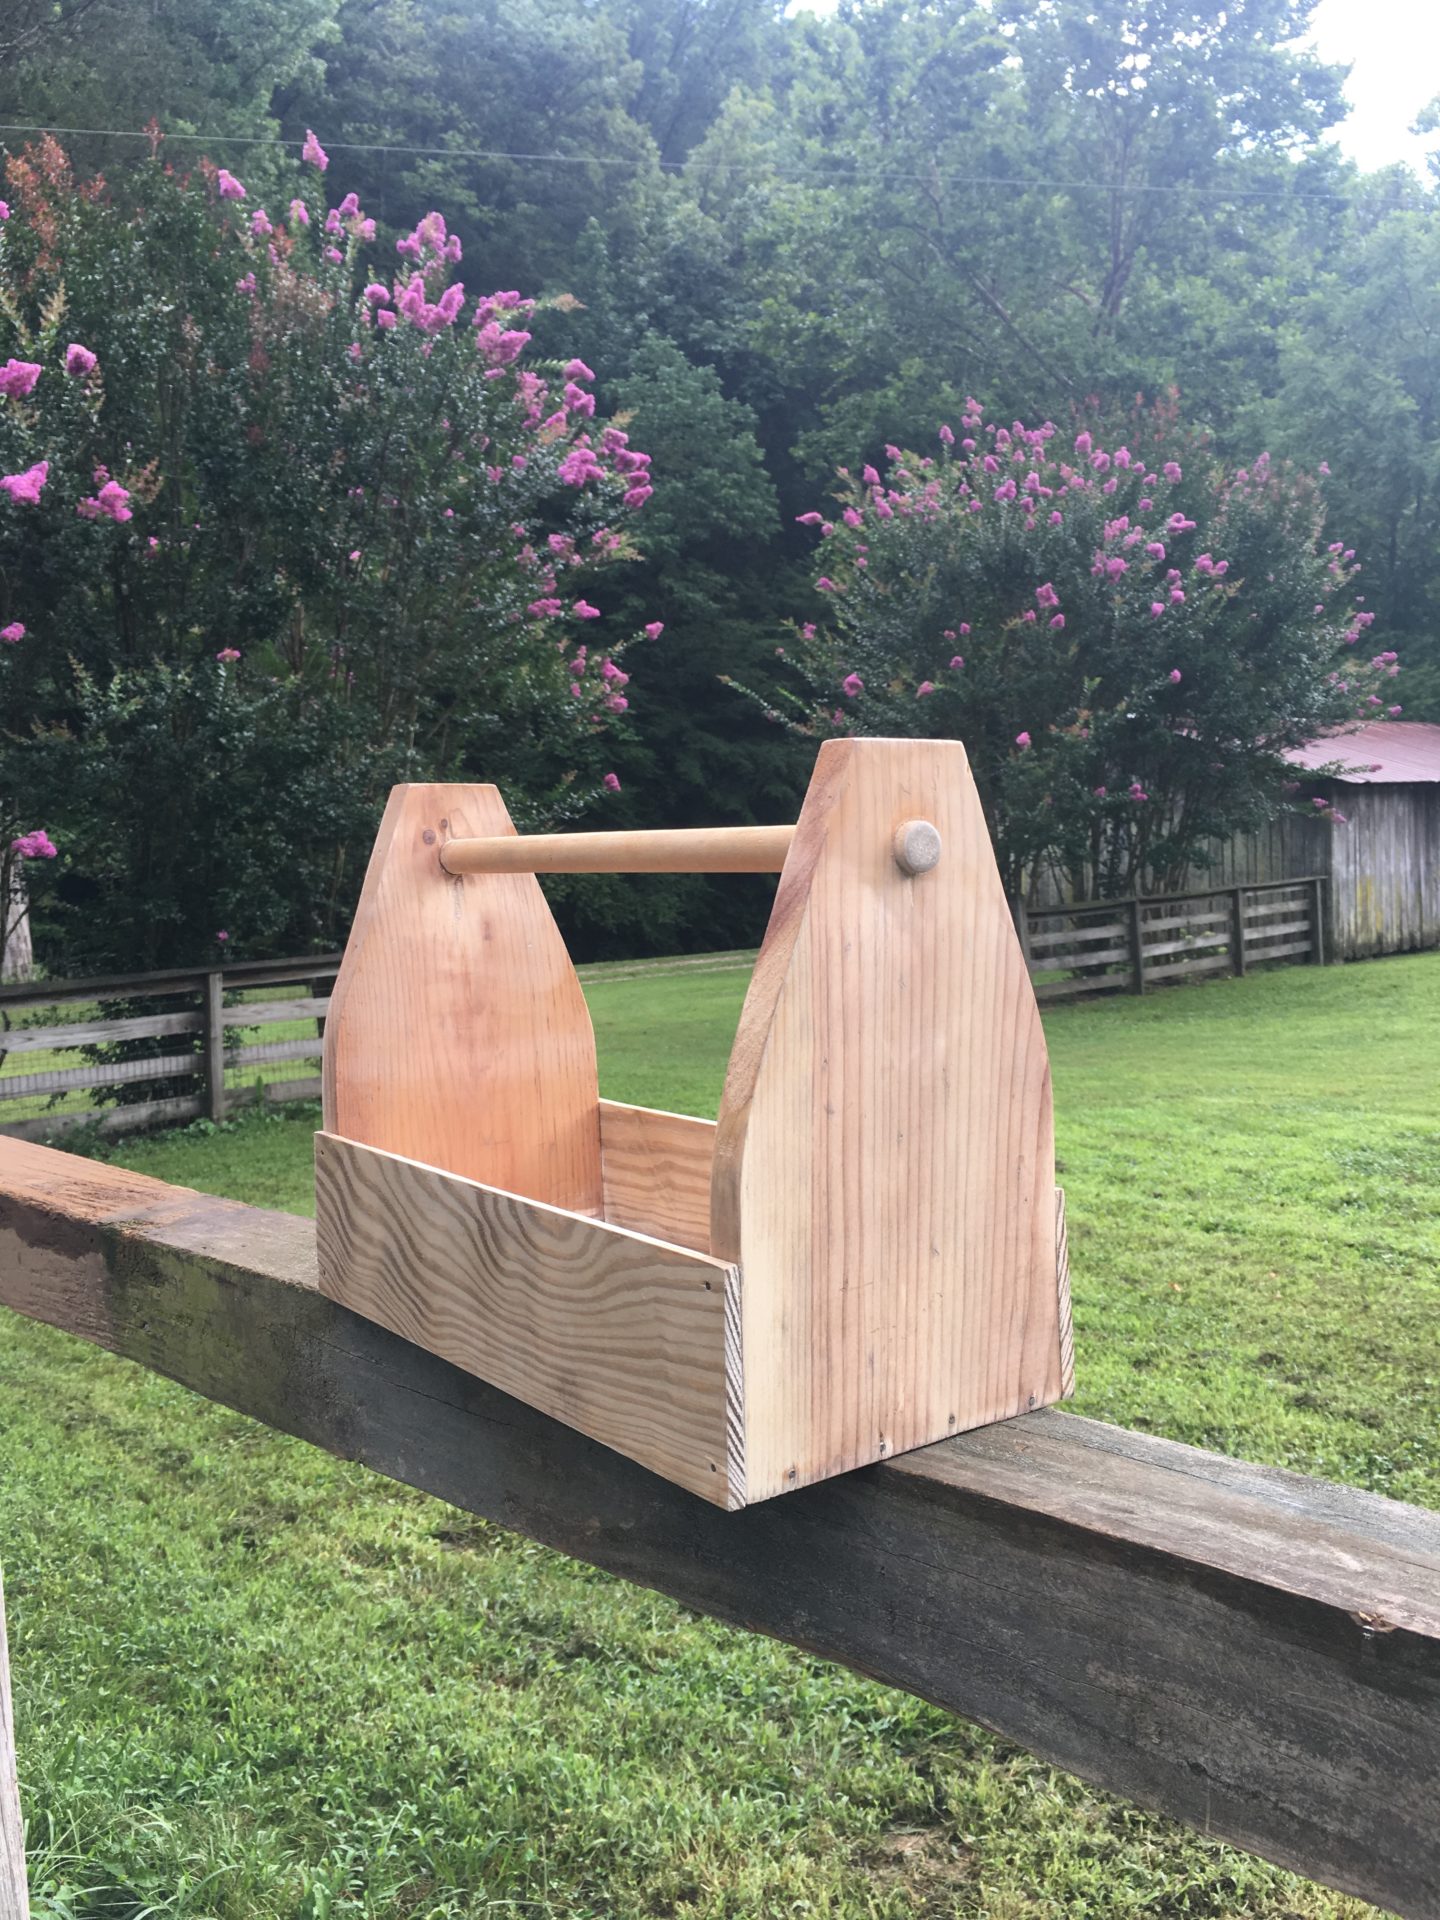
Several months back, I was at Goodwill and I typically go down each aisle because you just never know what you may find. This particular day in the toy section, I spotted a plain wooden box on the top shelf. So I curiously pulled it down and took a look inside. I found the cutest wooden tool box set of play tools that I knew our youngest would enjoy playing with. At $3 and some change, I scooped that baby up! I knew that I wanted to try to make a wooden tool caddy like the one my dad made one summer while visiting the hollow. Unfortunately, this mini project fell by the waist side and I almost forgot about it, until I saw my inspiration vintage tool caddy on an IG friend’s page.
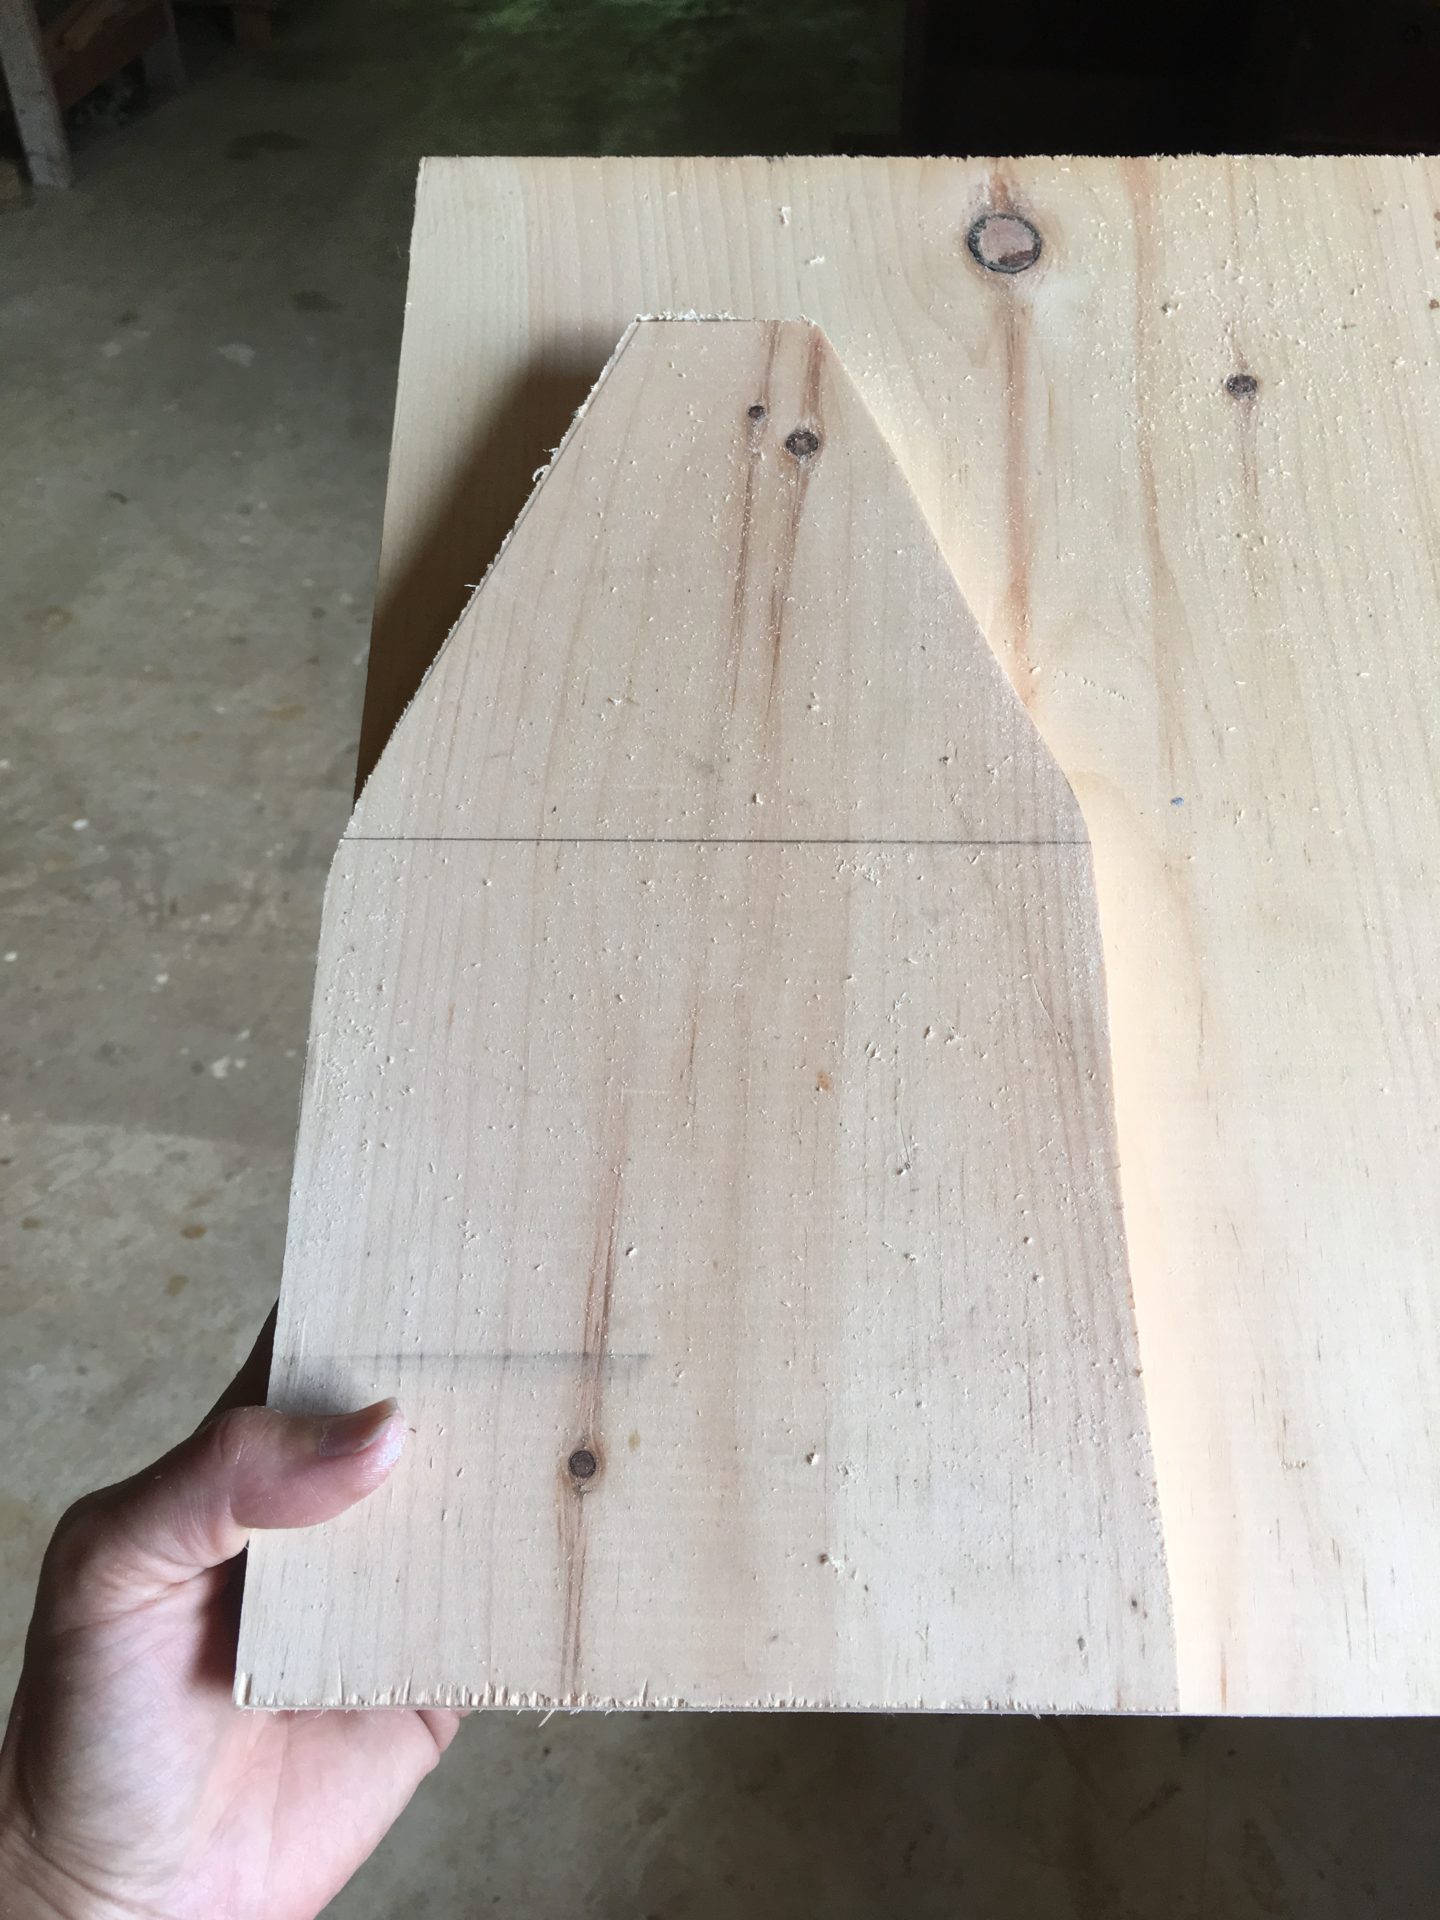
While the paint was drying on another project, I decided to give this one a go. All the materials for this DiY were found in my husband’s scrap wood pile in his workshop. I free-handed the template so I don’t have dimensions, but you can see that you can do just about any shape that you can imagine and make it as big or as little, as you would like.
SUPPLIES YOU WILL NEED
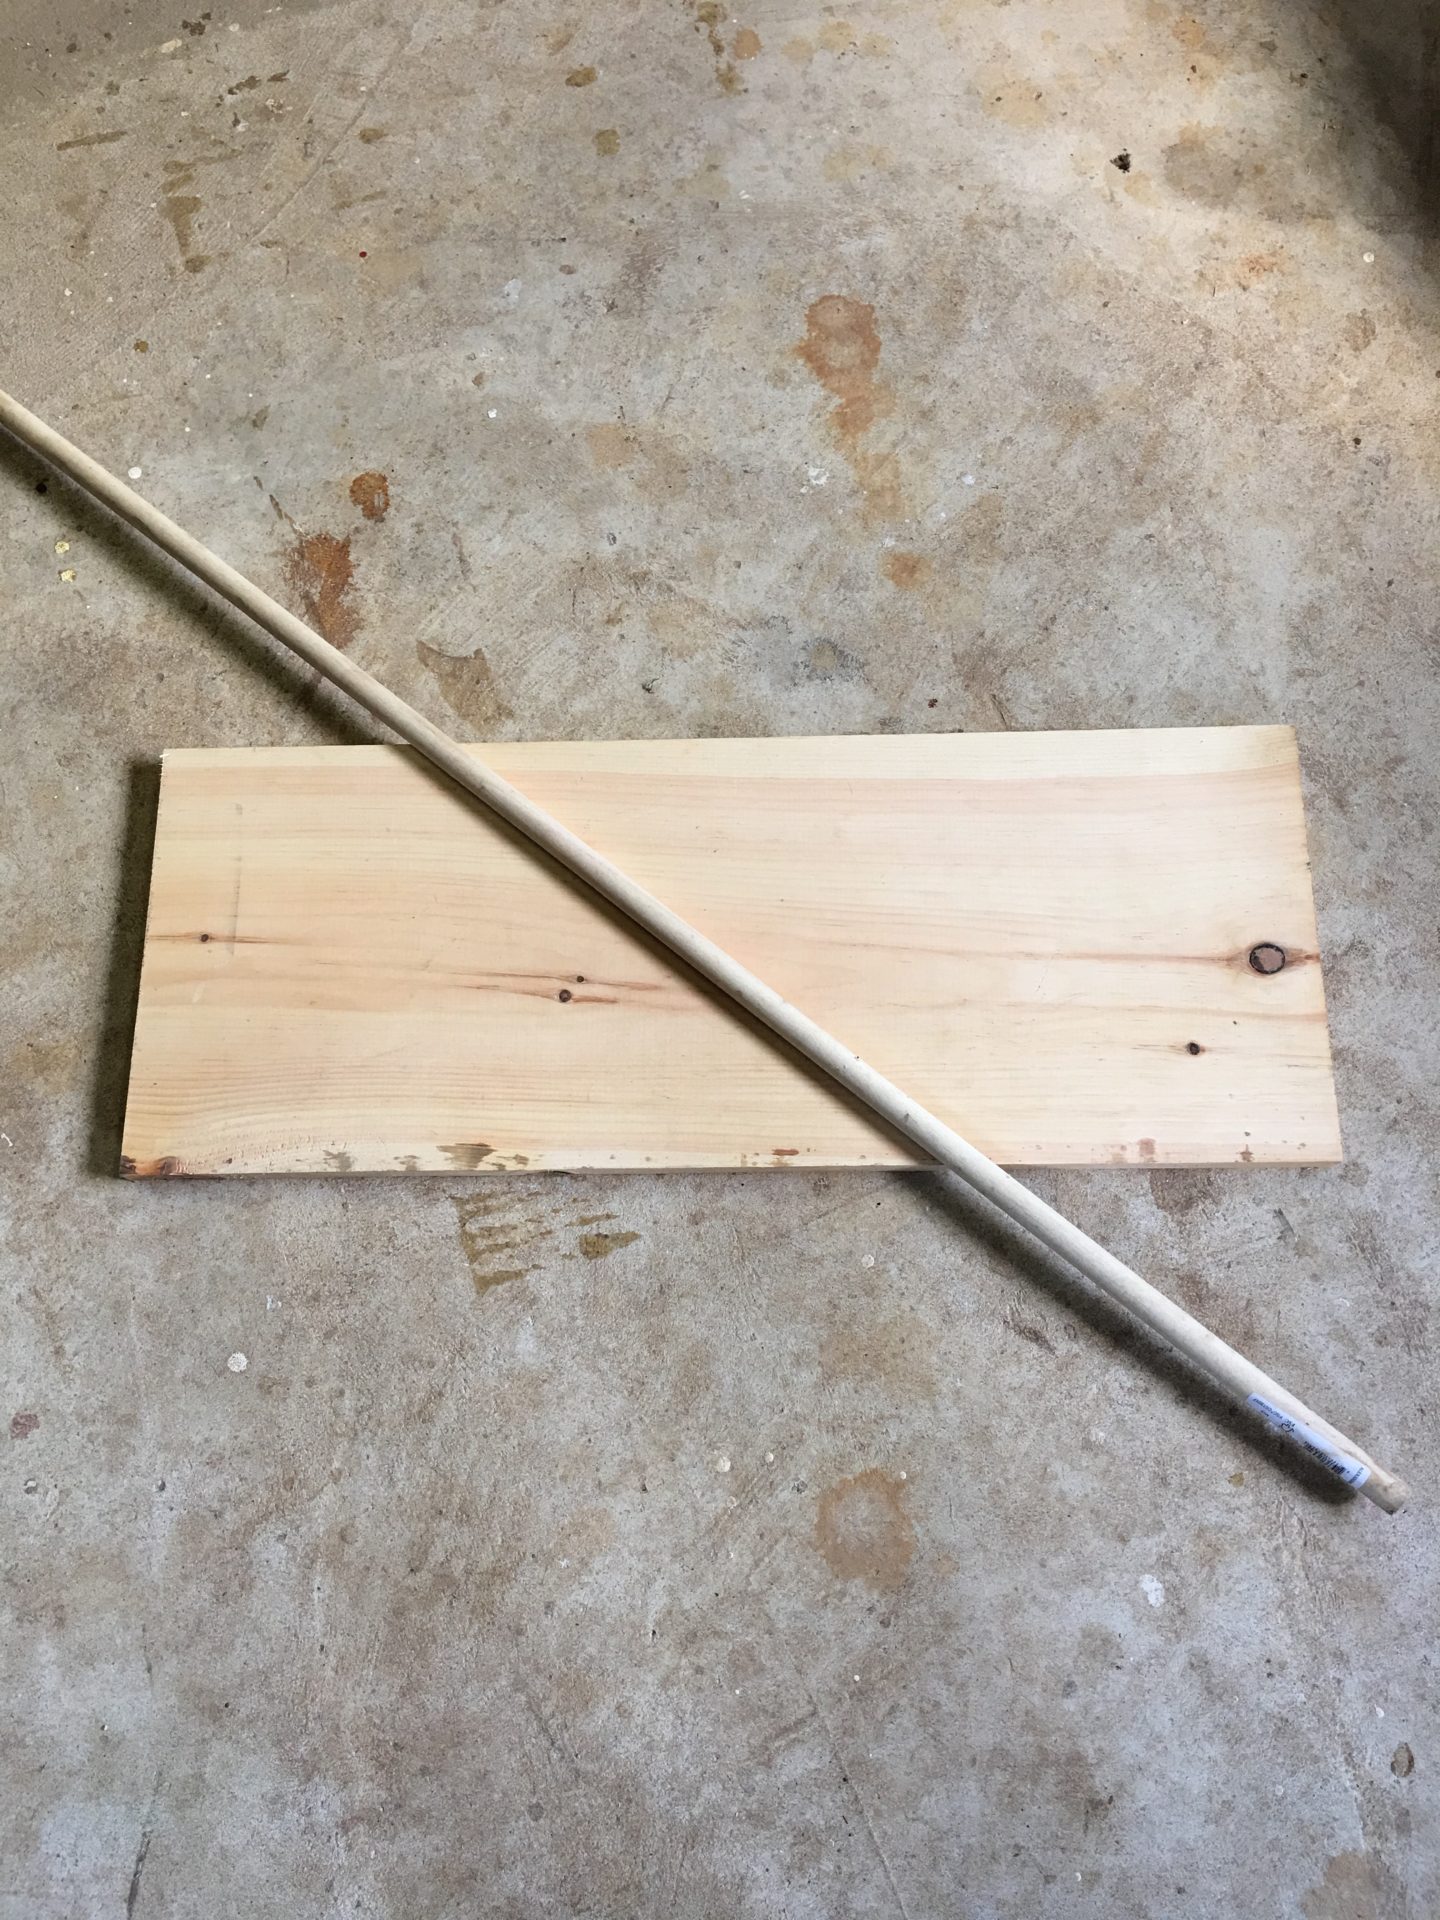
- 1- 5/8 or larger dowel
- 1- 1 x 6 or 1 x 8 (cut into two pieces to your desired dimensions)
- 1- 1 x 4 (cut into two for the bottom floor)
- 1- flat thin piece of wood (cut into two pieces that will be the walls)
- wood glue
- clamps
- forester bit (match size of dowel)
- finishing nails
- hammer
- table saw
- sander
- miter saw
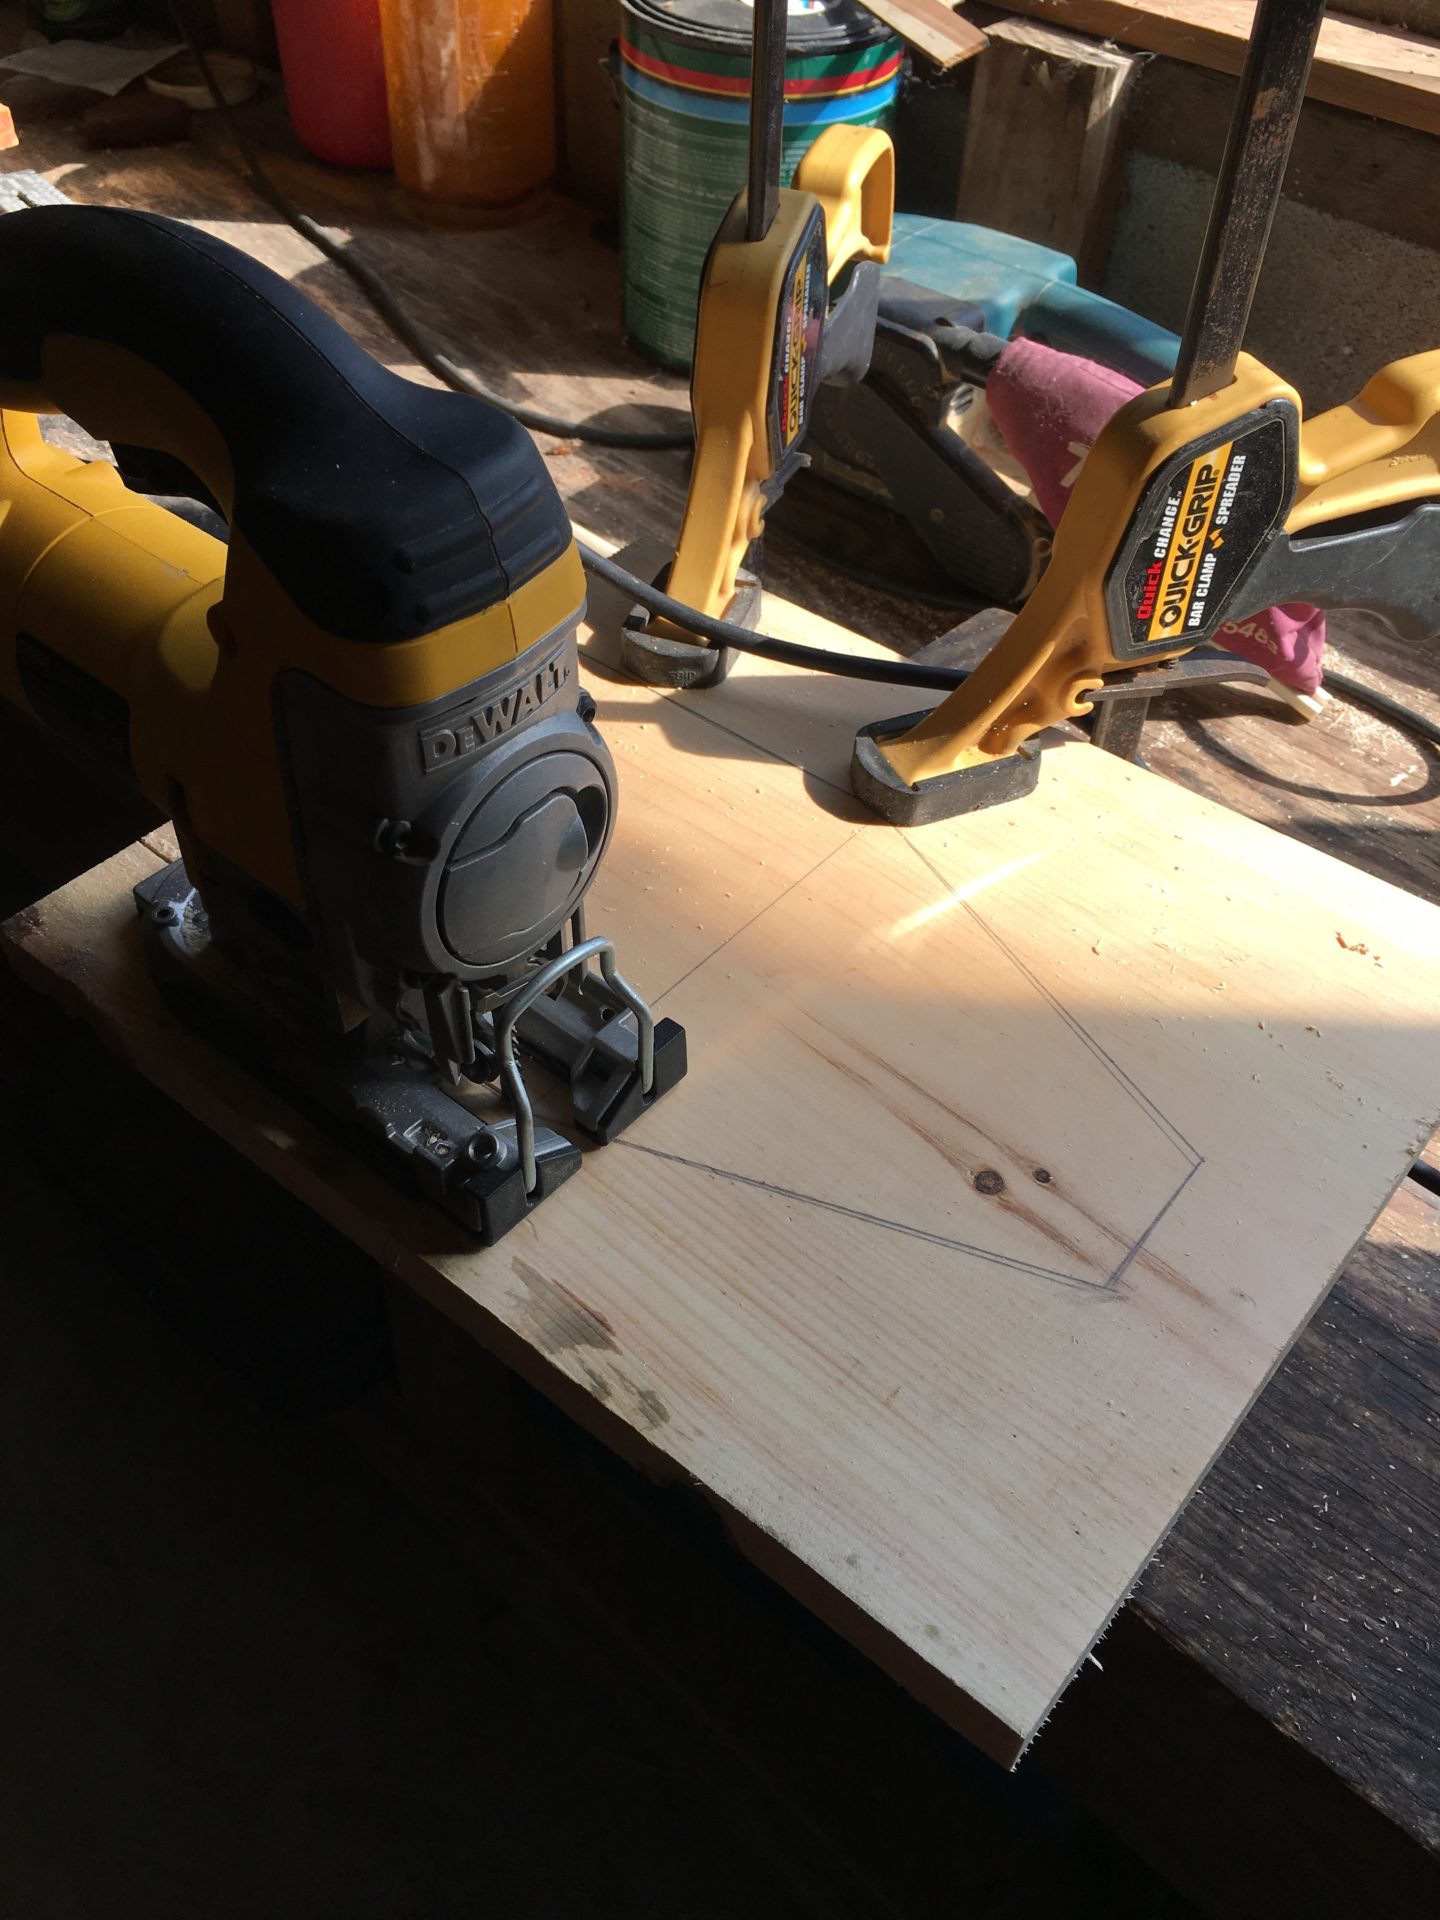
- jig saw
NOTE: You can probably make this simple tool caddy with specific pieces that need only minimal cutting if you are purchasing pieces from the big box stores. Just use the dimensions and width of the pieces that they already come in to determine how long and wide you want your caddy. Also, you can probably use a hand saw for the shape of the two side pieces if you make it straight lines. I had a little bit of a curve to mine and I was making it for little people hands. (smile)
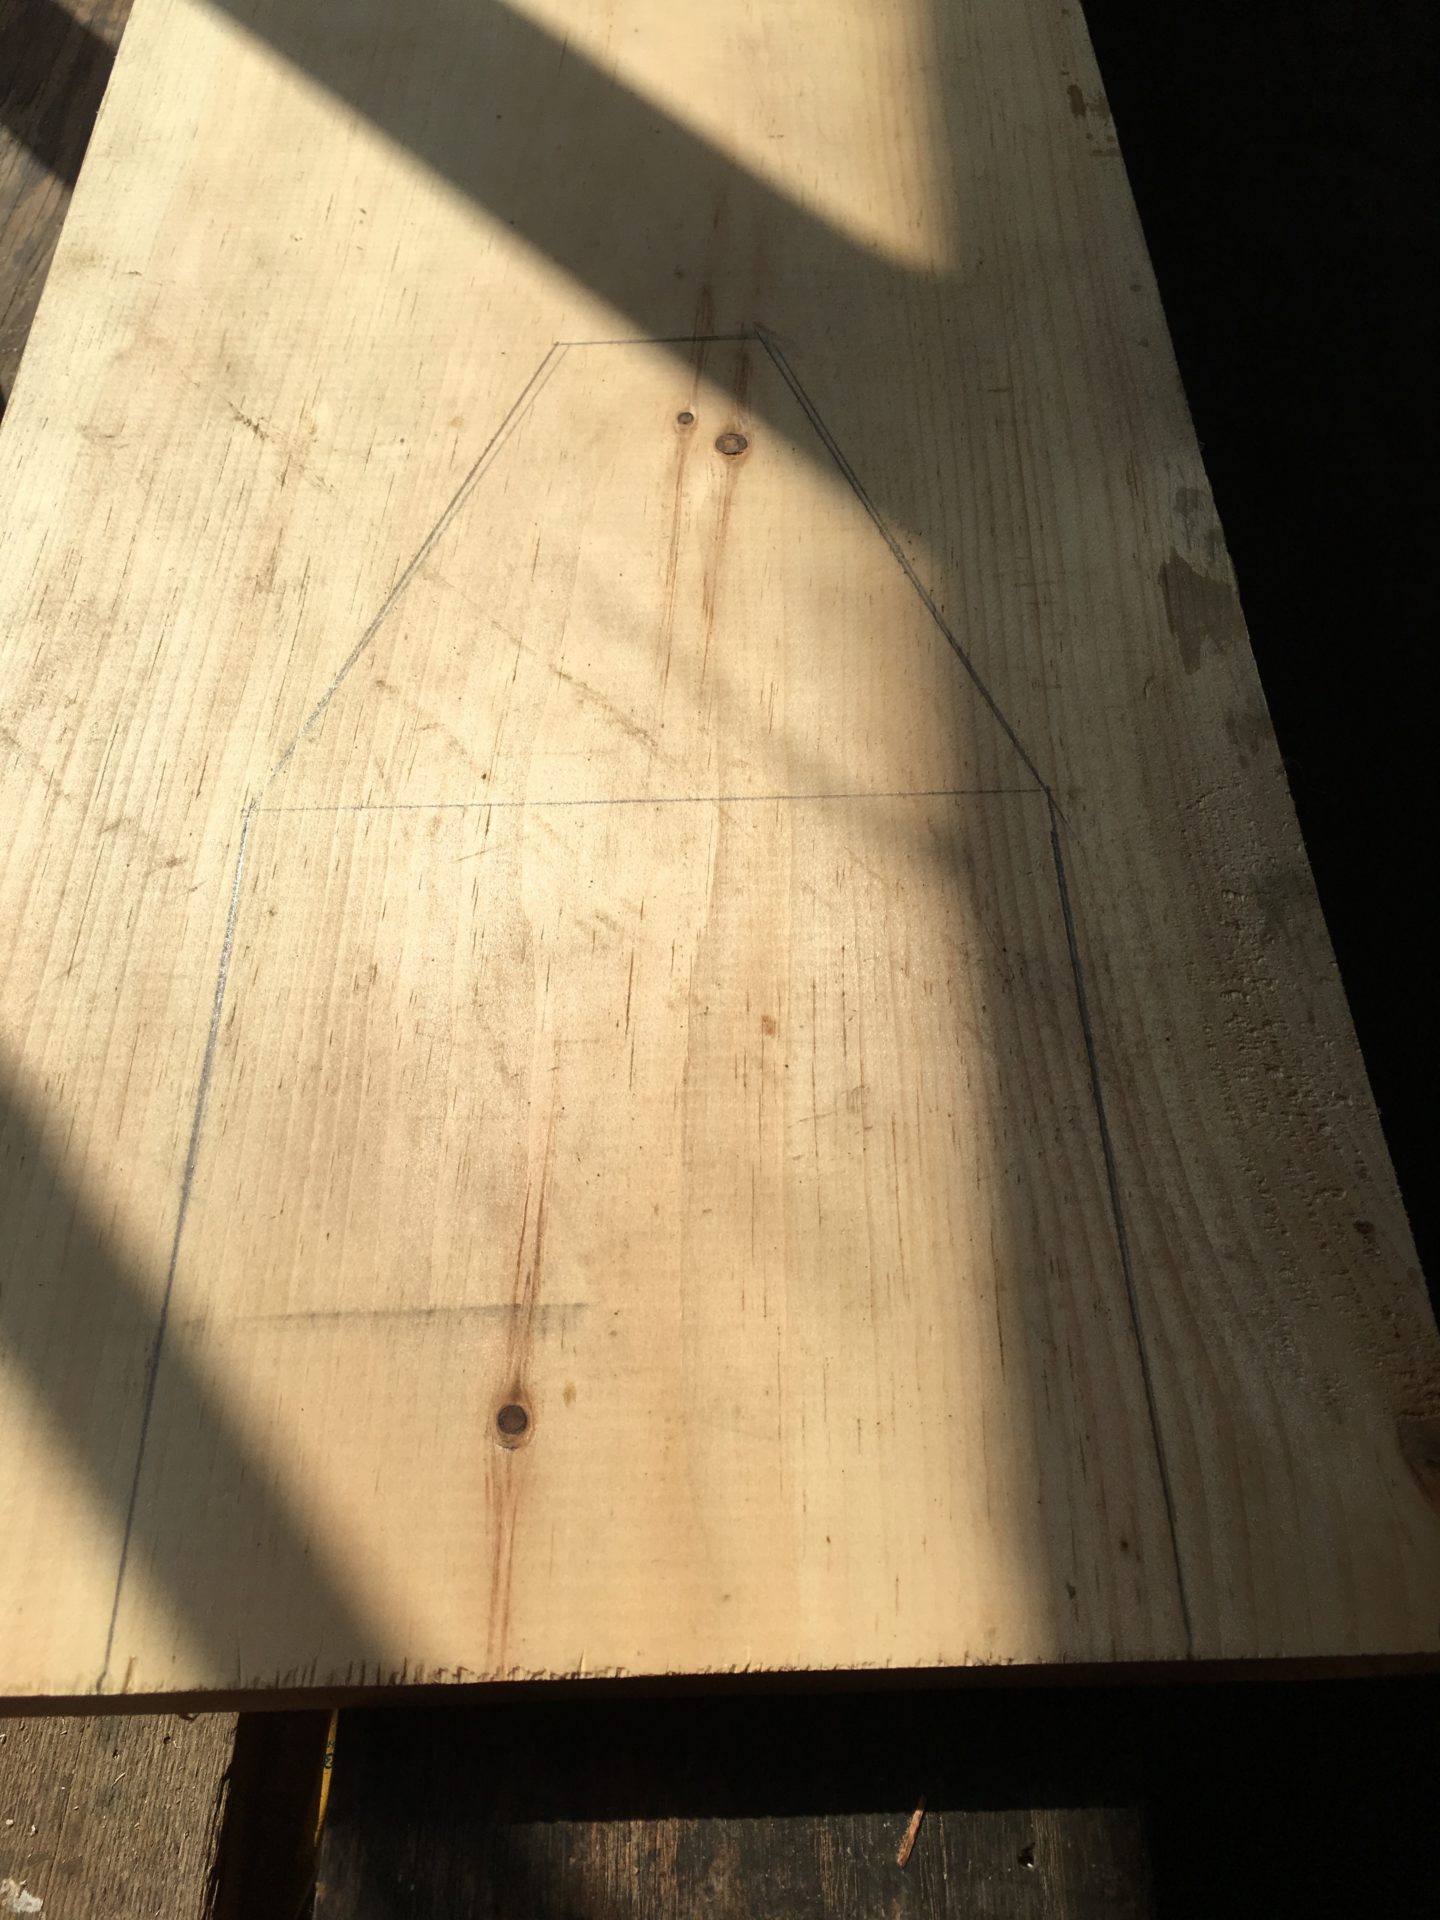
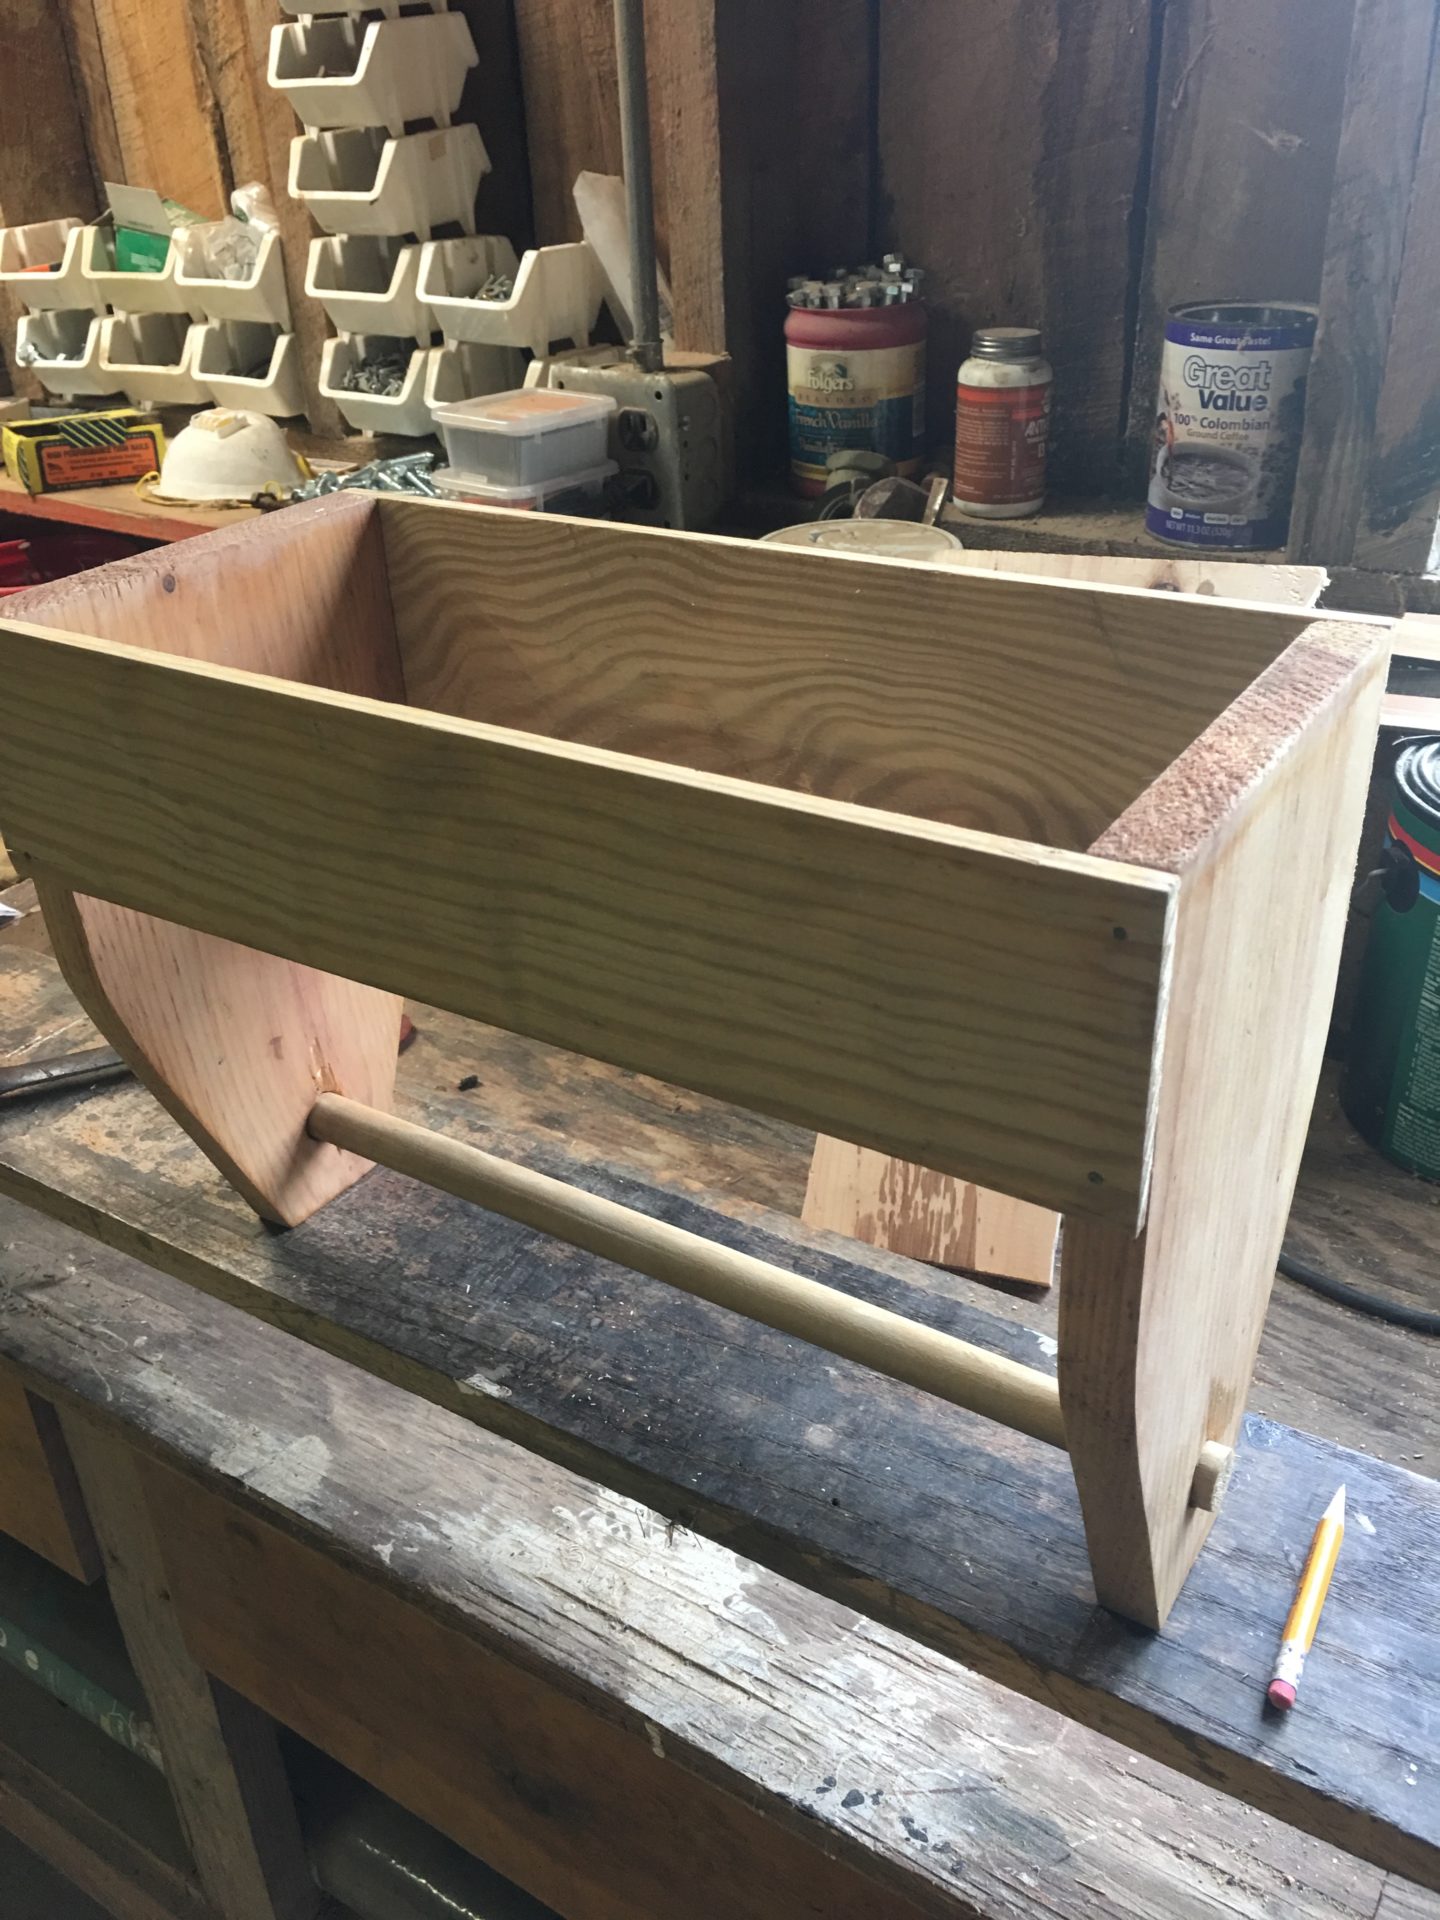
First, I decided on the shape of my tool caddy. Then I drew a rough template. I cut the two main sides first to determine how long and deep I wanted the piece. These main sides would give me the main shape of the piece. I needed to choose wood scraps that wood not make this piece too heavy because my daughter needed to be able to carry it around the farmhouse. (smile)
Next, I cut my two flat side pieces to length. Sorry I didn’t get a picture of this part. Again I didn’t want this to be a behemoth of a piece, so I adjusted the length a couple times before I found the length I thought would work best.
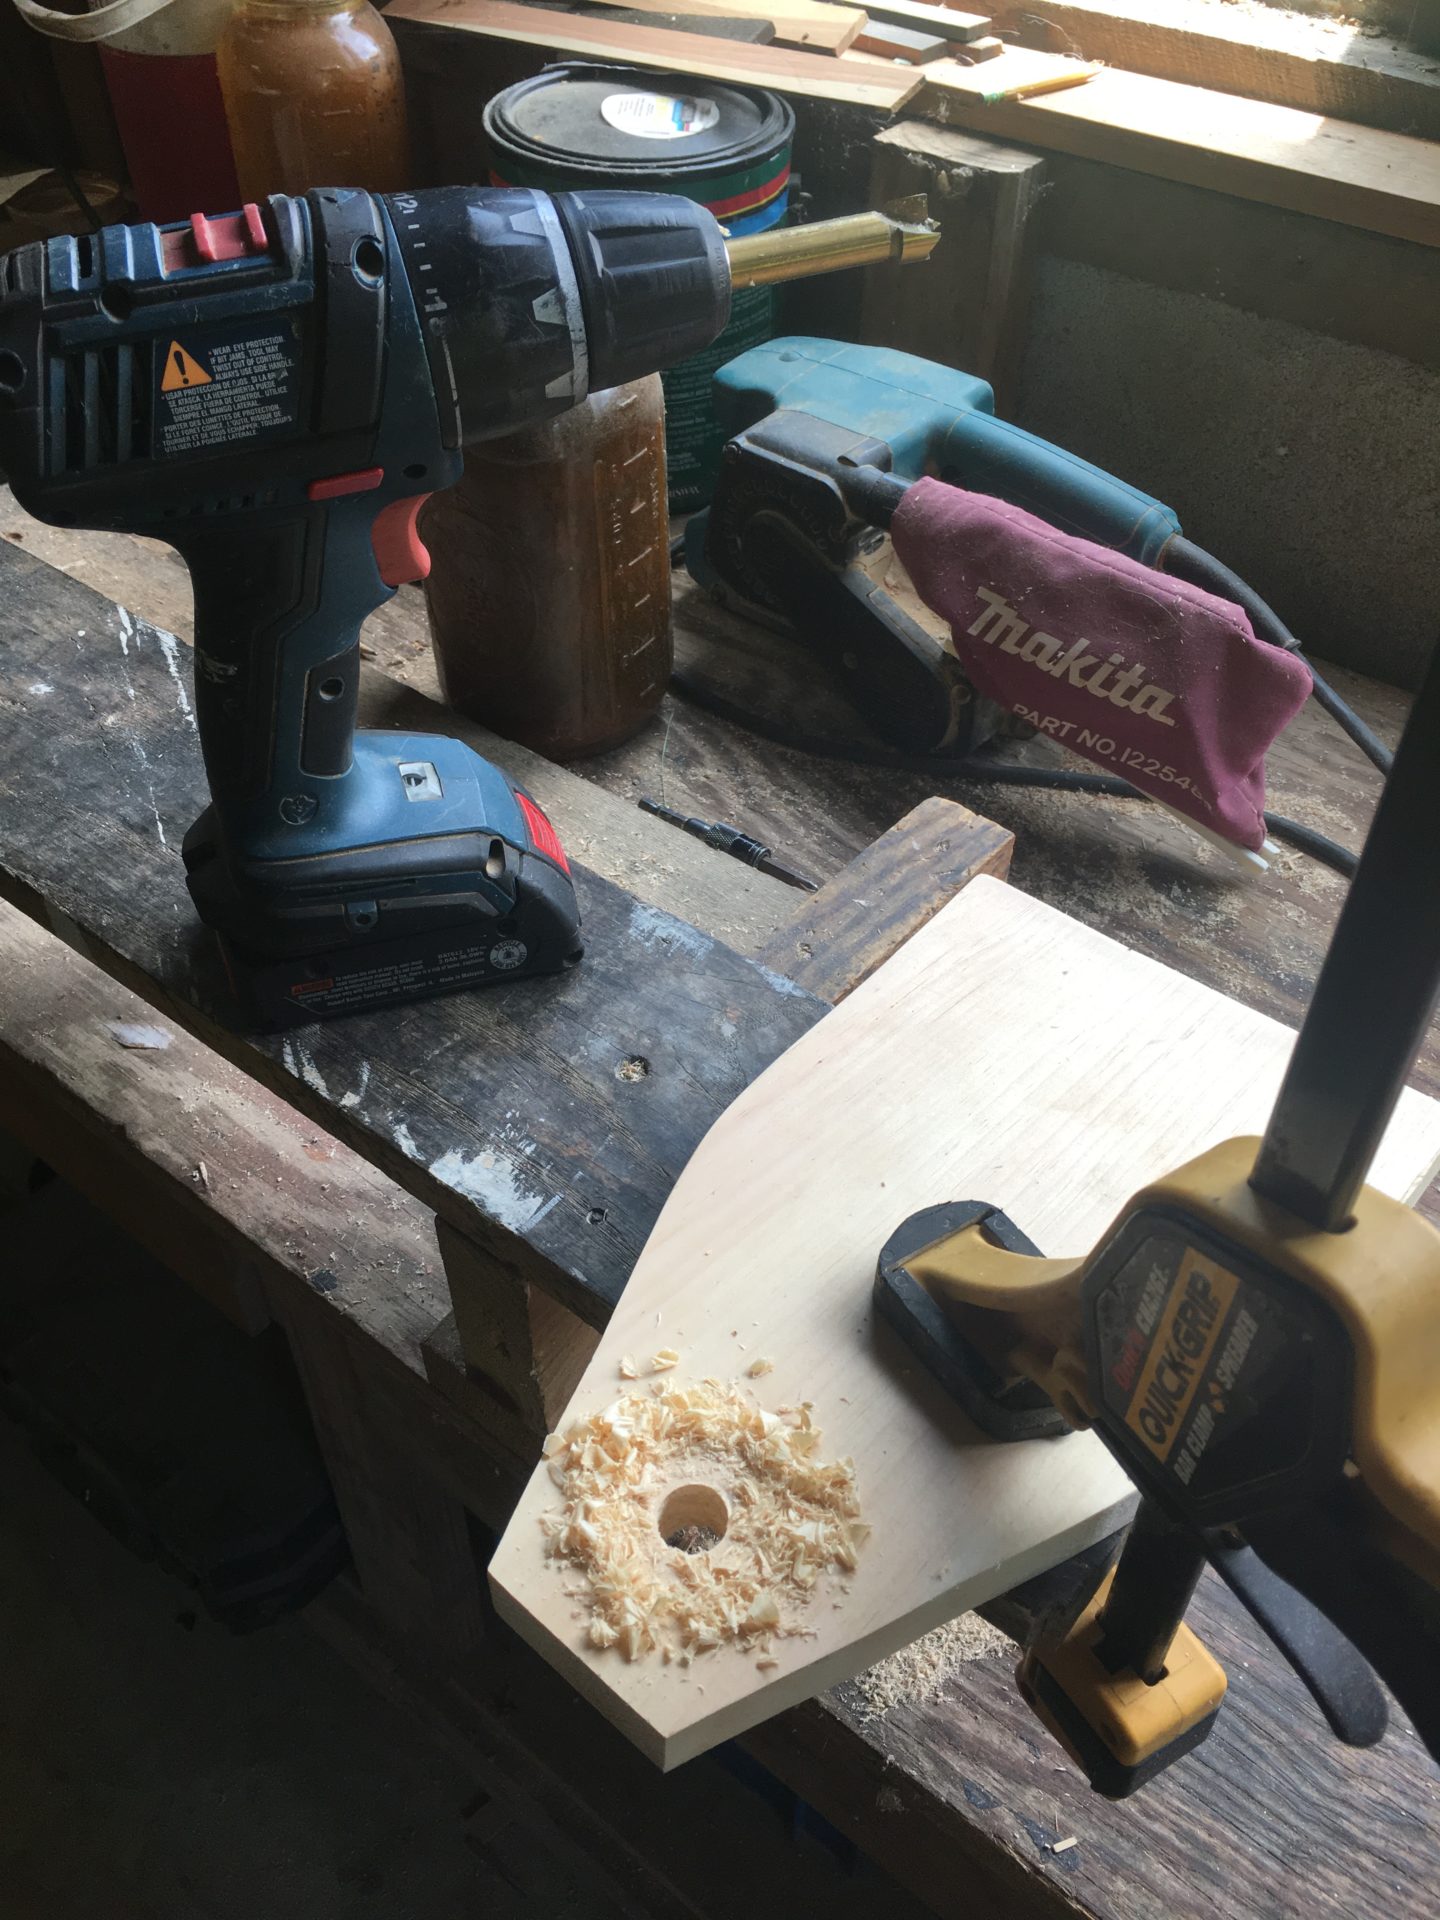
Once all the main pieces were cut, I took my husband’s Fortsner bit kit and chose the size I needed to drill the holes for the dowels. I measured the two main pieces and found the center of each and marked it, making sure they matched up with each separate piece to prevent my dowel handle from becoming crooked. Make sure to clamp the piece down to your work table to prevent slipping and do a test run on a separate scrap piece of wood because having to redo a hole is no fun. I am speaking from experience! Once the holes were made, I sanded all the pieces down.
PRACTICAL TIP
The first piece that I drilled a hole in had some splitting on the other side, so on the second piece, I drilled half way and turned the piece over and drill on the other side until the hole was made. It made for a cleaner hole on both sides.
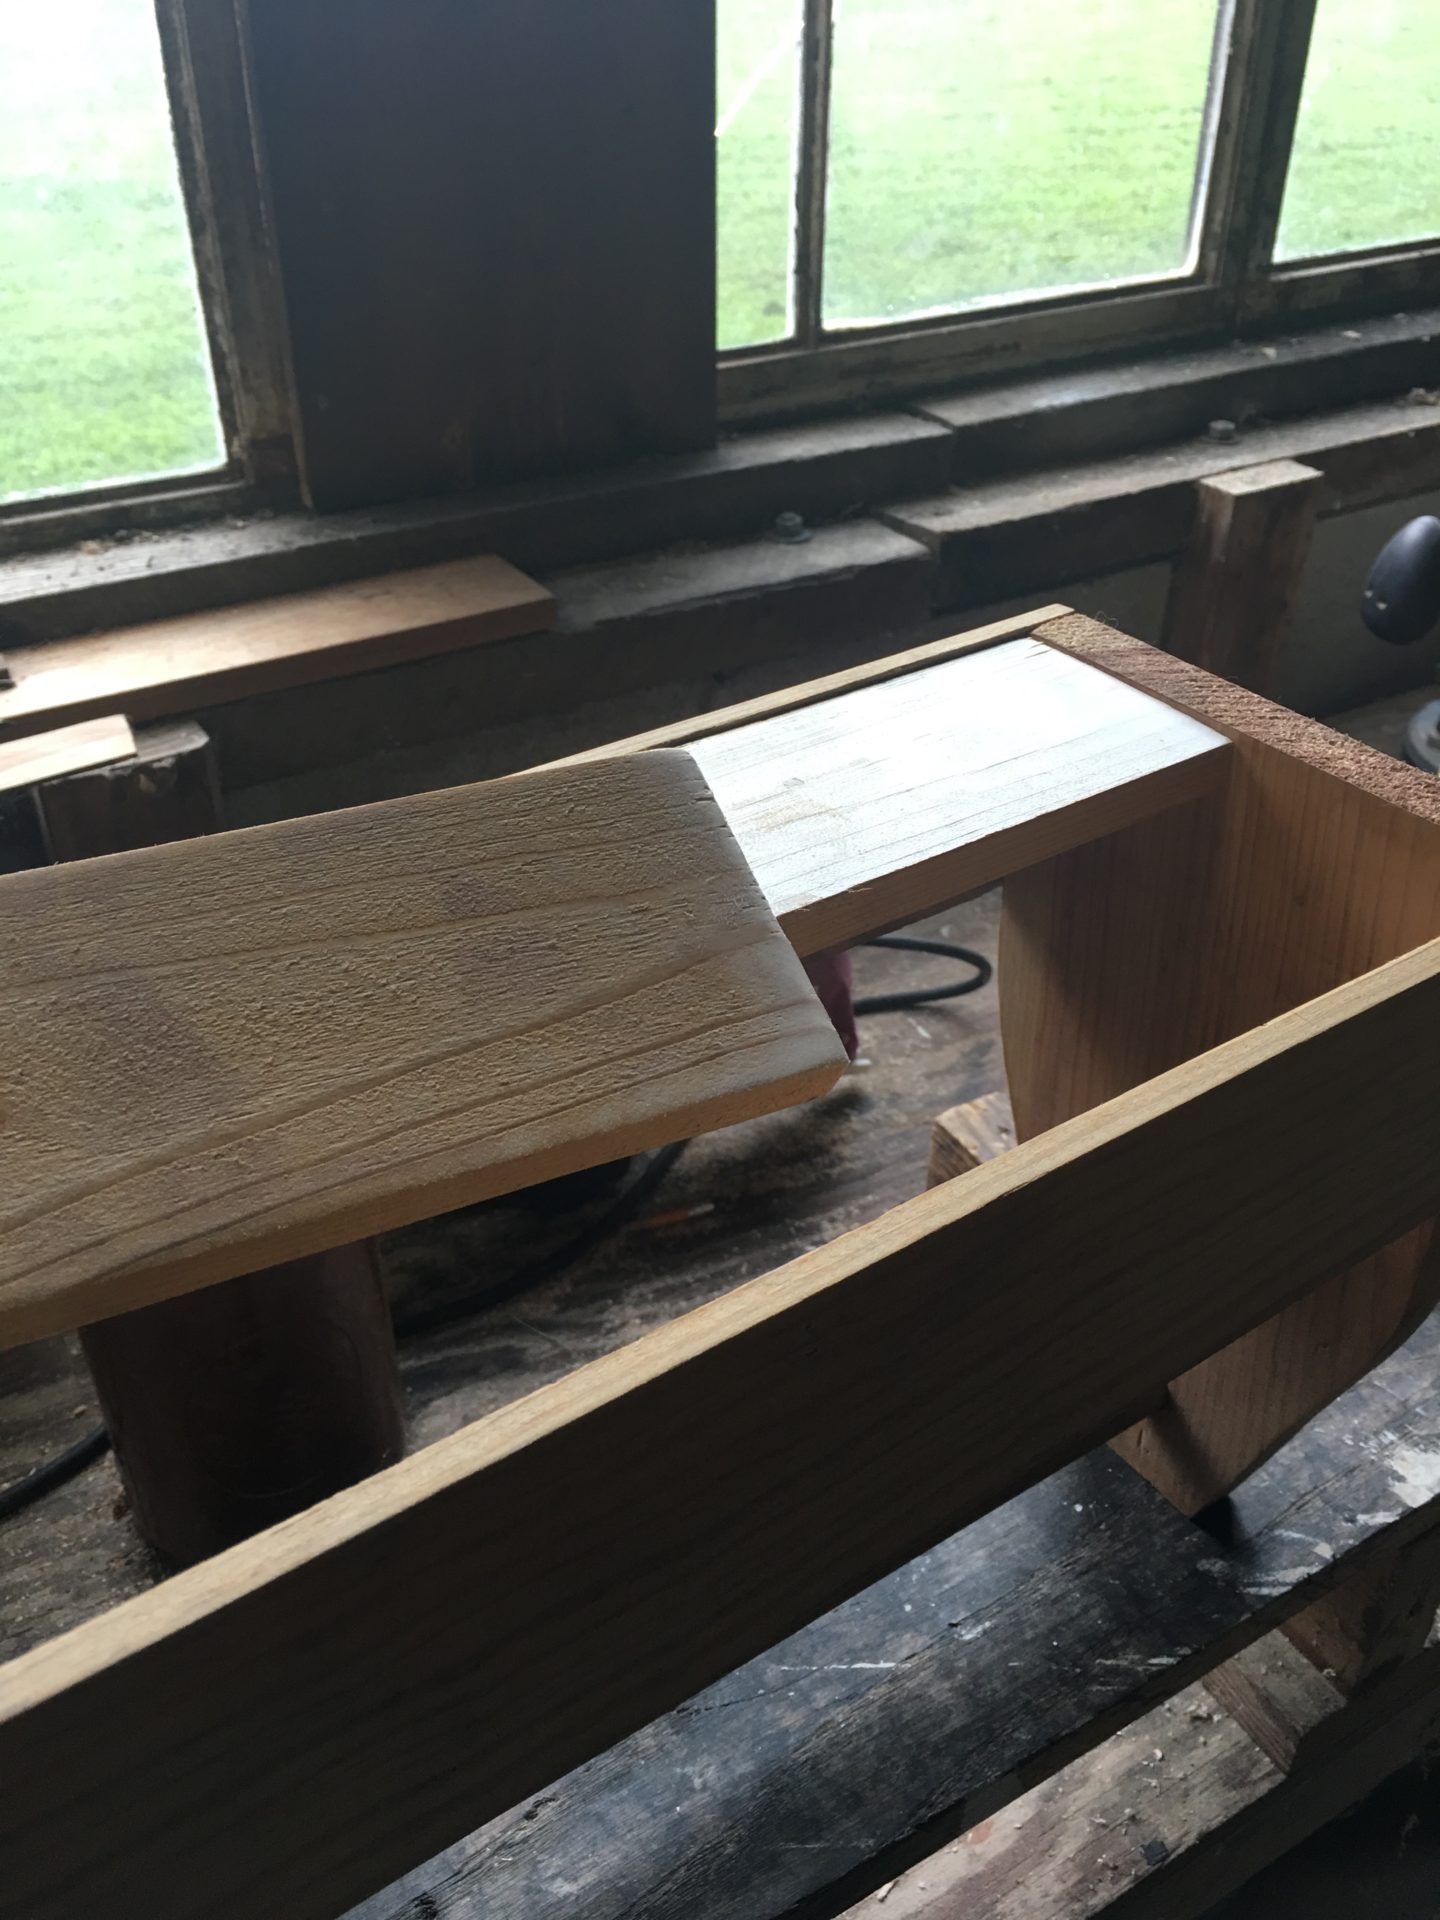
Next, I cut the floor of the caddy. I wanted these pieces to be inset to add some support and help keep the caddy strong for all her play tools she would put into it. (smile)
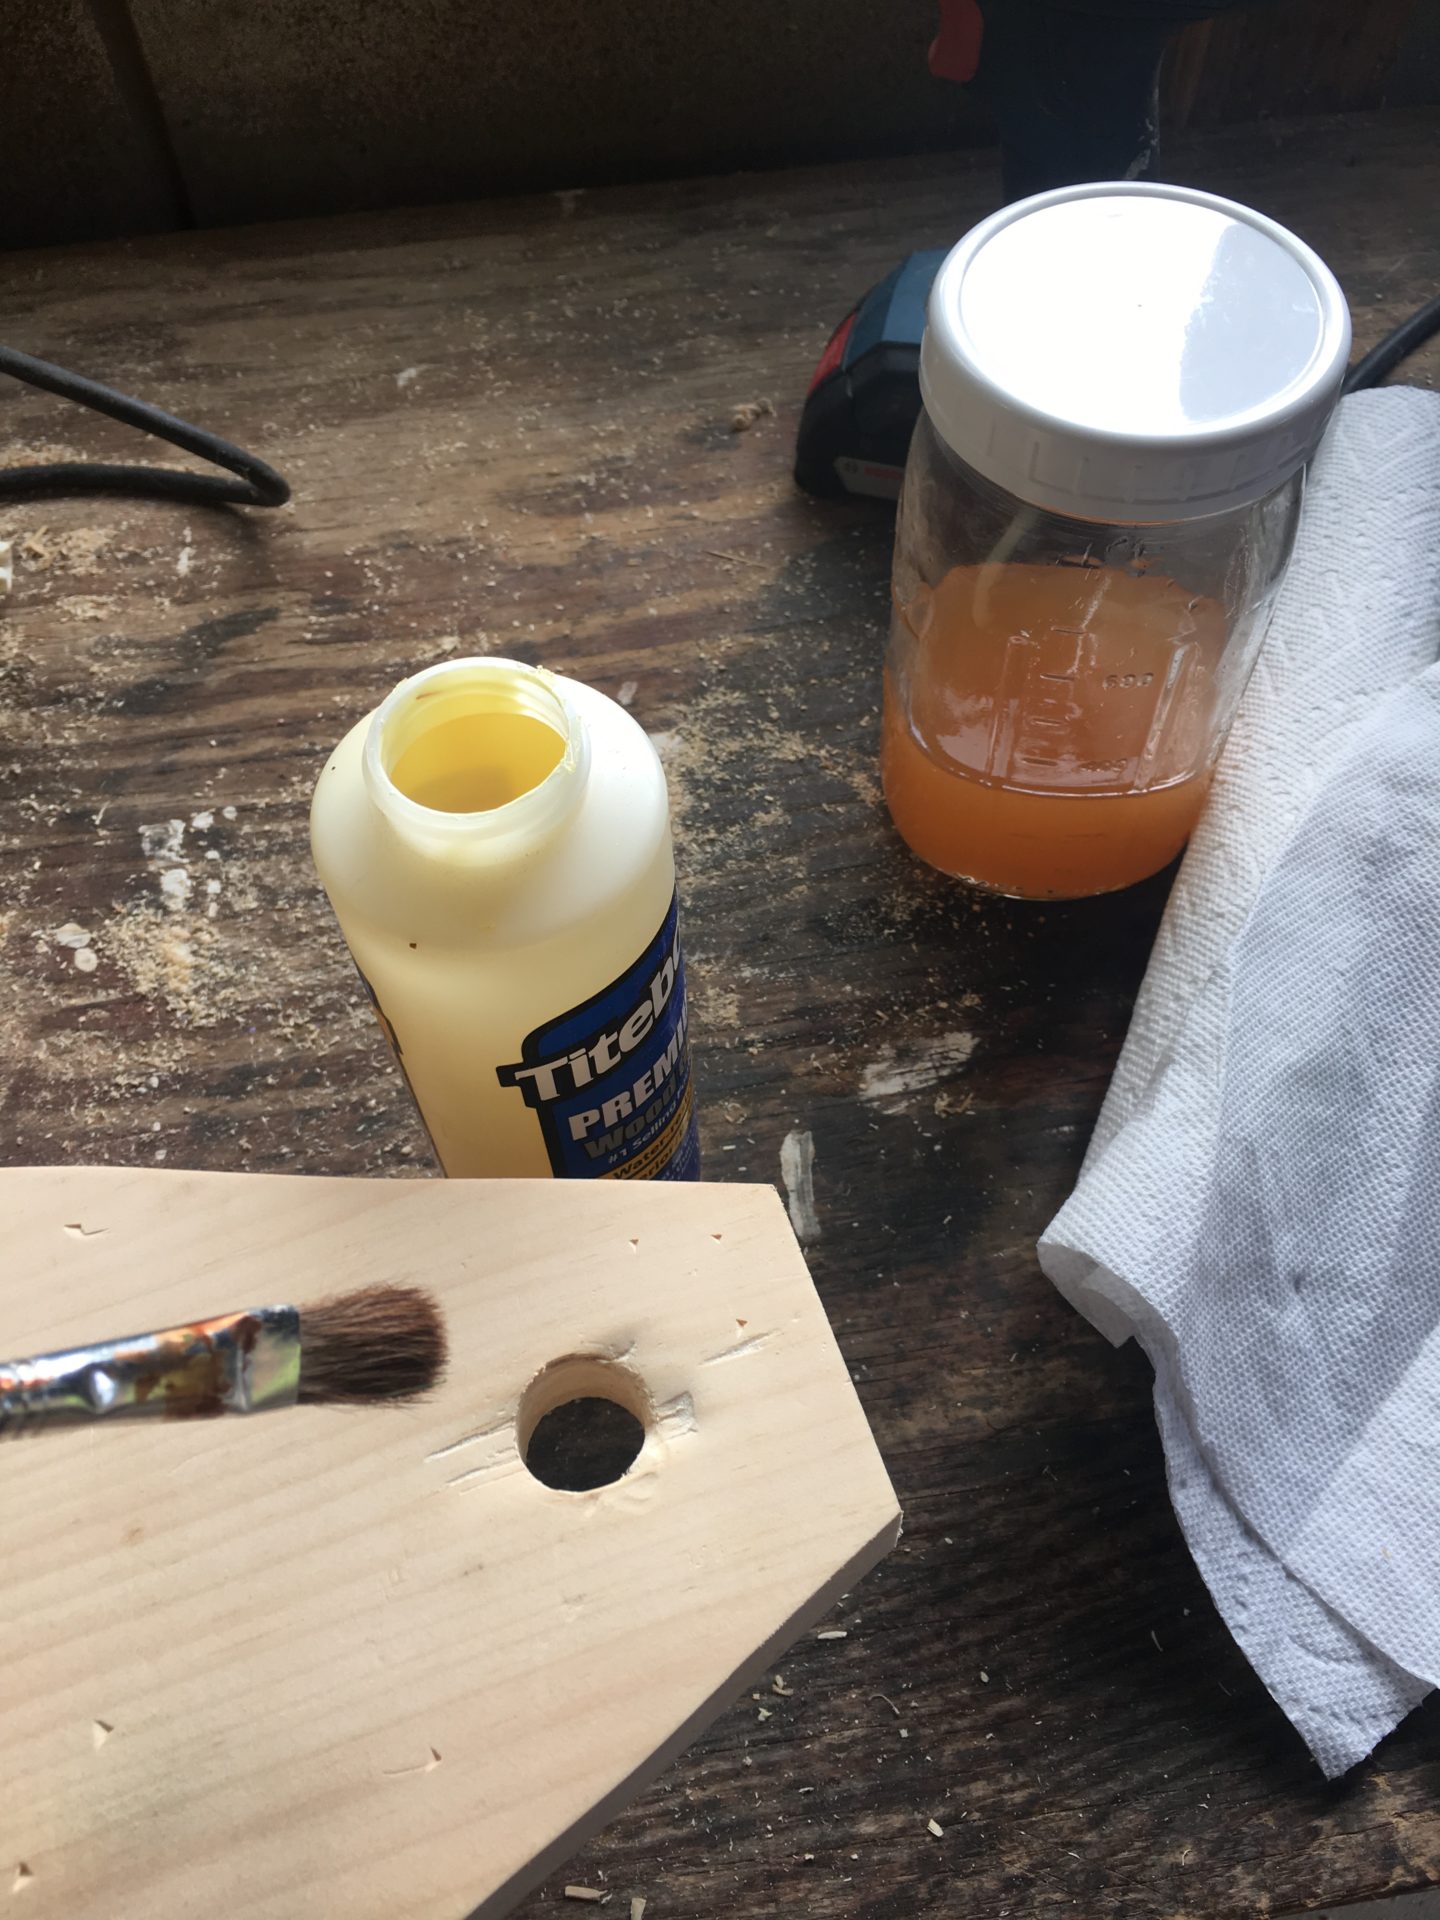
Next, I put some of my husband’s homemade steel wool and vinegar stain on all the pieces and let it dry. You never know how the wood will react to this stain, so it is kind of a fun surprise. I like it because it is fast drying and doesn’t have all the chemicals that other stains do and if done right, it will age your new wood and give it a nice patina.
PRACTICAL TIP
Then I took some wood glue and an old paint brush and put some glue on the inside of the holes. My dad recommended the paint brush technique to prevent the top of the glue bottle from sticking. It also prevents overspill and extra clean up, but just keep a wet paper towel if you do encounter some spillage.
Lastly, I took my finishing nails and hammer and started to nail on the side and bottom pieces, being careful to try not to split the thin pieces of wood. You can always pre-drill to prevent splitting or use a pneumatic nailer to make it even easier. Make sure the nails are not too close to the edge to prevent splitting as well.
From start to finish without any long breaks can easily be completed in less than an hr. When I walked into the farmhouse with it, the littles were all excited to “organize” their play tools in it. I love simple projects that have a purpose and are appreciated, don’t you?!
NOTE: Make sure to use your safety gear before operating your saws and sander. If you are not experienced in using these power tools, I would highly recommend getting someone who knows how to use them and ask them to give you a tutorial or supervisor the project. Safety first, my friends!


Leave a Reply