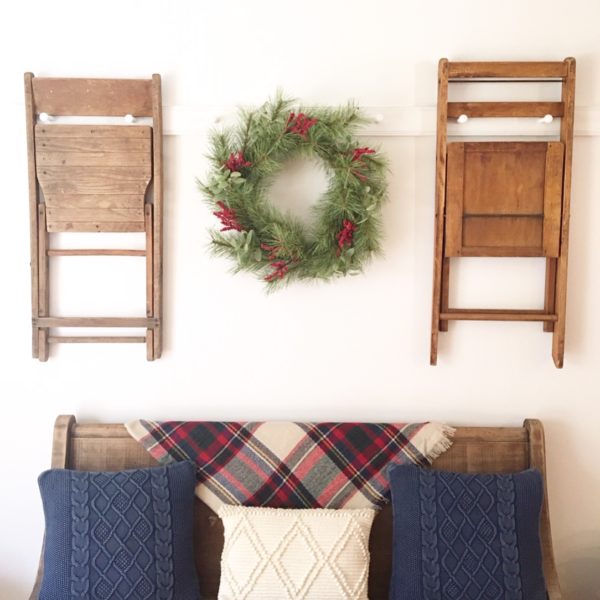
After several cold spells, we’ve enjoyed some Spring-like weather and after resetting our mudroom last week, we decided after much discussion, to move our furry canines to the workshop for their night time rest. They have more space to roam in at night and I have a new space to enjoy with the littles! It’s a win-win, for sure! We really needed an extra space for our homeschool lessons/crafts and after a lot of elbow grease and TLC, I am happy to report that we finally have it! Hooray! Here is a little sneak peak of one of the corners of the space that has been transformed.

Love how this turned out!
My mission this week was to take this mudroom reset to the next level and really utilize this space by working within a tiny budget and mainly shopping our farmhouse, which I LOVE to do! It not only saves us money, but it also helps keep the clutter down. That’s another win for the home team!

This space has been greatly improved with just purging, a little paint, and some inexpensive contact paper from the discount store similar to this Gray Floral contact paper at the Dollar Tree.

Typically when I tackle a project, I always start by simplifying the space, which means it is going to look a whole lot worse before it gets better. I start by purging and removing everything off of the shelves or out of the room to organize the space. I did this in phases and after each phase, I could see the transformation taking shape and almost got a bit giddy in delight for this farmhouse milestone. (smile) It is always great to start with a clean slate. I only bring back items that we will truly use and everything else either gets donated or thrown in the trash bin. Then I take some natural all-purpose cleaner and rags and I get cleaning from top to bottom! Every nook and cranny gets a wipe down and vacuumed out with the shop vac. If you’re interested, you can check out my simple tips on making the switch to more natural cleaning products here.

I relocated these garden, car washing, and farmhouse painting supplies into our furnace room area. Eventually I would like to build a narrow shelf to keep the clutter down in that space. This freed up a lot of shelf space in this corner. I honestly couldn’t believe how much space I had! (smile)

I found these inexpensive baskets at our local Dollar Tree store. I spent a total of $13 and change for these. They really give the space a polished look for not a lot of money.

I described this shelf in my IG instastories as “grody to the max!” Hahaha! No amount of scrubbing could remove that dirt from the previous owners. Here are some simple tips I found helpful with giving this shelf a reset. I used a paint + primer product because that is what I had on hand and when I painted, I used a small roller head for the meat of the piece and the angled paint brush for the cutting in area.
Quick Tip: When I cut in, I deliberately went over into the other parts of the shelf a little. This made installing the contact paper that much easier. I found that the paper didn’t have to be perfectly aligned and flush. It gave me a little fudge factor, which is alway welcomed in older homes. (wink) This works well for prints that have a lot of white in the background.

Quick Tip: I also found a very sharp carpenter’s knife or a pair of gardening scissors worked well for finishing off the edges. I used a plastic bubble removing tool as a straight edge and used my carpenter knife to cut the back line flush.
Caution: Always be extra careful when using sharp tools during your DiY projects. GracefullyHome.com posts are for informational purposes only and is not liable for any injuries or damage that may occur due to unforeseen circumstances. If you choose to try a technique or helpful tip shared here, you do so at your own risk. Read our full disclosure here.

Quick Tip: Then I used my very sharp gardening scissors that I purchased from FrogGoestoMarket.com. All I did was place the scissors at an angle and gently pushed against the edge to cut that extra overhang to prevent snagging during daily use. It did remove some of the paint in some spots, but the end result looked like a little vintage chipping, which “Hello”, I love chippy goodness! (smile)
This is an “interim fix” as we wait to finish our front room renovation project. You can see the front room tour here and the start of our front room renovation here. Check out my Instastory Highlights to see how far we have come on this original one room farmhouse living room. I can’t wait to cross it off our to-do list and start on the next project. Our homestead is full of future projects and A LOT of BIG ideas. (smile) So, make sure to keep following along. If you are interested in our natural health resources and tips, be sure to SUBSCRIBE to our monthly newsletter.

I’ll be sharing more details on how I filled these shelves to fit our homeschooling and DiY crafting needs next week. Can’t wait to share! Have a wonderful weekend and thanks again for following along. If you are on Pinterest, I recently made an upgrade on my page and added more boards that I have been dreaming about doing here in the hollow. I would be delighted if you go check it out and click follow! (wink)
**This post contains affiliate links. Please see full affiliate disclosure here.
Note: Purchasing through any of my blog links and/or side bar buttons, helps to keep this blog running. All reviews and opinions of any items shared on GracefullyHome.com are of my own opinion and are not swayed by sponsorship or collaborations. Please keep in mind that I only share products or services that my own family have found helpful and healthful with those who visit my blog. Thank you for your support and for continuing to follow along!
Until next time, remember to keep it simple!

Isaiah 26:3-4


Leave a Reply