Making homemade yogurt has never been easier. Learn how easy it is to make homemade yogurt at home with an Instant Pot (IP).
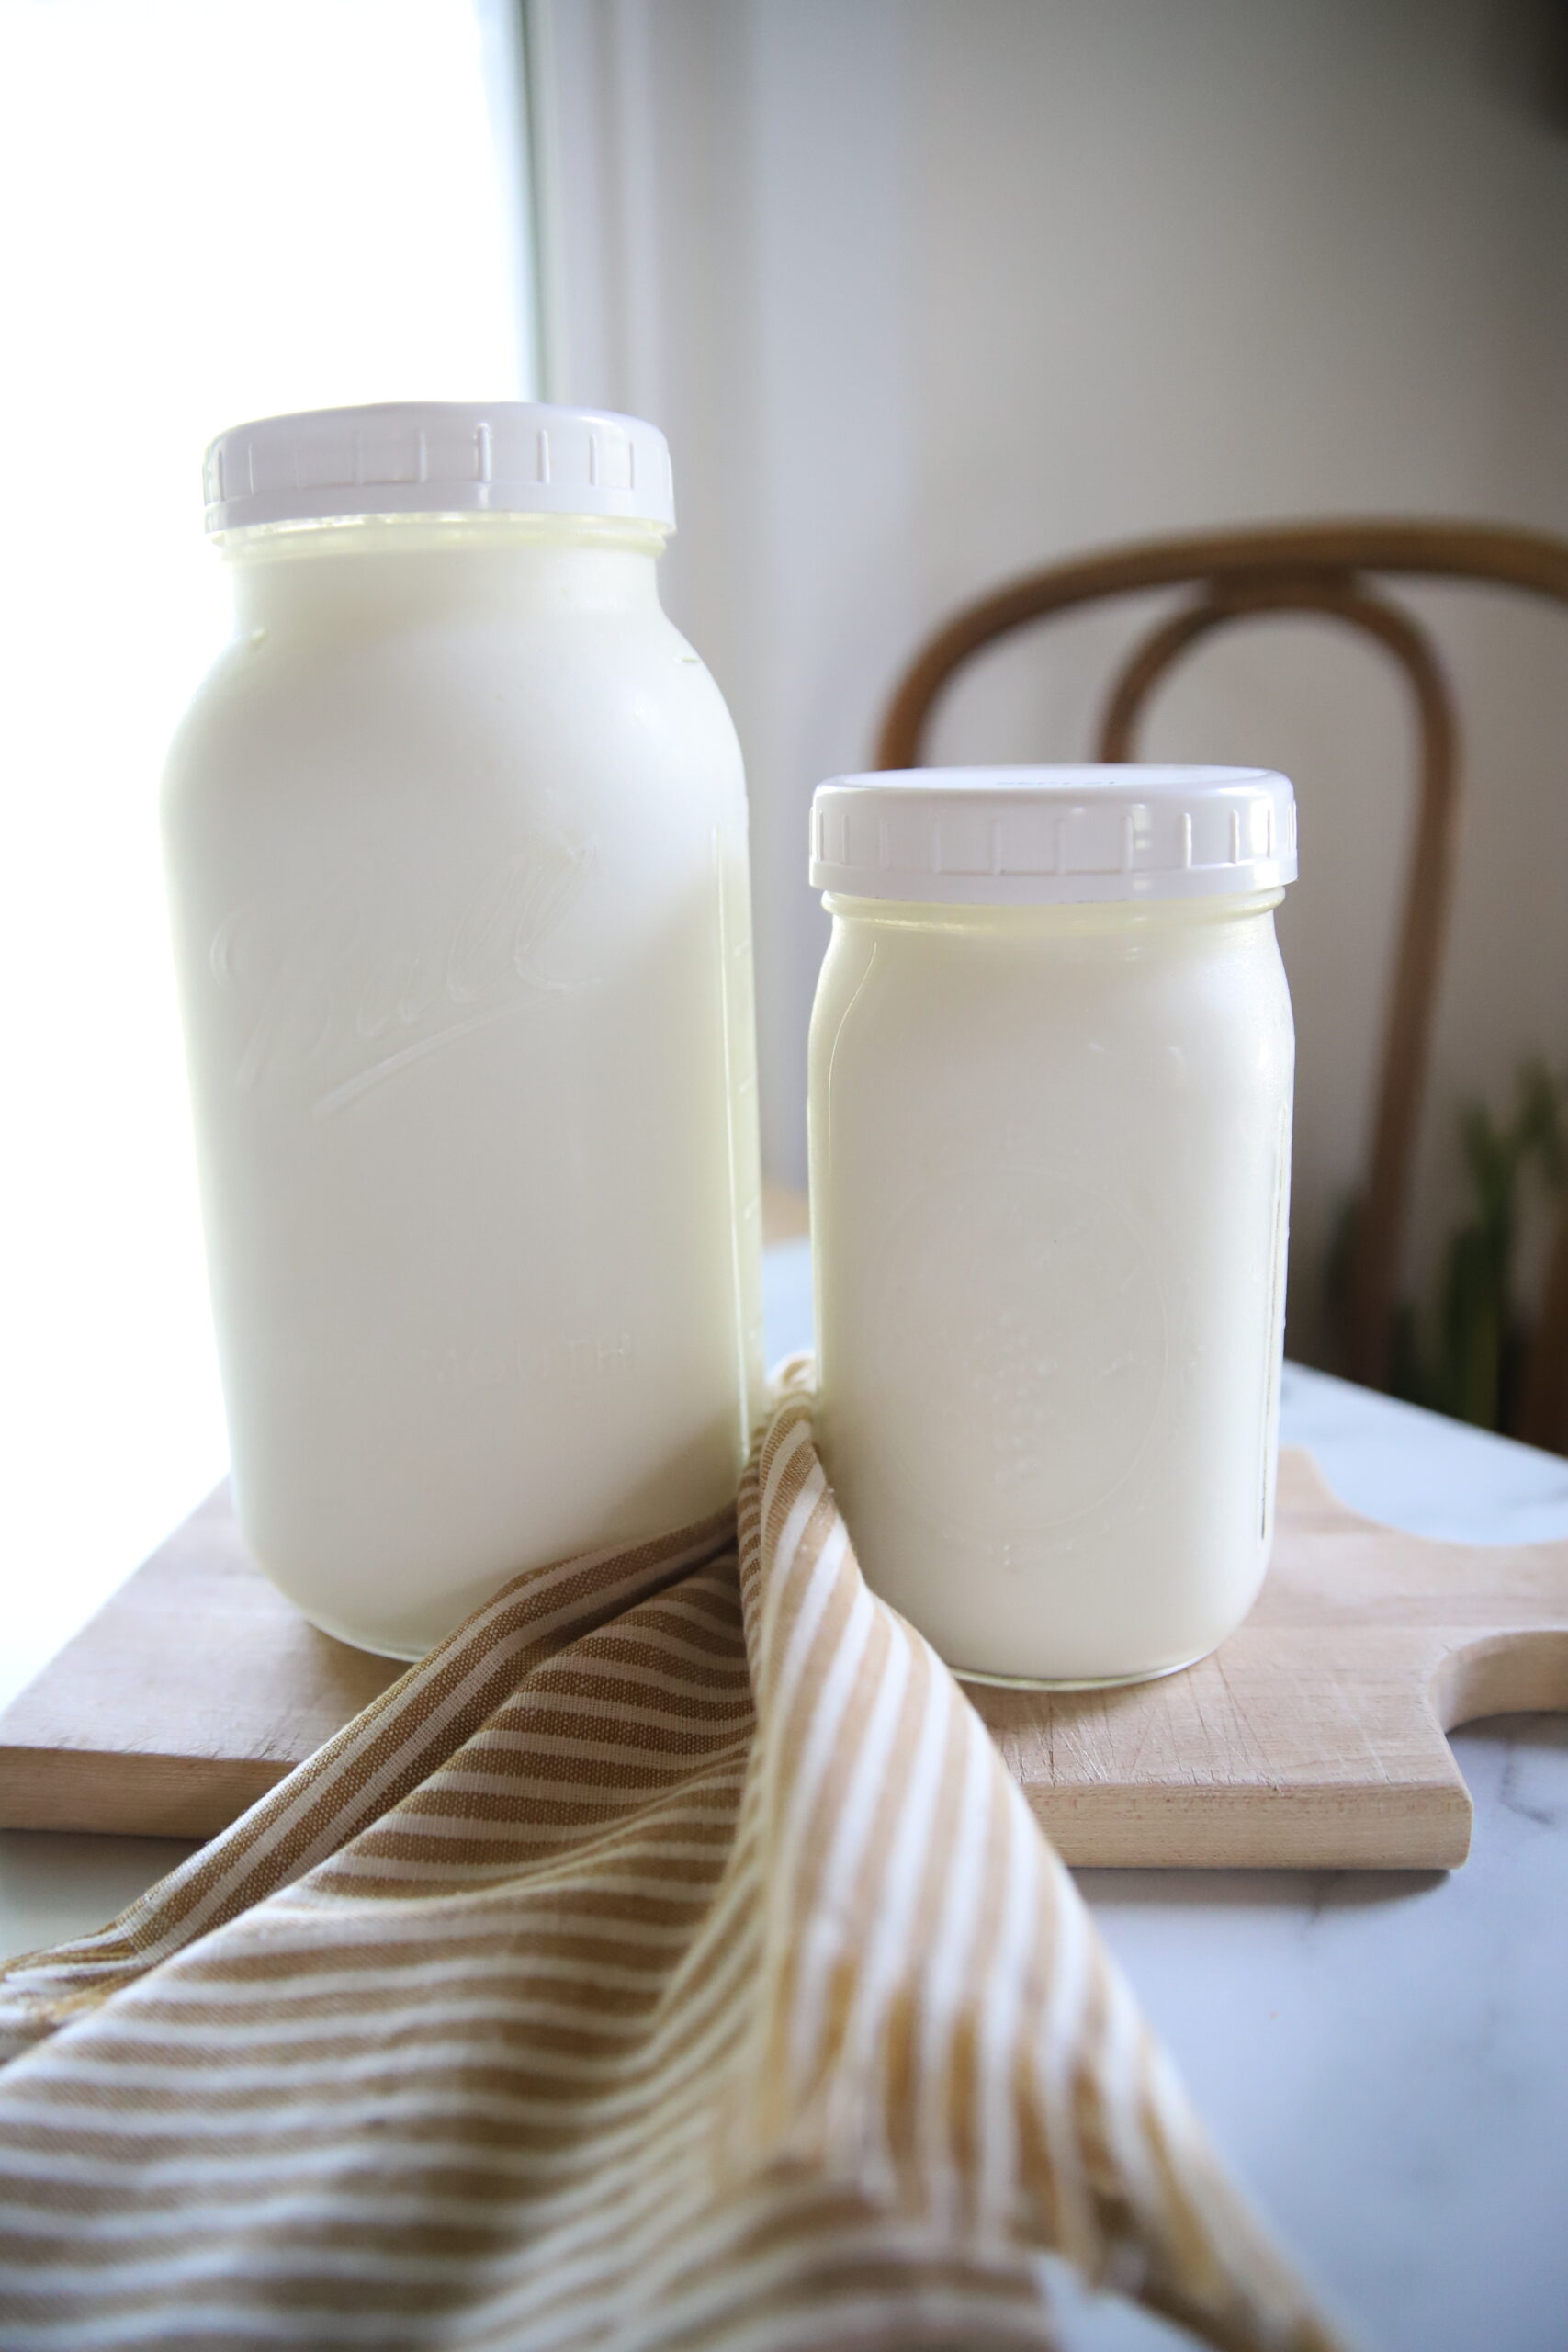
THE CHALLENGE
I have been making homemade yogurt off and on for at least a decade, now. Unfortunately, it hasn’t always gone smoothly. The end product has never quite reached the place that I knew homemade yogurt could reach.
I have tried several different homemade yogurt making techniques, but they always fell flat. Most, still consumable. While others, not so much.
Some of the methods I have tried with mediocre success, were the crockpot and towel method and the cooler with hot water method. Neither one produced the creamy and delicious homemade yogurt that my Instant Pot delivers!
The KEY to making homemade yogurt is maintaining a consistent temperature of about 110-115 degrees. Which neither of those previous methods, could do.
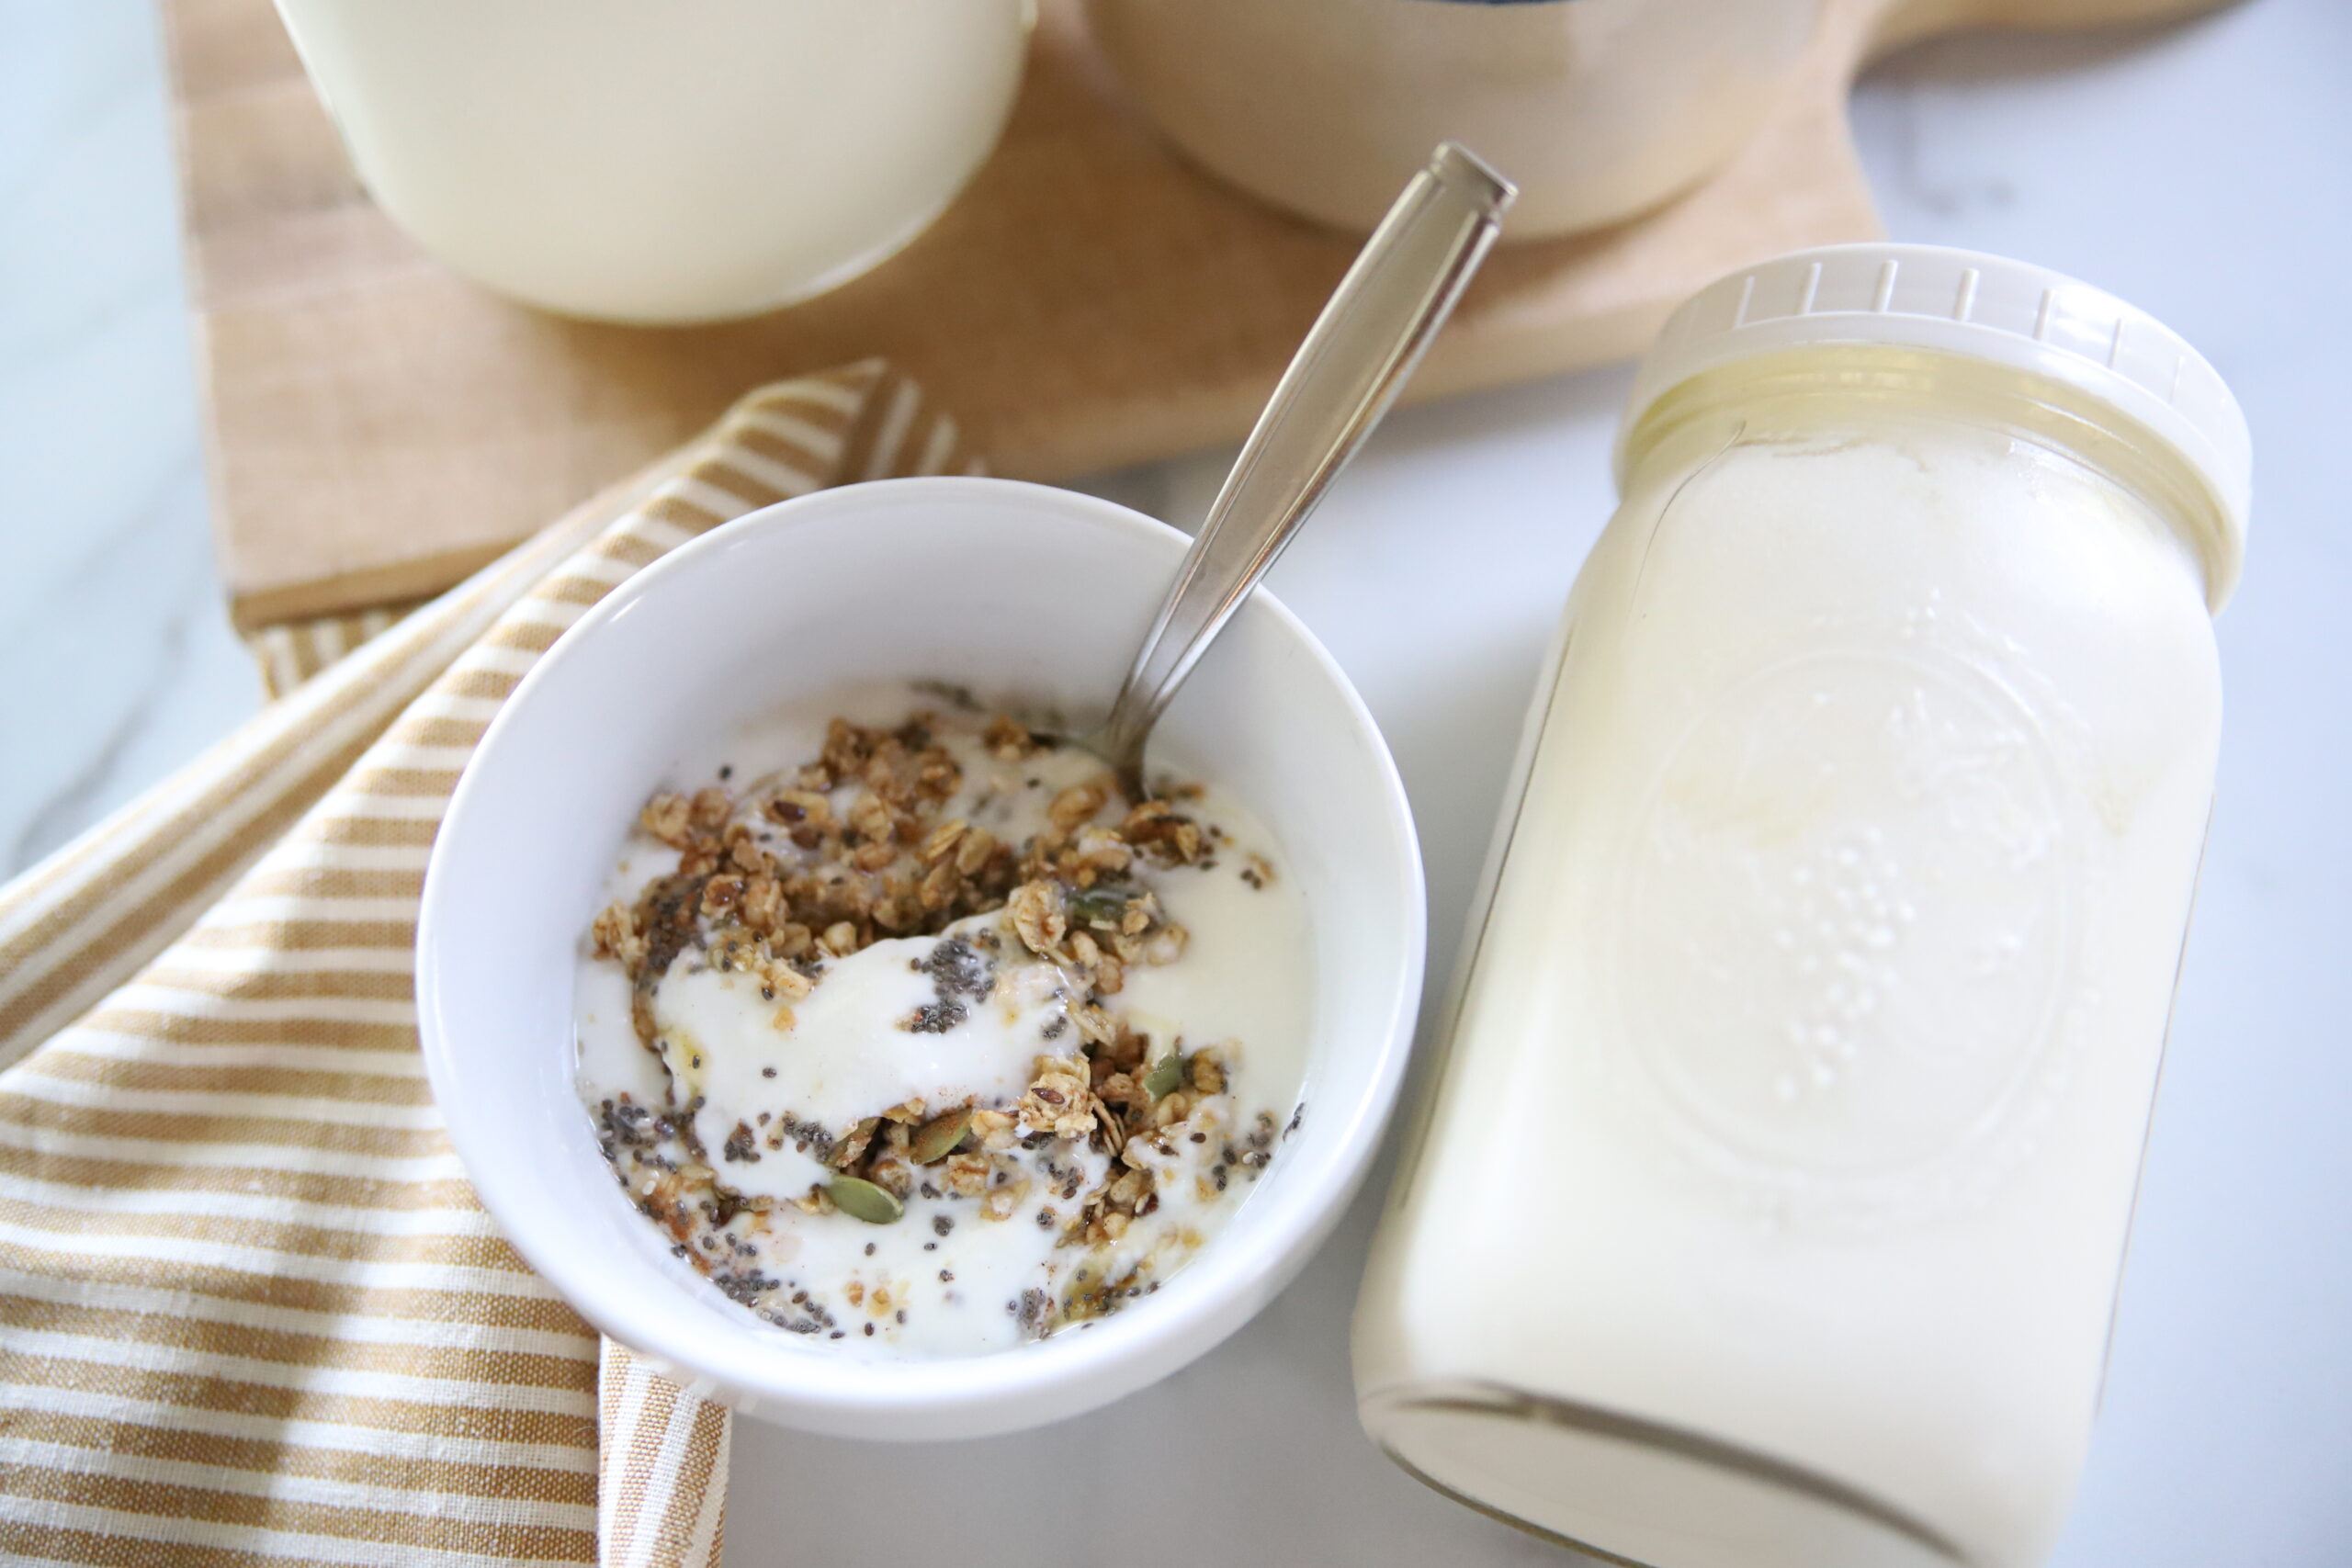
MEET THE SOLUTION
Although the Instant Pot has been around for more than a minute, I was never too impressed with the stats I was hearing on line from those who shared their IP successes. It seemed too good to be true!
So, I sat back and simply observed and took notes for several years, while others jumped on the IP band wagon.
It wasn’t until I discovered that the IP had a designated Yogurt Making function, that I decided to give it a try.
I’m here to tell you that it did not disappoint! It consistently makes creamy and delicious batches of homemade yogurt, every time.
While gas prices were on the rise, our previous low pasteurized milk supplier was unable to truck their milk to our local farmer’s market store.
As a direct result, our homemade yogurt was on hold for over a year. You may be wondering why I didn’t just purchase the milk from the regular grocery store. Well, most of that milk, organic and conventional, have been ultra-pasteurized. This means that the milk has been heated to a minimum of 280 degrees for 2-4 seconds. This process kills a lot more than simply pasteurizing.
Eventually, we have plans to add milking goats to our little homestead in the hollow. We may also have some milking cows in the spring, after some of our mamas-to-be calve. That would be super exciting!
In the meantime, I recently discovered that the store-bought gallon jug of Simple Truth whole organic milk, is actually pasteurized and not ultra-pasteurized. SCORE!
Now, I am able to finally start making our delicious homemade yogurt again!
HOW TO MAKE HOMEMADE INSTANT POT YOGURT
SUPPLIES AND TOOLS YOU MAY NEED
- Instant Pot with yogurt function
- Yogurt starter culture
- Food Thermometer
- Half gallon Mason Jar
- Wide mouth plastic white lid
**This post contains affiliate links. Please see full affiliate disclosure here.
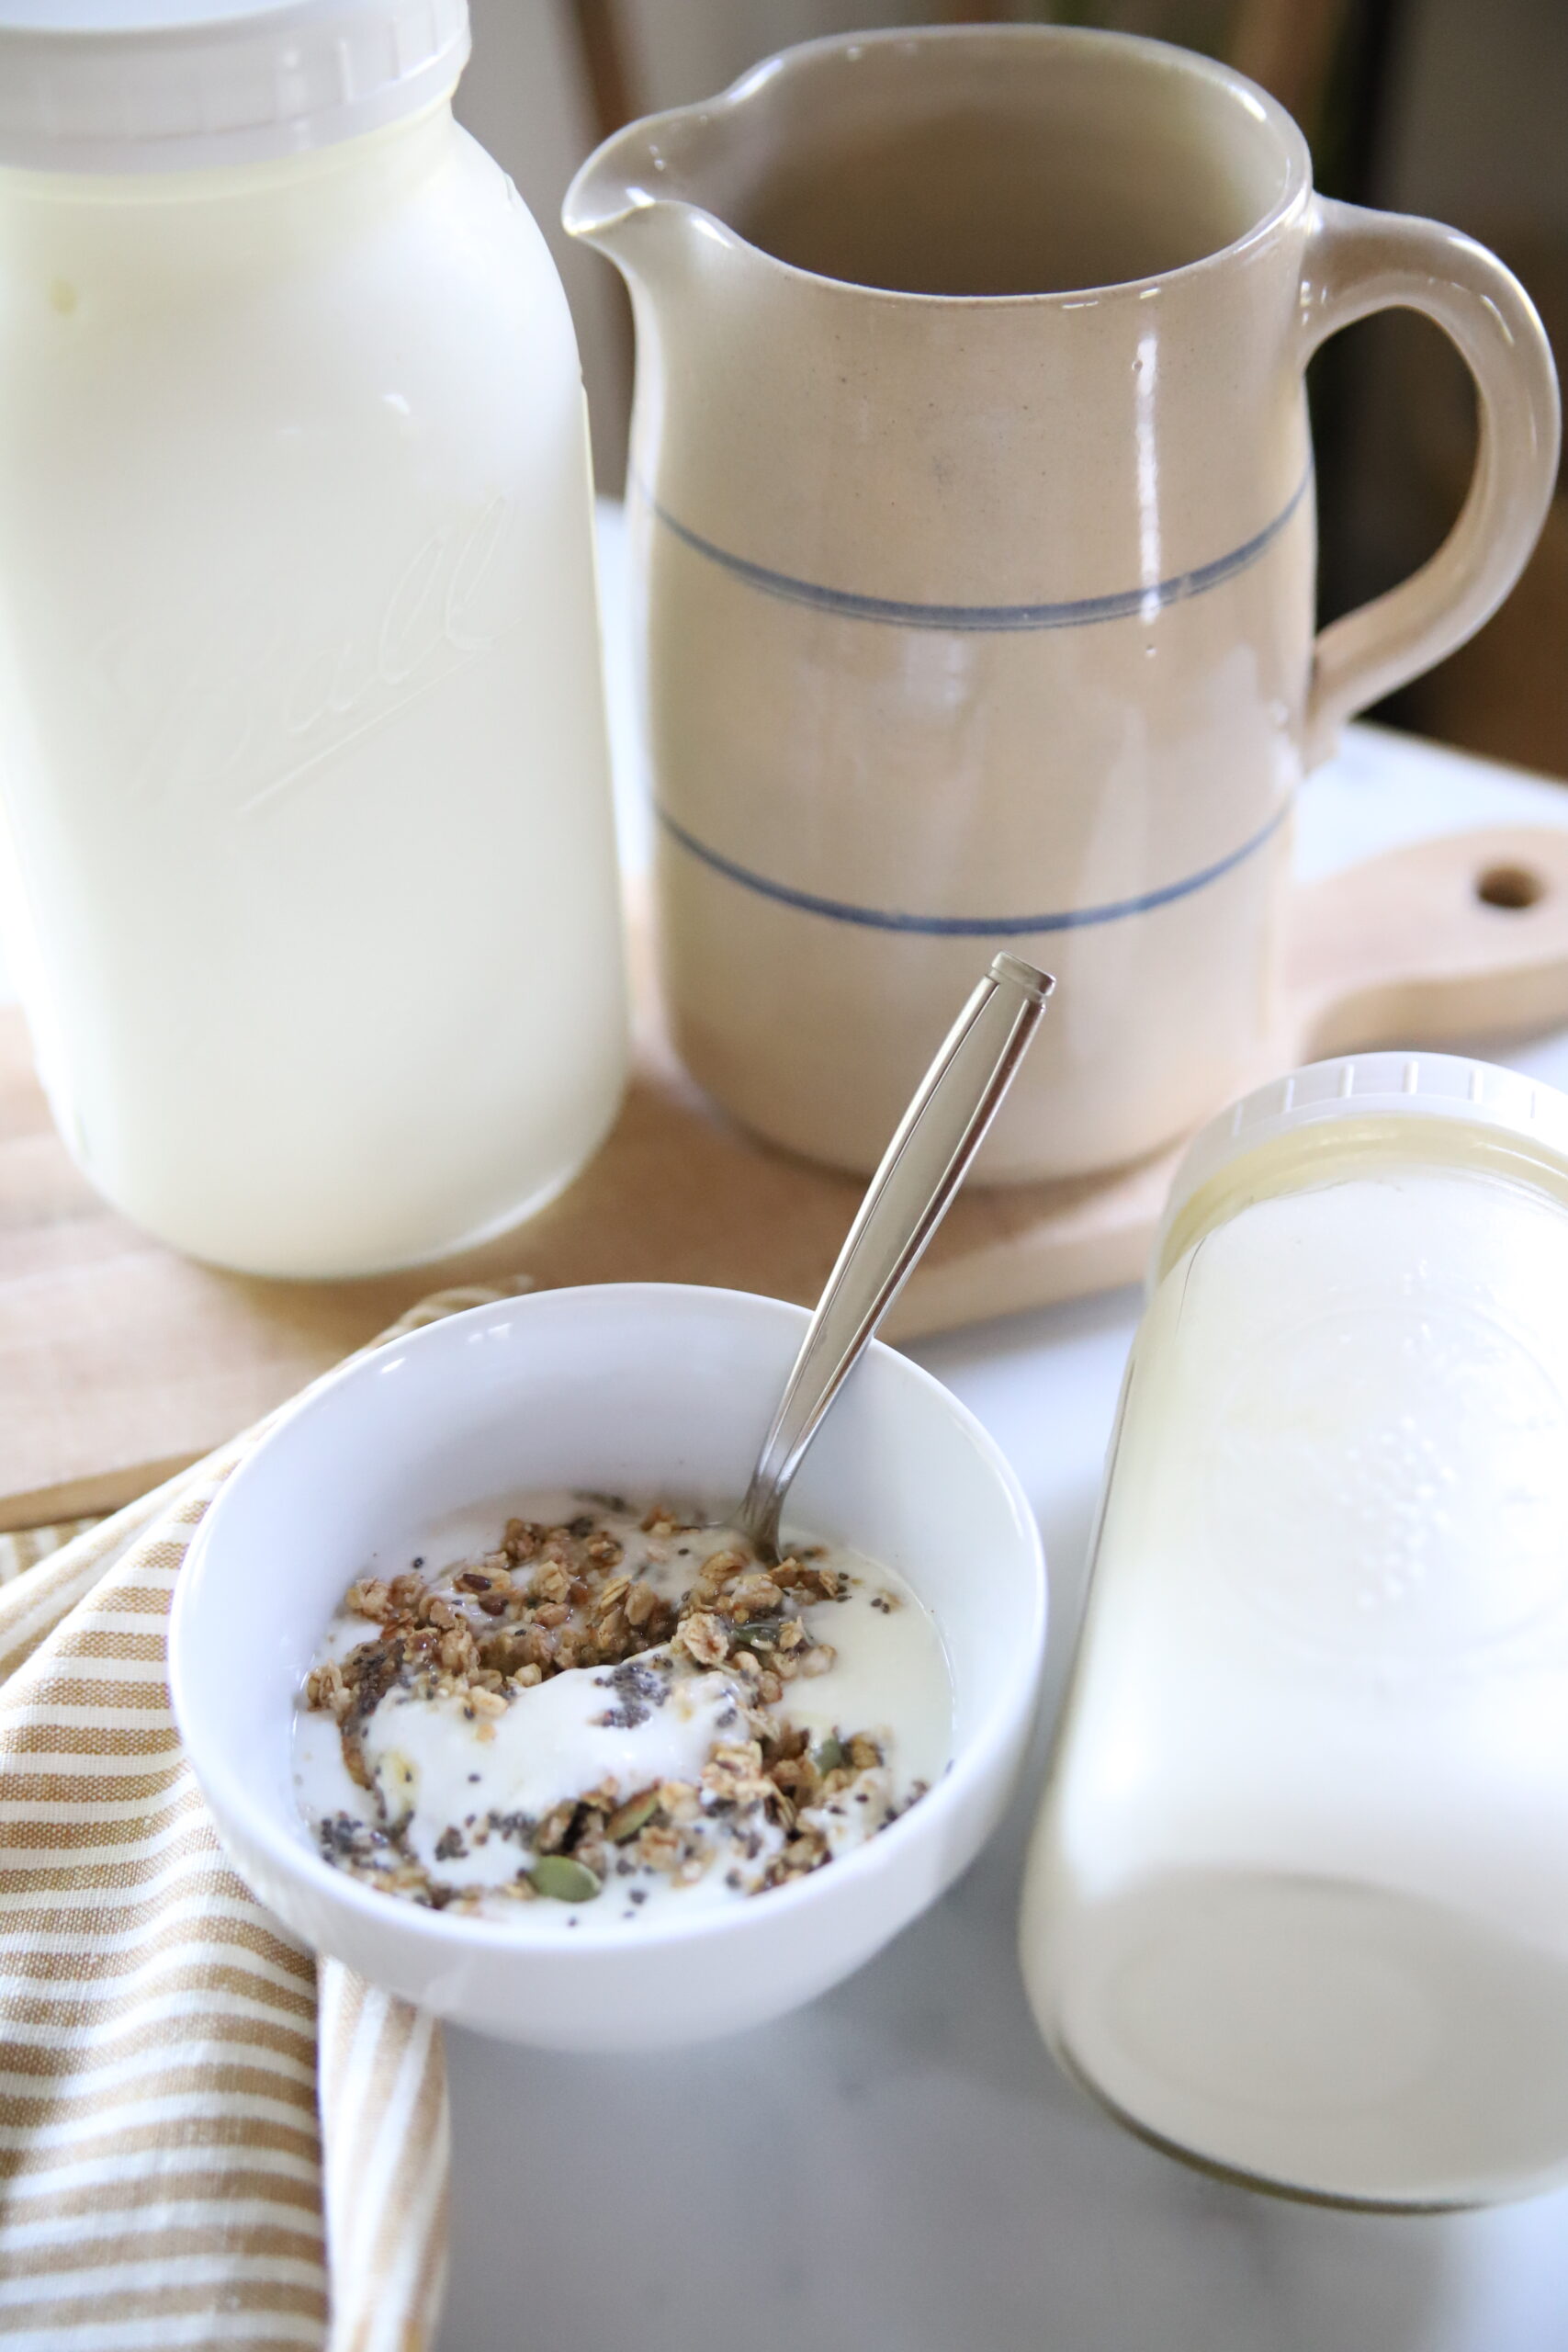
REASONS FOR MAKING YOGURT AT HOME
- Store bought yogurt often contains extras that you may not want in your diet. Things like added sugar and other additives can decrease the benefits of the yogurt.
- You have the freedom to control what goes into your homemade yogurt batches. As well as, leaving out any junk that you do not want to consume.
- There are more variations for experimenting with different natural flavor combinations.
- You control the sweetness and the type of sweeteners added.
- Homemade yogurt is more cost effective to make and you can make it in larger batches for a fraction of the cost than store-bought yogurt.
TIPS FOR MAKING HOMEMADE YOGURT
- Remember to save at least 1/4- 1/2 c of your current batch to use for your next batch. (Note: Consider replacing with fresh starter after about 3-5 uses.)
- Ferment yogurt longer if anyone in your family has issues digesting dairy.
- Remember to check the temperature of the milk frequently, so the milk does not cool below the 110 degrees needed for the culturing process.
- Make sure to remove the silicone ring from the Instant Pot lid prior to the fermentation process. Oftentimes, it can harbor the smells from the previous meals cooked in the IP, which may alter the taste of your homemade yogurt.
- For a thicker yogurt, adding a thickener like pectin or grass-fed gelatin before the heating process is said to help. Using cheese cloth or a coffee filter to strain in the fridge overnight is another option. Some recipes recommend heating the milk for a longer period (between 20-30 mins) which can also result with a thicker batch.
NOTE:
By using whole milk, the fat content is higher and therefore creates a thicker end product that our family loves.

Homemade Instant Pot Yogurt
Learn how to make this simple and delicious homemade Instant Pot yogurt.
Ingredients
- Whole organic milk (low pasteurized or grass-fed if available is our first choice)
- Yogurt starter culture
Instructions
- Pour 1 gallon of organic whole milk into the Instant Pot (IP).
- Press the Yogurt function button and select the pasteurization option. Then press the Start button.
- NOTE: At this point, the IP will begin to heat up until it reaches the temperature of 180 degrees.
- Allow the IP to run through the pasteurization process. When the process is complete, the IP will beep.
- Remove the inner pot and place in a cool sink of water or place on a trivet to cool on the counter until the milk decreases in temperature to 110 degrees.
- Once 110 degrees is achieved, add in 1 T of yogurt per every quart of milk.
- NOTE: For a gallon of milk, you will need 4 T of starter yogurt.
- Whisk the yogurt until fully incorporated into the milk.
- Then add the lid (minus the silicone ring) and press the yogurt function. Select the fermentation option and press start.
- Now, enjoy a restful night as your homemade yogurt works its' magic!
- The next morning, remove the lid and place the inner pot in the fridge to help the yogurt set.
- After a few hrs, transfer the cooled yogurt into half gallon clean Mason Jars and cap with the wide mouth plactic lid.
- Store in refrigerator and consume within 2 weeks.
WHAT IF YOU DON’T HAVE AN IP WITH THE YOGURT BUTTON?
If you have an earlier model of the Instant Pot without the yogurt function, you can still make homemade yogurt in your IP. I have not personally tried this method with my IP, but others have had success with it. It is very similar to the shared method above, with just a few differences.
- Pour your milk in the inner pot and press the sauté button.
- Heat the milk until the temperature reaches 180 degrees.
- Remove pot and allow to decrease to 110 degrees.
- Add 1T of yogurt (or starter culture) per each quart of milk used.
- Whisk yogurt and then place lid and turn to lock.
- Unplug IP and wrap a towel around the IP to help maintain the temp overnight for 8-10 hrs.
- Place cooled yogurt in fridge for a few hrs to help set.
- Store in Mason Jar with lid in the fridge and consume within 2 weeks.
PIN IT FOR LATER:
Whether you make homemade yogurt weekly or as a special snack from time to time for the family, it is another wonderful way to build those practical life skills that may come in handy if things continue in the direction they are going in the world.
I don’t know about your neck-of-the-woods, but where we are, the last two grocery store visits were slim pickins’. The more options we have to provide our families with nourishment and whole foods sourced from our local farms and communities, the better, in my opinion.
What are some new skills that you are wanting to learn and add to your homemaking skills?


I love making yogurt in my IP and this is such an informative post! We use raw milk and it works using this same method.
Awesome, Tiffany! So jealous! We would love to have access to raw milk on our farm. (smile) Some day! Thanks so much for stopping by the hollow.
We don’t have the $$$ for a freeze dryer so up until that point, the instant pot is going to stay one of our favorite appliances. It’s nice to have the versatility to be able to make things like this if the raw materials are cheap enough. Good work on this post!
We’re in the same boat here on our farm! We appreciate having options that are more within our current budget. Thank you for your encouragement.