Kitchen remodels can be so expensive these days and with all the countless home improvement options trending out there, it can cause a lot of stress trying to get the kitchen of your dreams, without spending more money than your budget will allow. Since the day my husband showed me the real estate photos of our property on line, my first thought was, “Why didn’t they do more with the kitchen?” I don’t mean to seem ungrateful, but for someone who spends most of her waking hours in the kitchen preparing meals from scratch, preserving our harvest, and fermenting probiotic-rich foods to help keep our family strong and healthy, the last thing I want is to have a space that feels like a dark dungeon. You know what I mean?
BEFORE THE UPDATES
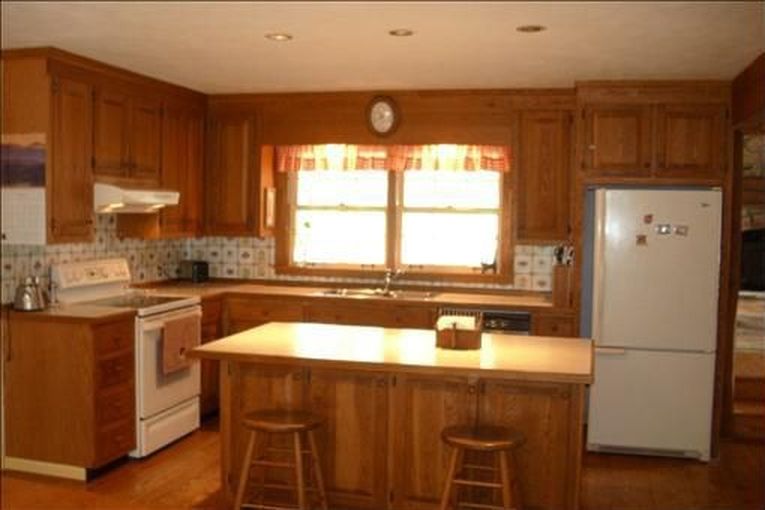
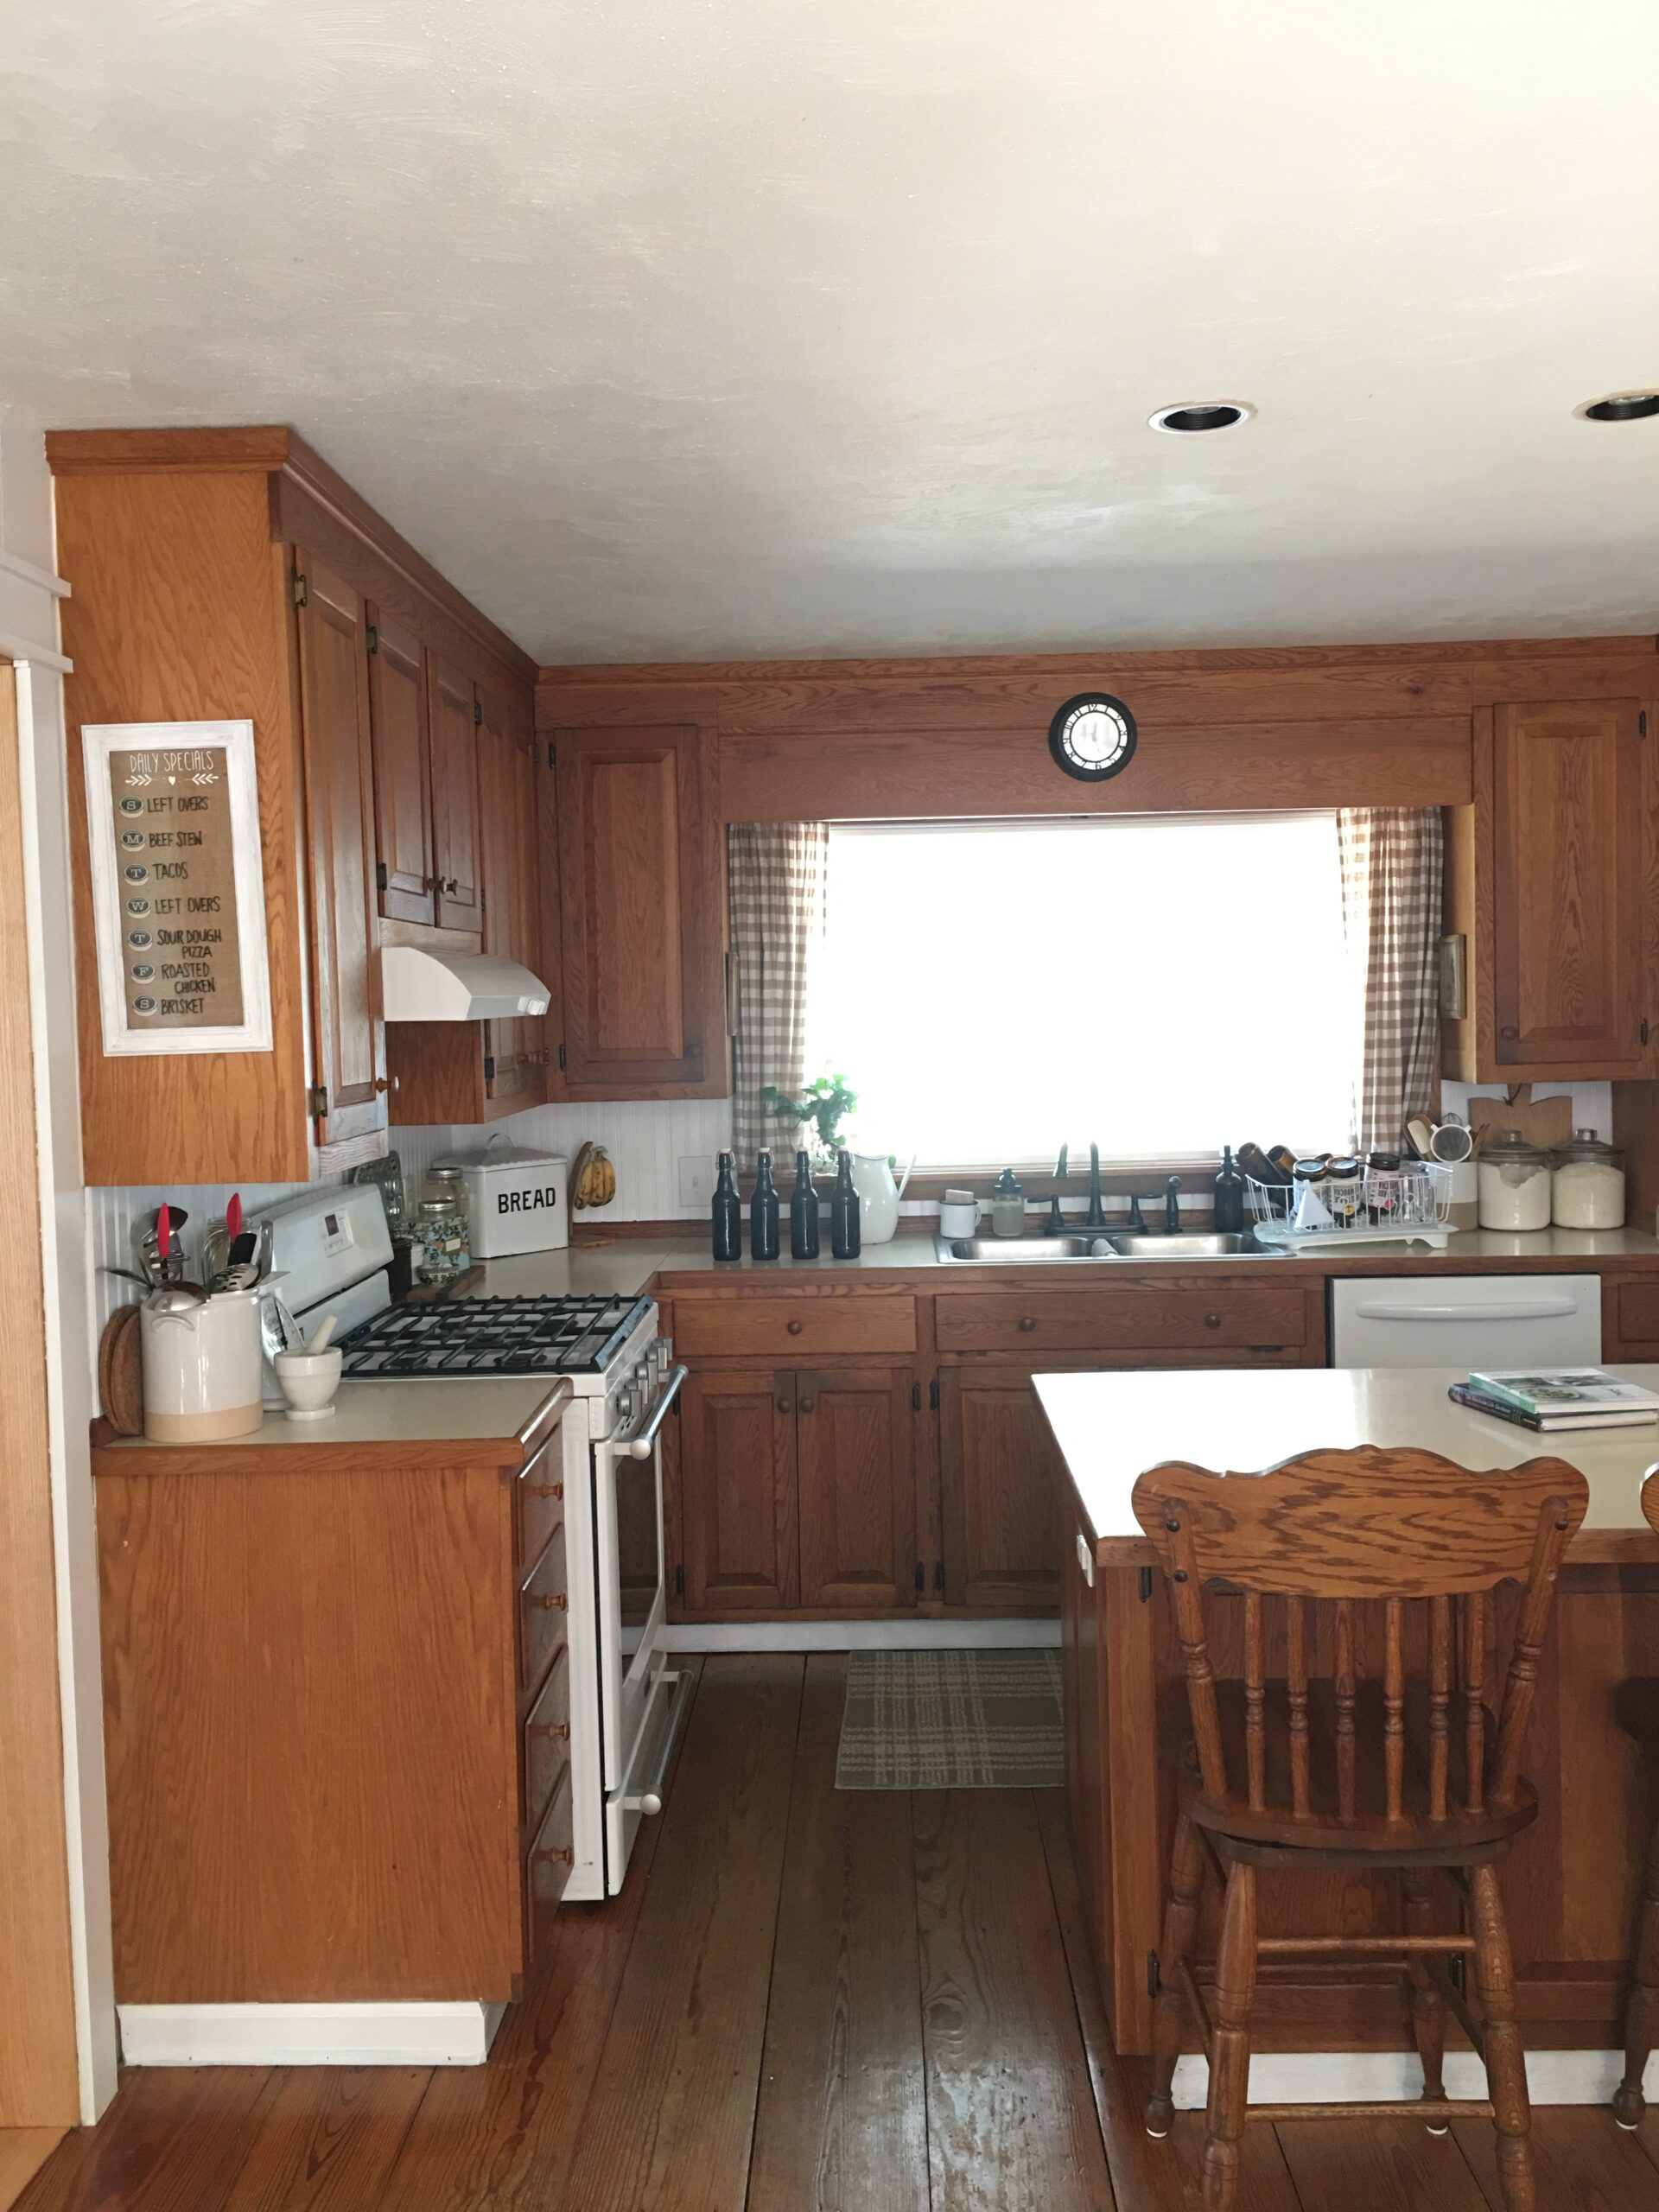
Here is the original photo from the online real estate site. It’s not super terrible, but the faux tile vinyl backsplash and the mellow yellow paint trim and walls were not my idea of a bright and cheerful space. It took us 6 years before I decided to take action and go beyond just a deep cleaning, which it badly needed!
Technically, our humble little farmhouse kitchen is a “custom built” kitchen with oak wood taken from right off our property, but the space was dated and really needed more than just a deep cleaning and new organizational ideas, if we were going to breath new life into this well utilized space. They don’t call it the “heart of the home” for nothing!
**This post may contain affiliate links. Read my full disclosure here.
SIMPLE ORGANIZATION
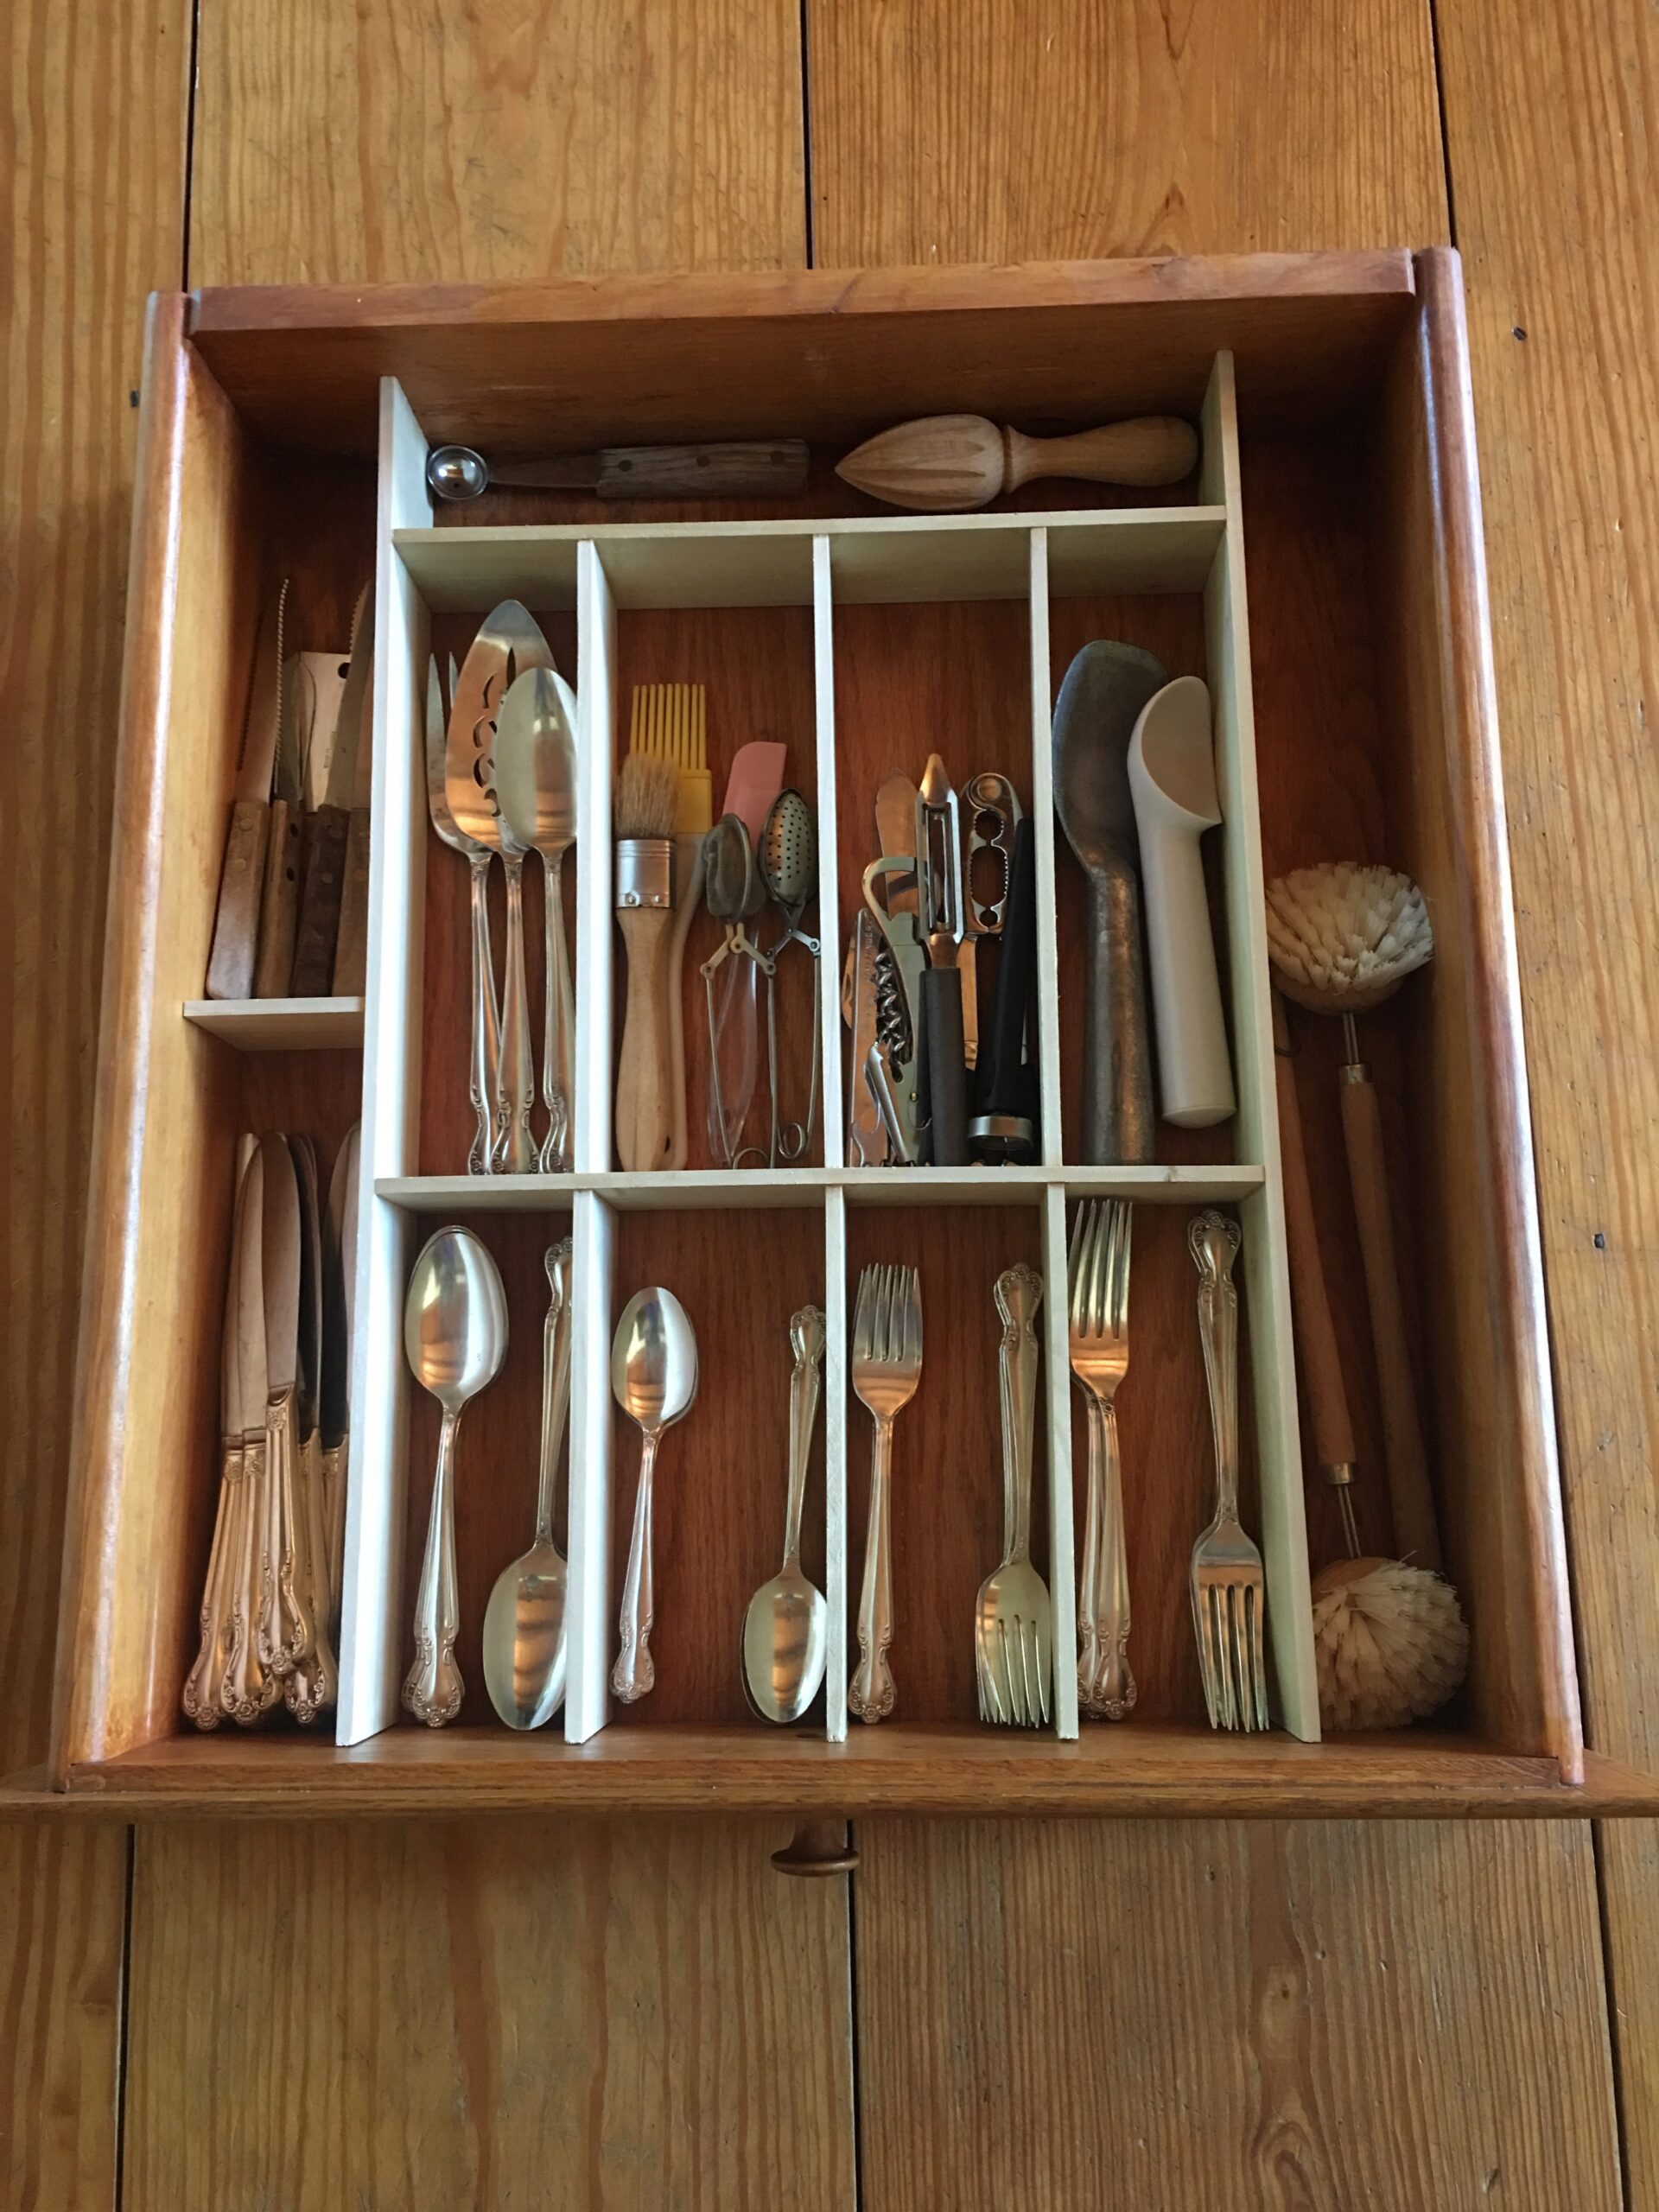
The first thing I did was give the kitchen a thorough cleaning and organized the cabinets and drawers. I made these wooden dividers below to help make good use of the limited drawer space and to help keep the drawers neat and tidy. You can see more details on how I made these dividers here.
THINKING OUTSIDE THE BOX
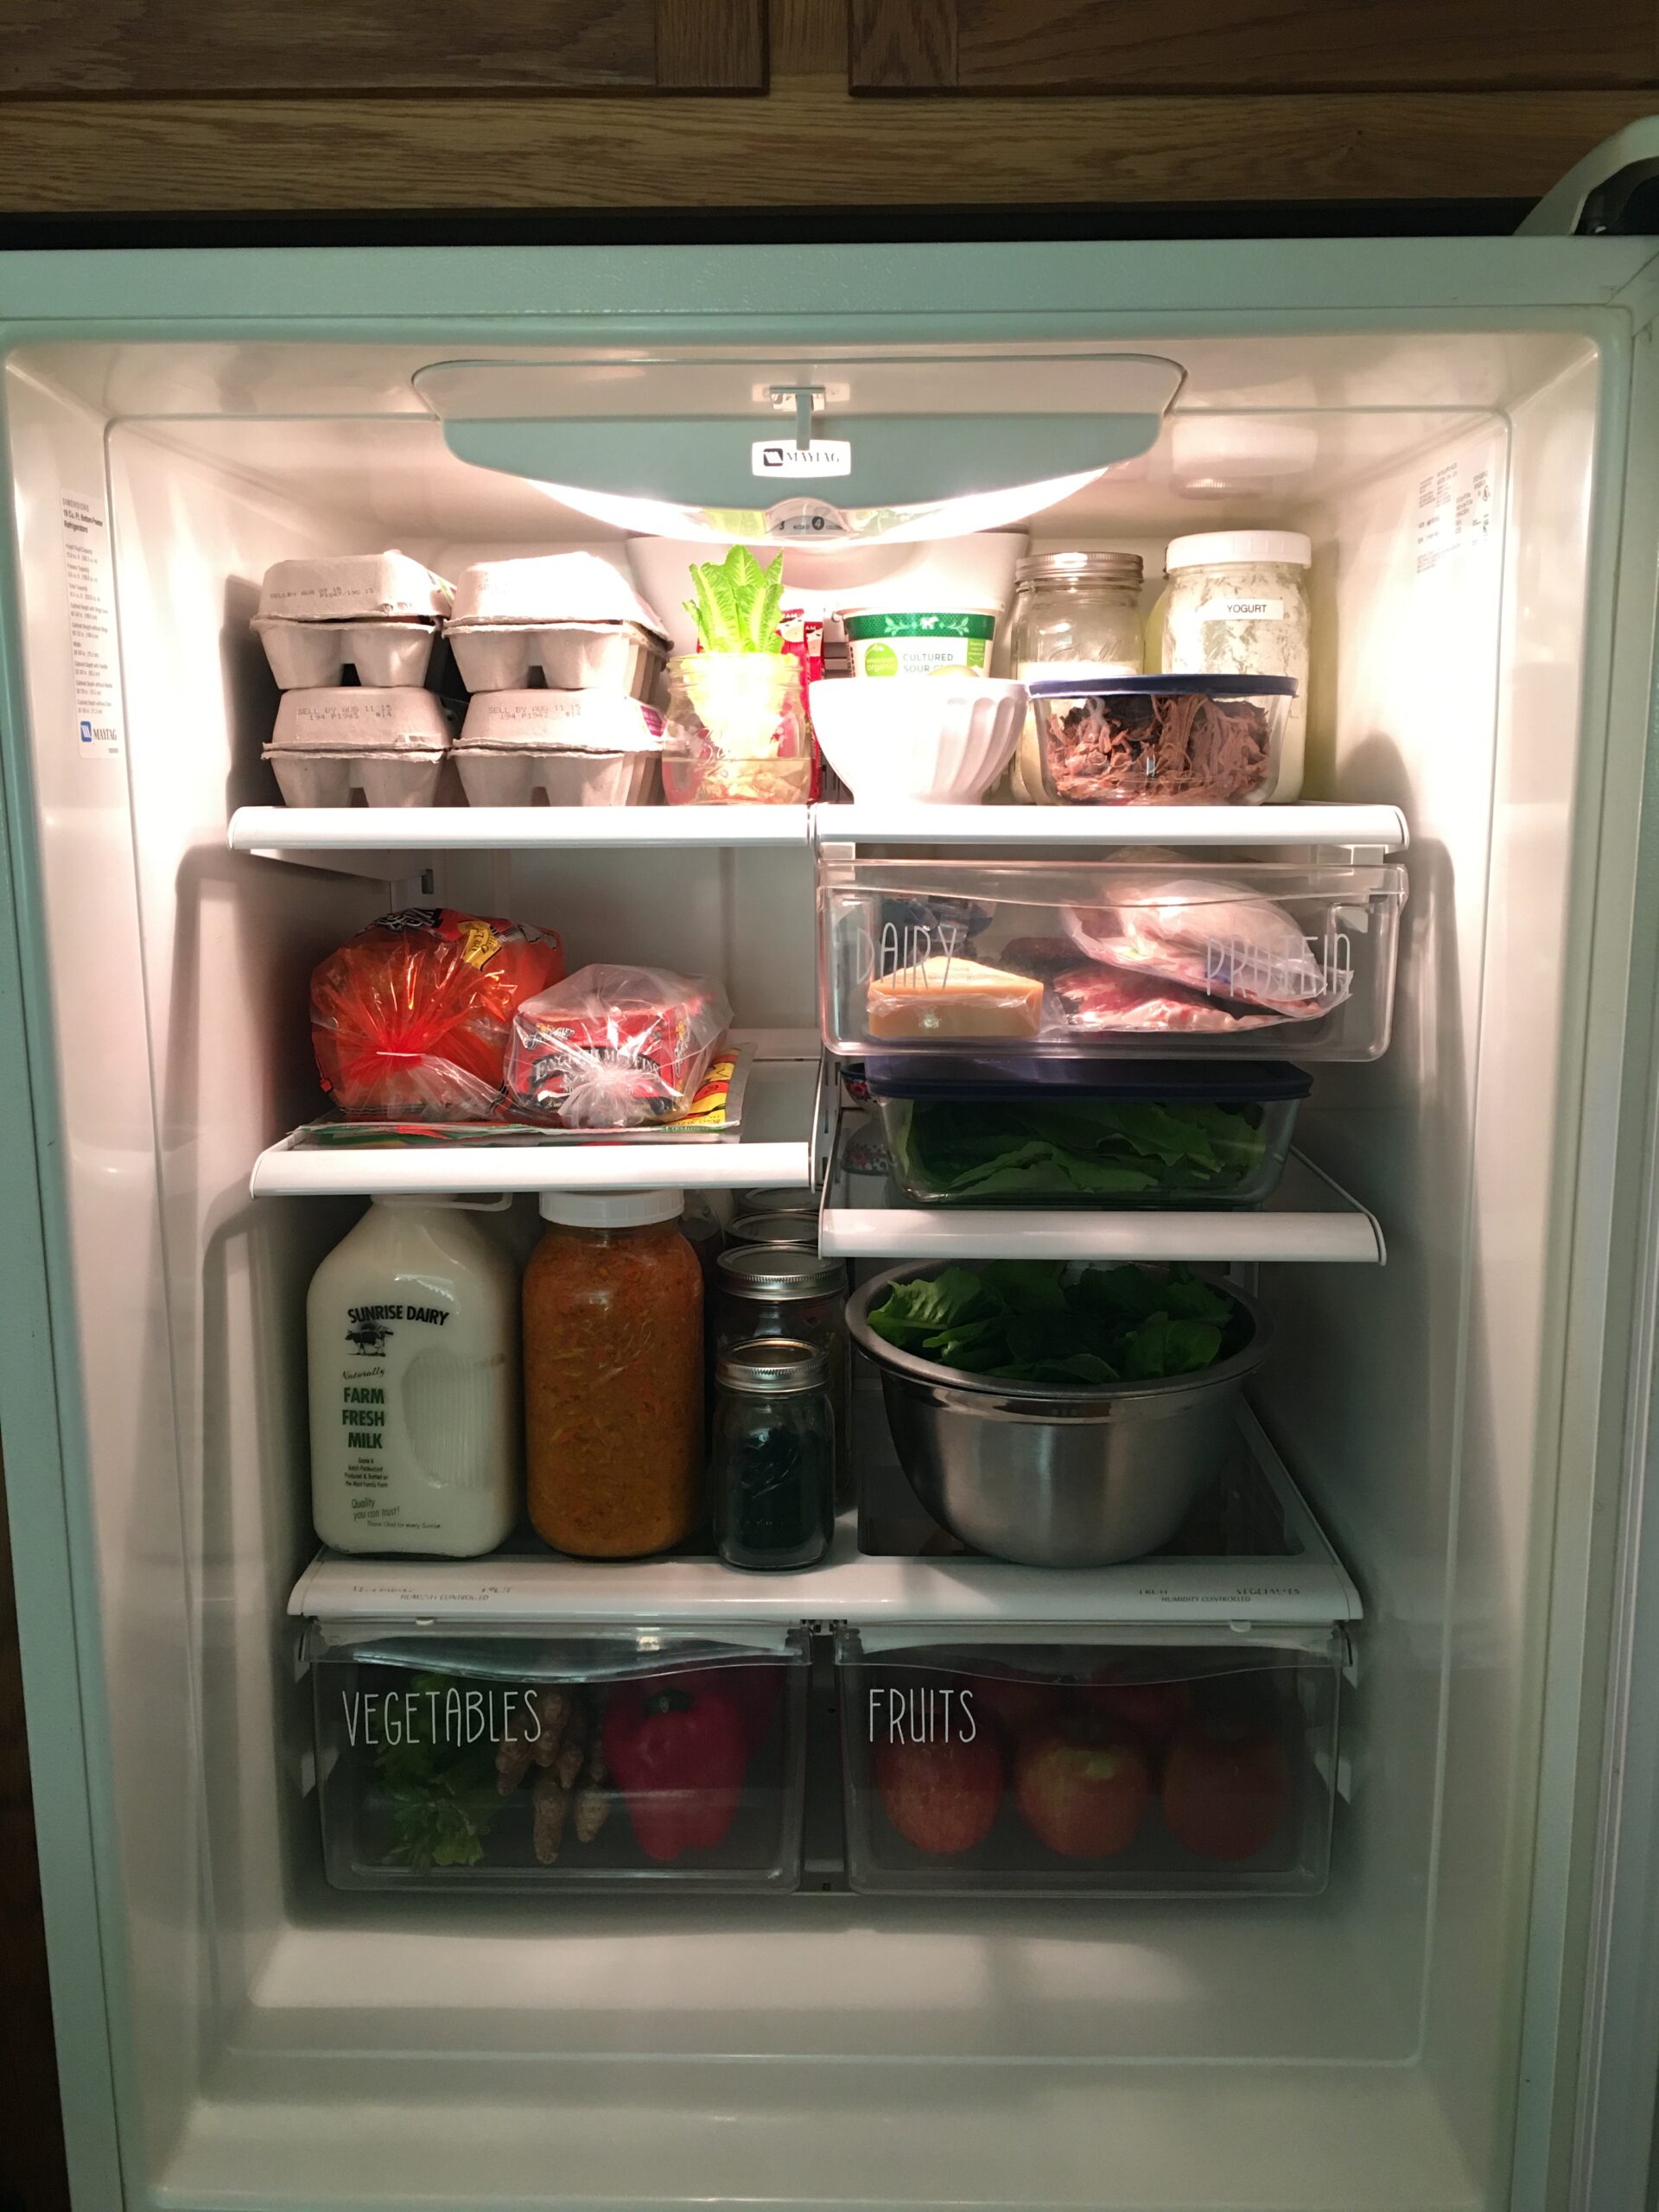
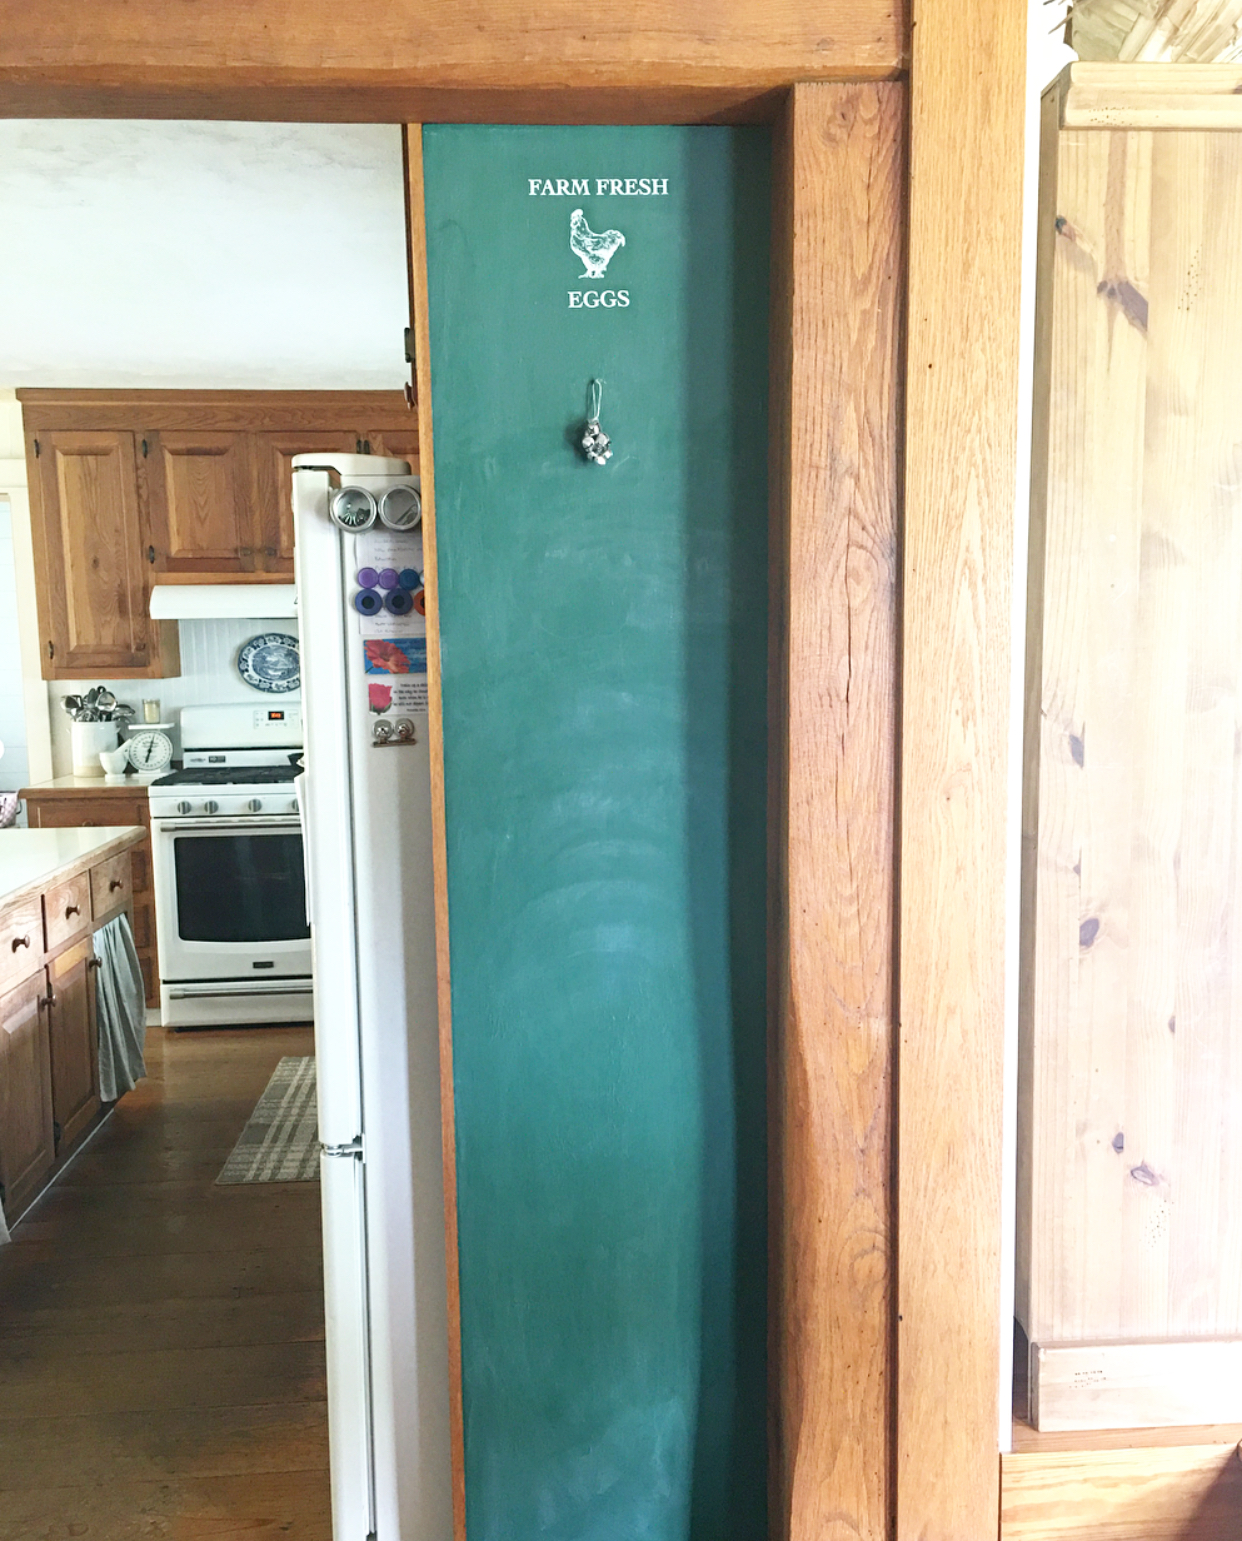
At some point after we moved in, we did have to foot the bill for a new dishwasher and paid for the gas hook up so that we could install a gas range. The fridge has yet to be upgraded, but I gave the old refrigerator a good cleaning. Several years later, I made these fun labels on my Silhouette Portrait vinyl cutting tool to personalize the fridge and add a bit of whimsy and charm. Labels make it easy for little ones and big ones to know where things go around the farmhouse. If you have been following me for a while, you know that I LOVE to organize and use labels. (smile)
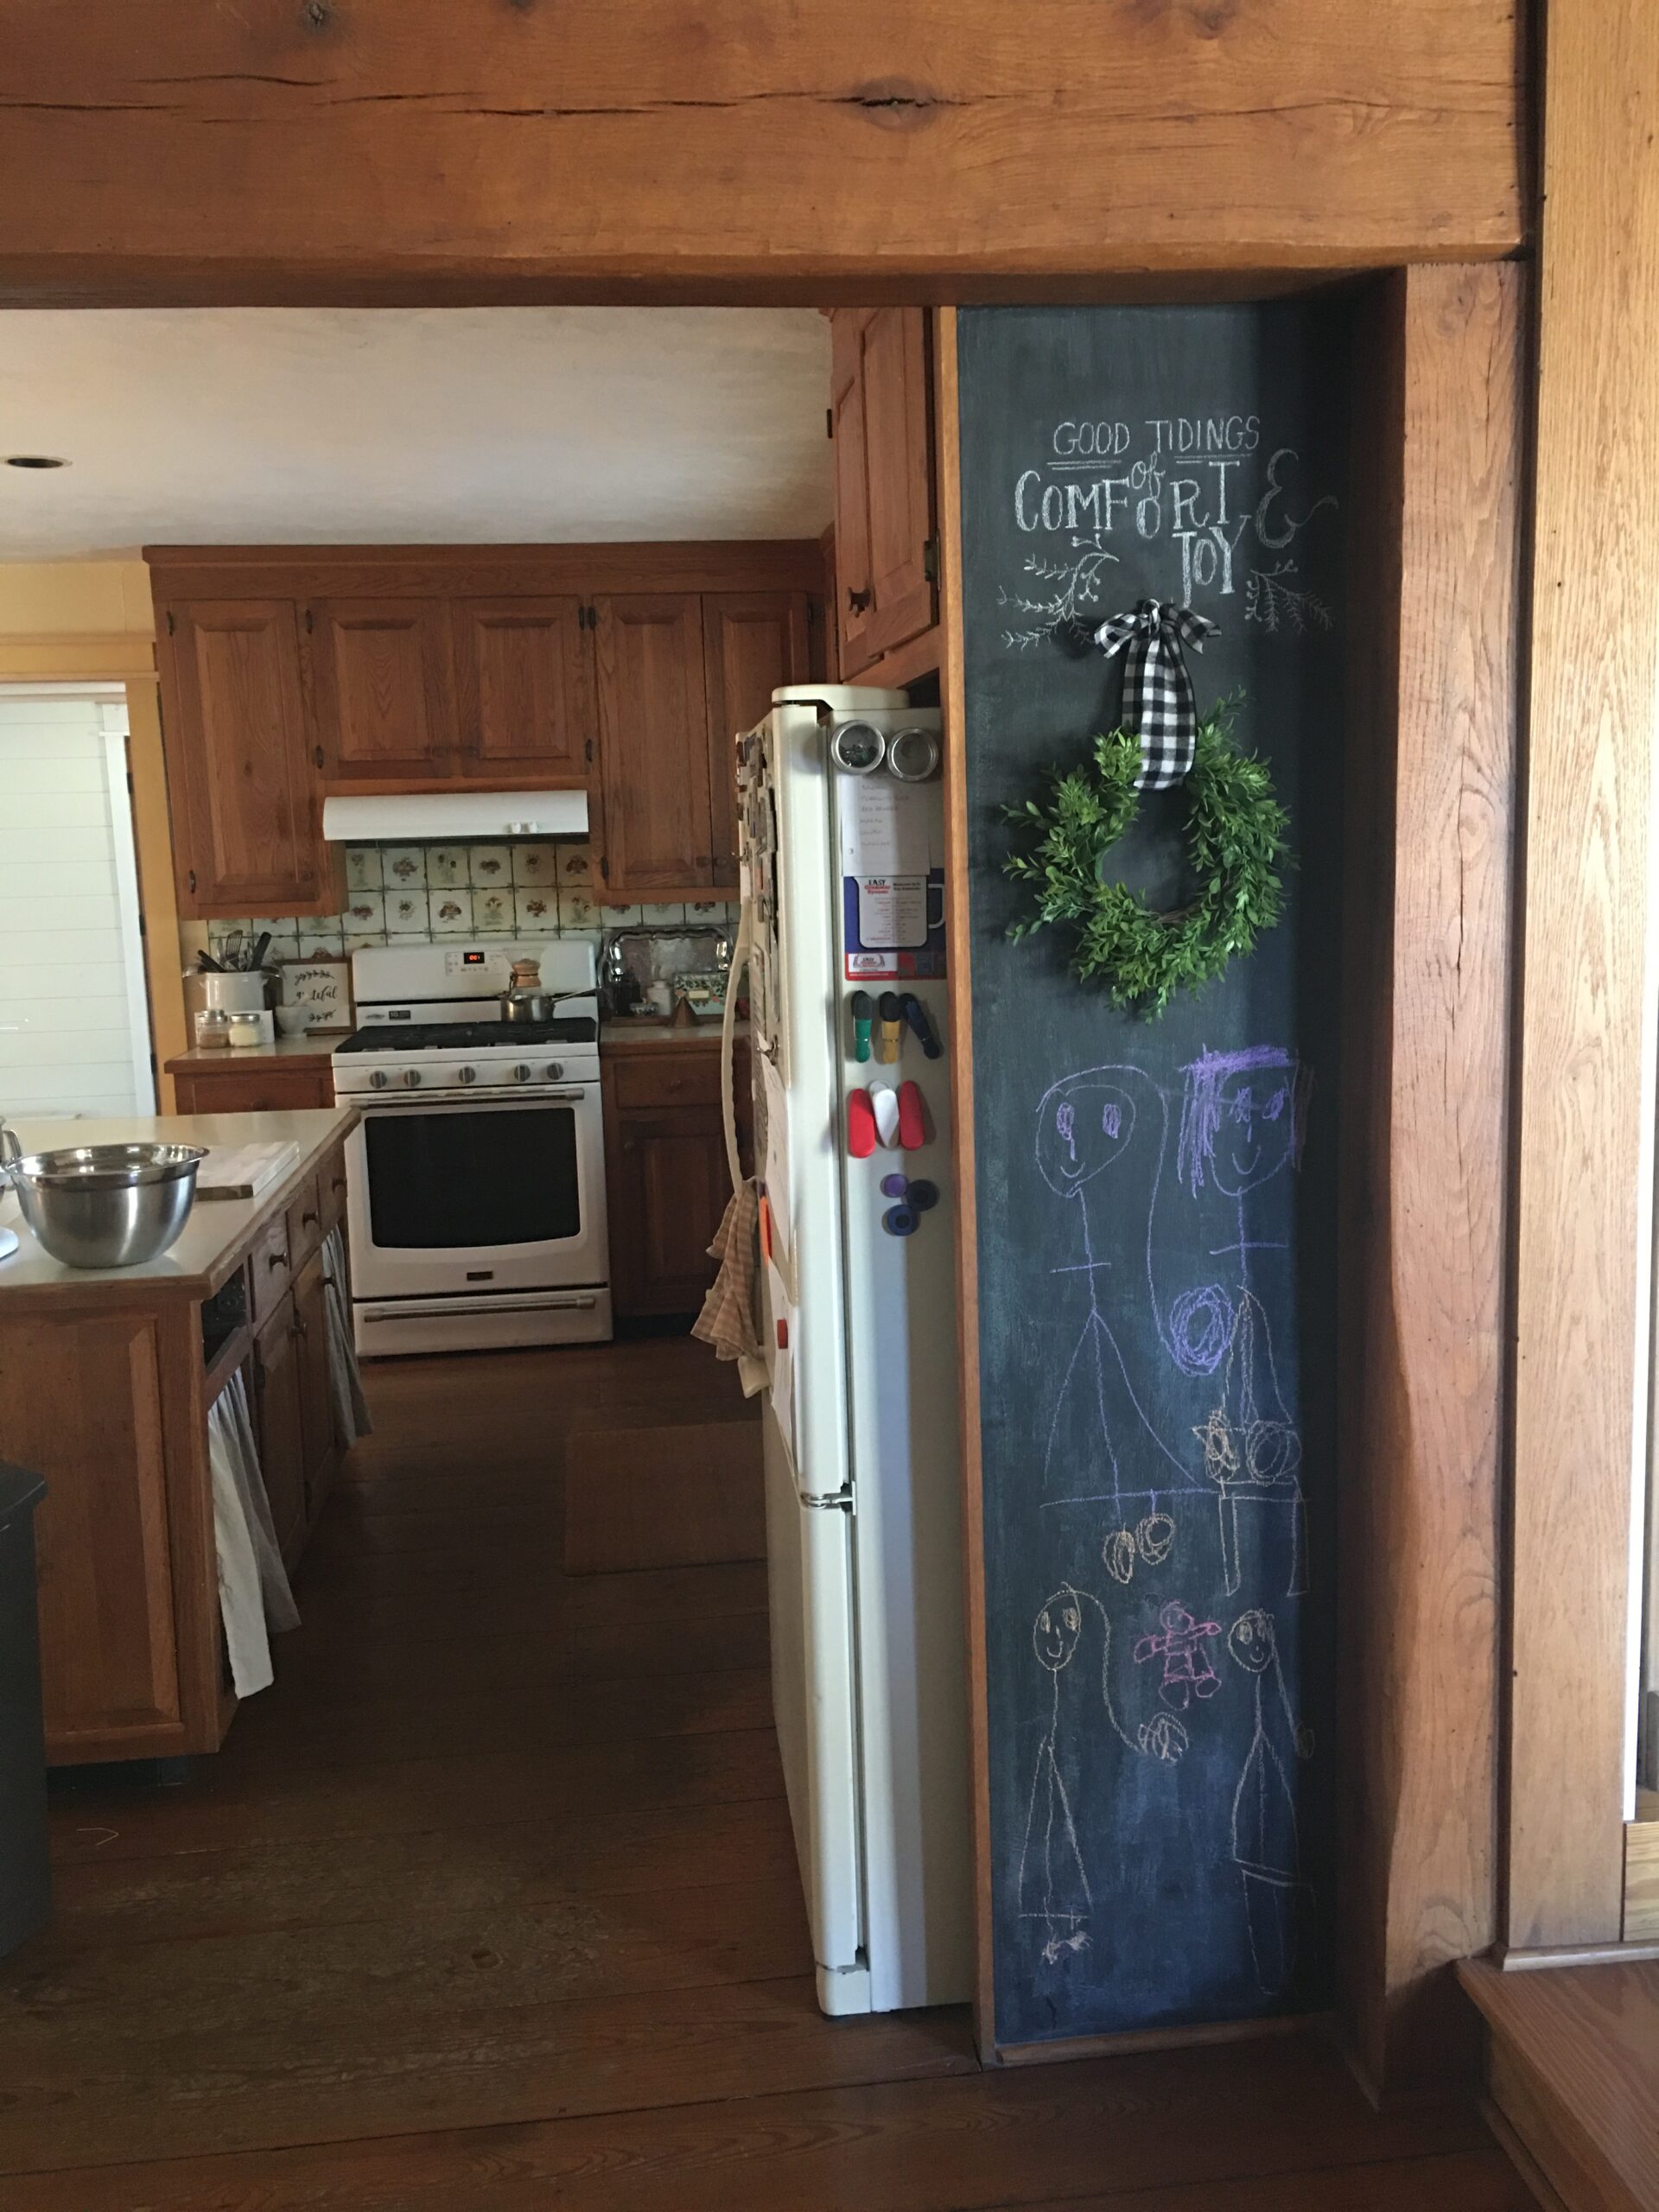
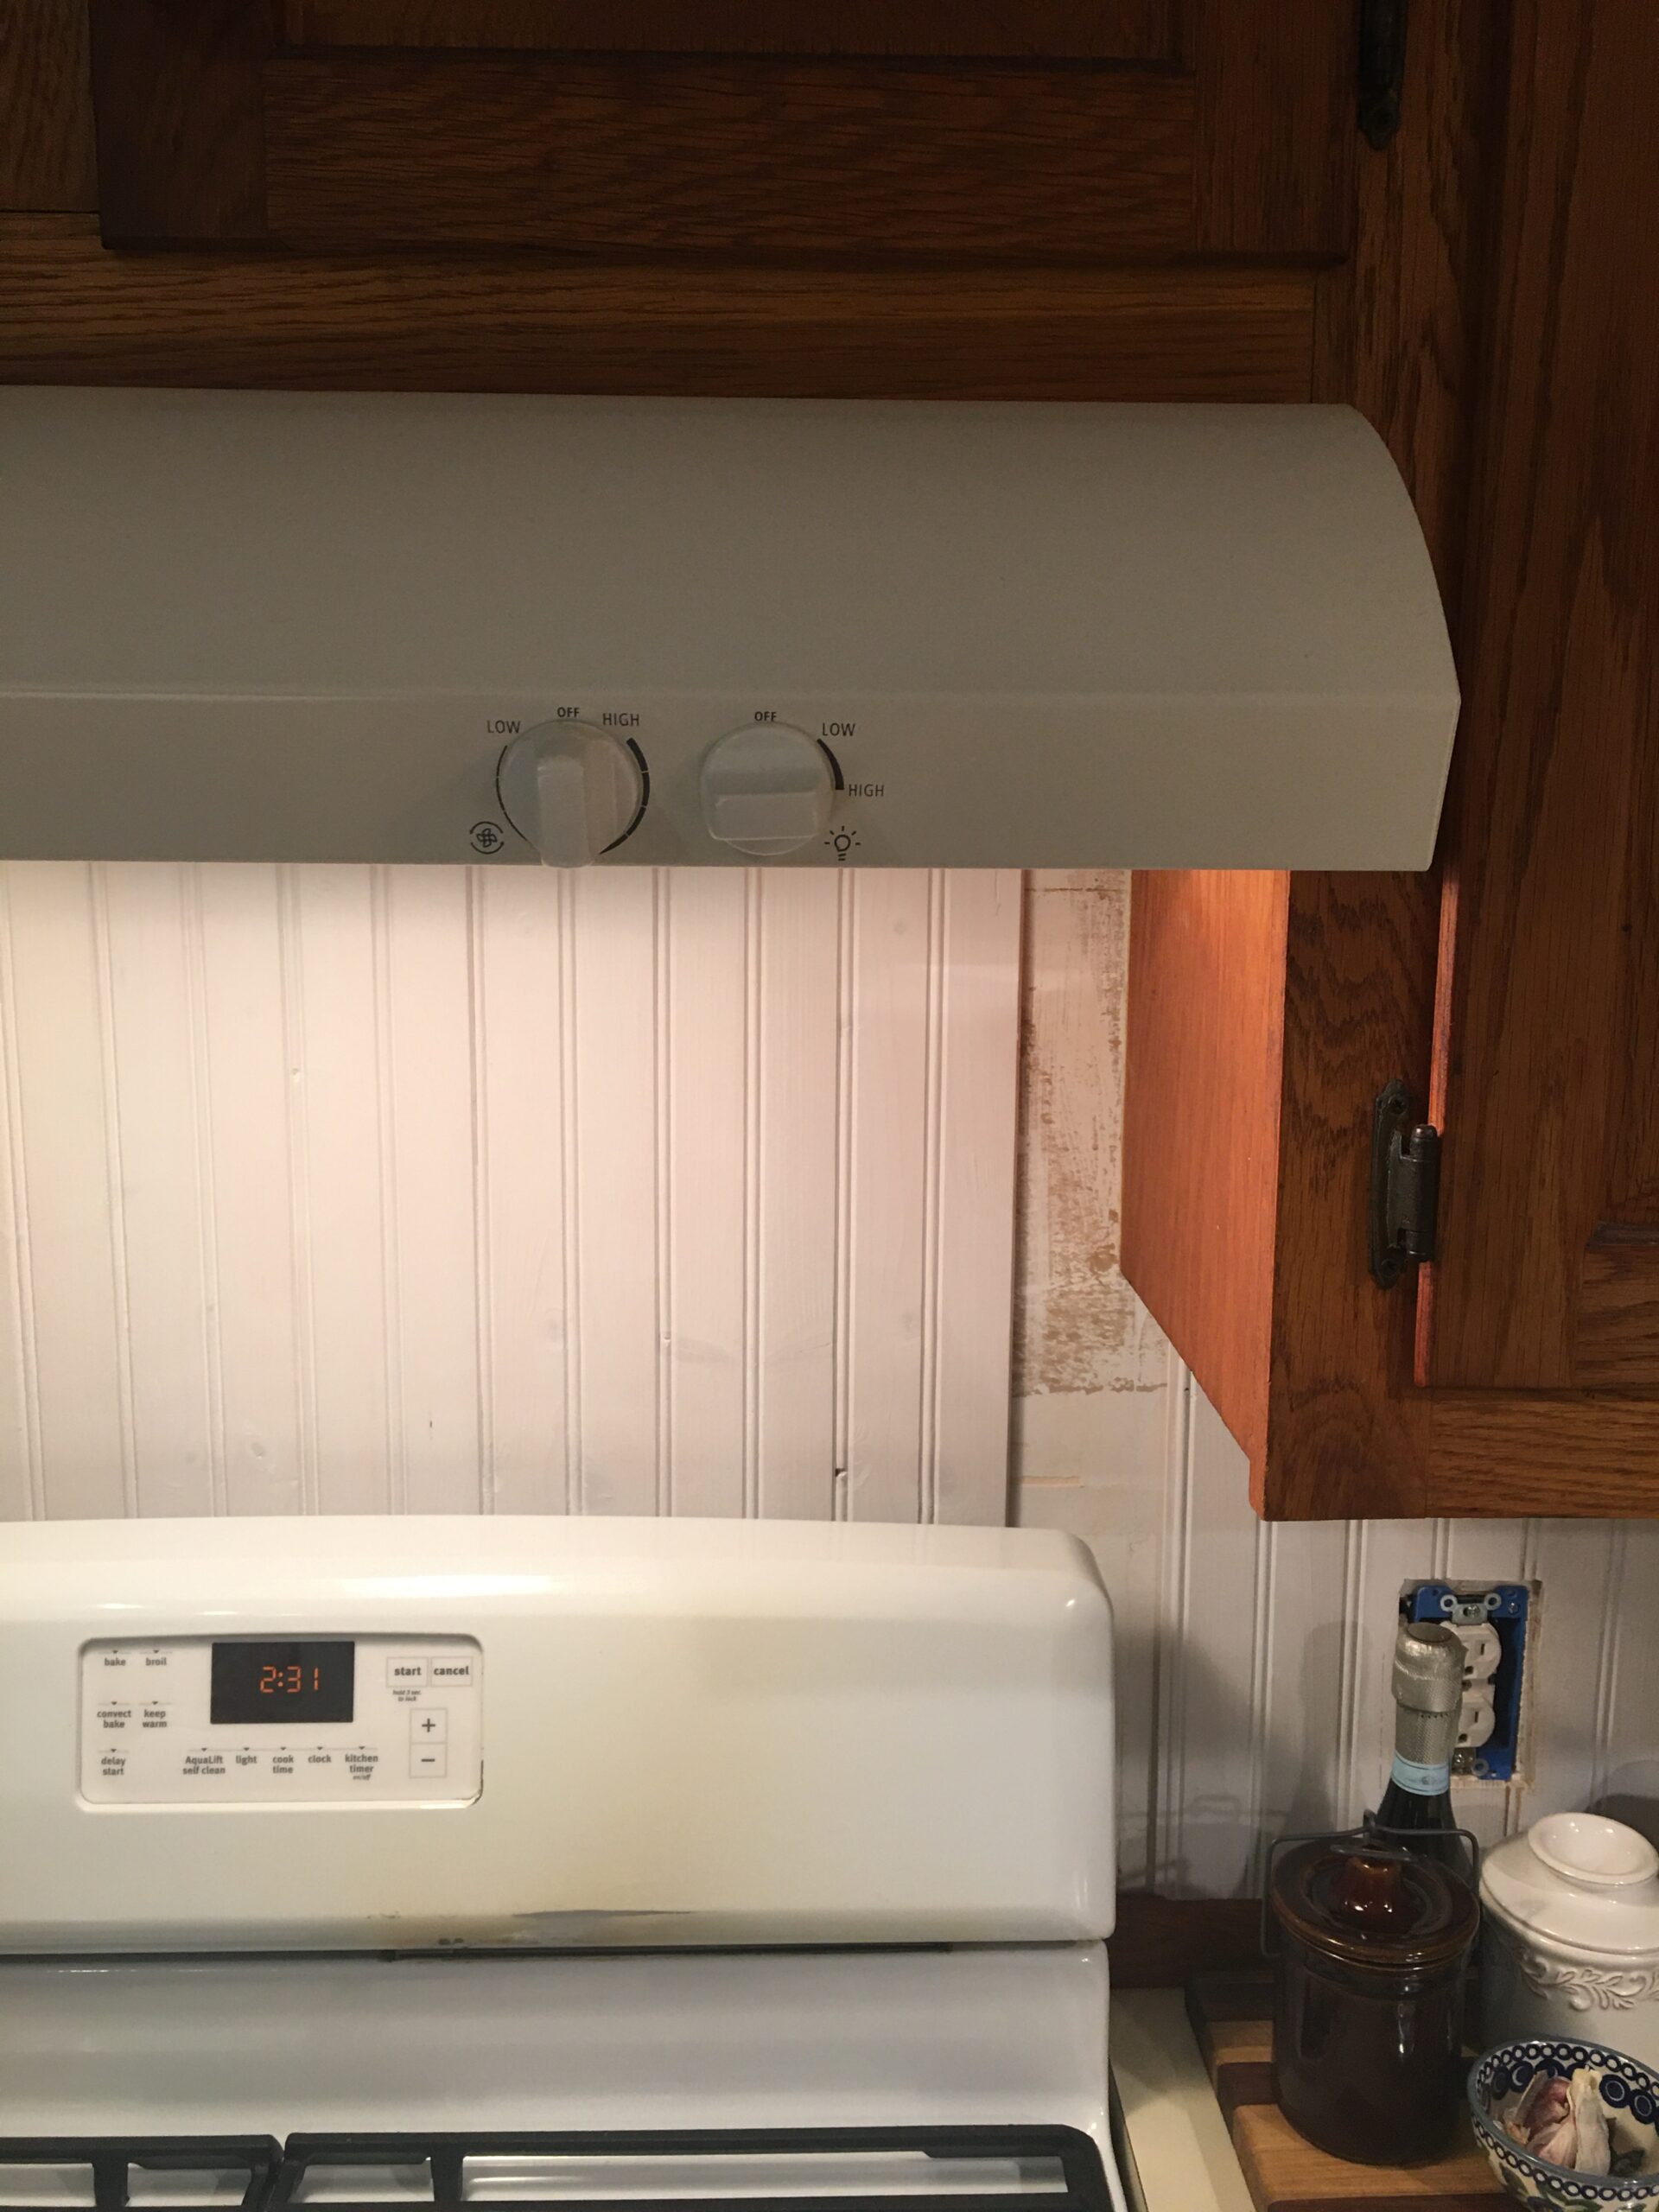
This was a picture sometime after I had removed two bottom cabinet doors (one broke after one of the big kids were climbing on the island) and replaced them with some fabric curtains. One of the drawer faces broke as well. I am still waiting to replace it when we replace and update all the cabinet doors, in the future. You can see the yellow walls and trim, and the vinyl backsplash with duck tape above the stove. Not quite sure what look the old owners were going for, but I am just glad it is finally gone! I had painted the short wall with black chalk board paint for the littles to doodle on. It was a big hit!
REPLACING THE BACK SPLASH
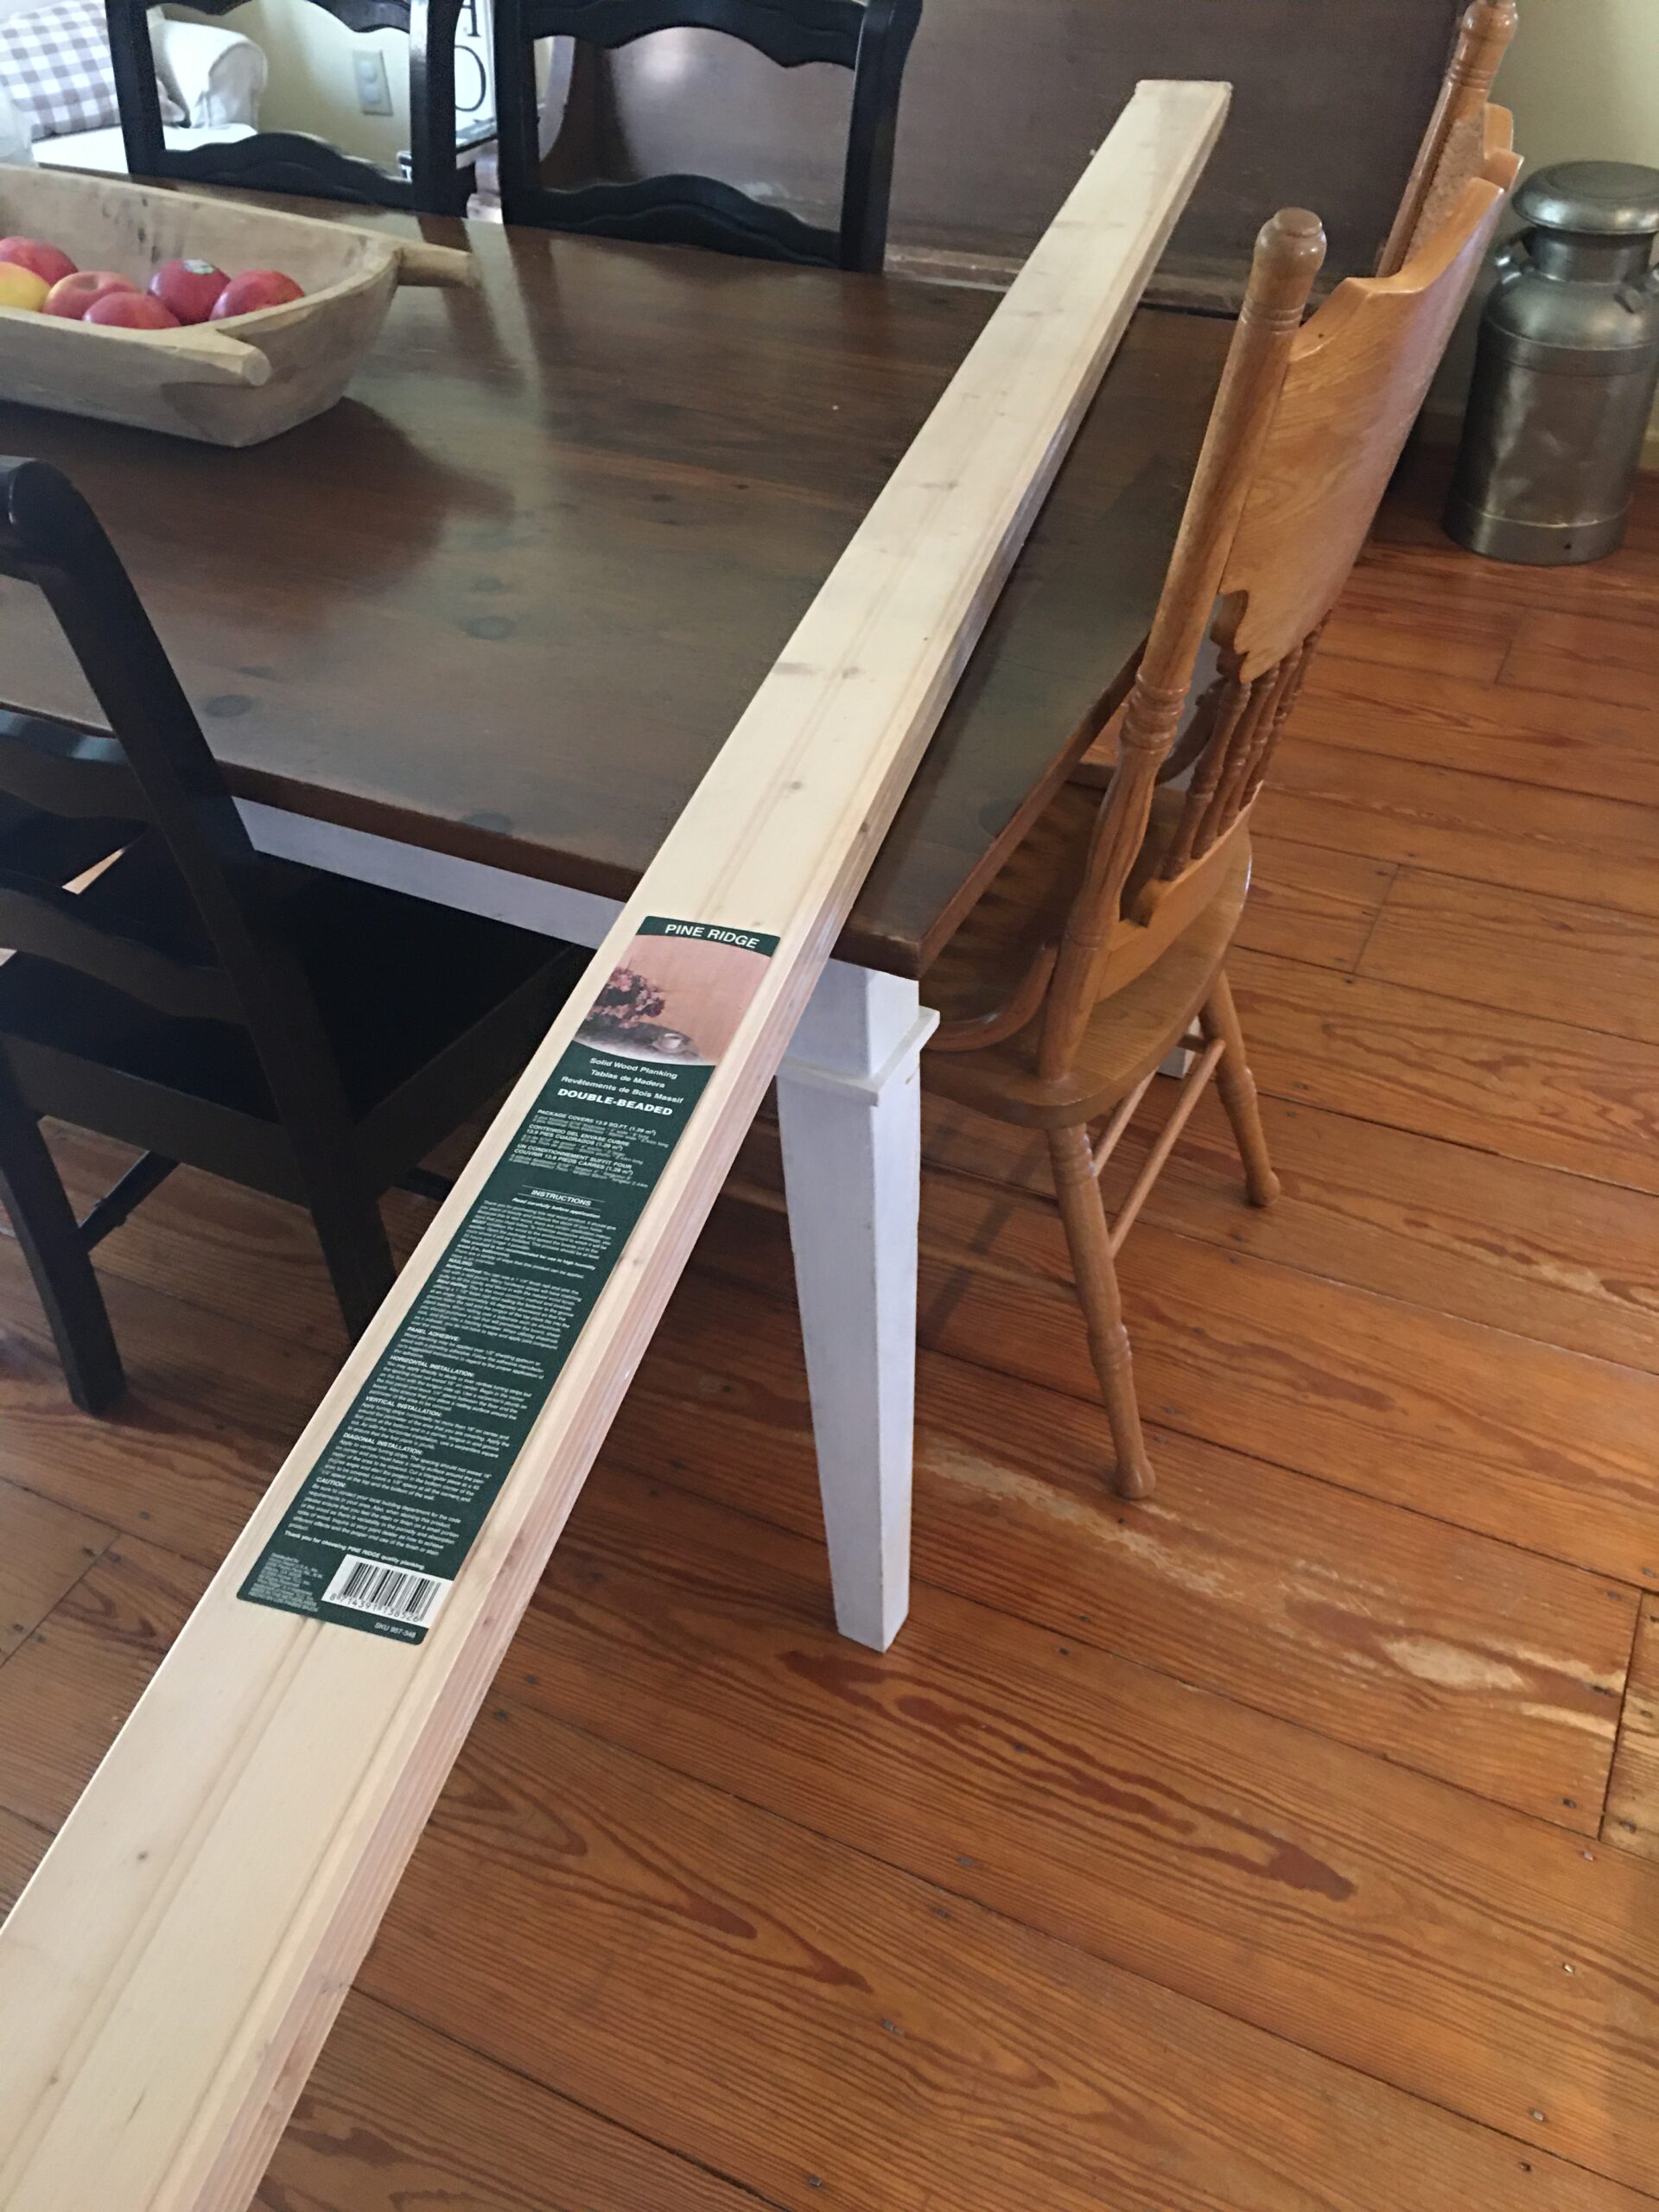
Last year while my husband was out of town for work, I looked around the workshop and remembered that we had some extra bead board from our DiY console that my father and I built a couple of winters ago. I wasn’t sure if there would be enough material, but after looking at vinyl faux tiles for so long, I was desperate to do some type of an interim fix to bring the “dark dungeon” into the light and into the 21st century. So with a limited amount of carpentry skills and a tiny budget, I set out to use what I had to make this space better.
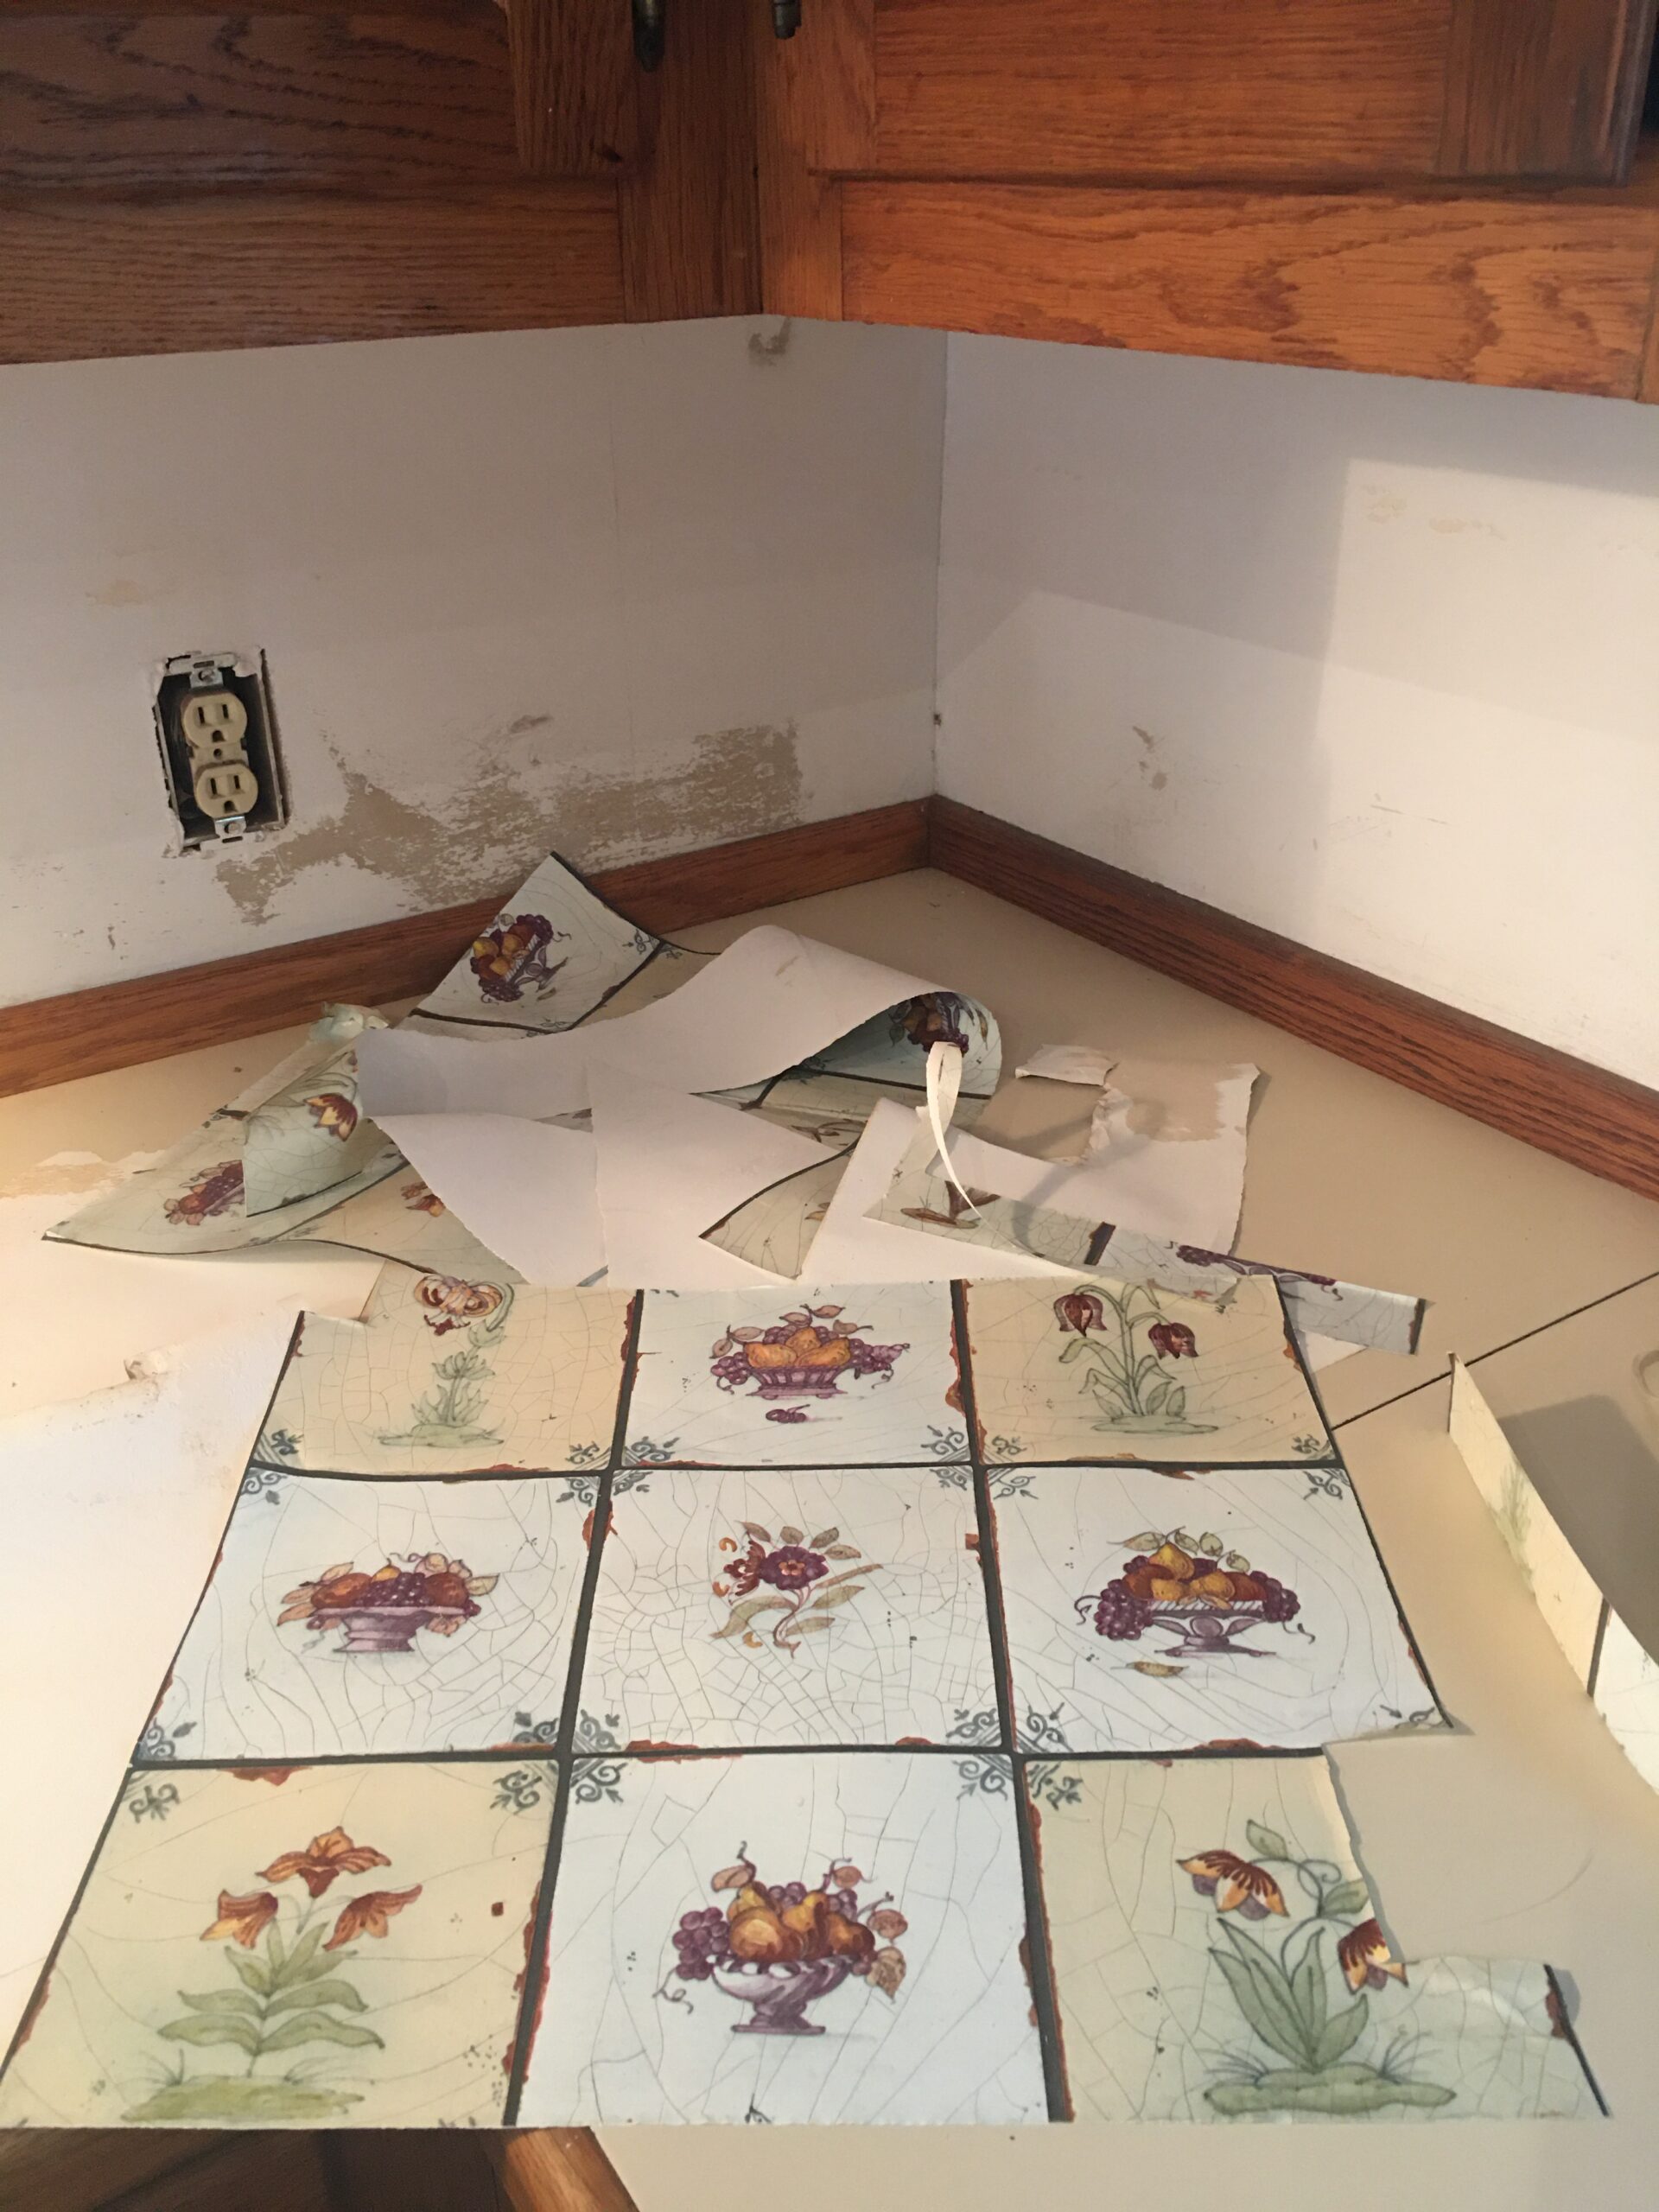
Removing this ugly vinyl contact paper was the BEST thing I could have done for this space!
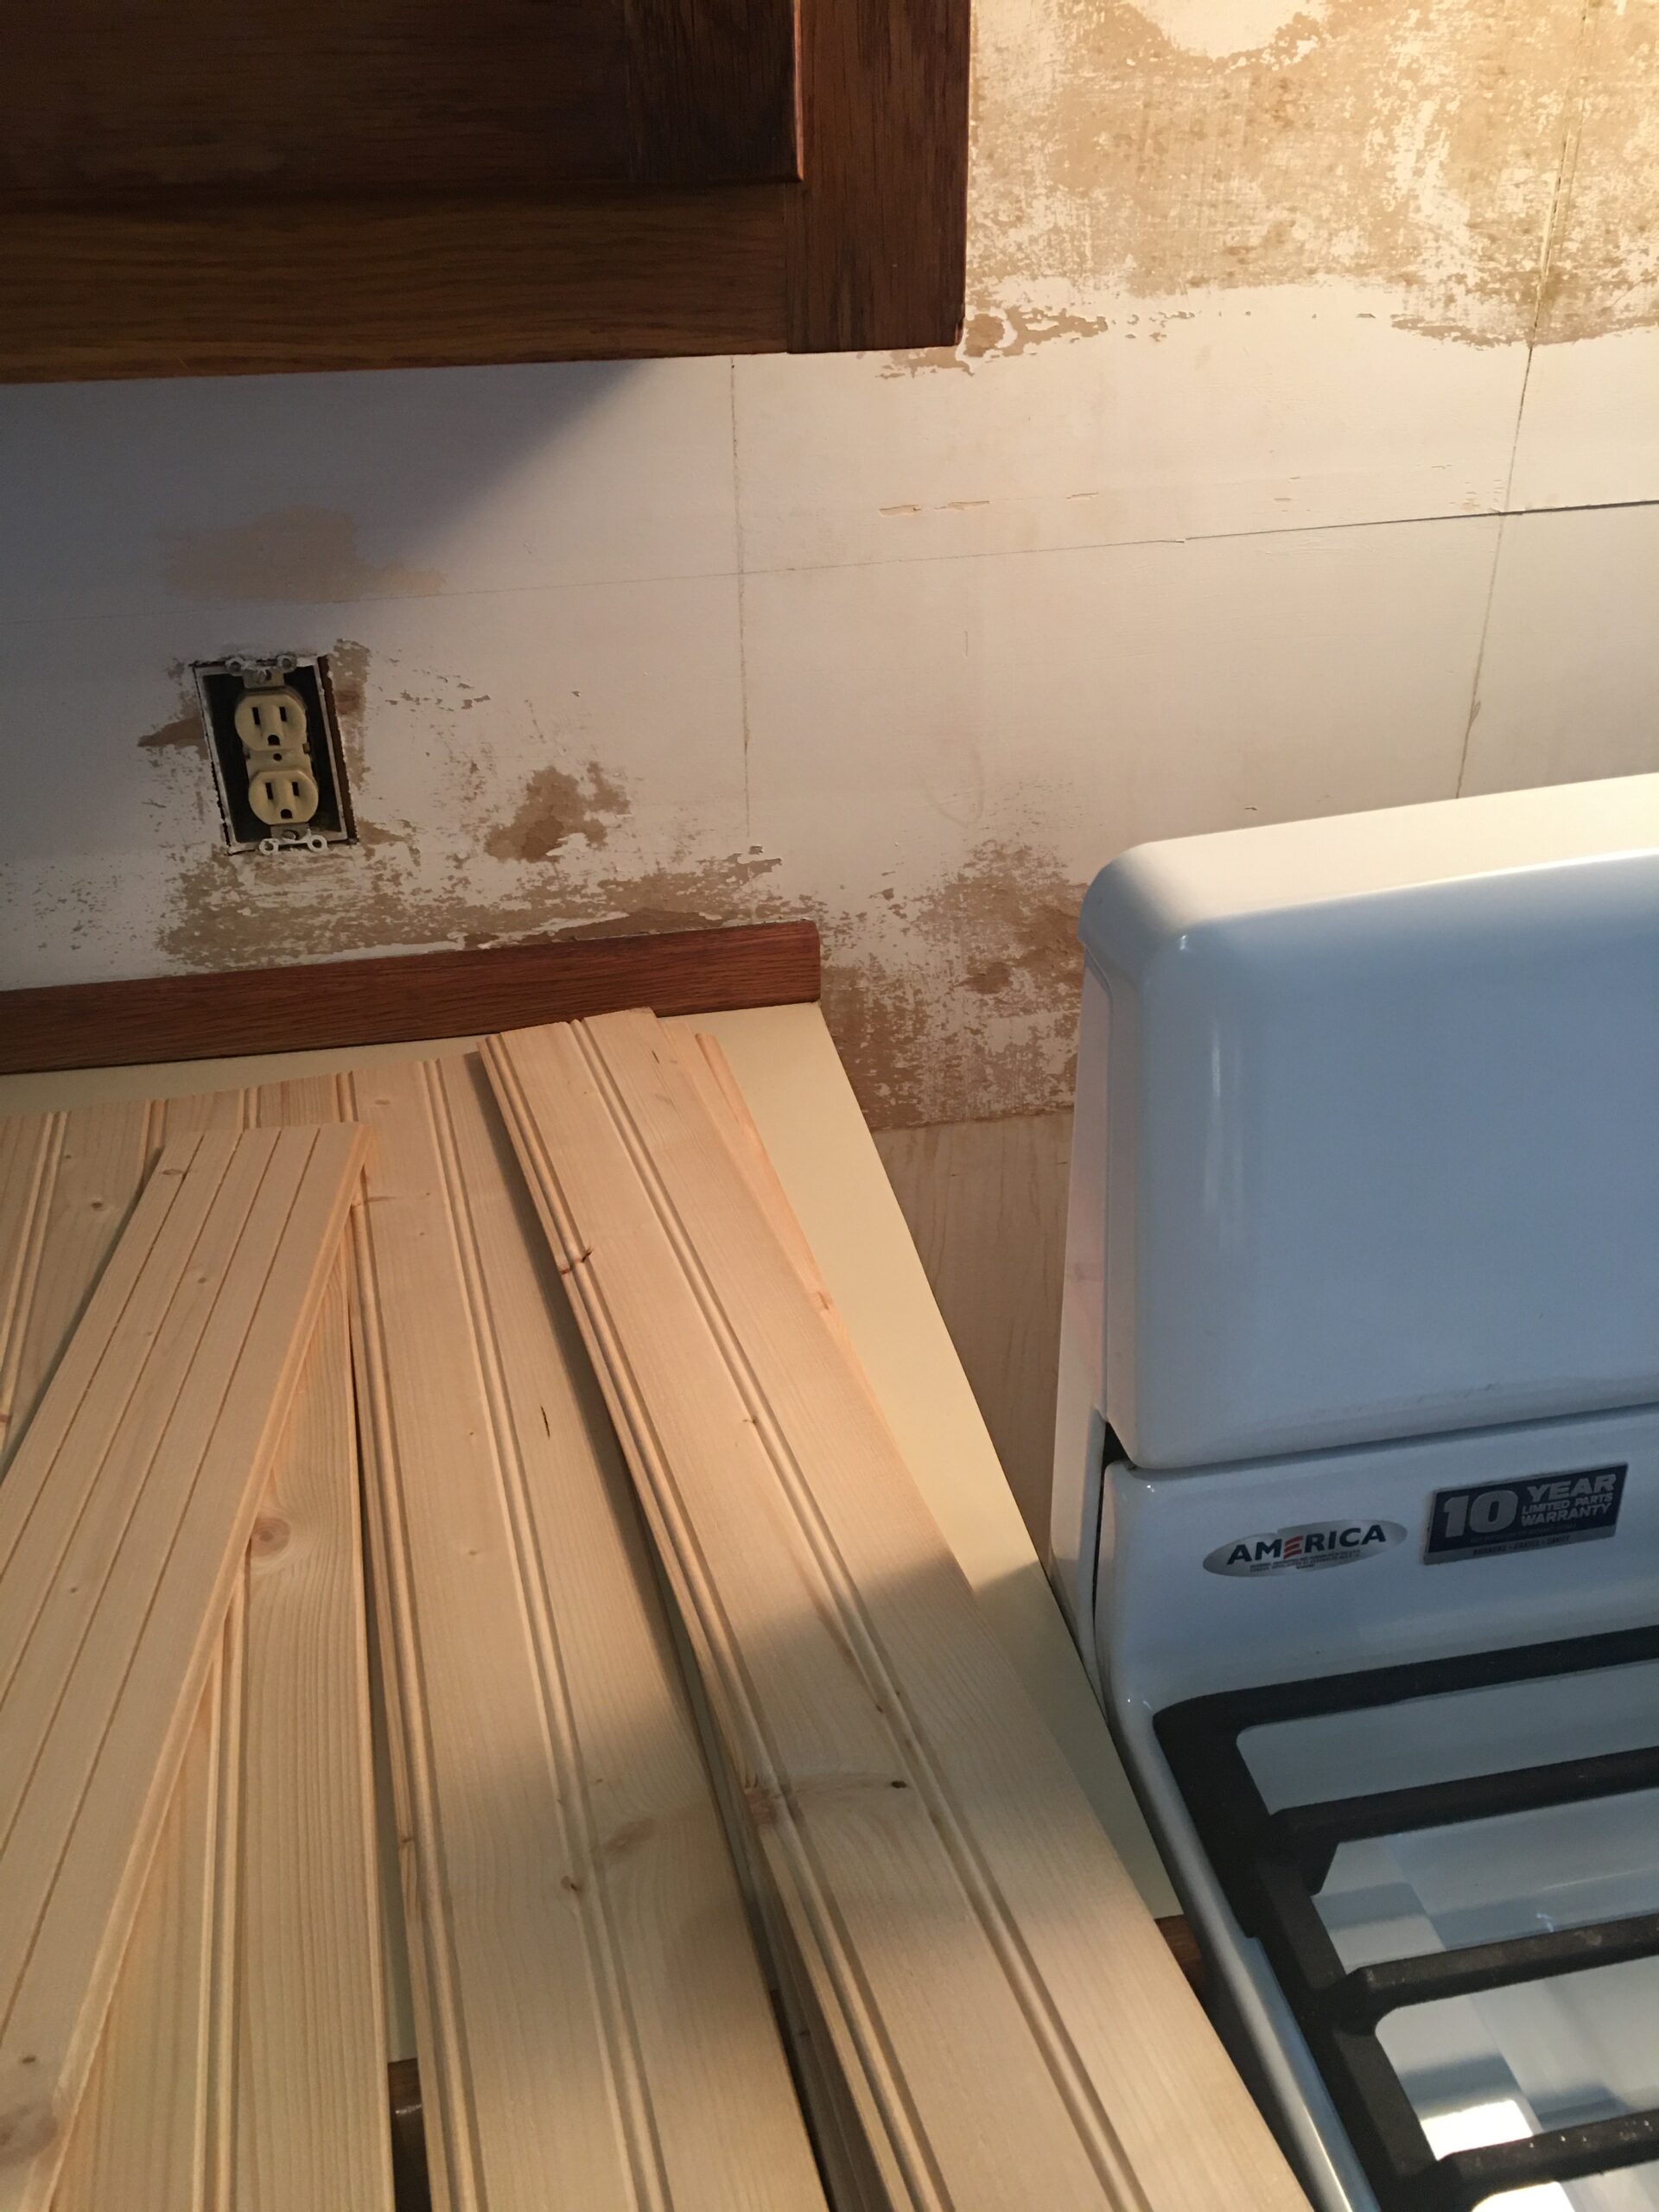
When I started on the backsplash, I had considered just painting the wall if I didn’t have enough bead board, however the glue created a big ugly mess. So I had no choice, but to go with the bead board. I came up a wall and a half short. Not a big deal! Nothing an hr drive to Home Depot and $20-30 couldn’t fix. (wink)

It went up pretty easily. The hardest part was walking back and forth to the workshop during the cutting and measuring process for the corners that were wonky. Old homes! You got to love them! (smile)

There is just something about this style of wooden bead board that really says “simple farmhouse style” to me. We have used it in all our homes over the years and in different spaces. It’s such a classic look!
Once I installed the bead board, I primed and painted it white to lighten up the space. The white paint helped make the darker wood cabinets pop. After I was done with the backsplash, I felt like the rest of the extensions to the kitchen were in need of an update as well. So more paint was used for the adjoining rooms. Sayonara mustard yellow walls and trim!
LITTLE CHANGES MAKE A BIG DIFFERENCE
Little by little, the small DiY changes have made this old farmhouse feel more like home. With moving so often in the military, it is nice to feel like we are finally planting roots.
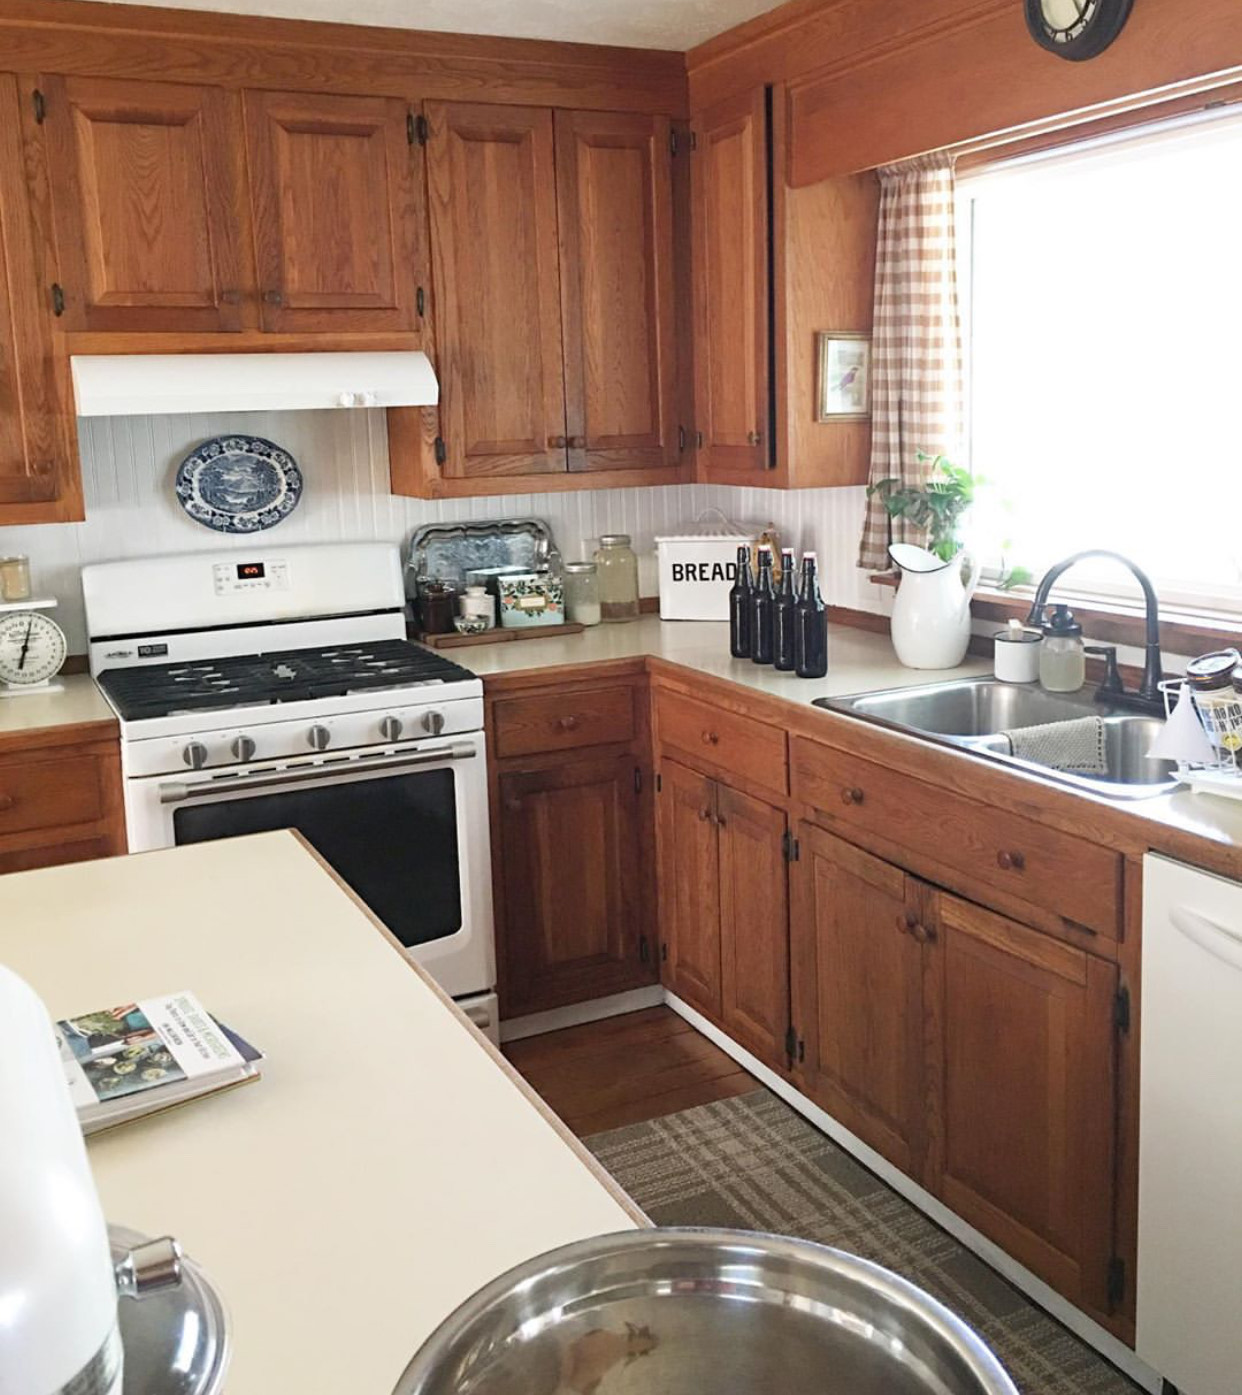
Here is what this space looks like today. When I replaced the backsplash with bead board, I went ahead and used some of the “school green” chalk board paint from the littles’ bedroom makeover to freshen up this doodle wall. The black was just a little too black for our vintage farmhouse.
CONQUERING THE CLUTTER
Updating spaces in our home is one of my favorite things to do during any season or renovation because it gives me a chance to purge, clean, and organize a space. That alone can make a huge difference in the feel of a space.
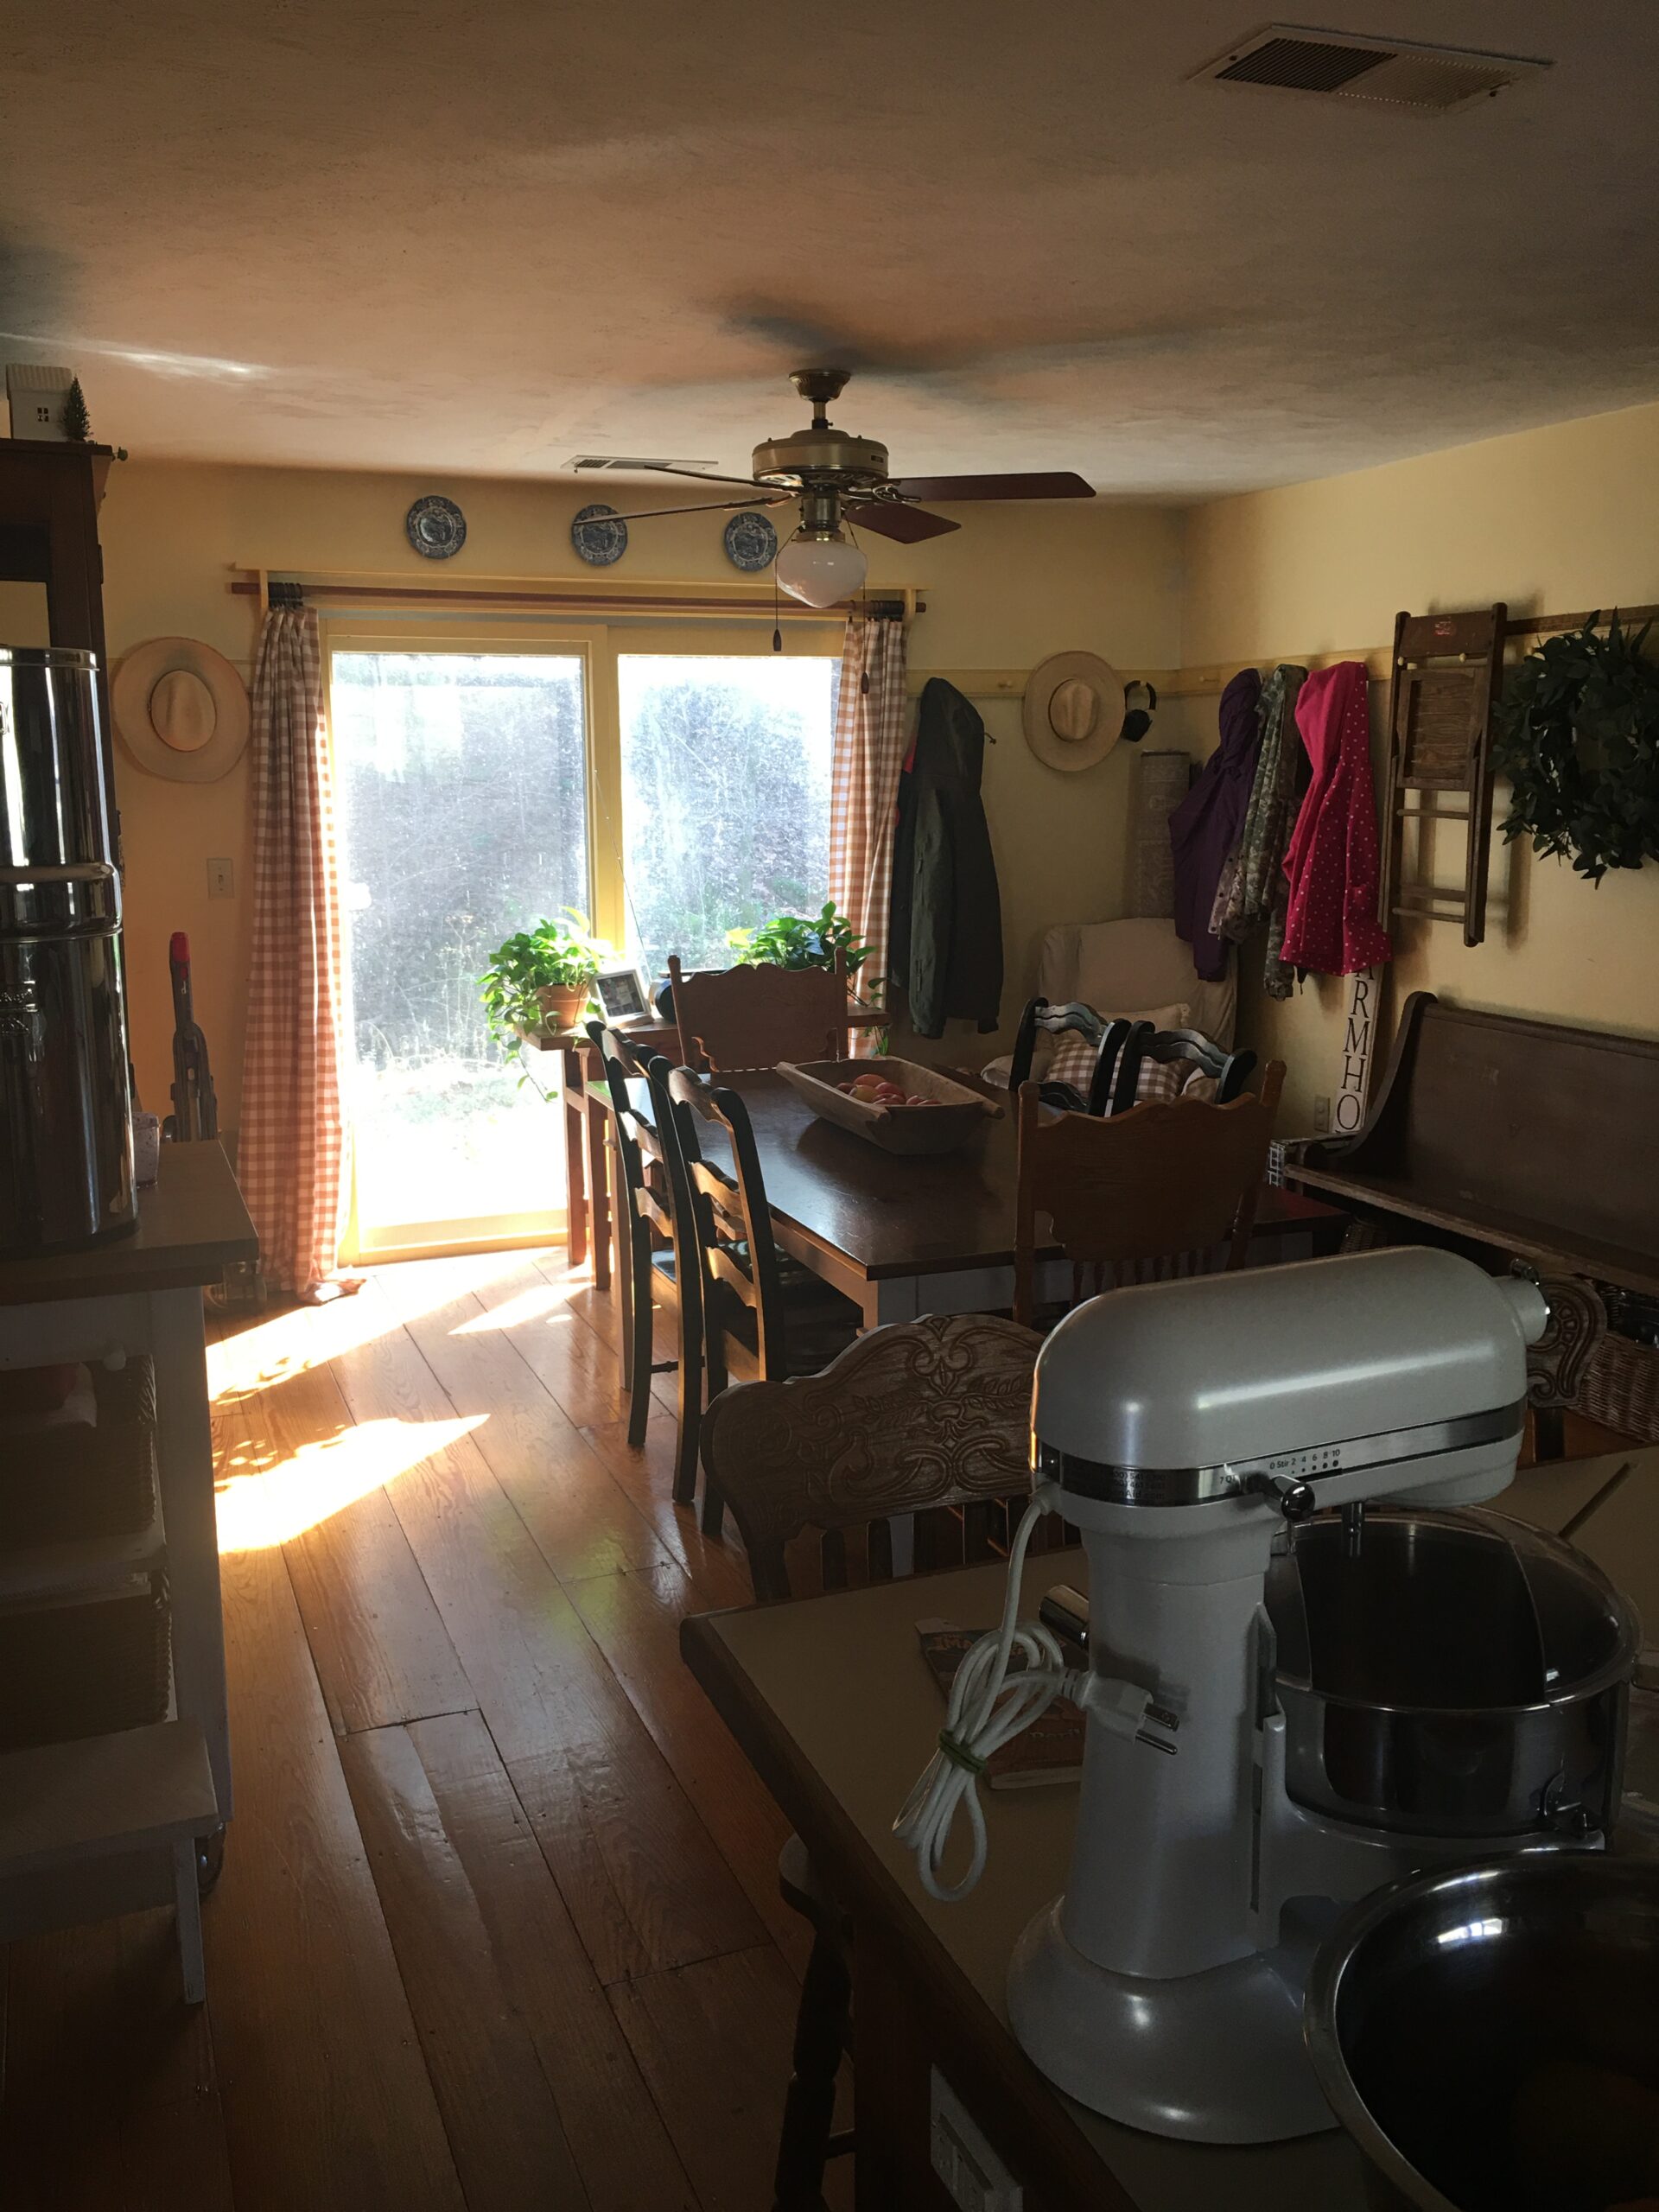
THE DINING ROOM
When it comes to cleaning or organizing, I always start from the top and work my way down. Painting walls is no exception. Since I was on a tight budget and I was trying to finish this mini-makeover before my husband got back, I just used what we had on hand. It took a few coats to cover up all the previous 70’s mustard yellow paint, but what a difference it made!
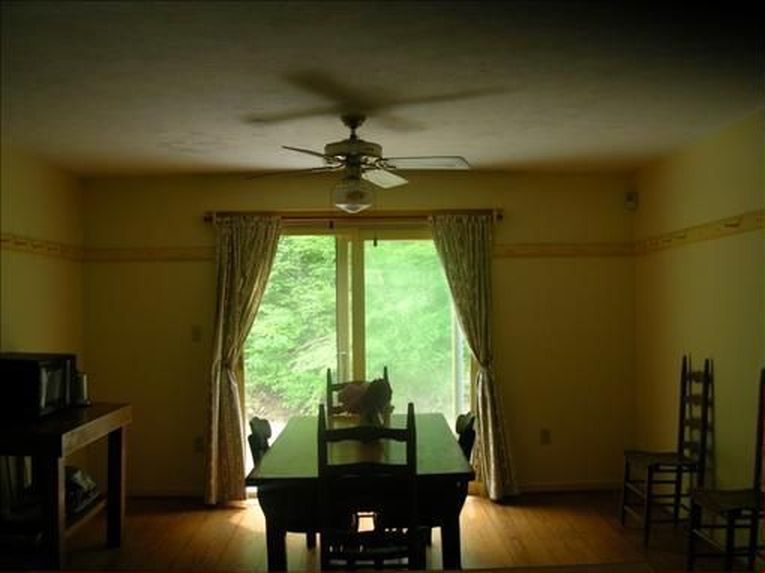
Here’s the dining room from the original sale of the house. Did I mention that the whole space felt like a dark dungeon? (smile)
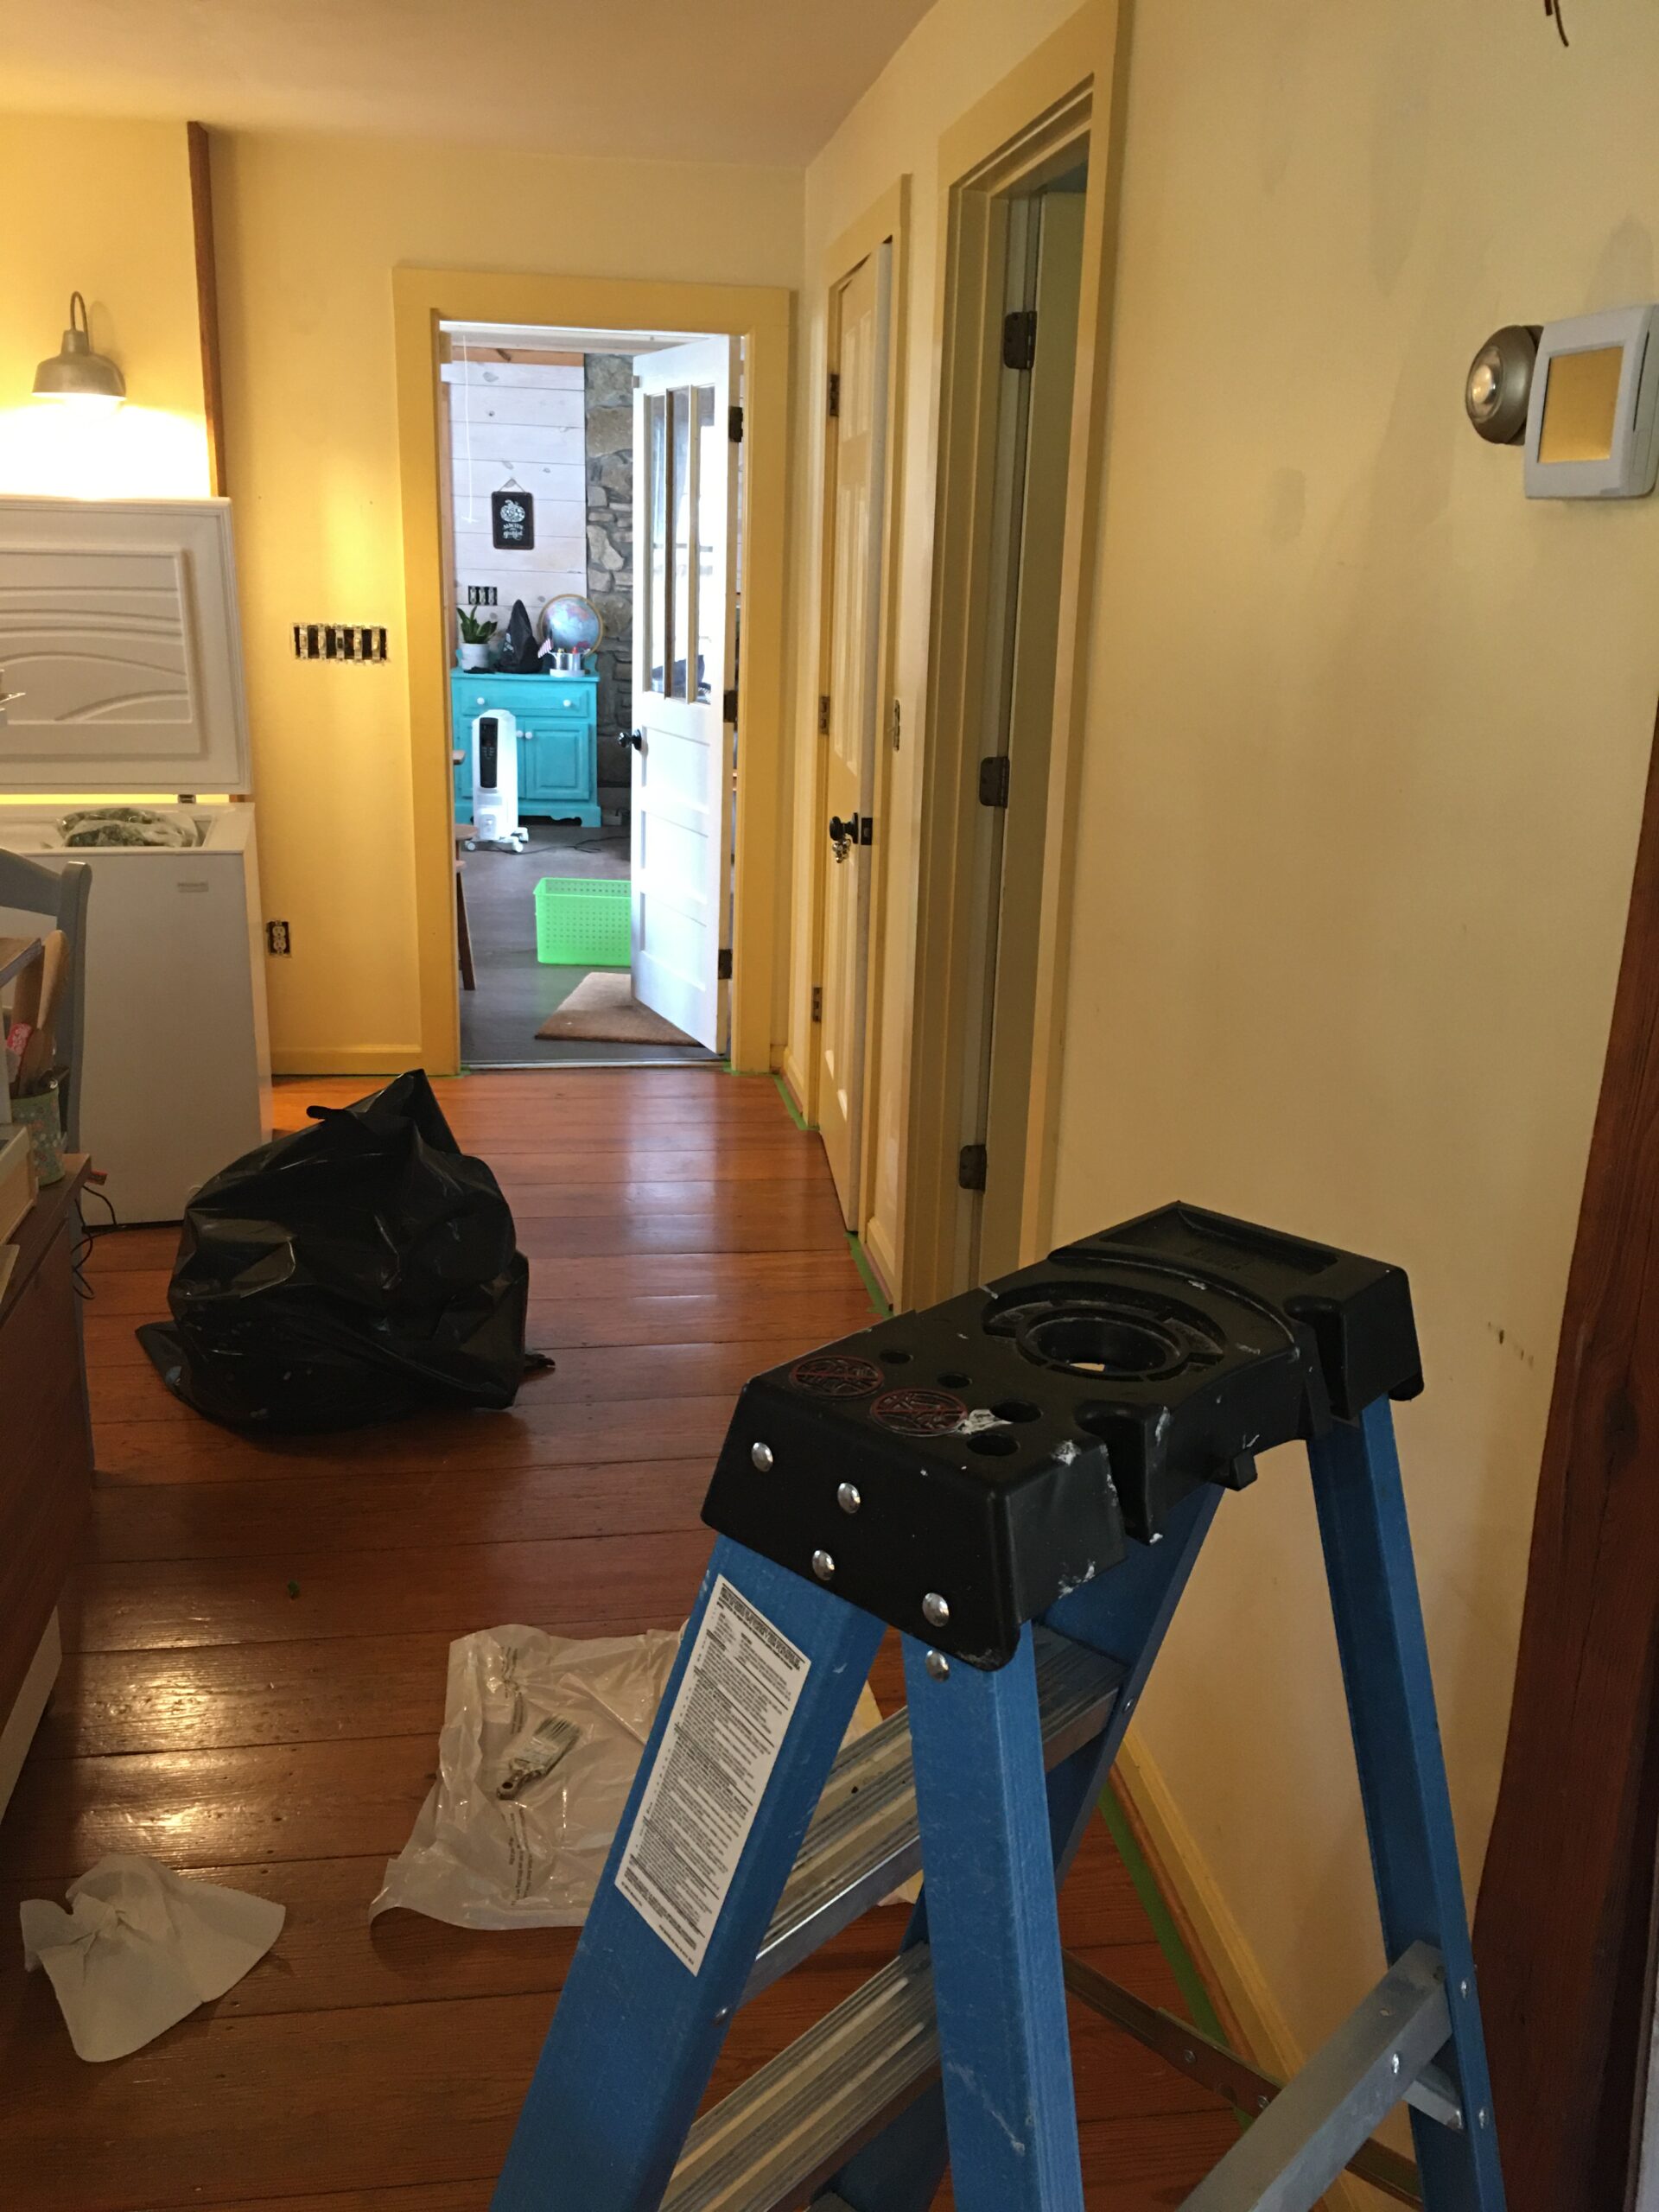
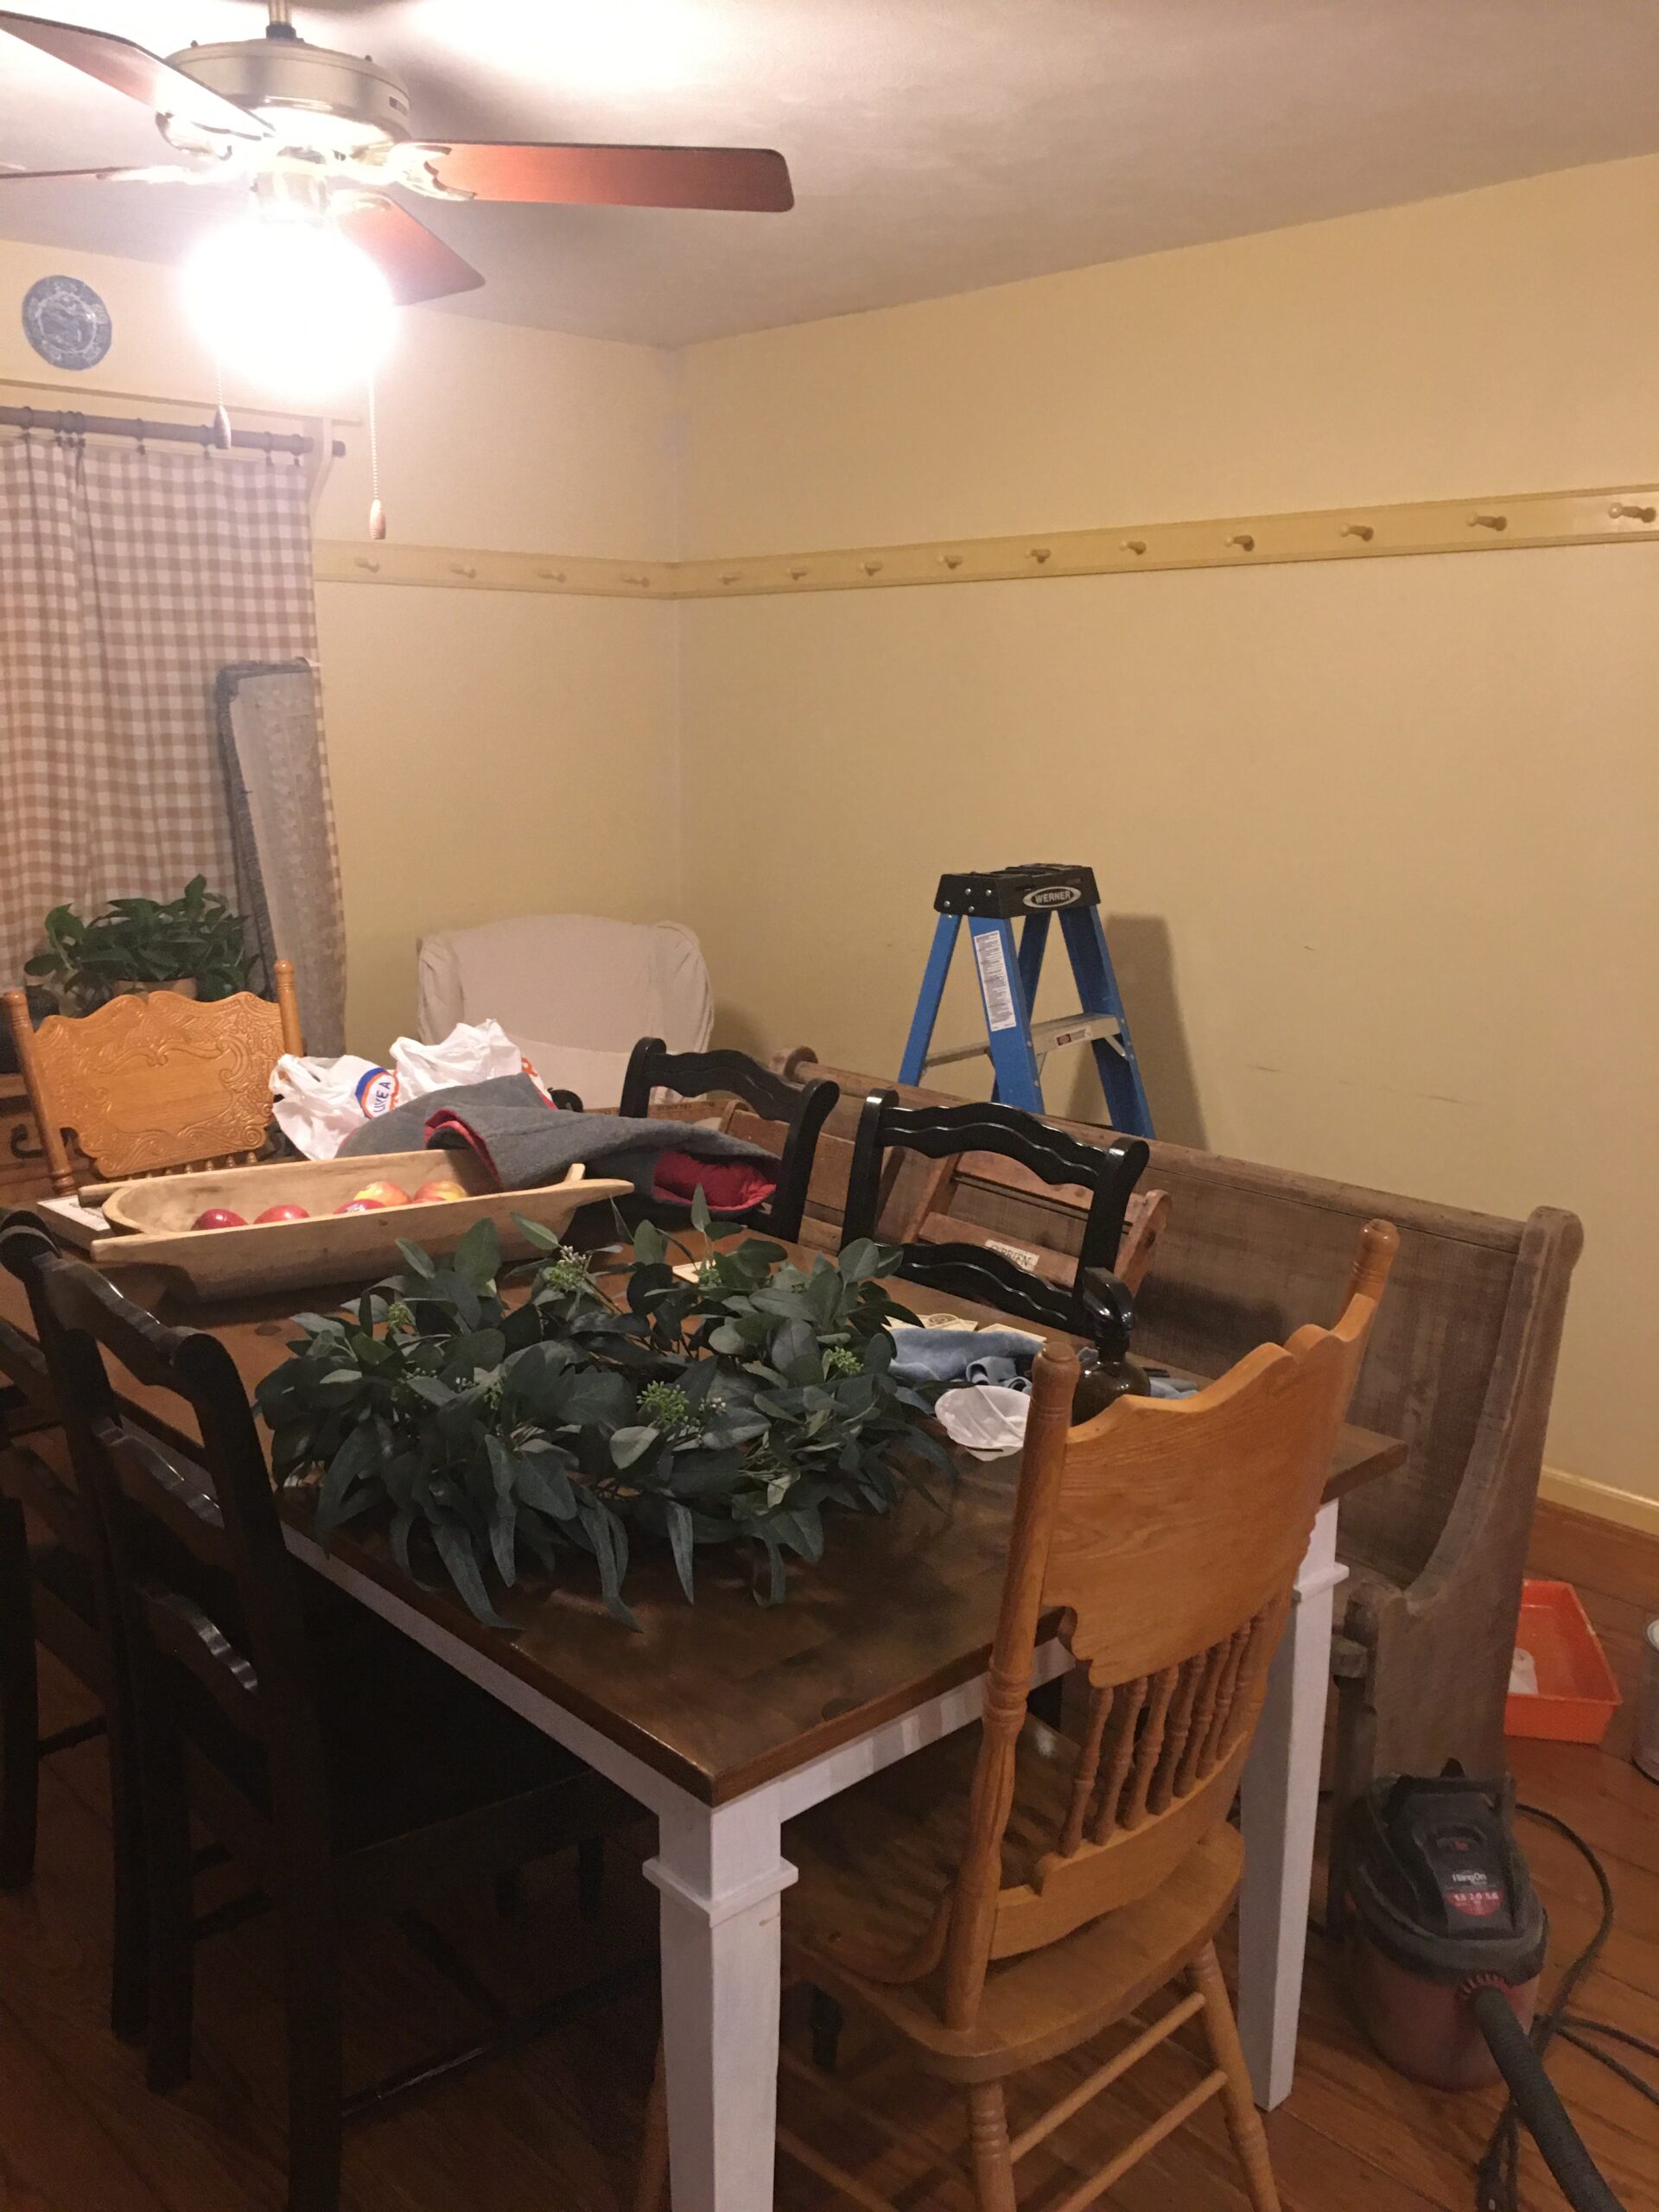
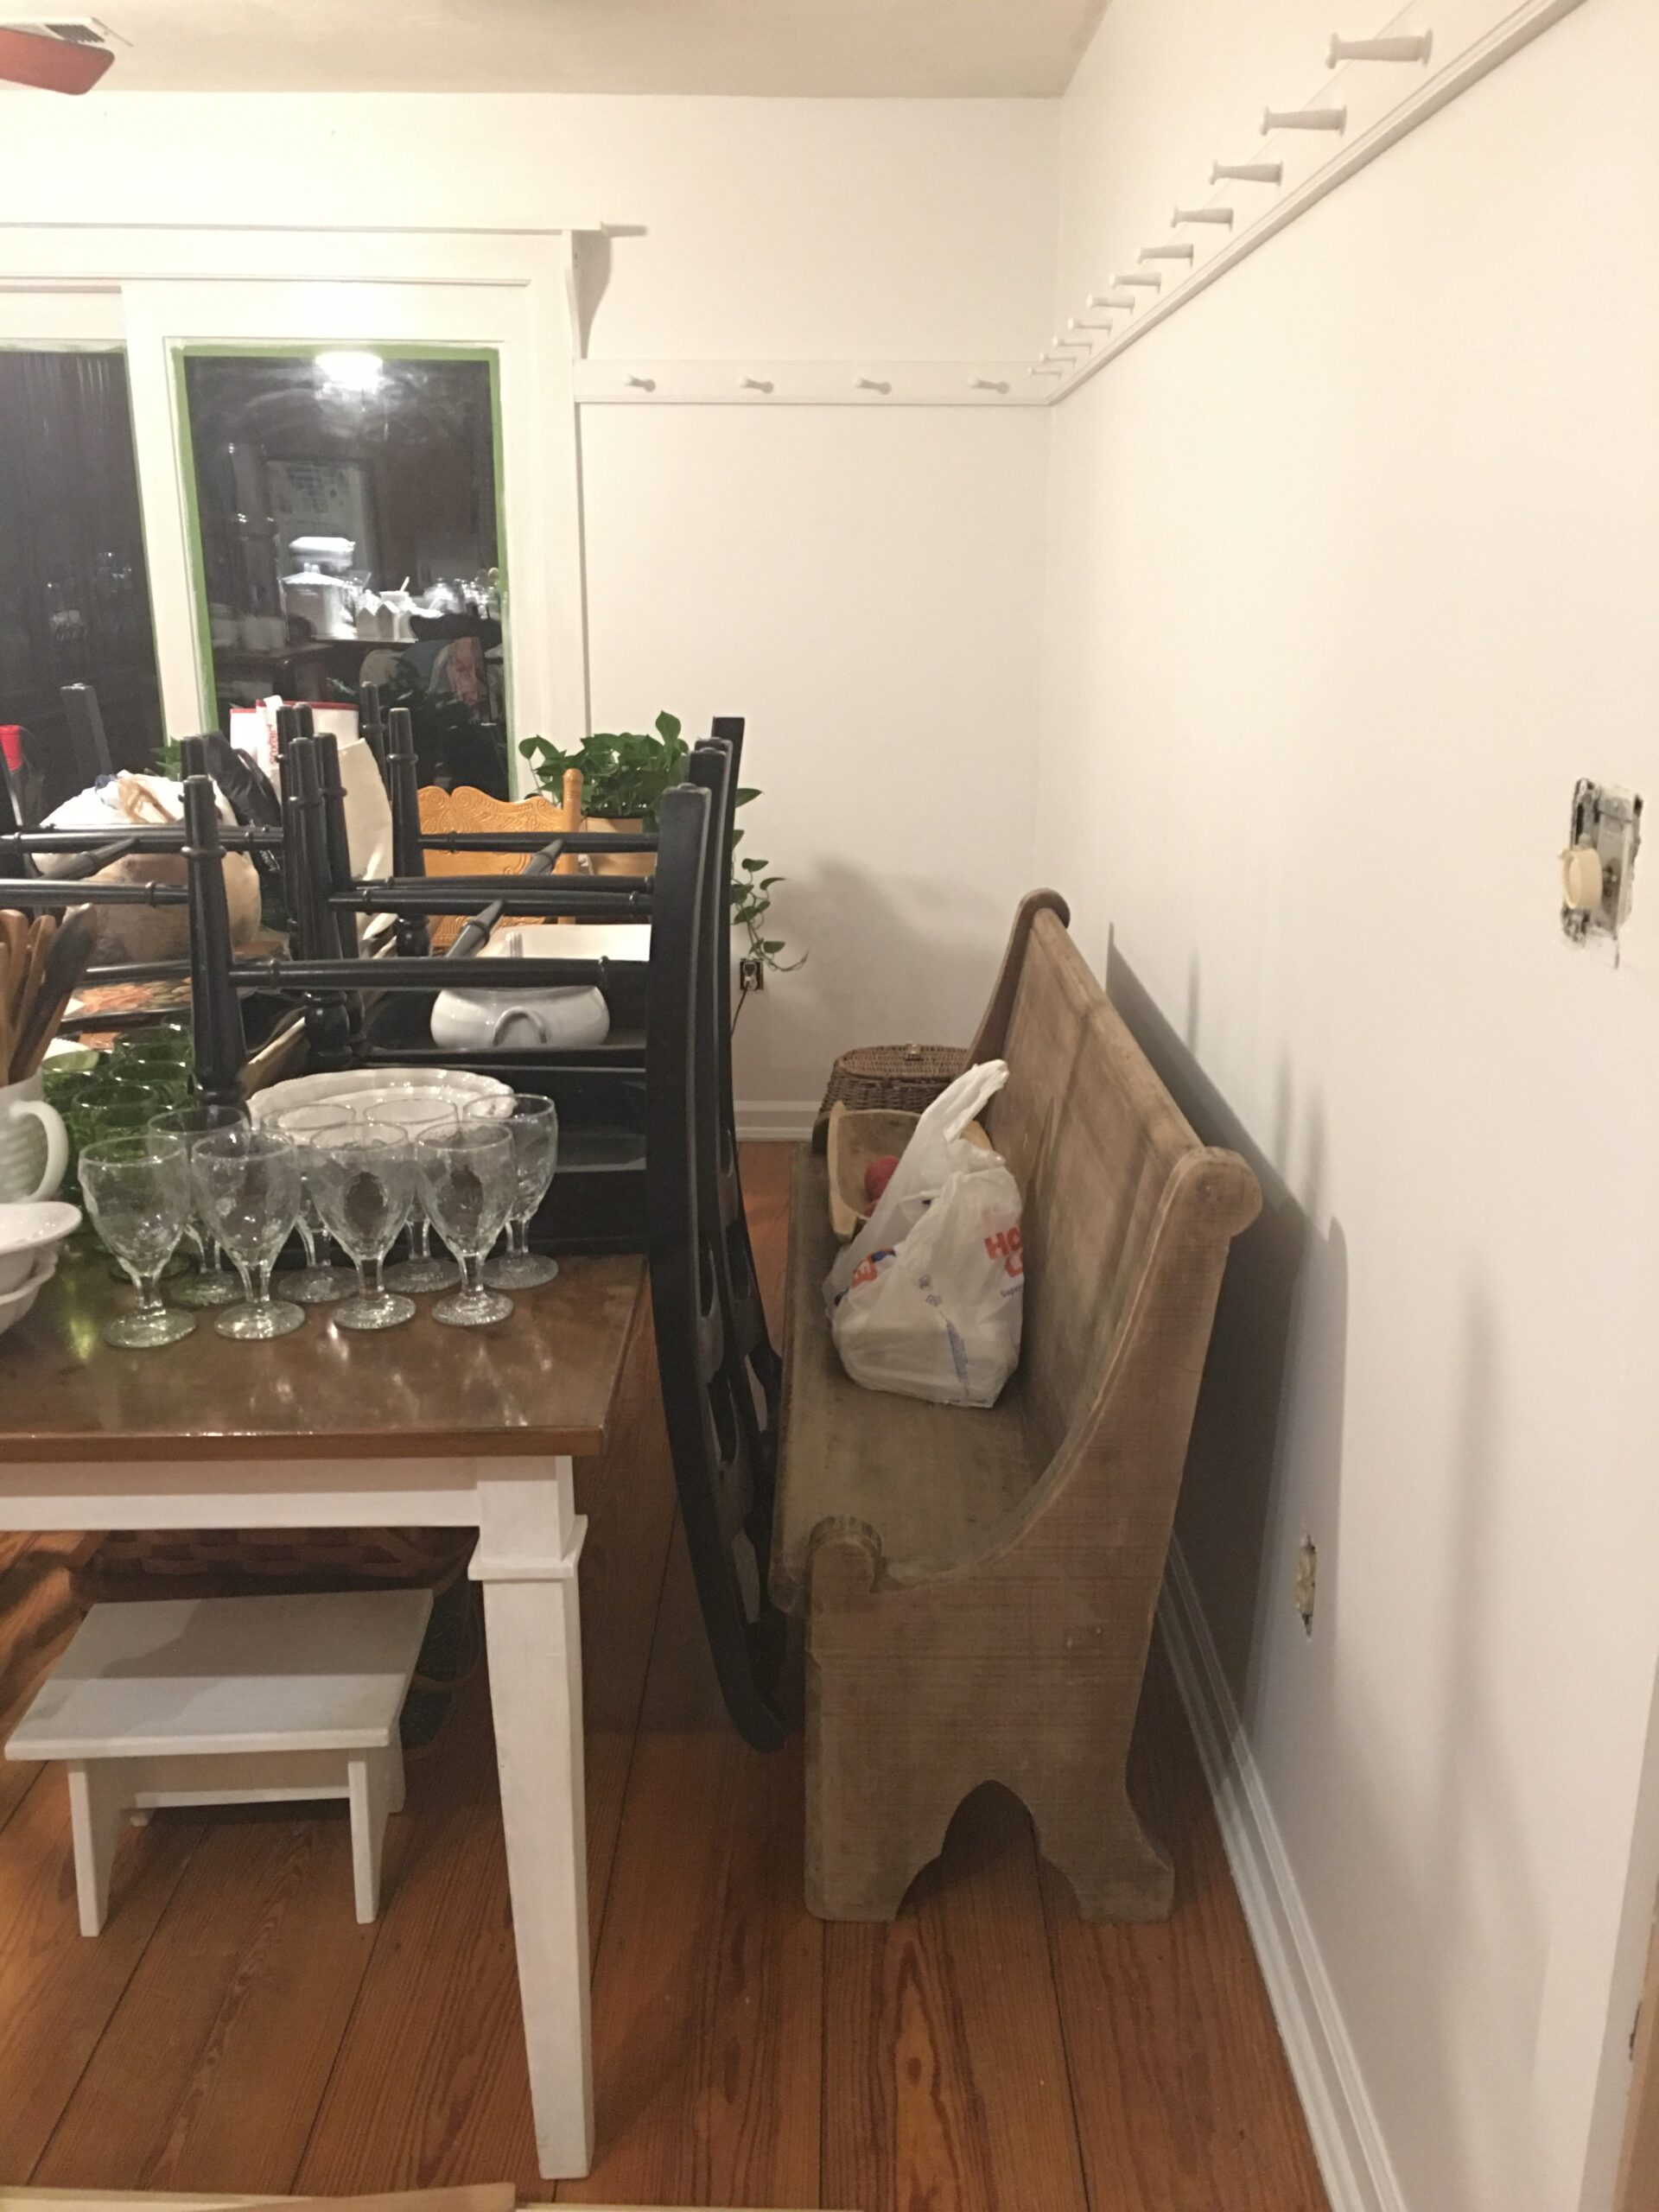
More clean up and prep work.
ADDING A NEUTRAL BACKDROP
We love having this area next to the dining table for extra seating. I bought the church pew for $60 at an auction and just gave it a good cleaning and light sanding. It goes well with the DiY slipcover wing back chair (below) that I found on Craigslist for $20.
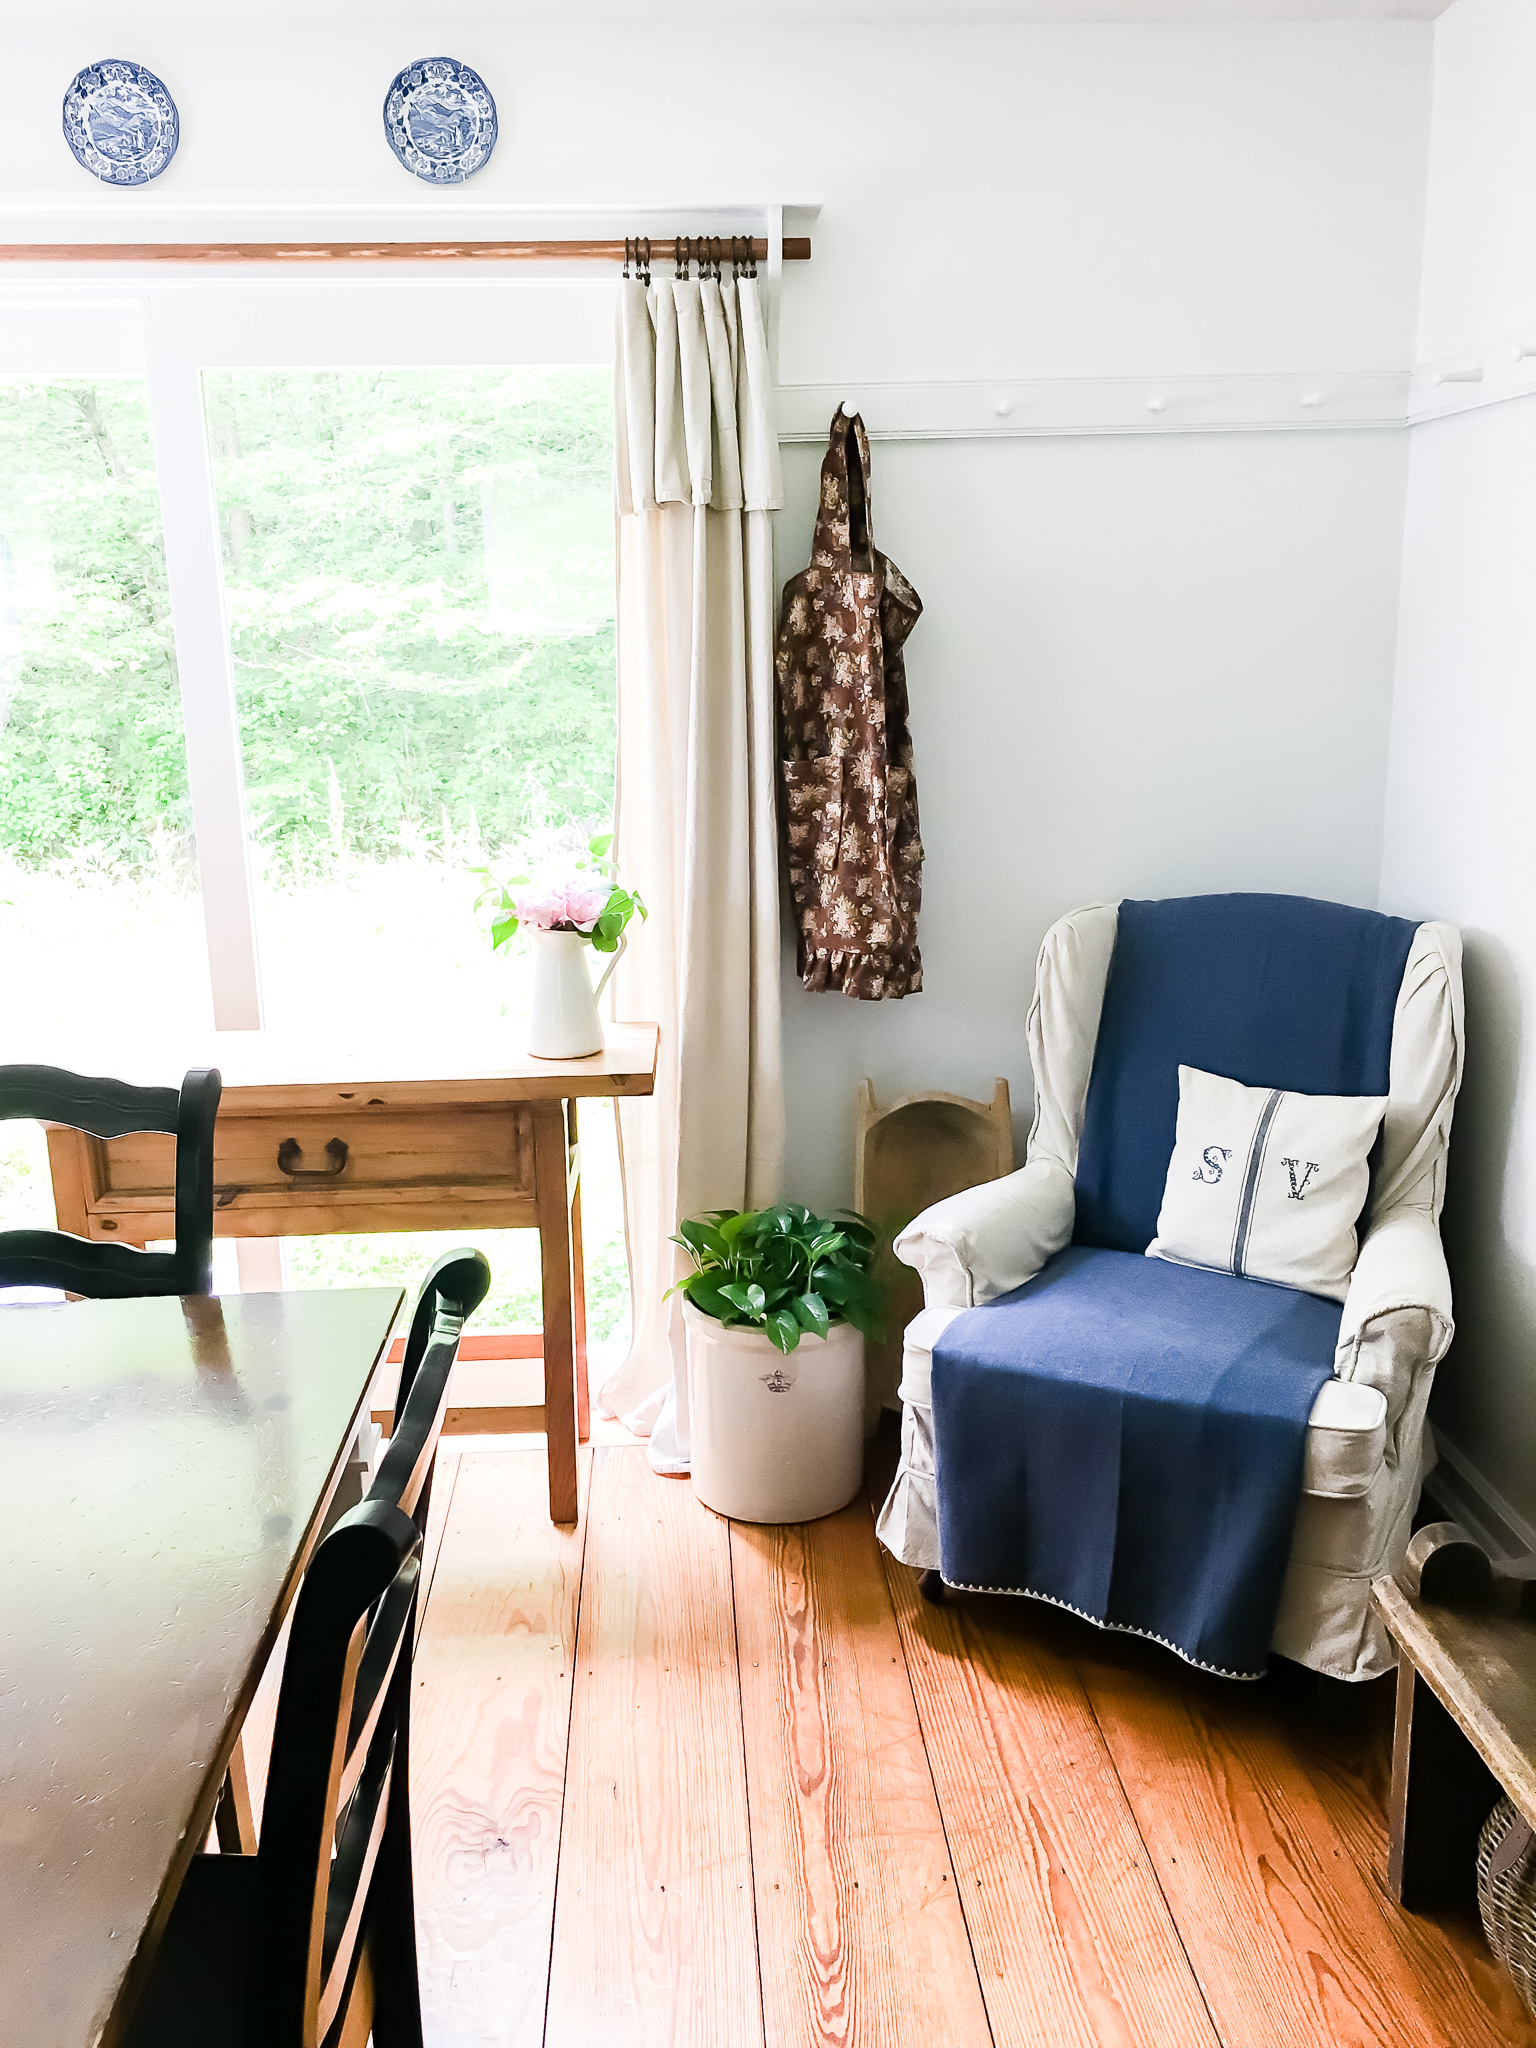
What a difference a little paint can do to transform a space! I love it! It is so cozy and inviting. I love it when the littles come to this corner to read or talk to me while I prepare our meals.
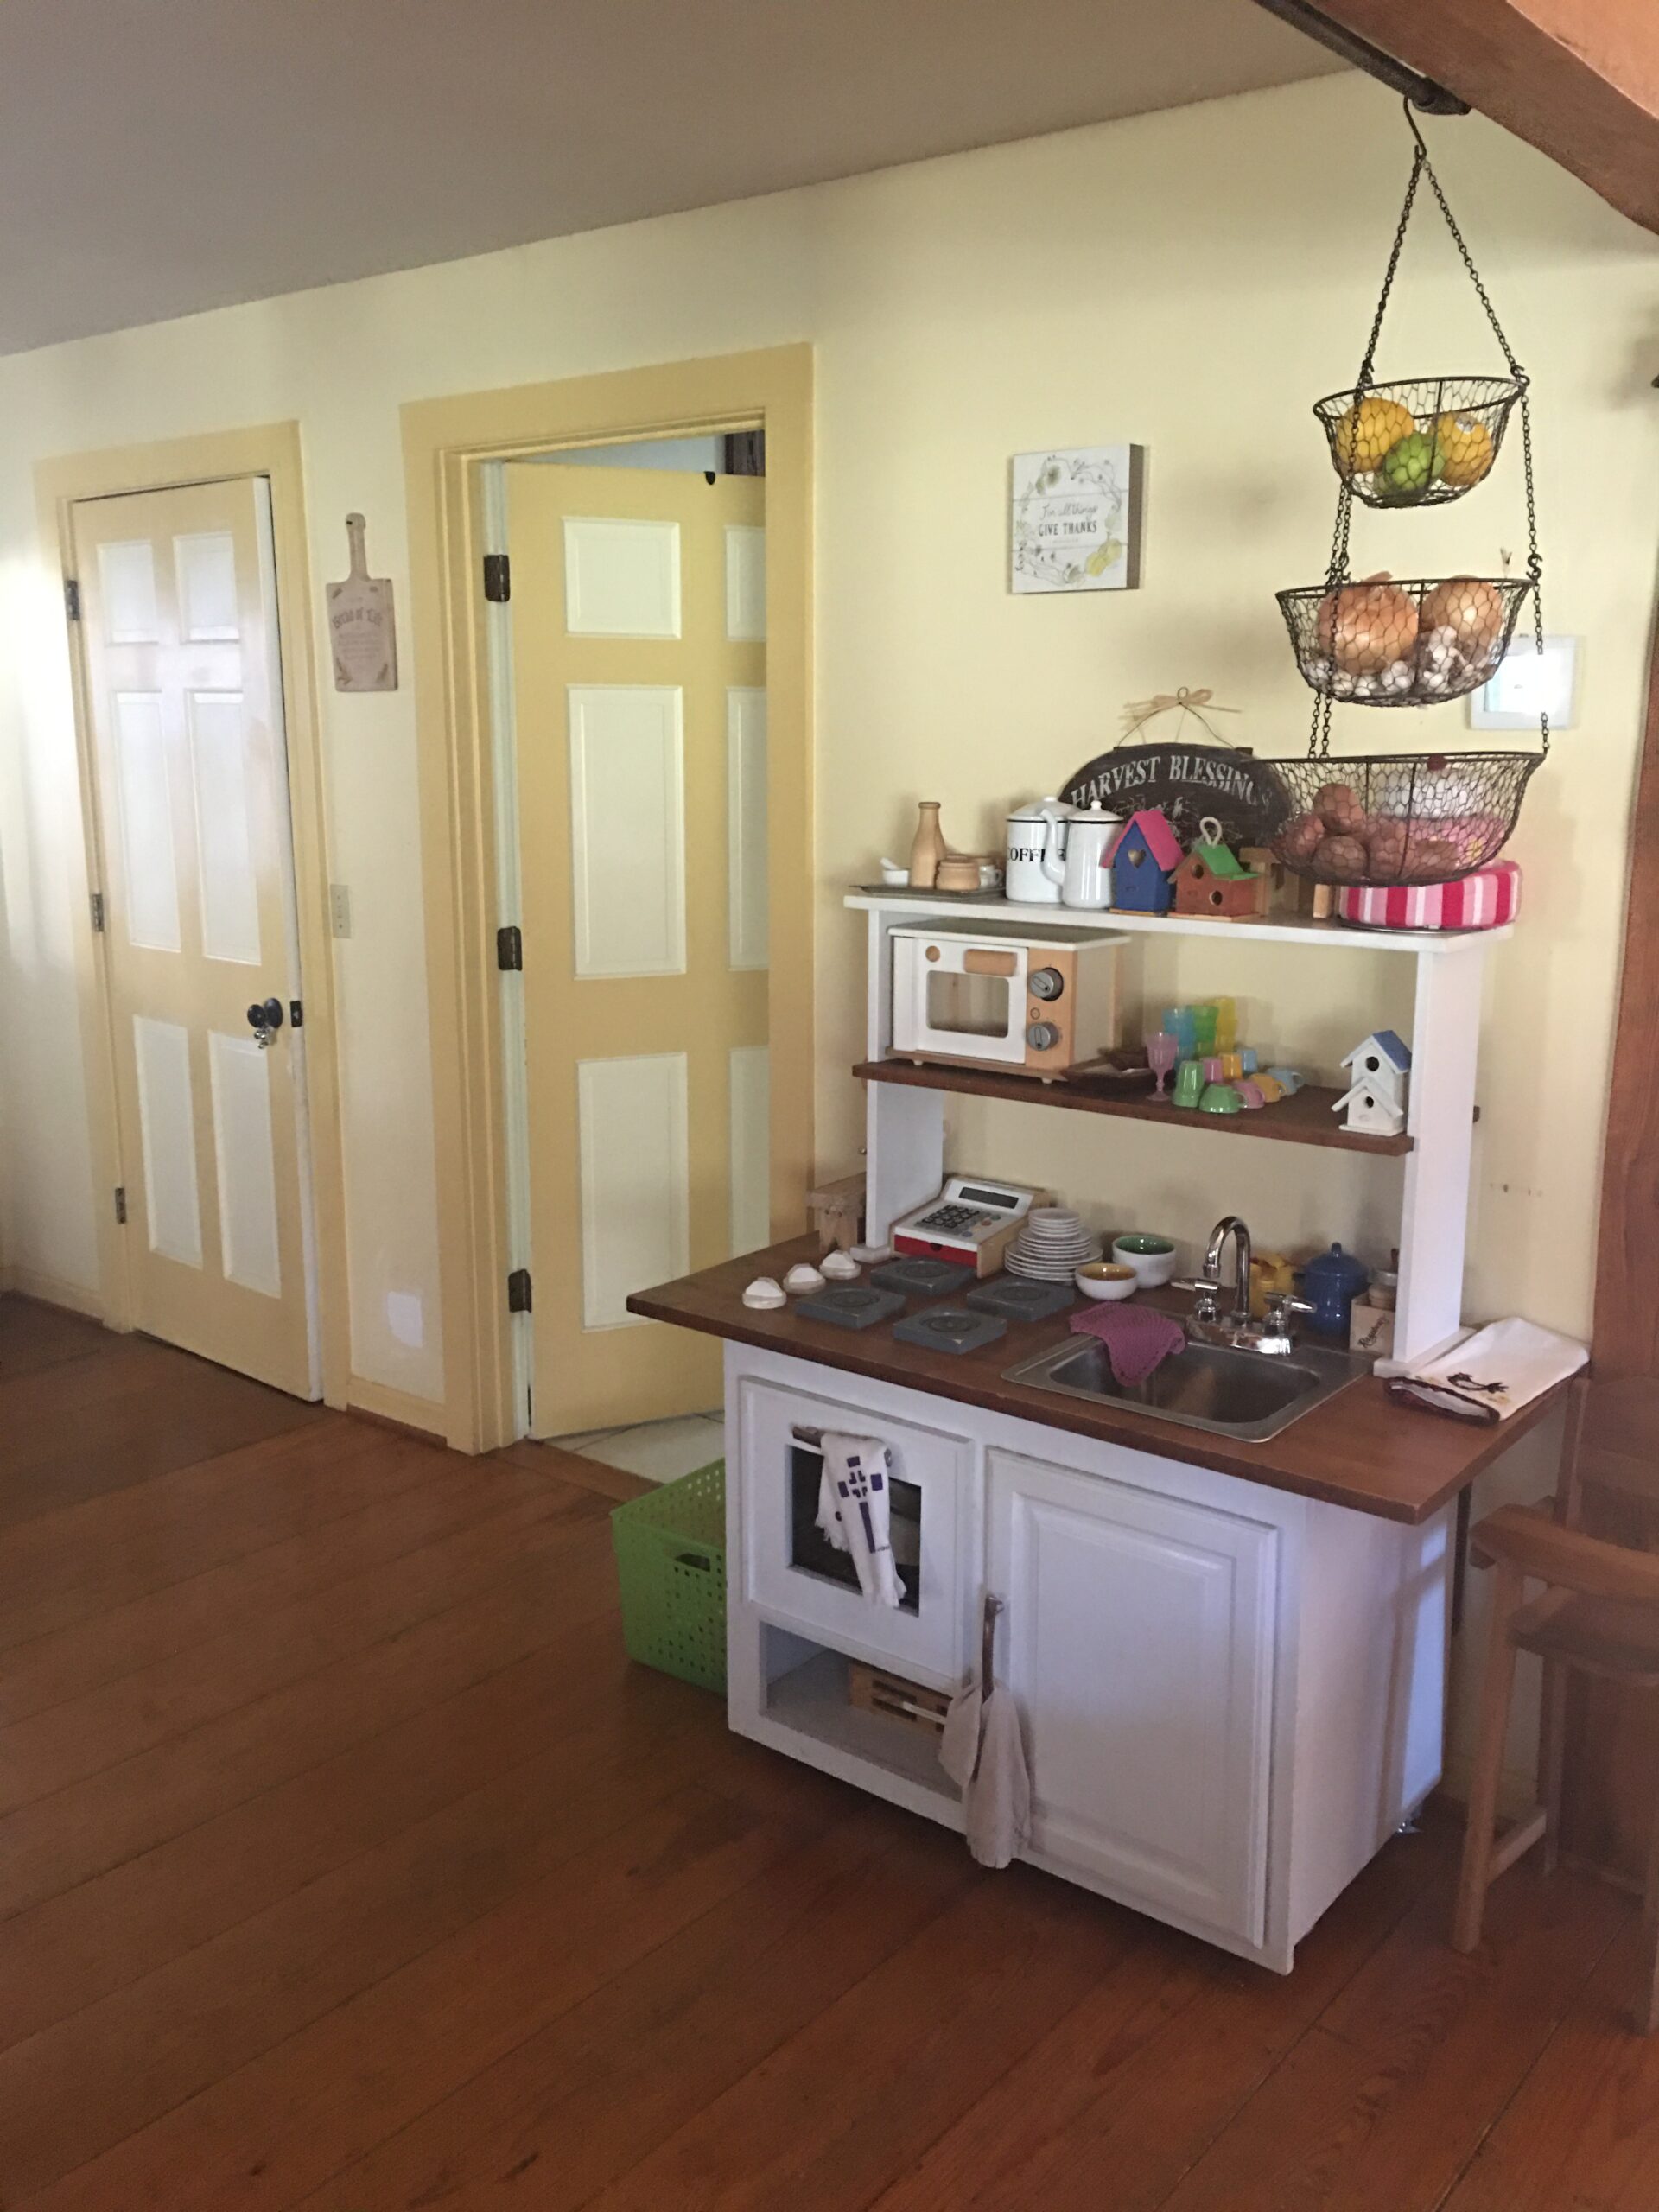
On the other side opposite of the kitchen, we have this space that used to be the original dining room. We use it for the play kitchen and my office now. It was in desperate need of some good old-fashioned elbow grease and of course, a new coat of paint to tie in with the new wooden bead board backsplash and the bright and cheerful dining area. Don’t you love how one project always leads to another? The littles’ old DiY kitchen recently got a little makeover. I can’t wait to share what we did on another future post!
ADDING VINTAGE CHARM

My husband added these adorable signs from Target’s Hearth and Hand Magnolia collection. It really dresses up the newly painted doors and gives the space a more polished look.

We added this replicated vintage-style cast iron dinner bell between the play area and the dining room. It is functional and pretty which is what I love about vintage farmhouse style! We use it daily to call down the troops. (smile)
That is definitely a win-win for the home team! When my husband came home, he appreciated all the hard work and the interim fix. And now our kitchen is not only a functional and well-organized kitchen, it looks 100 times better and fits our more authentic farmhouse style.
I hope our little transformation and simple DiY projects give you some ideas to try in your own homes. Don’t be afraid to think outside the box and repurpose items you already have in your home. Our homes shouldn’t have to achieve “magazine-worthy” status before we can actually enjoy them. Once I decided to stop stressing over perfecting our spaces, I was able to celebrate all the progress we have made and just be thankful for our little farmhouse and all its imperfections. Those are what make our home unique and special, after all! What are some ways that you like to make your house feel more like a home that represents your family and your own personal style?


Great design.. simple small changes are sometimes the best and more comforting for the soul..
So true! I appreciate form and function, especially on the homestead, where we do most of our living. (wink). Thanks so much for following along.
Thank you for the reminder that simple changes can make big difference! Lovely and inviting space!
Thanks so much for stopping by, Jill! I appreciate you taking the time to share an encouraging comment.
Could you tell me the name/manufacturer of your old vinyl wallpaper you removed from the kitchen? My mom is looking for this exact wallpaper (her deceased Mother had it in her house). Thank you!
Hi there. Thank you for stopping by. Sorry I am not able to give you any information on the old vinyl backsplash. It was already here when we bought the property.
We share the same kitchen design. My countertops are green tile. Do you have a refinishing suggestion?
Also interested in hearing your other kitchen ideas.