We started cooking with cast-iron back in 2012, before we purchased our homestead in the hollow. While in the process of searching for our property, we came across the Lodge Cast Iron store in South Pittsburgh, TN. We had already made the transition to more natural living early on in our marriage. The more we researched and learned, the more we discovered helpful tools and techniques to help us along our homesteading journey.
Cast iron skillets are super versatile and they will last for generations. In fact, we inherited a few from my husband’s side of the family and use them regularly.

Three years before making the switch to cast iron cooking, my husband had experienced Teflon poisoning after a homemade pizza party went awry. We had already removed a lot of the products that contained known toxins from our home. We also purged a lot of the items made with harmful plastics and replaced them with wood, glass, and stainless steel. These cast iron skillets were a great alternative to teflon pans. They can withstand high heat and retain heat well for even cooking. These work wonderfully on our gas stove and are the work horses of our farmhouse kitchen. Plus, they can go directly from the stove top, right into the oven. Double bonus!

At first, cast iron seemed a bit finicky, but after a little trial and error and more regular use, we don’t plan on ever replacing these work horses. The key is getting that first seasoning to “stick.” When the cast iron is heated in the oven at a high temp, a chemical reaction called “polymerization” takes place. This is where the microscopic imperfections get filled in by the baked on oil and bonded to create a smooth surface. If you season well and use daily, cleaning “should” be as easy as simply giving it a good wipe with a clean, dry dishcloth.
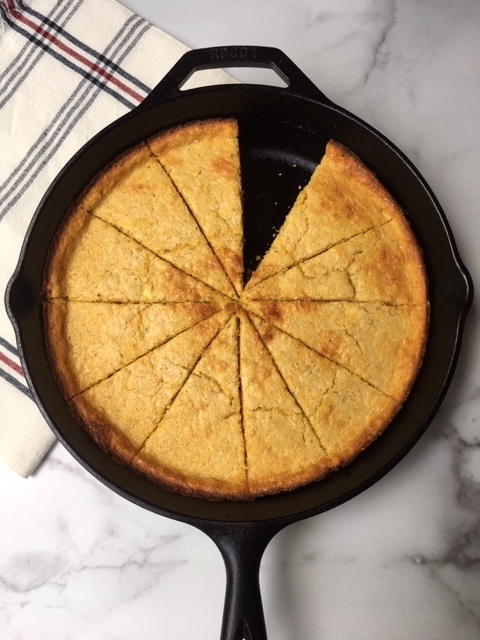

Photo source: Amazon.com
NOTE: We purchased individual pieces at the factory store, but essentially our Lodge cast iron collection has the same pieces as this one that is available on Amazon here.
**This post may contain affiliate links. Read my full disclosure here.
HERE ARE SOME BASIC TIPS TO HELP GET YOU STARTED-
1. Select a high temperature oil for seasoning. Most cast iron skillets come with a pre-seasoning from the factory. Flax seed oil is at the top of the “best oils to use” list. However because of its’ high price (it is sold as a supplement), people look for alternative oils, such as coconut oil.
NOTE: It is important to choose an oil with a higher smoke point. If you choose to use coconut oil, make sure to use the refined version. Its’ smoke point is from 400-450 degrees according to the Havard School of Public Health. The unrefined version has a much lower smoke point. Knowing the smoke point of the oils you cook with is important because the temps vary from oil to oil. When the smoke point is exceeded, it can release harmful vapors into the air and can release toxins and free radicals into the food you are cooking, which can be extremely harmful to the body.
2. Initial seasoning. A little goes a long way. Start with a good first coat to season. Too much can make the surface “gum” up. Pre-heat oven to 450 degrees (depending on the oil you choose). While the oven is pre-heating, rub oil of your choice with hands onto the inside and outside of the skillet. Wipe off any excess with a clean rag or dishcloth. Place skillet upside down on middle rack and bake for 1 hr. End result should be a glossy, non-stick sheen. Repeat 3-5 times as needed.
3. Pre-heat skillet before daily use. This simple step can make or break your experience with cast iron cooking. When the cast iron is pre-heated, the food just slips right off.
4. Avoid super acidic foods until well-seasoned. After your cast iron skillet is seasoned well, foods like tomatoes or citric juice should be fine. We use our dutch cast iron ovens for stews and soups that contain tomatoes, with no issues.
5. Use non-scratching cooking utensils. I have quite the wooden spoon collection started, but I only use a handful of them for cooking with our cast iron cookware. Technically, you could use stainless steel, but you want to make sure not to be too rough with your smooth finish. I do use an old fishing spatula similar to this one here for flipping our sourdough pancakes and flapjacks without damaging the non-stick surface.
6. Use a mild soap if needed for cleaning. The warning about not using soap applied more to times when harsher soaps were being used. These days, soaps are found to be milder and won’t damage the finish. Although, we tend to leave soaping to those times that are absolutely necessary. A quick wipe works well.
7. Store in a dry place. After use, reapply a small amount of oil of your choice (as needed) and wipe excess off. Stack skillets and store in a dry place until next use.
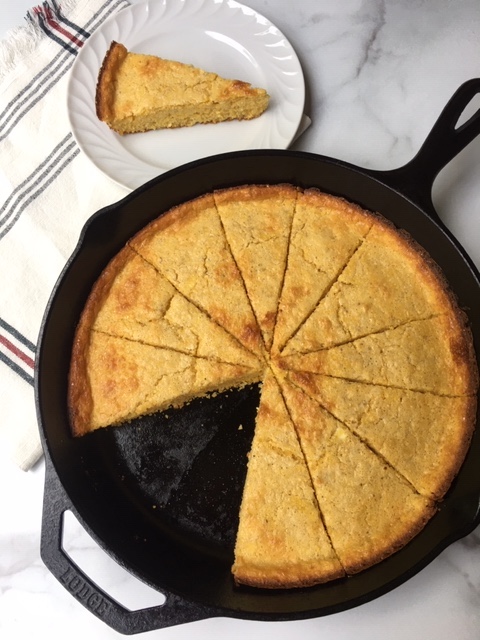
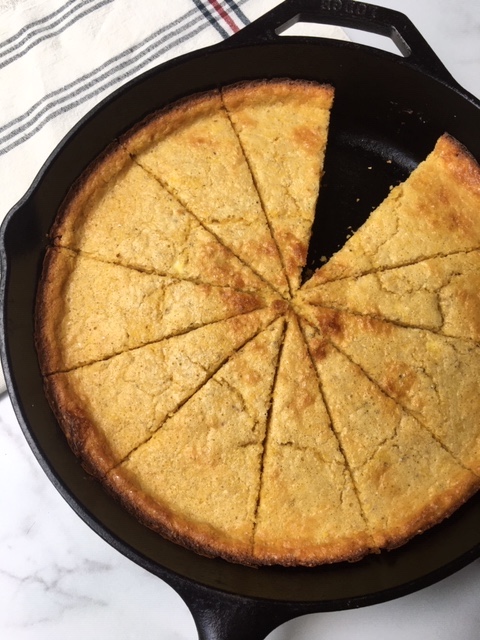
Cooking with cast iron doesn’t need to be intimidating. This sourdough cornbread is a great example of how a well-seasoned cast iron skillet can work for you. Once you know the basics, this sturdy cookware is not hard to implement into your everyday made-from-scratch meals.


Great tips for cast irons!
Thanks so much for stopping by and taking the time to comment. We love how well-seasoned cast iron cookware lasts! I appreciate you taking a look at the blog.
Thanks for the tips.
Would love to learn more about detoxing our home from cookware to cleaning supplies.
Hi Pam,
Glad you liked the post! You can find posts about what cookware we use and what we use for cleaning our home in the section called “Simple Living.” On that tab, you will find a section on “Mindful Living.” I hope that helps. Please let me know if you have any other questions. Have a beautiful weekend.