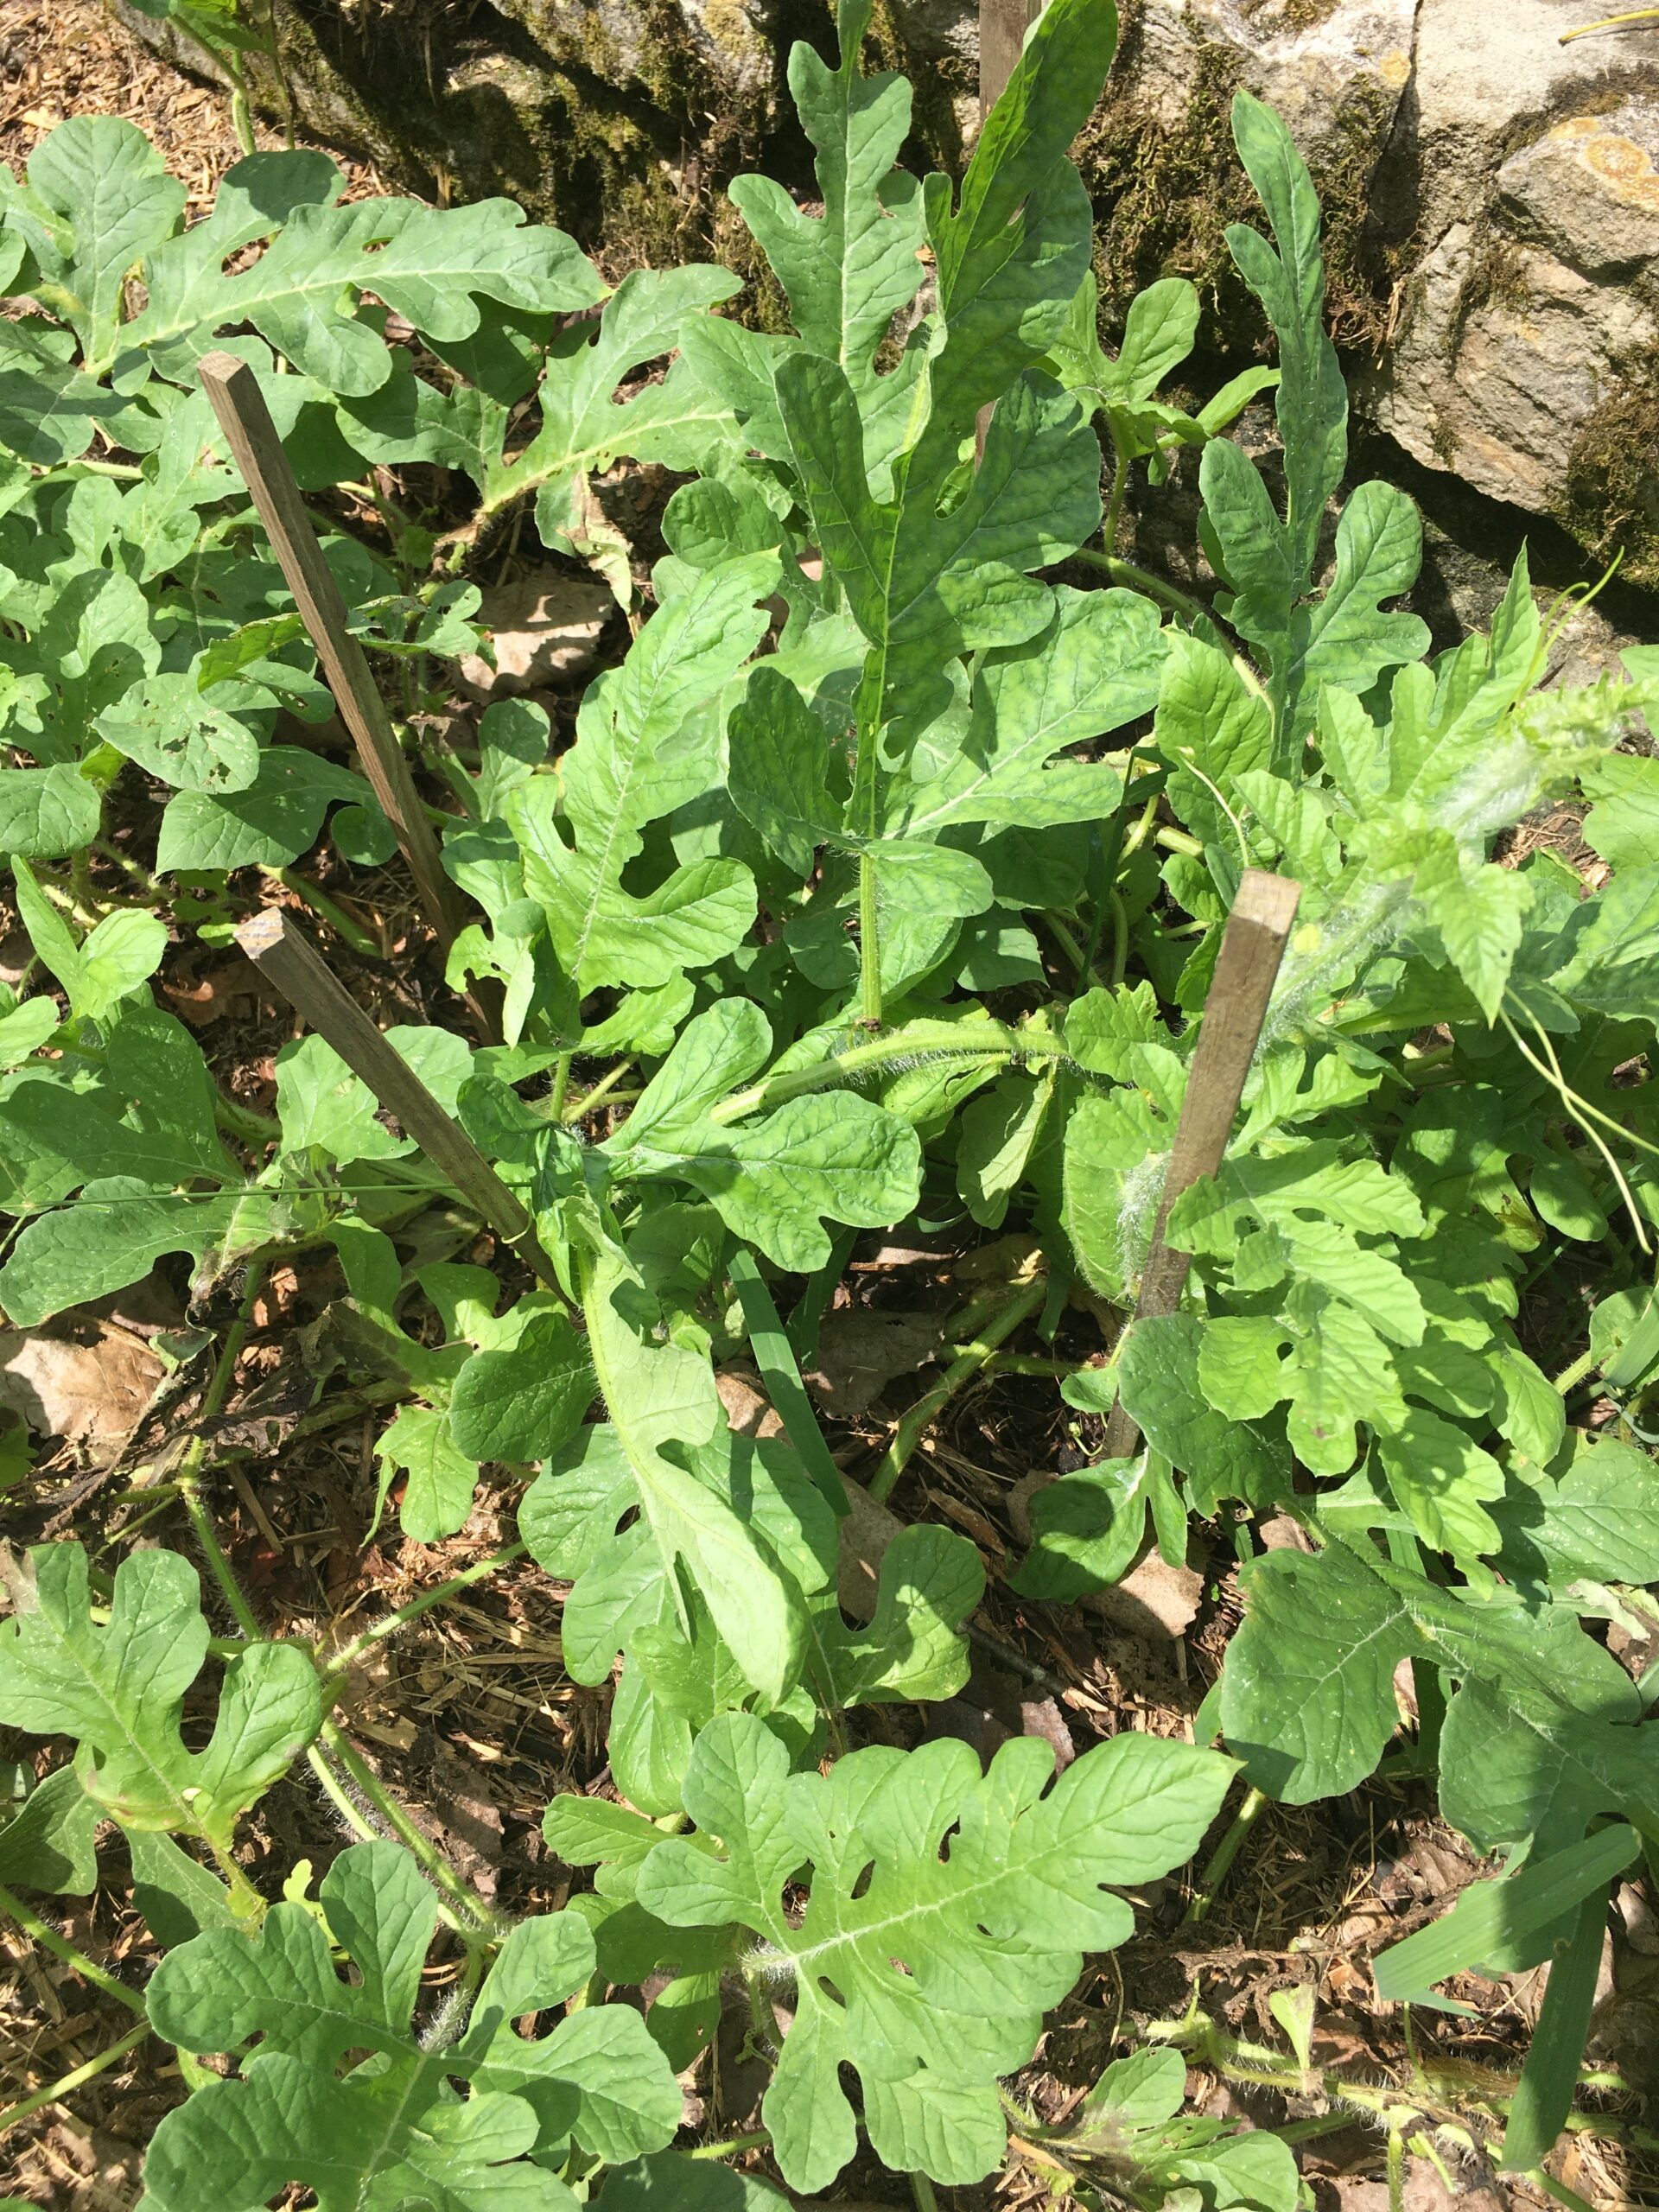
Summer is almost over here in TN. Well, not really because it still feels pretty hot and humid outside, but with September already here, cooler days are just around the corner. 2020 has been a roller coaster of a year, no matter what side of the debates you are on. But I think many of us can agree that fresh homegrown watermelon is the BEST! Am I right?
We have grown watermelon off and on for the past several years. This year has been the best one yet! Despite the fact that one of our Australian Shepherds unleashed her wrath while in our mud room and made a mess of all our early plantings and seedlings. Gasp! Thankfully, more than half of them survived and we were able to enjoy a decent harvest.
After a good rain, our watermelon patch has really taken off. For weeks now, we have been diligently monitoring the melons’ progress. So far, there have been several watermelons that look promising. Two of them were ready today. I know that when we first started planting watermelons, we weren’t sure when to pick them. Unfortunately, we had some very tasteless “taste tests” in the beginning.
So, if you are new to planting your own watermelons at home this year or hoping to plant some next year, give these simple methods a try and learn how to pick with confidence!
HERE’S HOW TO PICK LIKE A PRO
TIP #1
When your watermelons are looking larger and more mature, start giving the first tendril (closest to the stem head) a good inspection or visual look. If it is still green like this one in the photo below, it is not ready and still needs some growing time to develop more.

TIP #2
Depending on when you last checked it and the growing time since you first planted, you will want to check it regularly to monitor the progress. Sometimes at the end, it can move rather quickly. Once the tendril closest to the main stem turns brown and dried up like this in the picture below (the stem may even brown a bit and crack), it “should” be ready to pick. But before you get out your sharp knife or cutting shears, move on to the next tip to make absolutely sure.
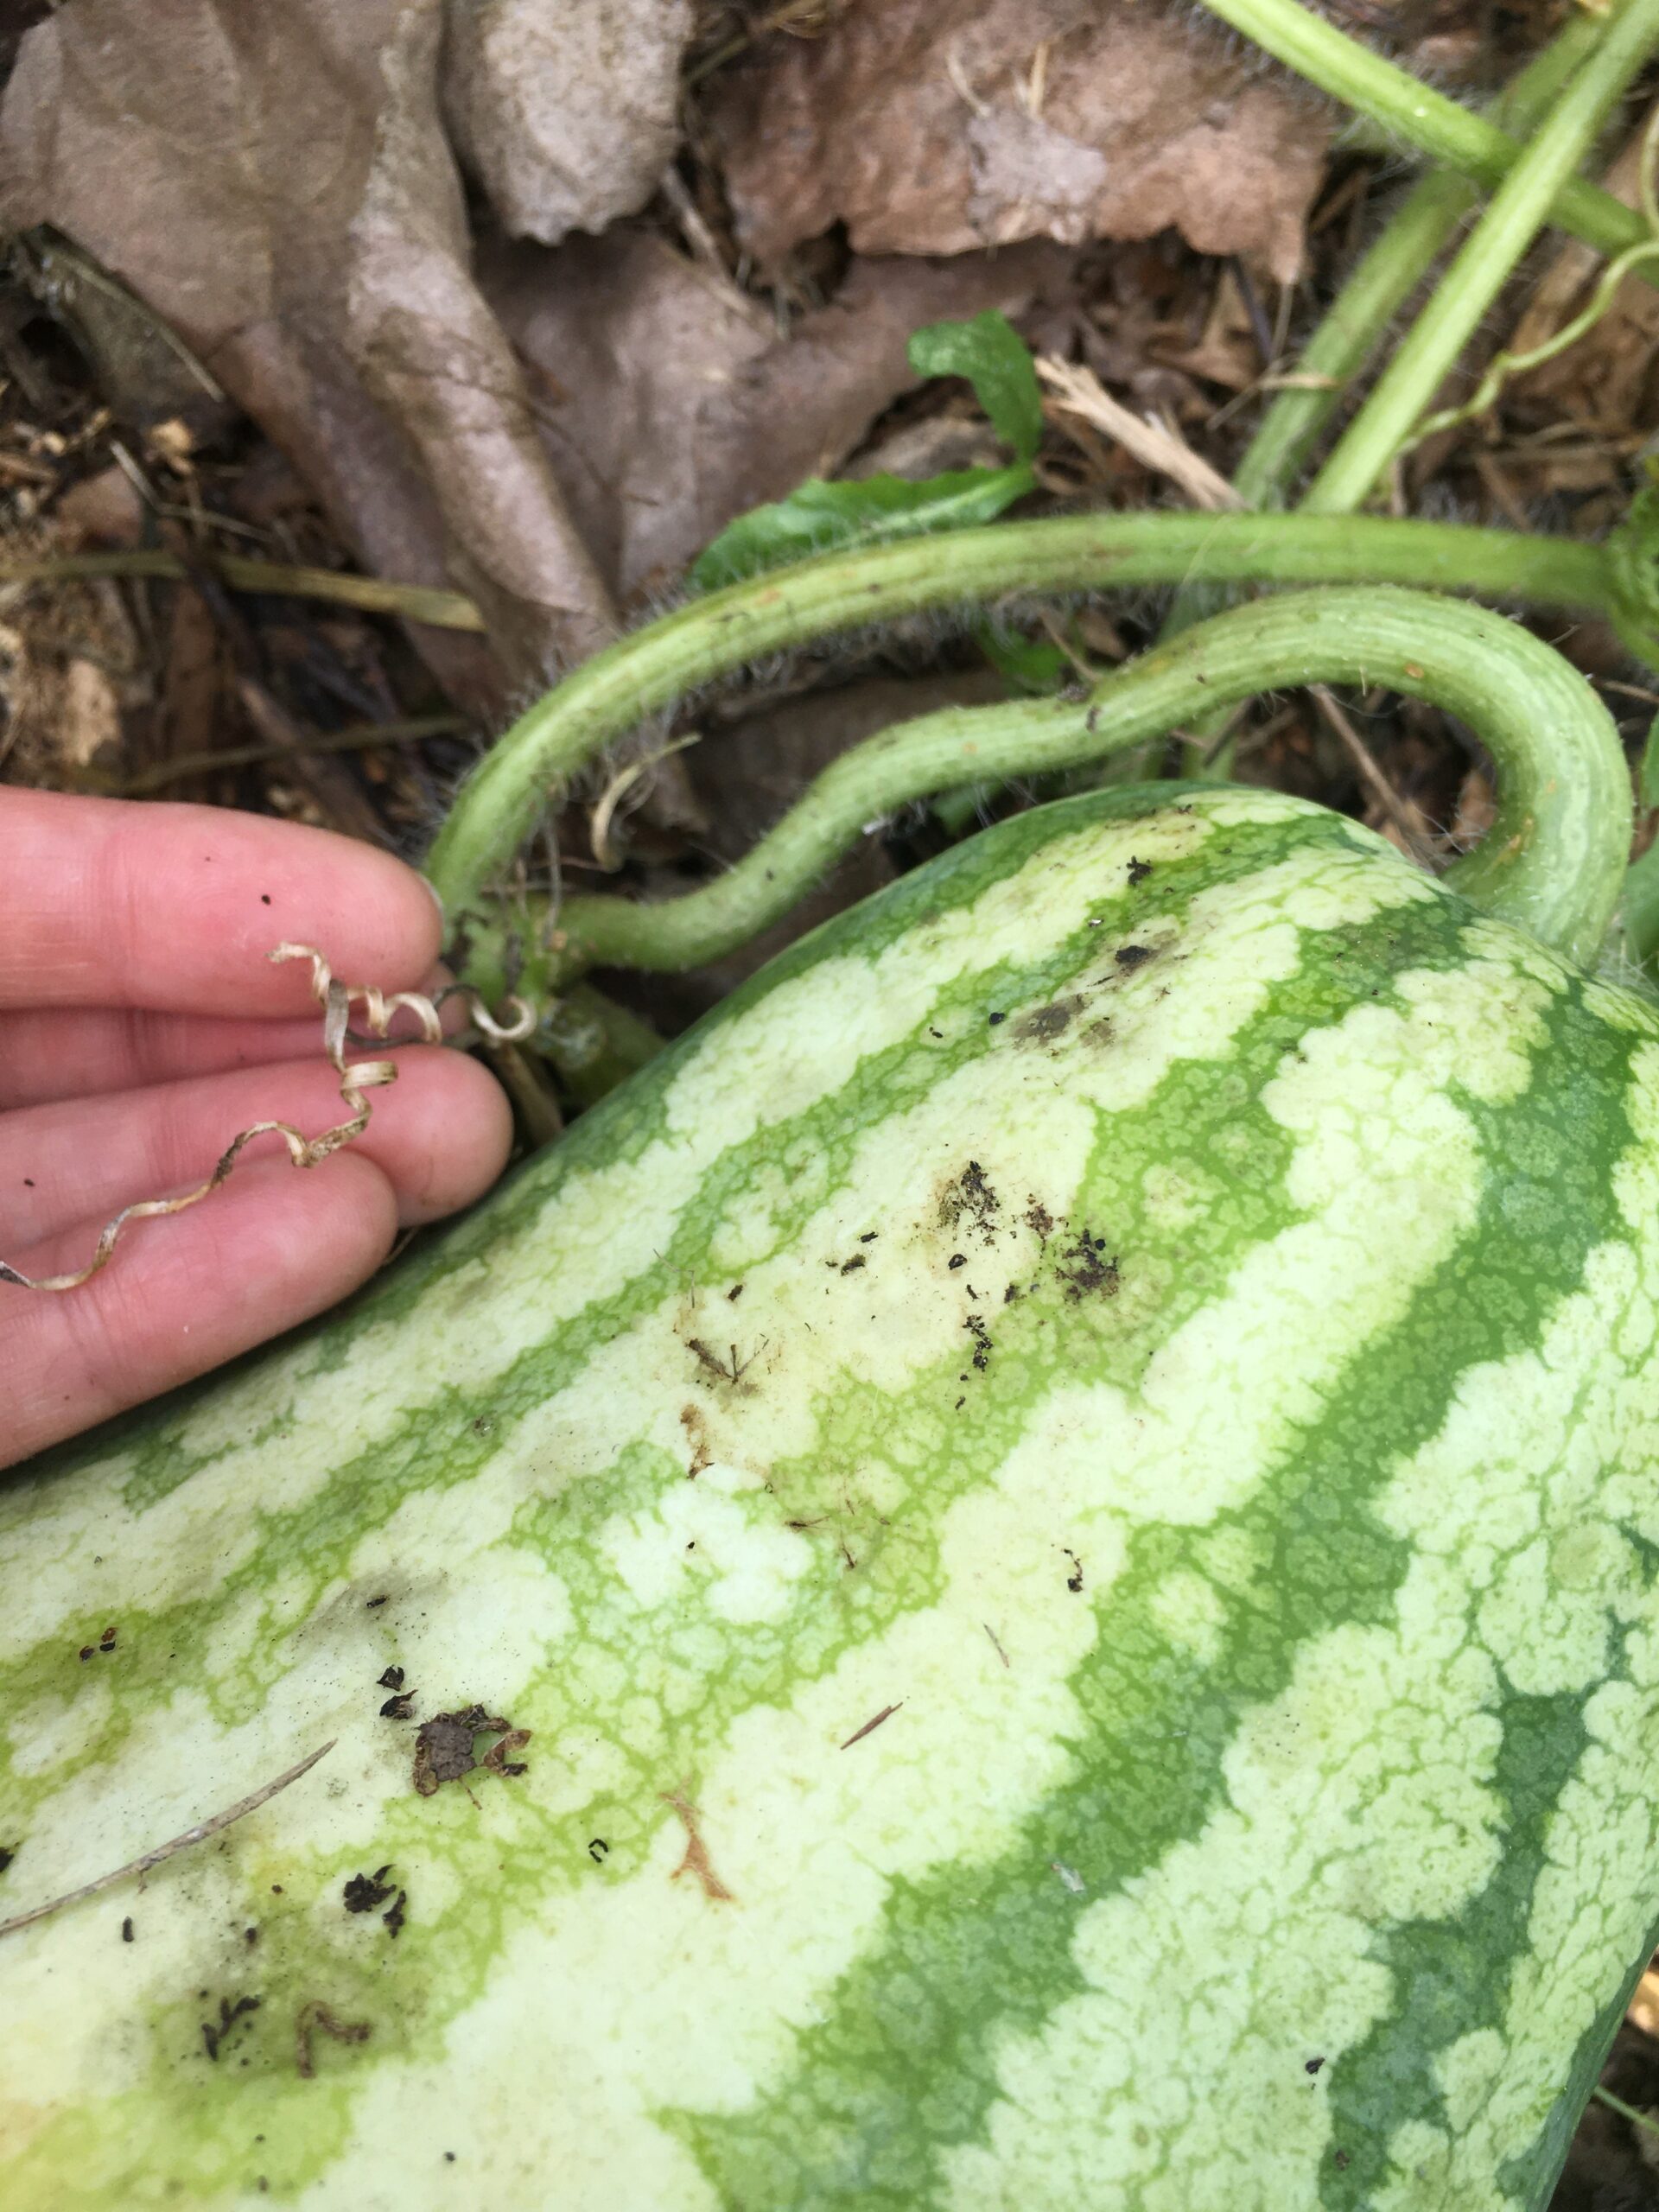
TIP #3
In addition to checking if the closest tendril is dry, check to see if the tiny leaf closest to the stem aka the “spoon leaf” (named for its shape) is brown. Sometimes, when it shrivels up, it can fall off before you catch a glimpse. But if it hasn’t, it will look like this below. It is another great visual indicator that your melon is ripe and ready to enjoy.
*NOTE: Sometimes, you may have a green tendril with a brown spoon leaf. In this case, your melon is not ready to pick and still needs more growing time.

Tip #4
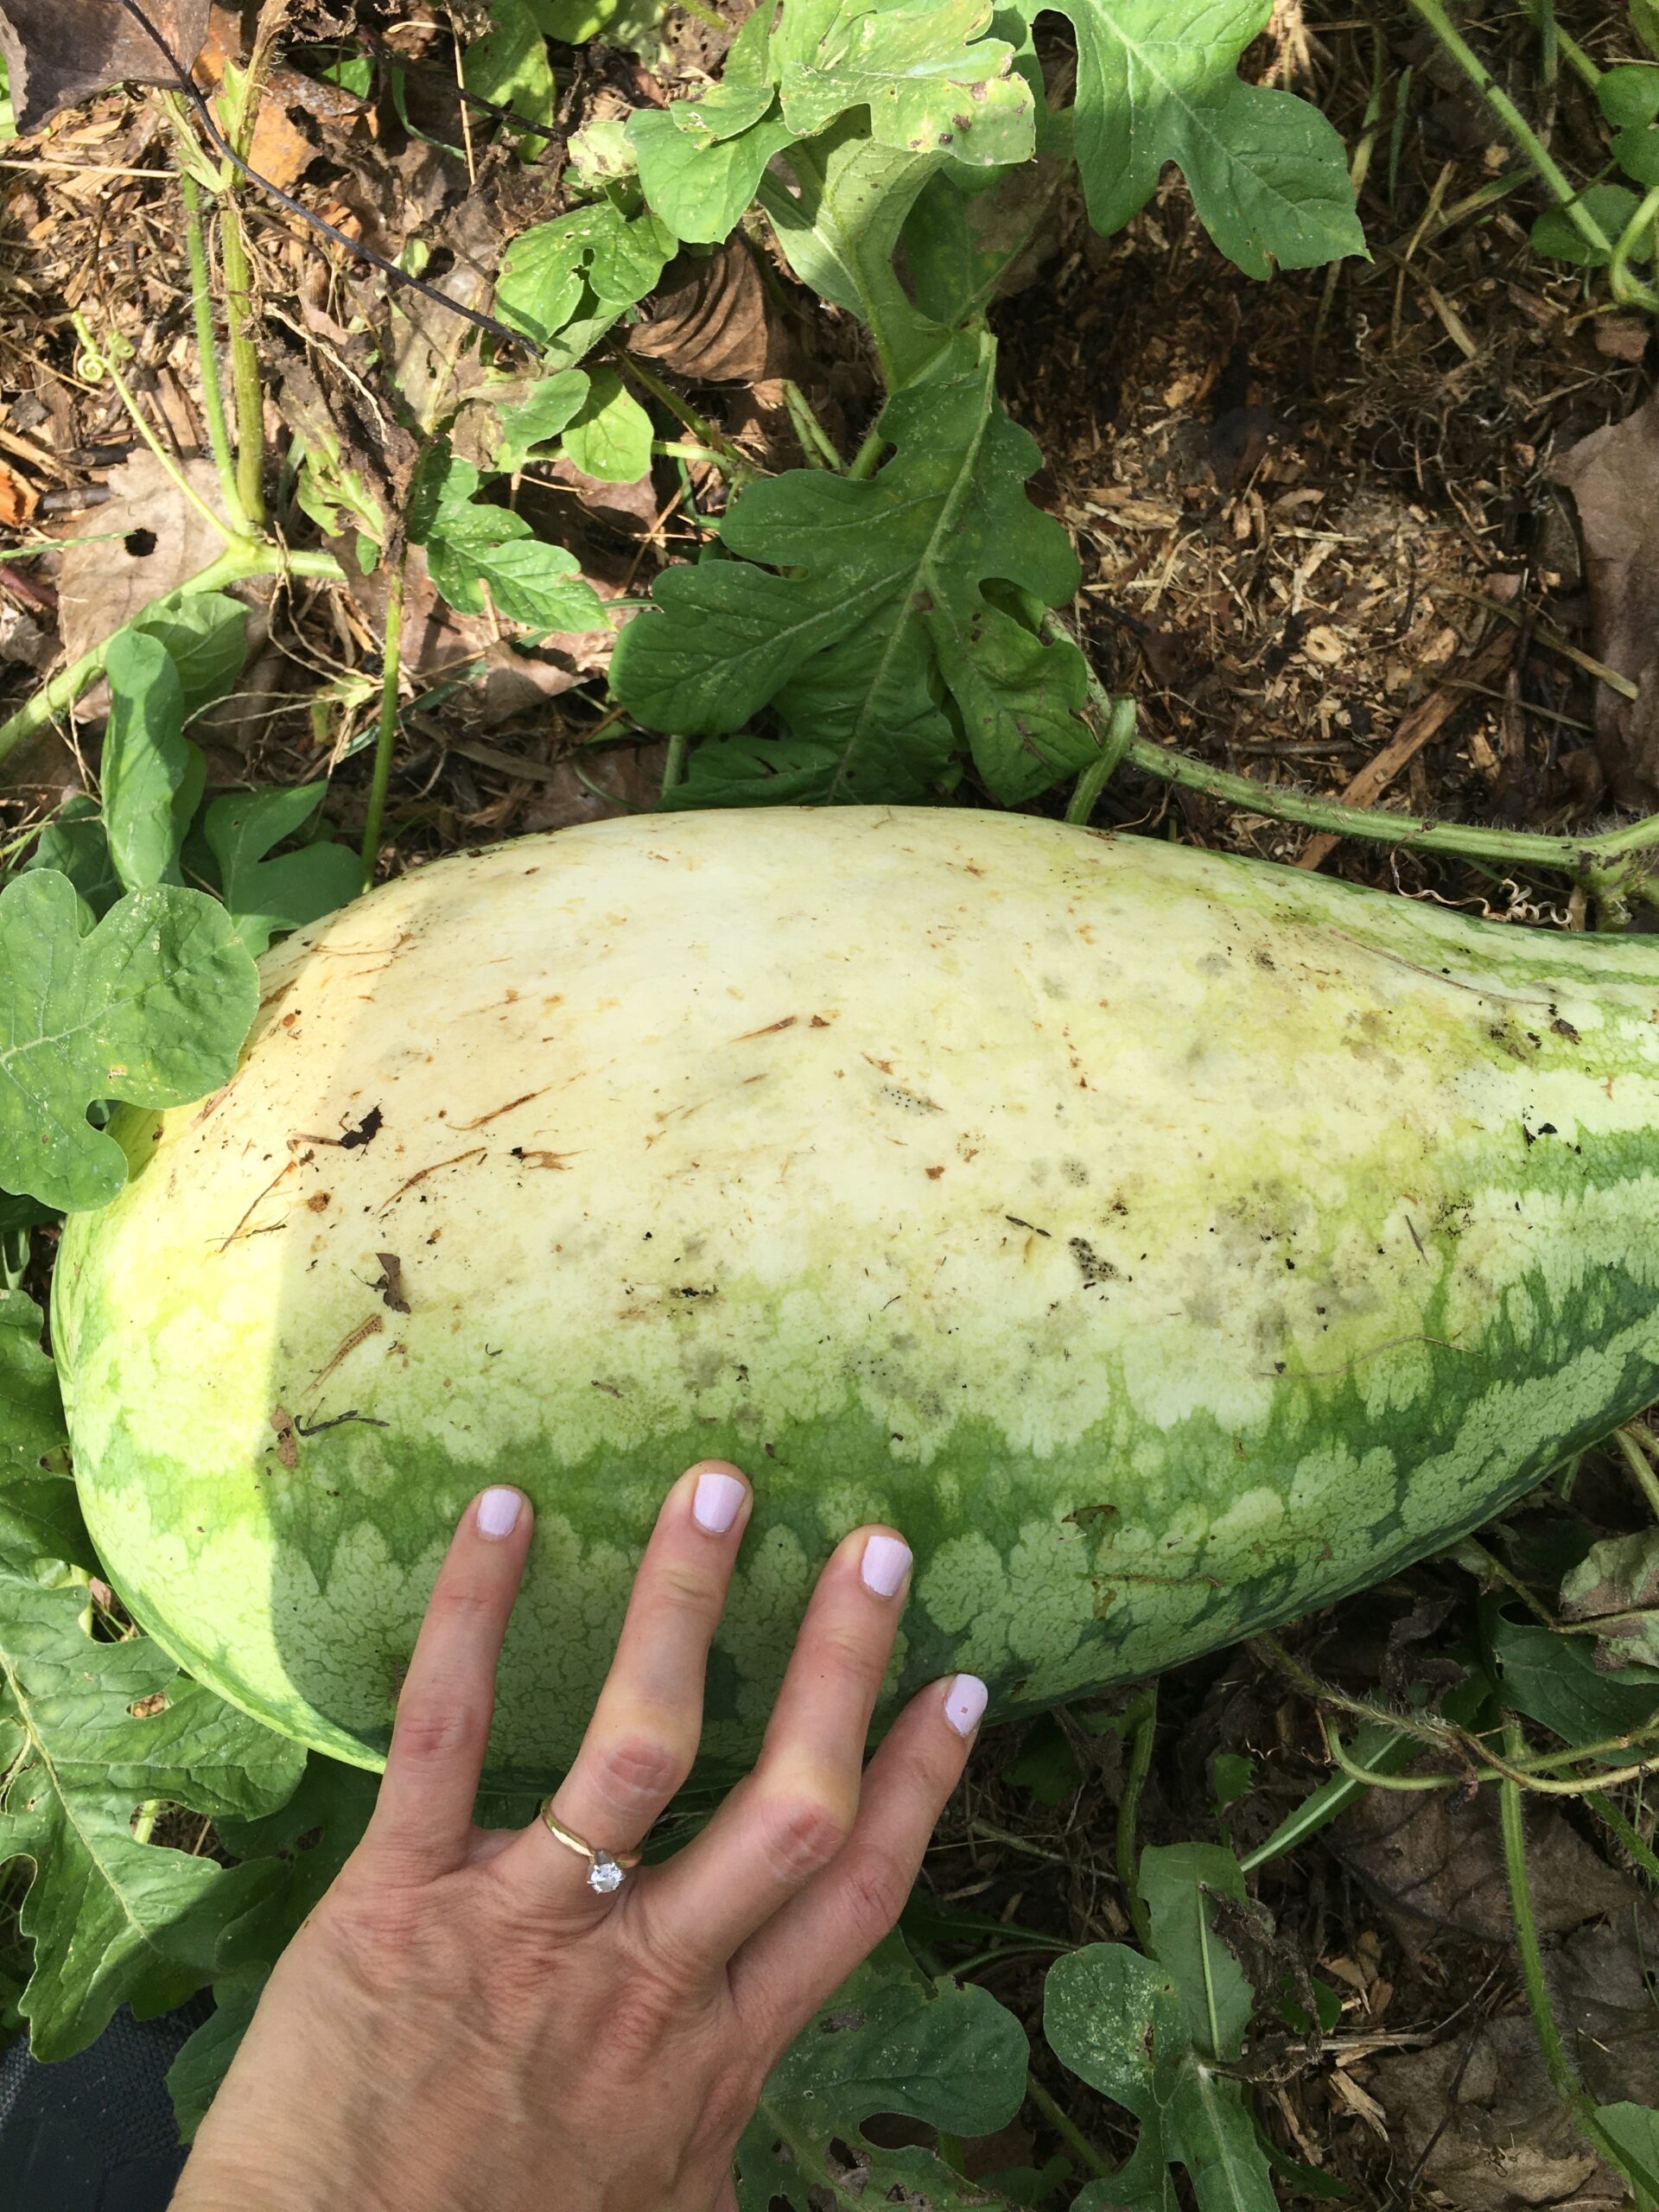
Another technique gardeners use for testing the ripeness of their watermelons is to check the base of the melon or gently roll the melon over to see if the color on the belly is bright yellow versus a pale yellow. Pale yellow means it is ripe, while bright yellow means that it still needs more time to develop.
BONUS TIP
Some folks swear by the old “thump” test. That is where you give the melon a gentle thump with your hand and listen for either a hollow sound which means that your melon “should” be ripe. I like to combine the first three visual techniques which have proven to be more reliable. But I do give the melon a gentle thump just for fun. (smile)
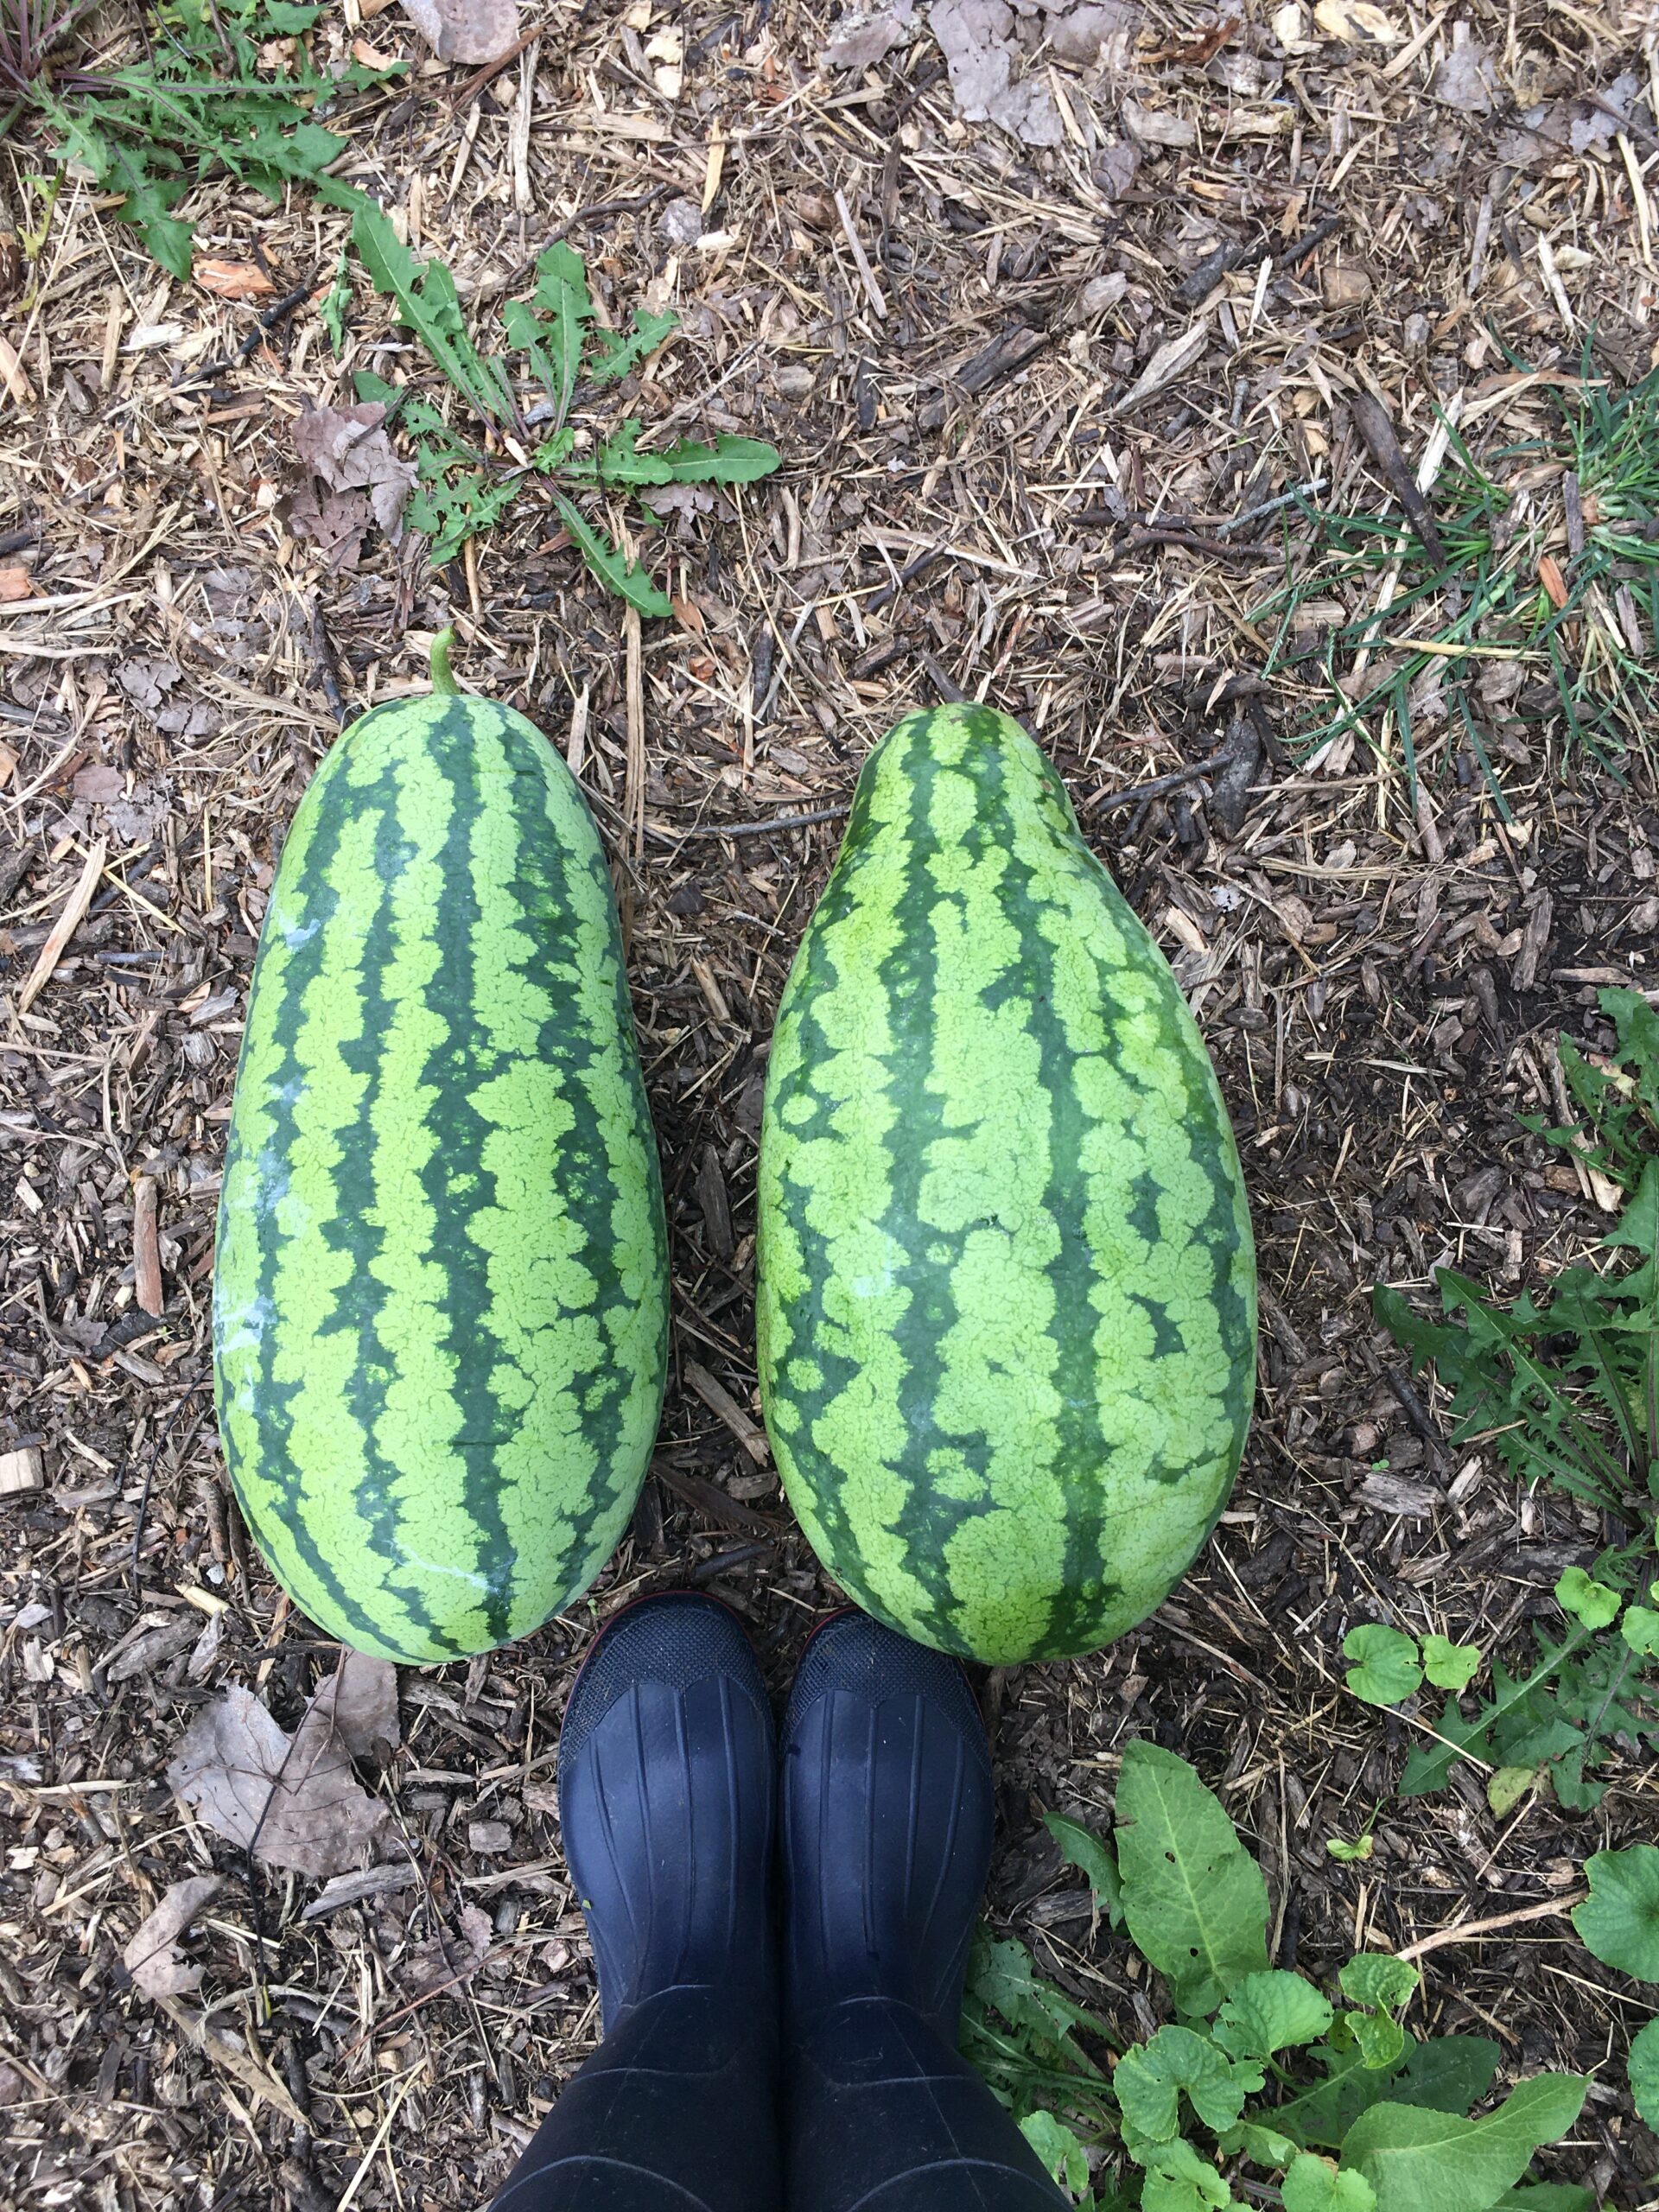
This is a great way to get the littles outdoors and involved in the gardening and harvesting process. Learning new things should never be confined to just a desk and chair in a brick and mortar “classroom.”
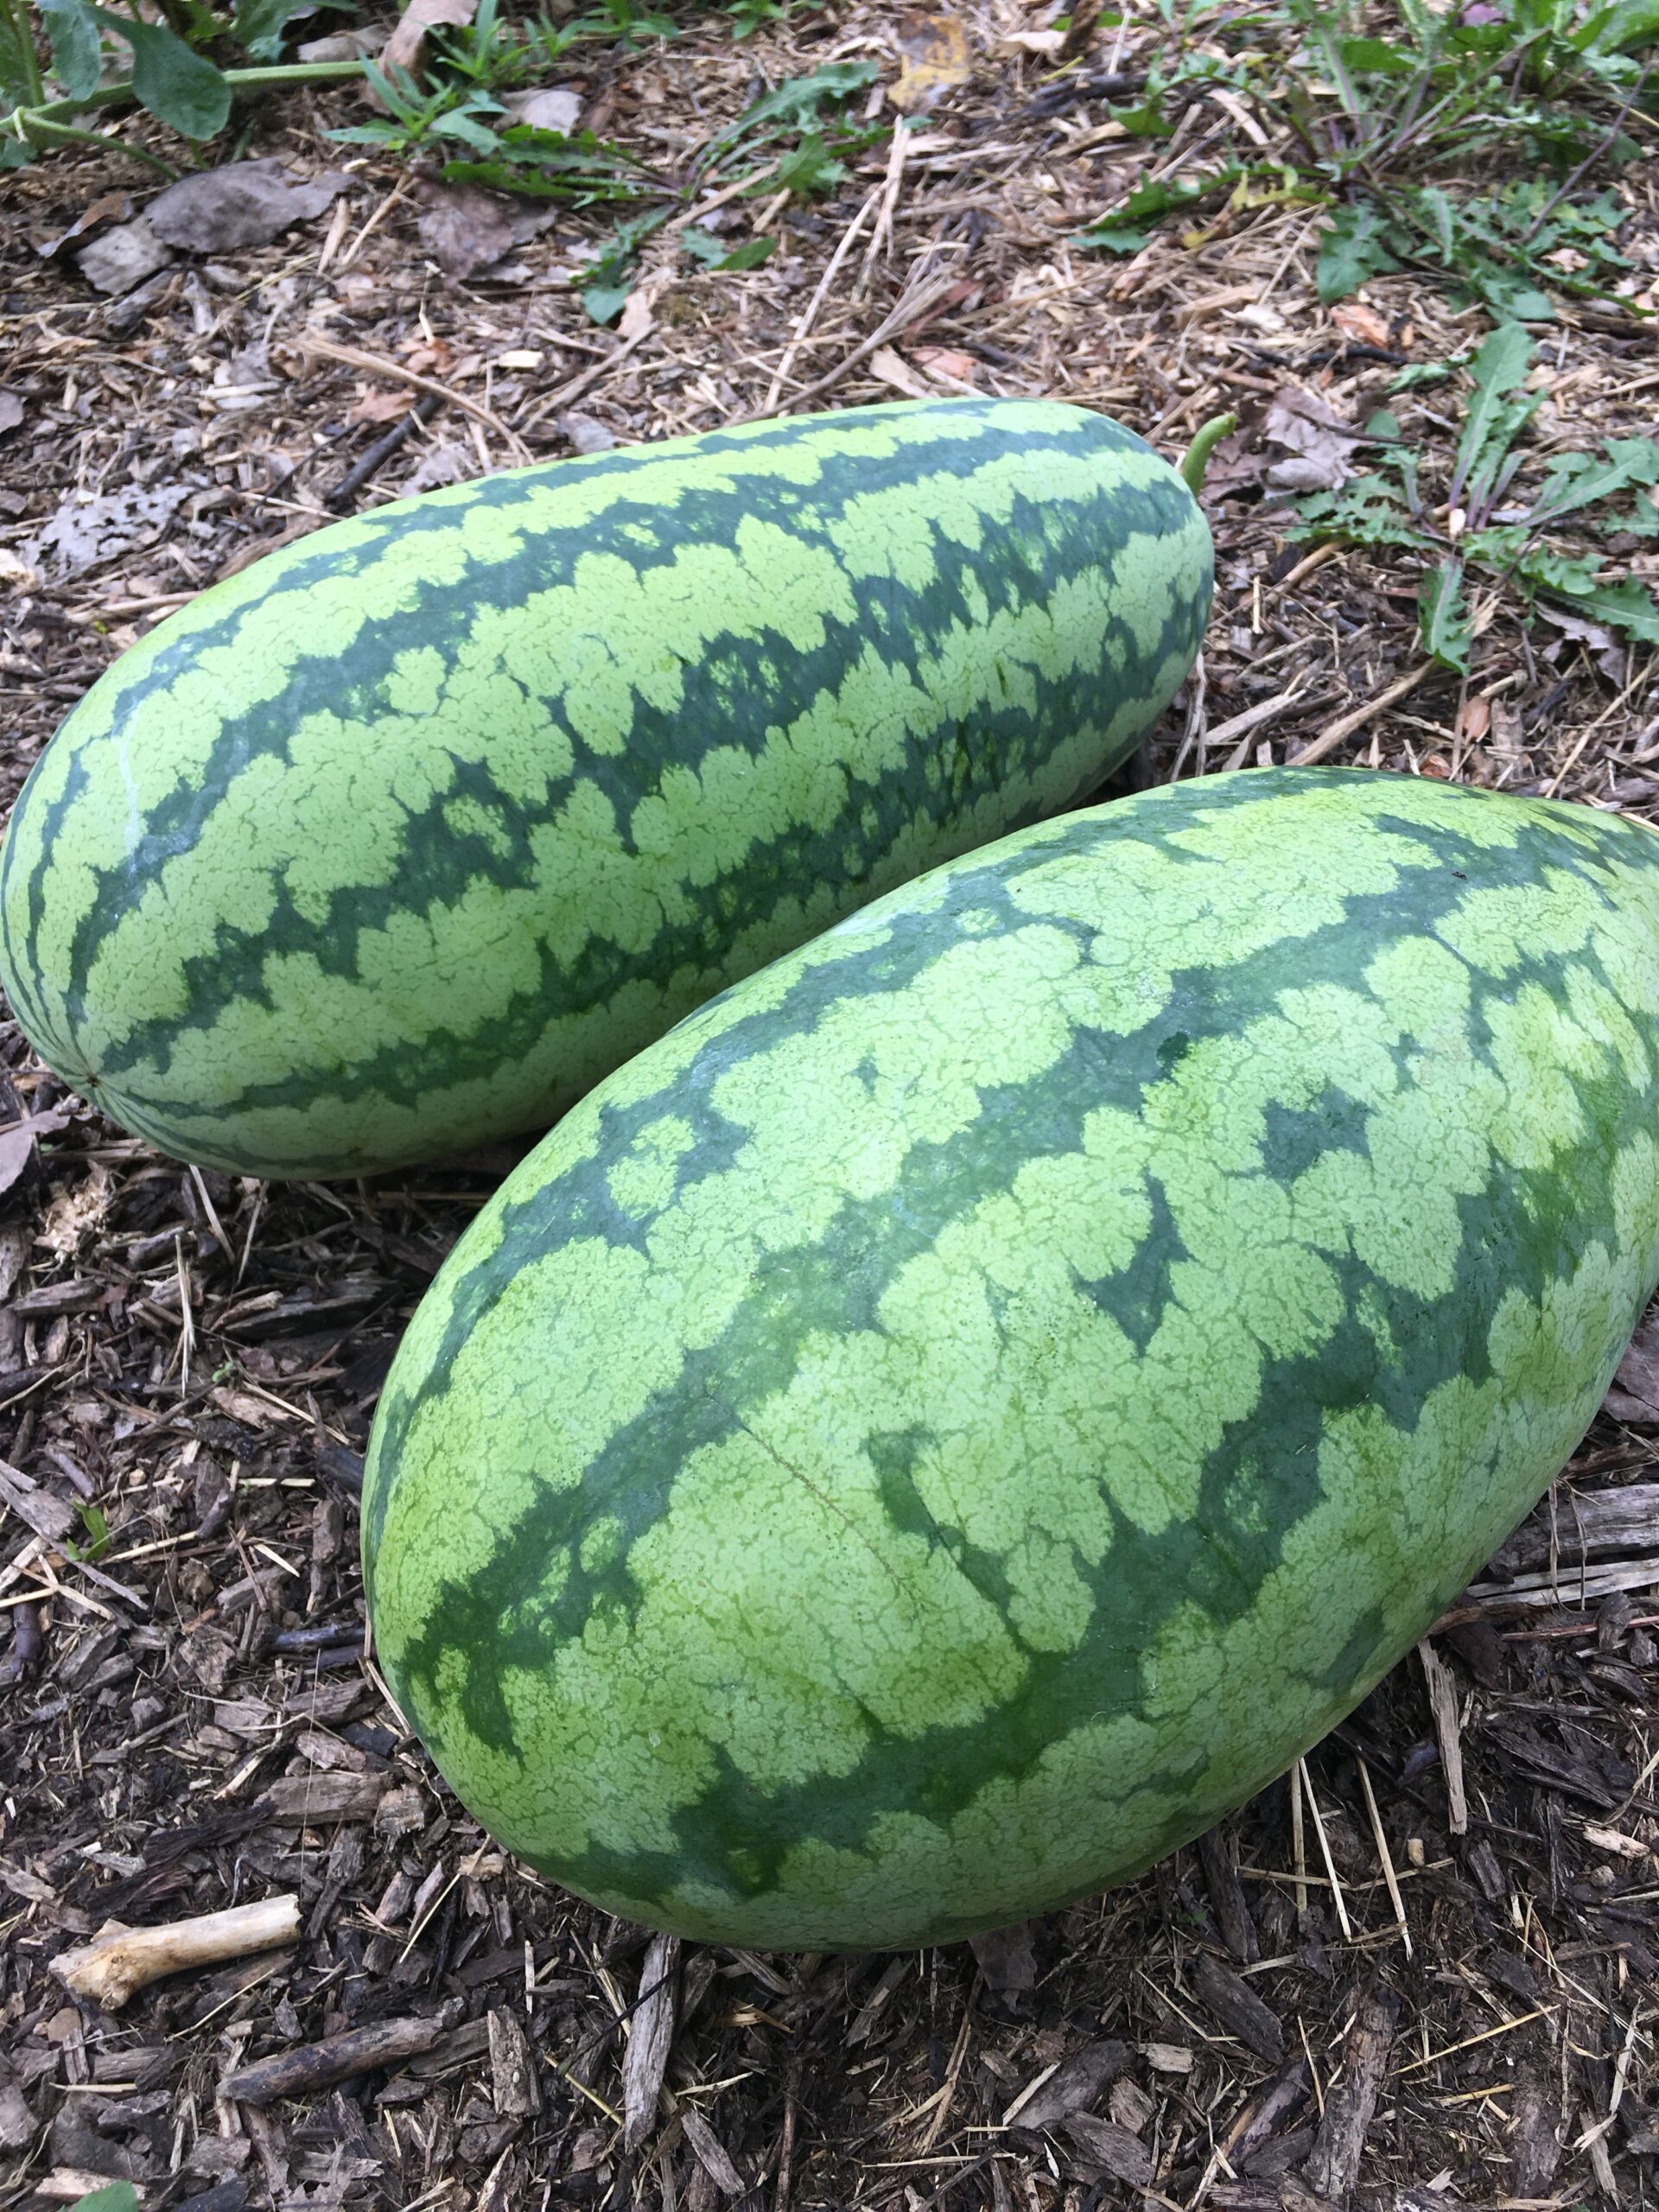
After cutting our freshly picked melons with a sharp knife, we rinse and slice them up into a simple to eat triangle shape and then chill them for at least 20 mins to really bring out that delicious flavor. The cool sweetness on a hot summer day, can’t be beat! Now, get pickin’! (smile)


Leave a Reply